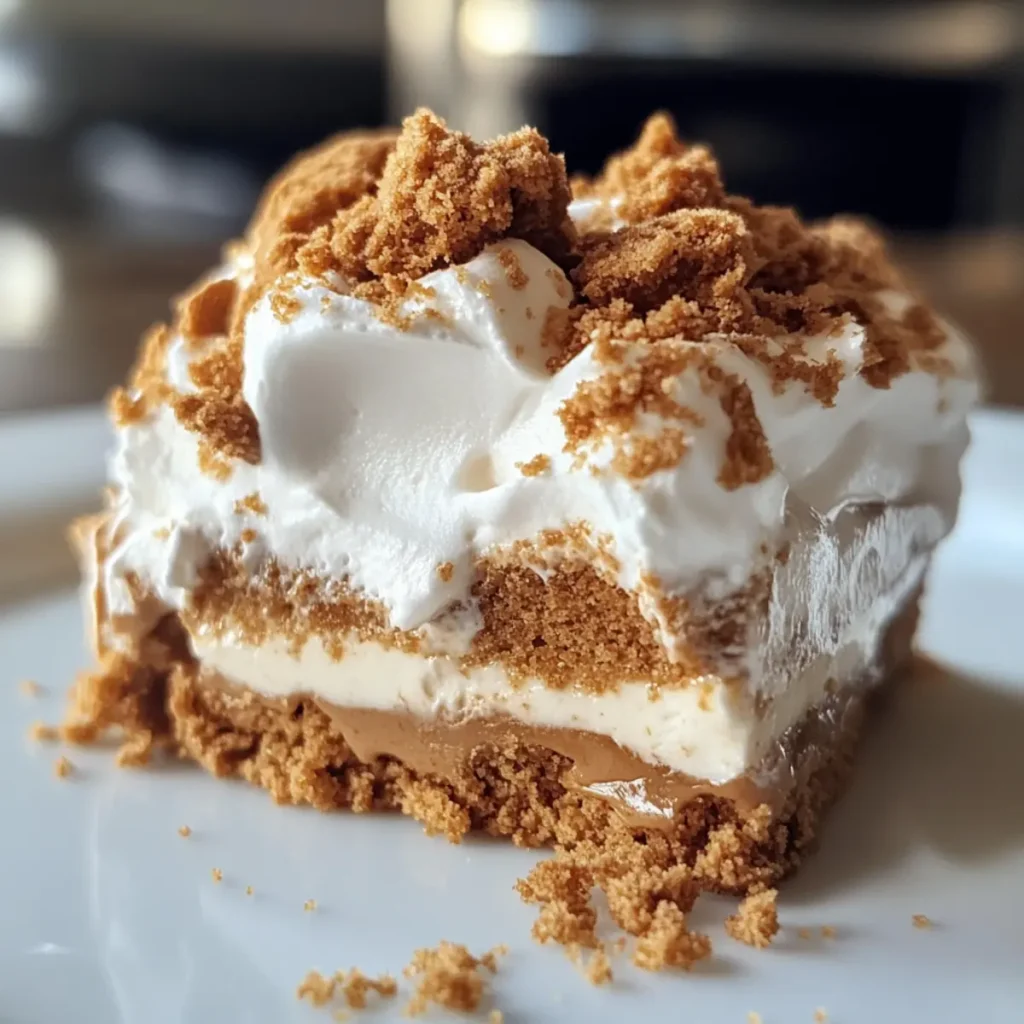
The delightful aroma of caramelized cookies fills my kitchen as I whip up something magical—No-Bake Biscoff Cookie Pudding! This simple yet stunning dessert combines heavenly layers of velvety whipped cream, rich Biscoff spread, and crunchy cookie bits, creating a texture that’s nothing short of dreamy. It’s an easy-to-make, show-stopping addition to your dessert repertoire, perfect for impressing your friends or simply indulging your sweet tooth. Plus, with only five ingredients, you’ll be in and out of the kitchen in no time, leaving plenty of moments to savor each spoonful. Ready to elevate your dessert game? Let’s dive into this luscious pudding that promises to be a crowd-pleaser at your next gathering!
Why is Biscoff Cookie Pudding a Must-Try?
Indulgence at Its Best: This no-bake dessert offers a luscious blend of creamy whipped cream and the rich, caramelized flavor of Biscoff spread, creating a heavenly experience with every spoonful.
Quick & Easy: With just five ingredients, this recipe is perfect for anyone seeking a hassle-free yet delicious treat, allowing you to spend less time in the kitchen and more time with loved ones.
Versatile Delight: Feel free to mix it up! Try adding banana slices or a layer of chocolate ganache for an exciting twist on the classic flavor.
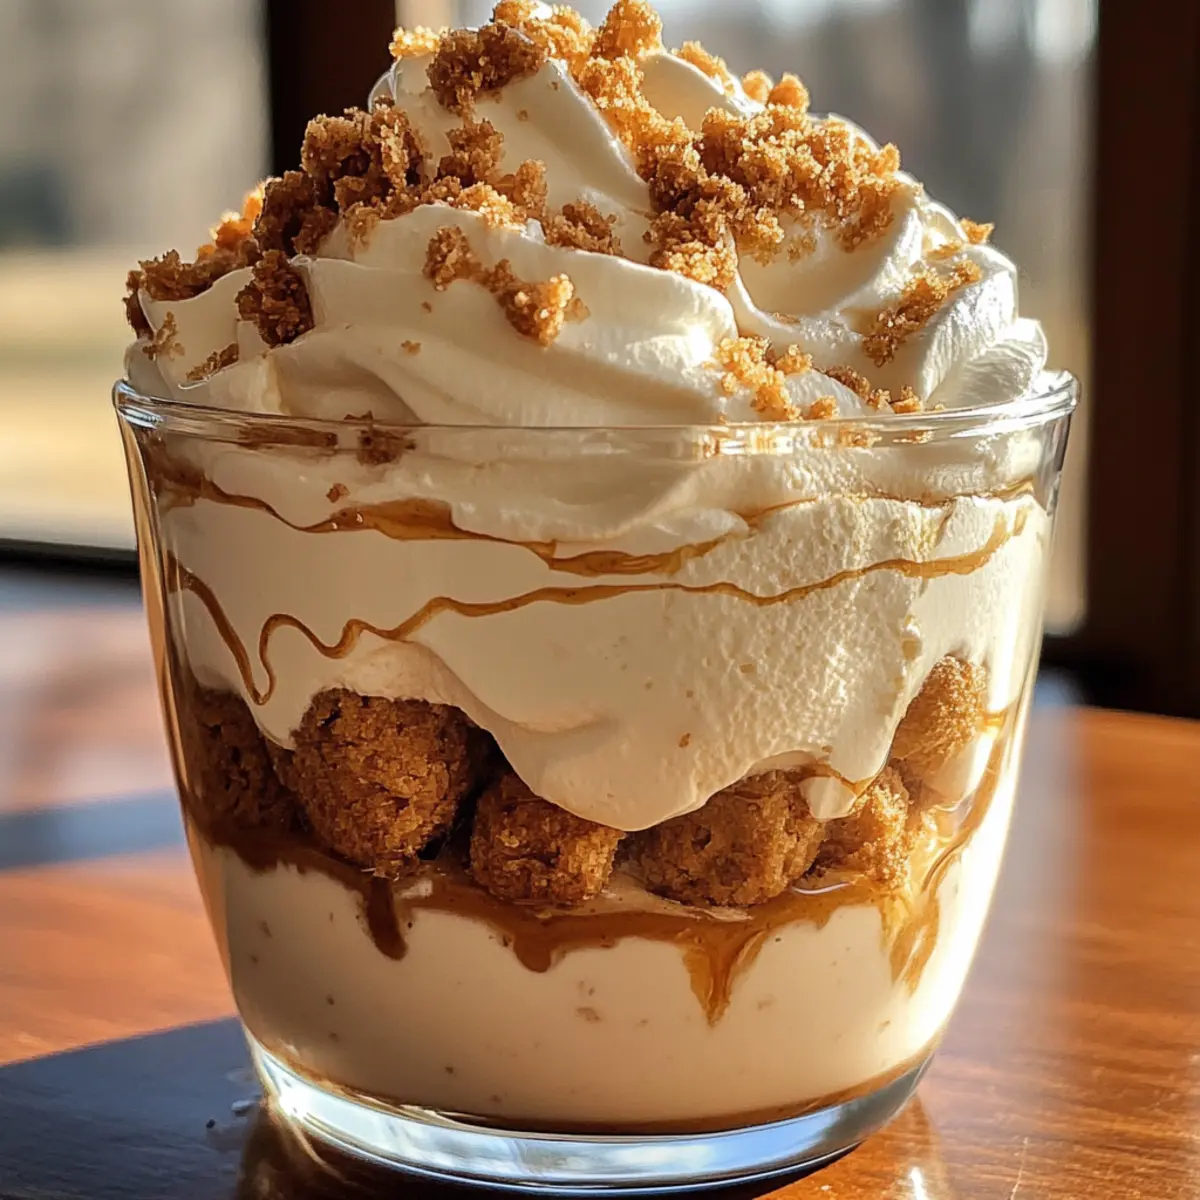
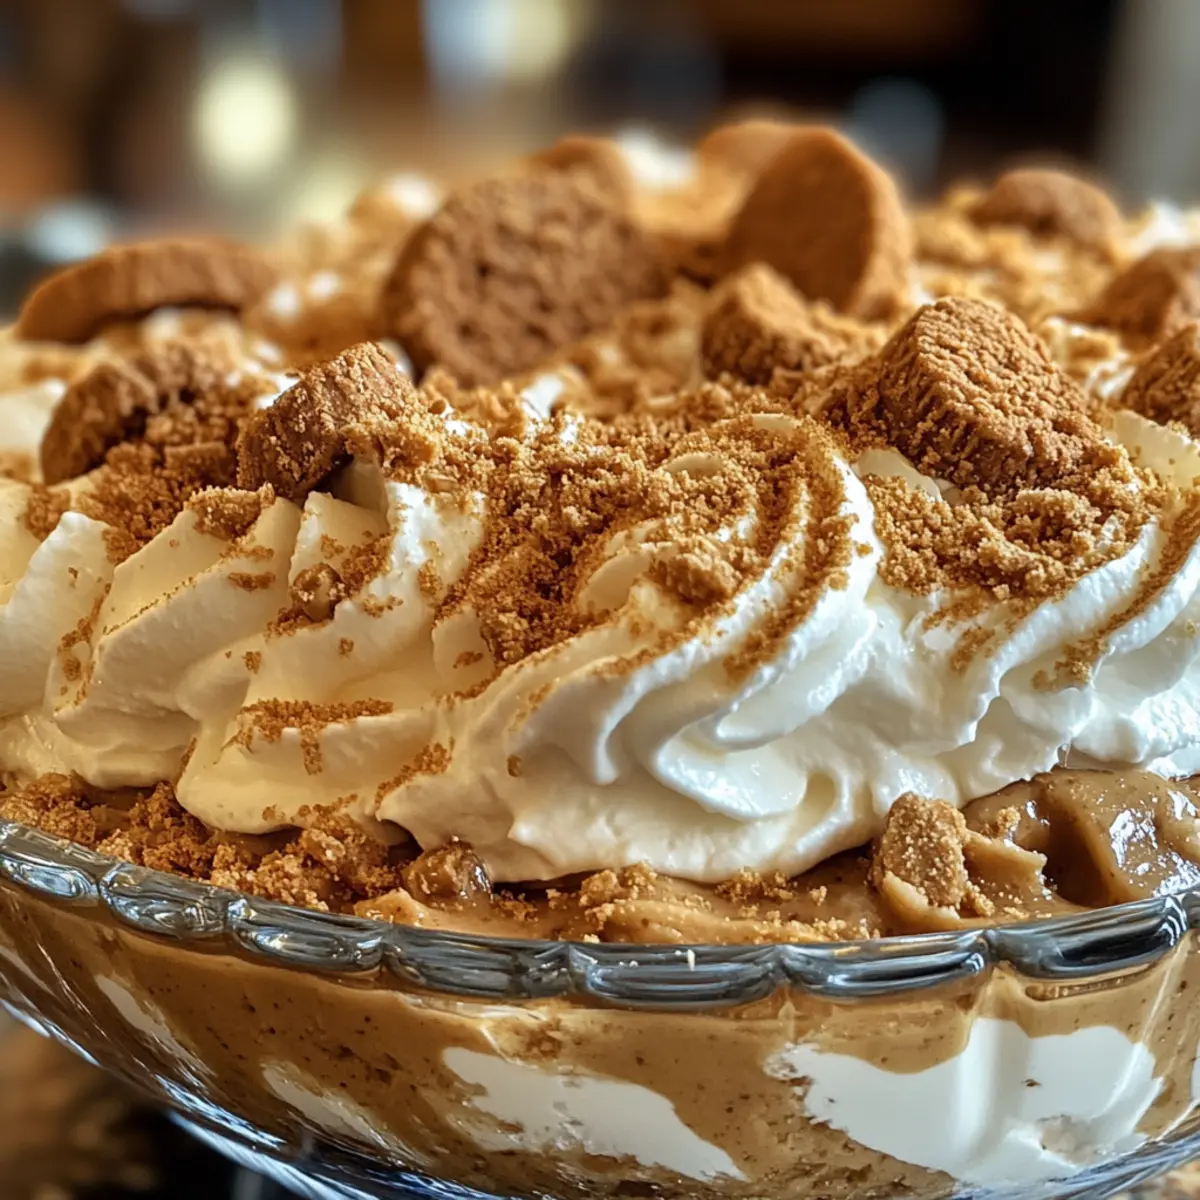
Crowd-Pleasing Presentation: The visually stunning layers and decorative swirls are sure to impress guests at dinner parties or holiday gatherings. It’s not just a dessert; it’s a statement.
Perfect for Any Occasion: Ideal for celebrations or simply to satisfy a sweet craving, this pudding is sure to delight both kids and adults alike. For more delightful ideas, check out my Biscoff Cheesecake or other scrumptious treats!
Biscoff Cookie Pudding Ingredients
• Get ready to create this dreamy dessert with just five simple ingredients!
For the Pudding Base
• Lotus Biscoff Cookies – approximately 20 cookies (2 packages) provide the perfect crunch and sweetness.
• Lotus Biscoff Spread – 7 oz (half a jar) adds a rich flavor that takes this pudding to another level.
For the Whipped Cream Layer
• Heavy Cream – 2.5 cups, chilled, is essential for achieving a light and airy texture.
• Vanilla Extract – 1 tsp enhances the flavor and depth of the pudding, making it divine.
• Powdered Sugar – 1 tbsp sweetens the whipped cream and adds stability, ensuring your layers hold their shape.
Elevate your dessert game with this irresistible Biscoff Cookie Pudding!
Step‑by‑Step Instructions for Biscoff Cookie Pudding
Step 1: Melt the Biscoff Spread
Start by placing the Biscoff spread in a microwave-safe bowl. Microwave it for about 30 seconds on high until it becomes smooth and pourable. Stir the melted spread gently until it’s fully liquefied. This will enhance the flavor and make it easier to layer in your Biscoff Cookie Pudding.
Step 2: Whip the Heavy Cream
In a large mixing bowl, combine the chilled heavy cream, powdered sugar, and vanilla extract. Using an electric mixer on medium speed, whip the mixture until it becomes frothy, typically around 2-3 minutes. Keep an eye on it; you want soft peaks to form, which will create a light and airy texture essential for your pudding layers.
Step 3: Prepare the Pudding Layers
Grab a suitable dish or trifle bowl to assemble your Biscoff Cookie Pudding. Start by laying down a generous layer of Biscoff cookies at the bottom, ensuring they are evenly distributed. This crunchy base will provide a delightful texture and support the creamy layers that follow, setting the stage for your delicious dessert.
Step 4: Layer the Whipped Cream
With your cookie base ready, spoon a layer of the whipped cream mixture over the cookies. Spread it evenly to cover all the cookie pieces, creating a smooth layer. The whipped cream should sit beautifully atop the crunchy cookies, adding a creamy richness that contrasts perfectly with the texture of the cookies below.
Step 5: Drizzle with Biscoff Spread
Next, take your melted Biscoff spread and drizzle it generously over the whipped cream layer. Use a spoon or a squirt bottle for a more controlled drizzle. This will infuse your Biscoff Cookie Pudding with that signature caramelized flavor, enhancing the overall taste as it seeps deliciously into the layers.
Step 6: Repeat the Layers
Continue the process by repeating the layers of Biscoff cookies, followed by whipped cream, and another drizzle of the Biscoff spread. Aim for at least two to three complete layers, ensuring that the last layer finishes with whipped cream for a beautiful presentation that highlights the creamy goodness of the pudding.
Step 7: Add Decorative Swirls
To elevate the presentation of your Biscoff Cookie Pudding, transfer any remaining melted Biscoff spread into a piping bag. Use the bag to create decorative lines on top of the final whipped cream layer. This little touch not only enhances the visual appeal but also adds an extra burst of flavor as you enjoy each bite.
Step 8: Feather the Design
Take a toothpick and gently drag it through the lines of Biscoff spread to create a beautiful feathered design atop the whipped cream. This simple technique adds a professional touch to your dessert, making it a stunning centerpiece for any gathering and showcasing your creativity in the kitchen.
Step 9: Garnish and Chill
Finally, garnish your Biscoff Cookie Pudding by sprinkling crushed Biscoff cookie pieces around the edges of the dish for added texture and flair. Cover the dessert with plastic wrap and refrigerate for at least 2 hours to allow it to set properly, ensuring the flavors meld together beautifully before serving.
Storage Tips for Biscoff Cookie Pudding
Fridge: Keep the Biscoff Cookie Pudding covered in an airtight container in the refrigerator for up to 3 days. This will help maintain its delightful texture and flavors.
Best Enjoyed Fresh: For the ultimate experience, consume within the first couple of days. The pudding is lightest and creamiest right after chilling.
Reheating: Avoid reheating as this dessert is best served cold. Simply pull it out of the fridge and enjoy a refreshing scoop!
Freezing Warning: Freezing is not recommended, as it may alter the creamy texture of the whipped cream, resulting in a less desirable consistency.
Biscoff Cookie Pudding Variations & Substitutions
Feel free to get creative with your Biscoff Cookie Pudding! Each variation adds a delightful twist to this already scrumptious dessert.
-
Banana Layer: Add slices of ripe banana between layers for a fruity flavor burst. The combination of banana and Biscoff is simply irresistible!
-
Chocolate Ganache: Pour in a layer of rich chocolate ganache for an indulgent touch. This will elevate each bite into pure bliss, making it a dream for chocolate lovers.
-
Cream Cheese Twist: Fold in 4 oz of softened cream cheese to the whipped cream for a tangy, rich base. It adds an unexpected depth that perfectly complements the sweetness of Biscoff.
-
Spread Swap: Try swapping Biscoff spread with Nutella for a hazelnut chocolate variation. It’s like creating a decadent new world of flavor that will have everyone coming back for seconds!
-
Dairy-Free Delight: Use coconut cream instead of heavy cream for a dairy-free version. This still yields a luscious texture and adds a hint of tropical flavor that pairs beautifully with the cookies.
-
Spiced Cookie Layers: Spice things up by using ginger snap cookies instead of Biscoff for a zingy twist. The bold flavors of the ginger cookies offer a lovely, warming alternative to the classic.
-
Nutty Crunch: Incorporate crushed nuts, like pecans or almonds, into the layers for extra crunch. A nutty surprise in every bite can take your pudding to new heights of deliciousness.
-
Chili Heat: For those who dare, sprinkle a tiny bit of cayenne pepper into the whipped cream for a surprising kick. It nicely balances the sweetness, creating a unique flavor experience.
These variations could make delightful studying alongside other scrumptious treats such as my Chocolate Thumbprint Cookies or the decadent Sugar Cookie Cheesecake. Enjoy customizing your dessert!
What to Serve with Biscoff Cookie Pudding
Imagine the joy of sharing a meal that perfectly complements your luscious pudding while enticing everyone to linger at the table a little longer.
- Fresh Berries: The tartness of strawberries or raspberries adds a vibrant contrast to the creamy sweetness, brightening each bite.
- Chocolate-Covered Pretzels: The salty, crunchy pretzels provide a delightful textural balance, enhancing the sweetness while delivering a fun twist.
- Vanilla Ice Cream: A scoop of vanilla ice cream adds an extra layer of creaminess and a touch of classic comfort that harmonizes beautifully.
- Espresso or Coffee: The rich, bold flavors of coffee pair wonderfully with the dessert, balancing its sweetness and offering a gourmet experience.
- Banana Slices: Layering fresh banana slices between puddings adds a fruity freshness, bringing a delightful new flavor twist to your dessert.
- Almond Biscotti: The crunchy texture and nutty flavors of biscotti perfectly complement the pudding’s creaminess while inviting a delightful crunch in each bite.
- Caramel Sauce: A drizzle of warm caramel sauce elevates the dessert, harmonizing with the Biscoff flavors for an indulgent finish.
- Whipped Cream Topping: Top with additional whipped cream to enhance the dreamy texture and maintain the dessert’s lightness while looking spectacular.
Make Ahead Options
These Biscoff Cookie Pudding layers are perfect for busy home cooks who love meal prep! You can whip up the luscious whipped cream and layer it with the Biscoff cookies up to 24 hours in advance. Simply prepare the pudding base and refrigerate it tightly covered to prevent drying out. For the best texture, assemble the layers and refrigerate, allowing the flavors to meld. When you’re ready to serve, simply garnish the pudding with crushed cookies and drizzle with any remaining Biscoff spread. It’ll taste just as delicious, saving you time and effort on the day of your gathering. Enjoy a show-stopping dessert that’s ready when you are!
Expert Tips for Biscoff Cookie Pudding
-
Chill Everything: Ensure your heavy cream, mixing bowl, and beaters are very cold to achieve the best whipped cream texture.
-
Avoid Overwhipping: Watch closely while whipping the cream; stopping at soft peaks ensures a light and airy result. Overwhipped cream can turn grainy.
-
Layering Technique: When layering, alternate cookies and whipped cream to maintain structural integrity in your Biscoff Cookie Pudding, preventing it from becoming too soggy.
-
Handle the Spread: Work quickly with the melted Biscoff spread for piping; if it cools too much, it will become too thick for decorating.
-
Storage Secrets: For optimal taste and texture, store in an airtight container in the refrigerator and enjoy within three days—freezing is not recommended.

Advertisement
Biscoff Cookie Pudding Recipe FAQs
What is the best way to select Biscoff cookies for this recipe?
Absolutely! Look for Lotus Biscoff cookies that are fresh and free from any visible damage. Ideally, the cookies should not have dark spots or be overly soft, as this might affect the texture of your pudding. A good batch ensures that your pudding will have that satisfying crunch!
How should I store leftover Biscoff Cookie Pudding, and for how long will it stay fresh?
The best practice is to keep your Biscoff Cookie Pudding covered in an airtight container in the refrigerator. It will stay fresh for up to 3 days. I often find that enjoying it within the first couple of days gives the best texture and flavor. Just remember, the creaminess is most delightful the sooner you dive in!
Can I freeze Biscoff Cookie Pudding?
I wouldn’t recommend freezing this dessert, as the texture may suffer once thawed. The creamy whipped layer can become grainy, which isn’t the experience we desire. Instead, enjoy it fresh from the fridge, and savor every spoonful!
What if my heavy cream doesn’t whip up properly?
If your heavy cream isn’t whipping up as expected, there are a couple of things you can check. First, ensure your heavy cream, mixing bowl, and beaters are very cold—this is essential for achieving a proper whip. If it appears overly liquid, avoid over-whipping; stop when soft peaks form. If it doesn’t thicken at all, it may be past its freshness date. Fresh cream will whip up beautifully!
Are there any dietary considerations to keep in mind with this recipe?
Most definitely! If you’re serving anyone with allergies, be mindful of the gluten in the Biscoff cookies and the dairy in the heavy cream. For those who are vegan, you can explore alternatives such as coconut whipping cream or nut-based spreads, though the flavor profile will slightly differ. Always check labels for hidden allergens, and feel free to adjust the recipe for dietary needs!

Irresistibly Creamy Biscoff Cookie Pudding You Can Make Today
Ingredients
Equipment
Method
- Step 1: Melt the Biscoff Spread - Start by placing the Biscoff spread in a microwave-safe bowl. Microwave for about 30 seconds until smooth.
- Step 2: Whip the Heavy Cream - In a large mixing bowl, combine chilled heavy cream, powdered sugar, and vanilla extract. Whip until soft peaks form, about 2-3 minutes.
- Step 3: Prepare the Pudding Layers - Grab a dish or trifle bowl. Lay down a generous layer of Biscoff cookies at the bottom.
- Step 4: Layer the Whipped Cream - Spoon a layer of whipped cream over the cookies, spreading evenly to cover all cookie pieces.
- Step 5: Drizzle with Biscoff Spread - Drizzle melted Biscoff spread over the whipped cream layer for enhanced flavor.
- Step 6: Repeat the Layers - Continue layering cookies and whipped cream for 2-3 complete layers, finishing with whipped cream.
- Step 7: Add Decorative Swirls - Use a piping bag to create decorative lines with any remaining melted Biscoff spread on top.
- Step 8: Feather the Design - Drag a toothpick through the Biscoff lines to create a feathered design for visual appeal.
- Step 9: Garnish and Chill - Garnish with crushed Biscoff cookie pieces, cover, and refrigerate for at least 2 hours before serving.