As I stood in my kitchen, surrounded by the enticing aroma of freshly baked rice and savory fillings, a comforting thought crossed my mind: why order takeout when I can whip up this Easy Sushi Bake? This delightful dish offers all the sushi flavors we love, but with none of the fuss or complicated rolling techniques. It’s a forgiving recipe that welcomes ingredient substitutions, letting you customize it to your taste. Plus, it’s wonderfully quick to prepare, making it perfect for busy weeknights or spontaneous gatherings. Whether you crave creamy textures or crispy finishes, this sushi bake is sure to satisfy your cravings while keeping the comfort factor high. Ready to dive into the deliciousness? Let’s get cooking!

Why Will You Love This Sushi Bake?
Comforting and Delicious: This Easy Sushi Bake delivers all the flavors of sushi, wrapped in a delightful, creamy casserole that warms the heart.
Simplicity at Its Finest: No complicated rolling or special skills needed—just mix, layer, and bake!
Customizable Ingredients: Feel free to substitute with your favorite proteins and toppings. Want to use tofu instead of crab? Go for it!
Quick Preparation: In just 15-20 minutes, you can enjoy this homemade delight, making it a great choice for busy evenings.
Perfect for Sharing: Serve it at your next gathering or family dinner and watch it disappear! For more crowd-pleasing dishes, check out this Baked Feta Pasta or Chicken Stuffed Baked Potatoes.
Whether you’re an expert chef or a kitchen newbie, you’ll adore how easy and satisfying this recipe can be!
Sushi Bake Ingredients
• For the Rice Base
- Sushi Rice – This sticky rice holds everything together beautifully; short-grain white rice is ideal for the best texture.
- Rice Vinegar – Adds a touch of tang; use sparingly to avoid overwhelming the dish, or substitute with apple cider vinegar if desired.
• For the Fillings
- Crispy Nori – Provides that classic sushi flavor and texture; feel free to use rice paper as a substitute for a different twist.
- Fillings (e.g., crab sticks, canned tuna, salmon) – The heart of the dish; customize with your favorites, like cooked shrimp or tofu for a tasty alternative!
- Cream Cheese – Adds a nice creaminess; for a dairy-free option, consider swapping in ripe avocado.
This Easy Sushi Bake is not just a tribute to classic sushi but a scrumptious take that will have you ditching takeout in no time!
Step‑by‑Step Instructions for Sushi Bake
Step 1: Preheat and Prepare Sushi Rice
Begin by preheating your oven to 350°F (175°C). While it heats, cook the sushi rice according to the package instructions, usually about 20 minutes. Keep an eye on it; the rice should be sticky and tender when done. Once cooked, fluff the rice with a fork and allow it to cool slightly while preparing the other ingredients.
Step 2: Season the Rice
In a large bowl, combine the slightly cooled sushi rice with rice vinegar, mixing gently until the rice is evenly coated. This addition will infuse a bit of tangy flavor throughout the dish. Be cautious not to overmix, as you want to maintain the sticky texture. Set this seasoned rice aside as you get ready to layer your Sushi Bake.
Step 3: Assemble the Base
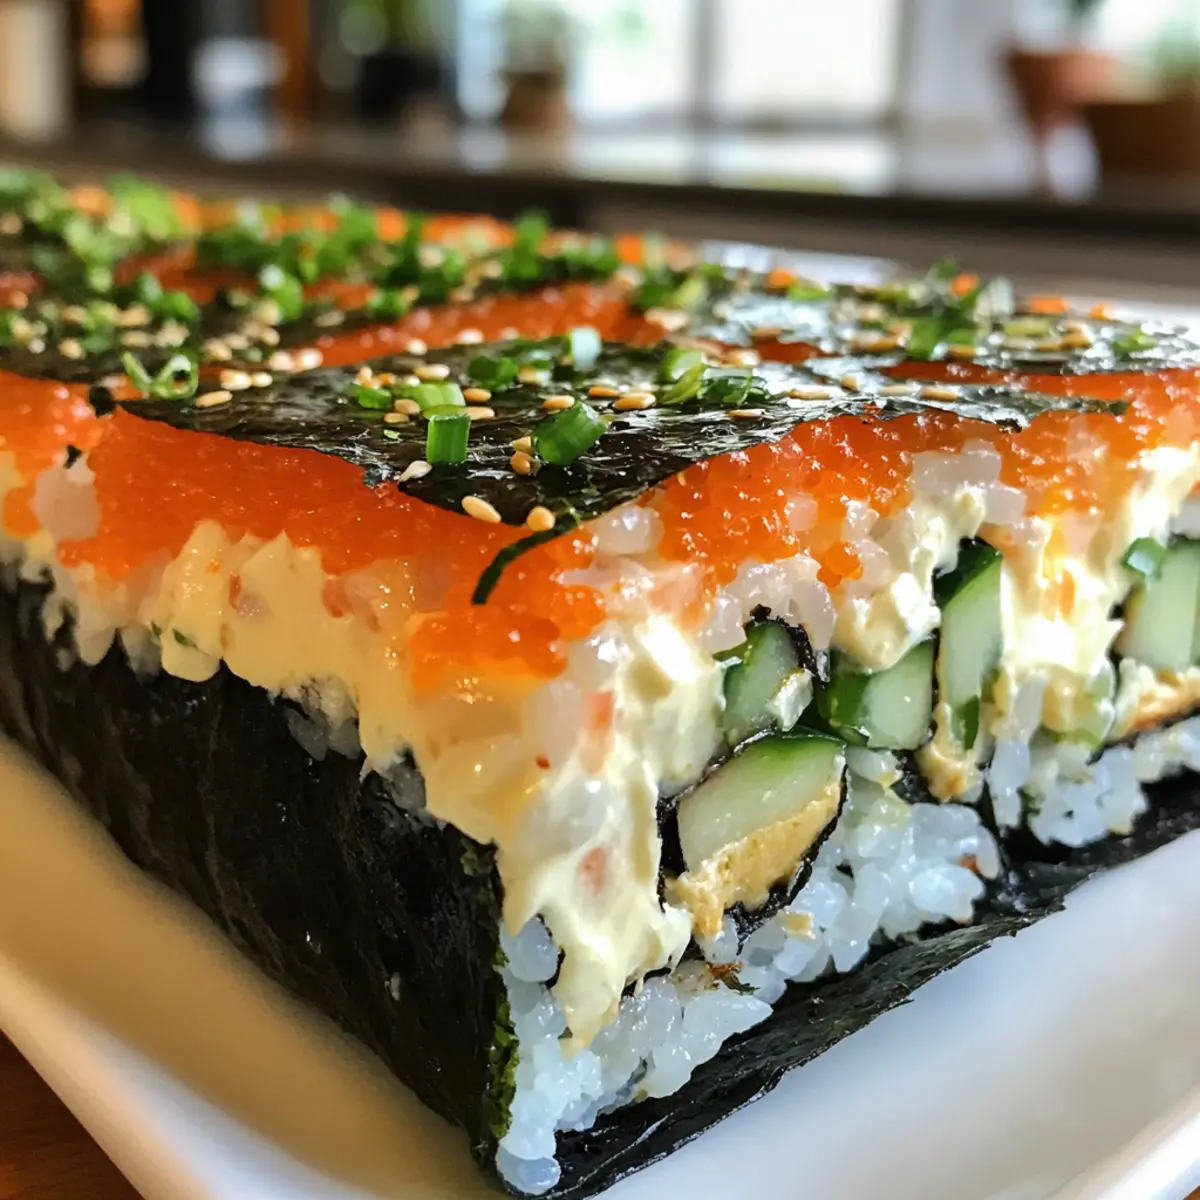
Grab a baking dish and layer crispy nori sheets neatly at the bottom—this will serve as the flavorful foundation for your Sushi Bake. Spread the seasoned sushi rice evenly over the nori, pressing down gently to form a cohesive layer. You’ll want to ensure the rice covers the nori completely, creating a firm base for the delicious fillings to follow.
Step 4: Add Your Fillings
Now it’s time to get creative! Layer your choice of fillings, such as crab sticks, canned tuna, or salmon, evenly over the rice. Feel free to arrange the ingredients in a decorative fashion; this is your moment to shine. Add dollops of cream cheese on top, allowing it to meld into the warm fillings, enhancing the creamy texture of your Sushi Bake.
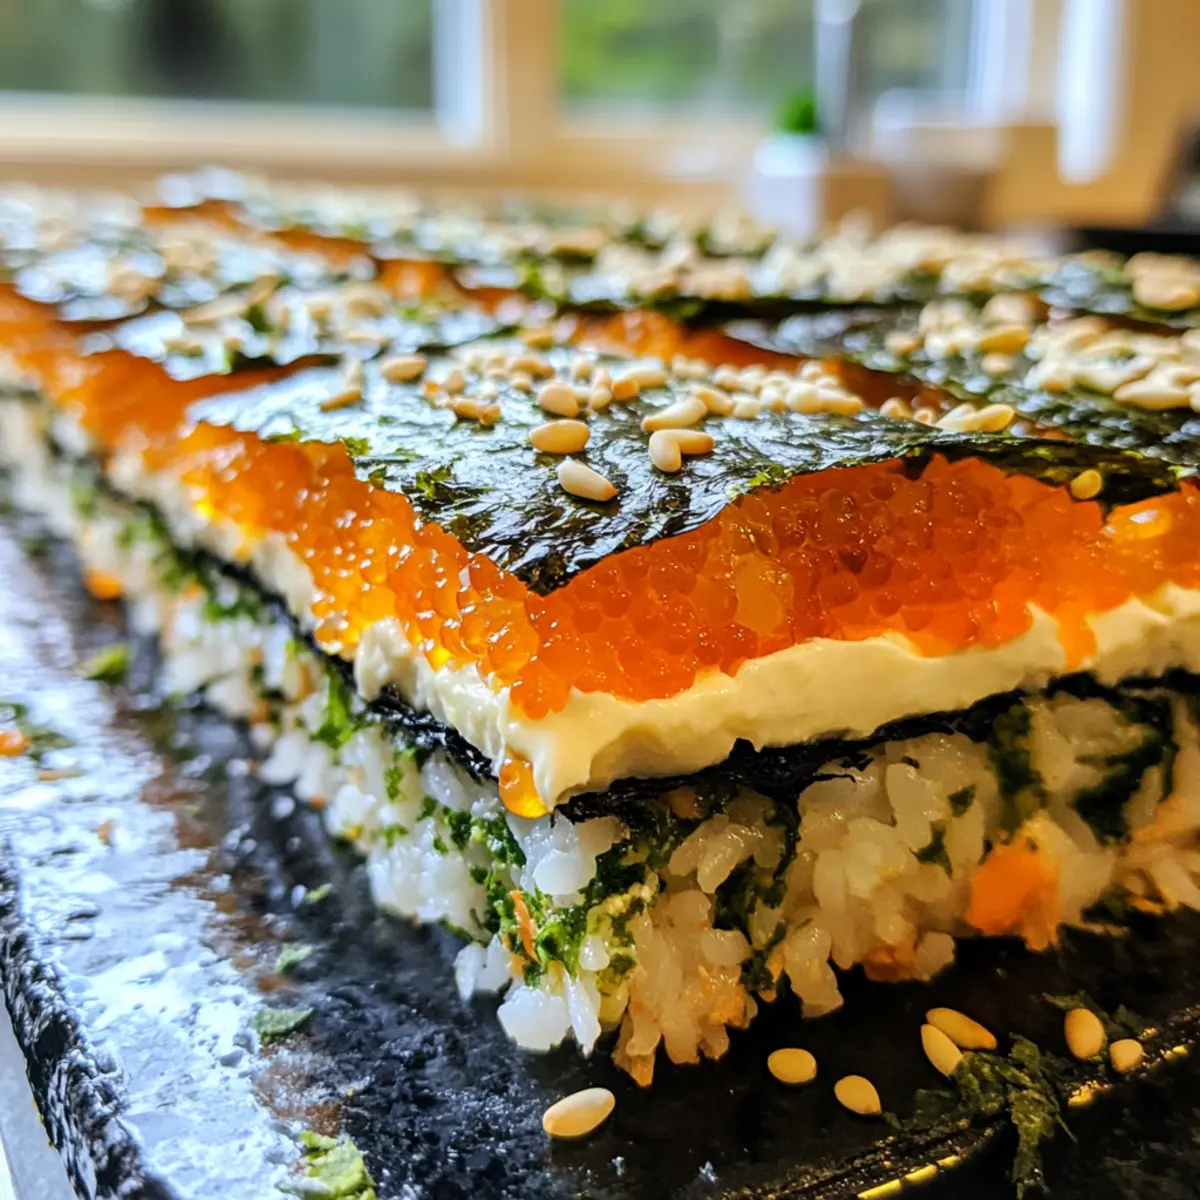
Step 5: Bake to Perfection
Place your assembled dish in the preheated oven and bake for 15 to 20 minutes. The goal is to achieve melted cheese and slightly crispy edges. Keep a close eye on it; when the top is golden and bubbly, it’s ready to come out and will look enticingly delicious!
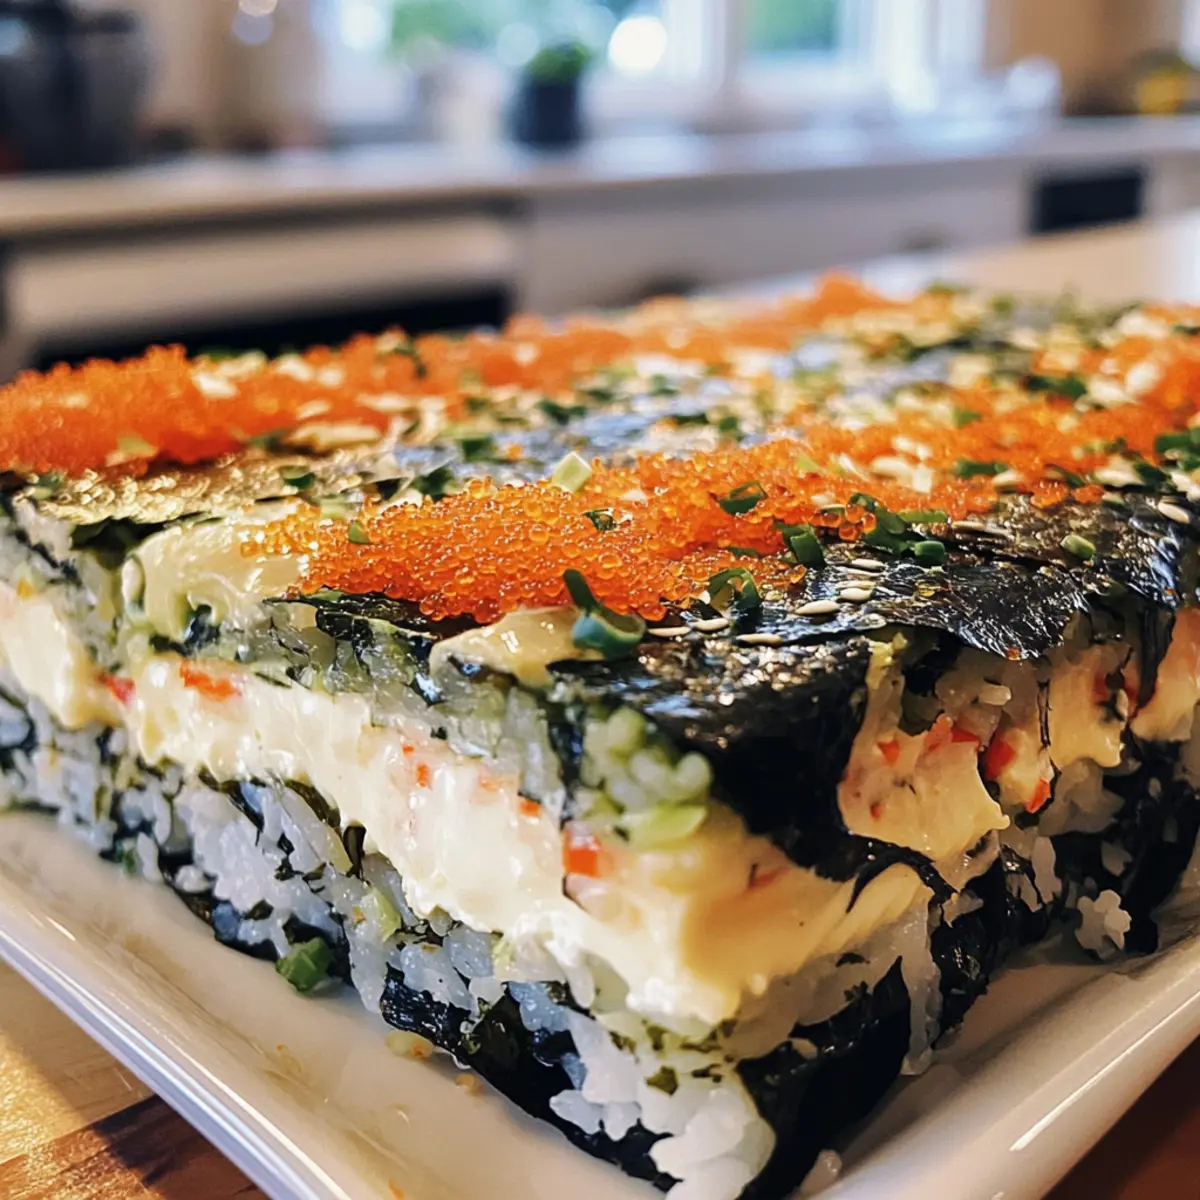
Step 6: Cool and Serve
Once it’s baked to perfection, remove the Sushi Bake from the oven and let it cool for a few minutes. This helps the flavors settle and makes cutting easier. After cooling slightly, use a sharp knife to cut it into squares. Serve warm and enjoy the delightful layers of flavor with your favorite sauces!
How to Store and Freeze Sushi Bake
Fridge: Store leftovers in an airtight container for up to 3 days. Keep them refrigerated to maintain freshness and flavor.
Freezer: If you want to save for later, freeze portions in freezer-safe bags or containers for up to 2 months. Thaw in the fridge overnight before reheating.
Reheating: Reheat in the microwave for a quick meal or warm in the oven at 350°F (175°C) for about 10-15 minutes until heated through; this will help regain some crispiness of the nori.
Serving Tip: Serving the reheated sushi bake with soy sauce or a sprinkle of sesame seeds can elevate the flavors even further!
What to Serve with Easy Sushi Bake
Enhance your sushi experience with these delightful side dishes and drinks that perfectly complement the flavors of your sushi bake.
-
Soy Sauce: A must-have for that authentic sushi flavor, this salty dip enhances every bite and balances the rich creaminess of the bake.
-
Pickled Ginger: This tangy accompaniment cleanses the palate between bites, adding a refreshing contrast to the rich flavors.
-
Wasabi: For those who enjoy a kick, a small dab of wasabi adds a delightful heat that elevates the sushi flavors to new heights.
-
Crispy Seaweed Salad: Light and crunchy, the seaweed salad adds an enjoyable texture contrast. Its umami flavor celebrates the ocean-inspired notes of your sushi bake.
-
Edamame: These tender, lightly salted soybeans are a perfect finger food, providing a nutritious and satisfying bite that pairs beautifully with your dish.
-
Miso Soup: Warm and comforting, miso soup complements sushi bake with its savory umami flavor, enriching your meal experience.
-
Sake: Opt for a chilled glass of sake; its smooth, slightly sweet flavor harmonizes wonderfully with the rich ingredients of the sushi bake.
-
Green Tea: This soothing beverage not only aids digestion but also brings a gentle earthy flavor, perfect for balancing the richness of your dish.
-
Mochi Ice Cream: Finish your meal with a dessert that’s as delightful as the main dish! Its chewy texture and sweet filling provide a delightful contrast to the savory sushi bake.
Make Ahead Options
These Easy Sushi Bake preparations are perfect for busy home cooks looking to save time! You can prepare the sushi rice and season it with rice vinegar up to 24 hours in advance, storing it in an airtight container in the fridge. The crispy nori layers can be set aside, ready to become the base. As for the fillings, chop and measure everything, refrigerating your proteins and cream cheese for up to 3 days. When it’s time to serve, layer the prepped ingredients in your baking dish, bake for about 15-20 minutes, and enjoy a comforting, homemade dish just as delicious as if made fresh!
Expert Tips for Sushi Bake
-
Fresh Ingredients: Always use the freshest fillings like seafood or vegetables; avoid using anything past its prime for the best flavor in your sushi bake.
-
Season with Care: When mixing in rice vinegar, start with a small amount and taste as you go; you can always add more, but you can’t take it out.
-
Avoid Soggy Nori: Baking for too long can make the nori soggy; keep an eye on it to achieve crispy edges that hold the sushi bake together.
-
Layer Neatly: Spread ingredients evenly to ensure each bite of sushi bake is flavorful; uneven layering can lead to dry bites that miss the creaminess of filling.
-
Let It Rest: Allow the sushi bake to cool slightly before cutting; this helps the layers set and makes for cleaner slices when serving.
This sushi bake is a forgiving recipe that adapts to your preferences, making it easy to create a comforting dish that’s better than takeout!
Sushi Bake Variations & Substitutions
Feel free to get creative with your Easy Sushi Bake, making it truly yours by swapping ingredients and trying out new flavors!
-
Dairy-Free: Swap out the cream cheese for avocado to keep that creamy texture without the dairy. Mashed avocado brings a fresh, rich taste that complements the sushi perfectly.
-
Vegetable Boost: Add in some thinly sliced cucumbers, bell peppers, or shredded carrots for added crunch and color. These veggies not only enhance the nutritional value but also bring a refreshing bite to the dish.
-
Seasoned Rice: For a flavor twist, mix in some sesame oil or a splash of soy sauce into the rice. You’ll achieve a delightful depth of flavor that elevates your Sushi Bake to new heights.
-
Add Some Heat: If you love spice, incorporate chopped jalapeños or a drizzle of sriracha into the filling. This fiery kick adds a wonderful contrast to the creamy elements of the dish.
-
Plant-Based Protein: Replace seafood with cooked tofu or tempeh for a hearty, vegetarian option. Toss the tofu with a bit of teriyaki sauce for extra flavor before layering.
-
Nori Alternatives: Use rice paper instead of nori for a gluten-free version. This swap creates a slightly different texture but still holds the beautiful fillings you’ve created.
-
Grain Variations: Experiment with quinoa or cauliflower rice as the base instead of sushi rice. Not only are these alternatives healthy, but they will also give your dish a unique twist!
Looking for more delicious recipes to try? Check out my Baked Feta Pasta or indulge in some Delicious Baked Brie with Honey!
Easy Sushi Bake Recipe FAQs
How do you choose the right nori for sushi bake?
Absolutely! Look for nori that is shiny and dark in color, which indicates freshness. Avoid any that has dark spots all over, as these can signal that it’s past its prime. If you’re looking for a different twist, feel free to substitute with rice paper!
Advertisement
What’s the best way to store leftovers from the sushi bake?
Very! Store any leftover sushi bake in an airtight container for up to 3 days in the fridge. If you’re making it ahead of time, it can be assembled but not baked; then, just pop it in the oven when you’re ready to enjoy it.
Can you freeze sushi bake, and how do you do it properly?
The more the merrier! To freeze your sushi bake, allow it to cool completely first. Then, cut it into portions and wrap each piece tightly in plastic wrap before placing them in a freezer-safe bag or container. It will keep well for up to 2 months. When you’re ready to enjoy, simply thaw it in the fridge overnight and reheat in the oven at 350°F (175°C) for about 10-15 minutes.
What are common issues when making sushi bake, and how can I fix them?
If you find that the nori has become soggy, it may be due to overbaking or using too much filling. To prevent this, keep an eye on it while baking; it should only take about 15-20 minutes until the top is golden. For a balanced filling, layer lightly—you can always add more on top after cooling!
Is this recipe suitable for people with allergies or dietary restrictions?
Absolutely! This Easy Sushi Bake is versatile—just make sure to swap out any ingredients that may trigger allergies. For instance, if someone has a dairy intolerance, substituting cream cheese with avocado works wonderfully. Also, if you’re catering to vegan diets, tofu or a variety of vegetables can easily take the place of seafood!
How do I know when my sushi bake is perfectly cooked?
For the best results, the edges should be slightly golden and crispy. When you’re ready to remove it from the oven, check that the cheese is fully melted and bubbly—this usually takes 15-20 minutes at 350°F (175°C). Let it cool for a minute before serving, which helps the flavors meld together deliciously!
Sushi Bake: Your New Favorite Comfort Food Dish at Home
Ingredients
Equipment
Method
- Preheat your oven to 350°F (175°C). Cook the sushi rice according to the package instructions, usually about 20 minutes. Fluff and let cool slightly.
- In a large bowl, combine the slightly cooled sushi rice with rice vinegar, mixing gently until evenly coated.
- Layer crispy nori sheets at the bottom of a baking dish. Spread the seasoned sushi rice evenly over the nori, pressing down gently.
- Layer your choice of fillings evenly over the rice, and add dollops of cream cheese on top.
- Place the assembled dish in the oven and bake for 15 to 20 minutes until the top is golden and bubbly.
- Allow it to cool for a few minutes before cutting it into squares. Serve warm and enjoy!