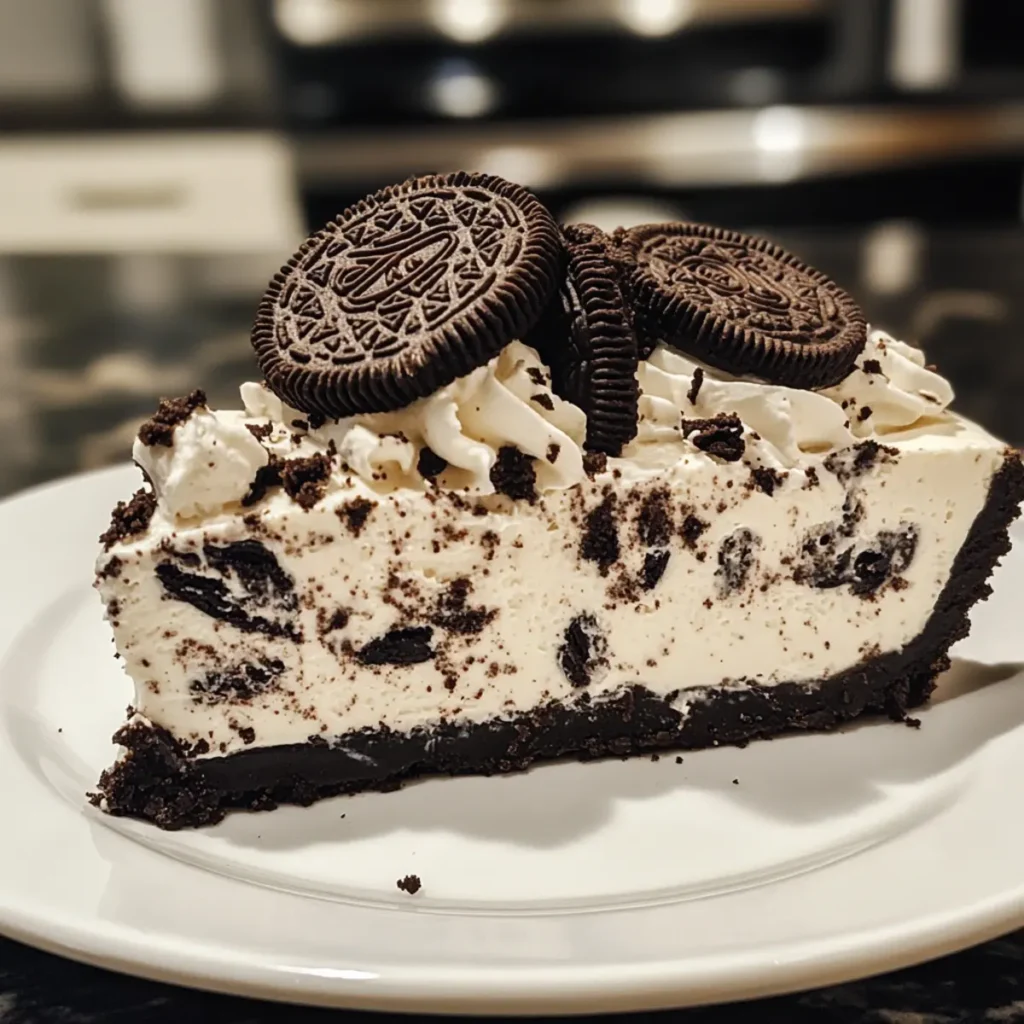
As I rummaged through my pantry last weekend, an irresistible thought struck me: what if I could bring the delight of Oreos to a creamy, rich cheesecake, and all without turning on the oven? Enter the Easy No Bake Oreo Cheesecake—my answer to dessert cravings without the fuss of baking. It’s a dessert that transforms simple ingredients into a luscious treat that feels indulgent yet surprisingly achievable. Whipping up this cheesecake is quick, making it perfect for unexpected guests or a late-night sweet tooth. Plus, it’s a crowd-pleaser at any gathering—you’ll be the star of every dinner table! Can you imagine biting into that creamy filling with crunchy Oreo bits, all resting on a buttery crust? Stick around, and let’s create something extraordinary together!
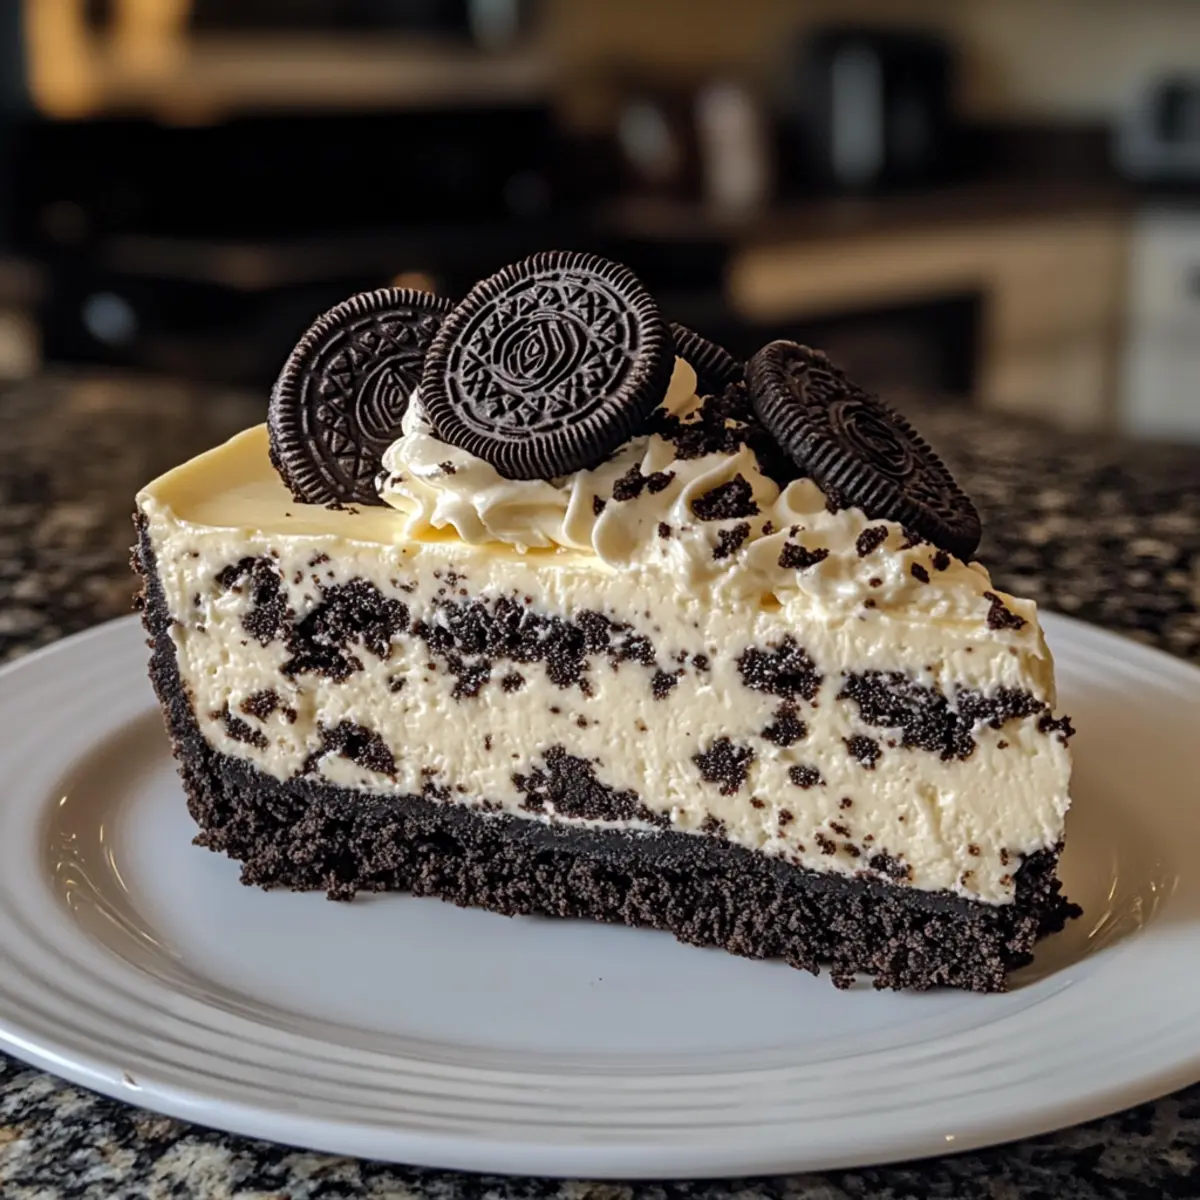
Why is No Bake Oreo Cheesecake a Must-Try?
Easy Preparation: You’ll love how simple it is to whip this dessert together—perfect for any skill level!
Decadent Creaminess: The rich, creamy filling infused with Oreo pieces creates a flavor explosion that’s utterly irresistible.
Versatile Delight: Customize it easily—try adding a chocolate ganache topping or fresh berries for an extra touch of elegance!
Perfect for Gatherings: This cheesecake is sure to impress your friends and family at parties, making you the culinary superstar. Enjoy with a scoop of ice cream or even alongside some Sugar Cookie Cheesecake for a dessert platter that dazzles!
No Baking Required: Say goodbye to hot ovens and hello to a quick chill in the fridge! This recipe saves you time while keeping the deliciousness intact.
No Bake Oreo Cheesecake Ingredients
For the Crust
• Whole Oreo Cookies – Crushed Oreo cookies create a flavorful base; remember to include the filling for that authentic taste.
• Unsalted Butter – Acts as a binder for the crust; for a vegan option, swap with coconut oil or a dairy-free blend.
For the Filling
• Heavy Whipping Cream – This adds lightness and fluffiness; opting for full-fat helps achieve the creamiest texture in your No Bake Oreo Cheesecake.
• Powdered Sugar – Sweetens the filling while adding smoothness; feel free to adjust the amount to suit your sweetness preference.
• Room Temperature Cream Cheese – The star of the show for a rich and creamy texture; ensure it’s soft enough to blend easily with other ingredients.
• Granulated Sugar – Adds extra sweetness to the cheesecake mixture; adjust according to your taste buds.
• Vanilla Extract – Enhances and elevates the flavors in both the filling and whipped cream.
• Chopped Oreos – Folded into the filling for an extra crunch and burst of Oreo flavor.
For the Topping
• Additional Heavy Whipping Cream – Whipped to a fluffy topping for a delightful finish; putting powdered sugar in here helps it hold its shape.
• Oreo Halves – Use these for a decorative touch on top of your cheesecake.
• Reserved Crumbs – Sprinkle these over the whipped cream for added texture and visual appeal.
Step‑by‑Step Instructions for Easy No Bake Oreo Cheesecake
Step 1: Prepare the Pan
Start by lining a 9-inch springform pan with parchment paper, ensuring it’s flat against the bottom. Lightly grease the sides of the pan with some butter or cooking spray to allow for easy release later. This preparation step sets the stage for your Easy No Bake Oreo Cheesecake to be taken out effortlessly once it’s set.
Step 2: Make the Crust
Crush whole Oreo cookies into fine crumbs using a food processor or by placing them in a sealed bag and rolling over them with a rolling pin. Combine the crushed Oreos with melted unsalted butter until well coated and moistened. Press this mixture firmly into the base of the prepared pan, creating a solid crust, and refrigerate it for about 15 minutes to firm up.
Step 3: Whip Cream
In a large mixing bowl, pour in heavy whipping cream and whip using a hand mixer or stand mixer on medium speed until soft peaks begin to form, around 3-4 minutes. Gradually incorporate powdered sugar, continuing to whip until stiff peaks form. Aim for a fluffy, aerated texture that will give your cheesecake a lightness that balances the rich filling perfectly.
Step 4: Cream Cheese Mixture
In a separate bowl, beat the room temperature cream cheese, granulated sugar, and vanilla extract using an electric mixer until the mixture is smooth and creamy, approximately 2-3 minutes. You want the cream cheese mixture to be completely free of lumps to ensure a silky finish for your Easy No Bake Oreo Cheesecake.
Step 5: Combine Mixtures
Gently fold the whipped cream into the cream cheese mixture in two to three batches. Be careful not to deflate the airy whipped cream, as this will keep your filling light and fluffy. Once combined, stir in the chopped Oreos, ensuring an even distribution throughout the filling for that irresistible Oreo enjoyment.
Step 6: Chill Cheesecake
Spread the creamy filling evenly over the chilled crust, smoothing the top with a spatula. Cover the cheesecake with plastic wrap and refrigerate it for at least 5-6 hours, or preferably overnight. This chilling time is crucial for the cheesecake to set and develop its rich flavors.
Step 7: Prepare Topping
When ready to serve, whip additional heavy cream in a clean bowl with some powdered sugar and vanilla extract until it reaches soft peaks. This whipped cream topping adds a delightful finish to your Easy No Bake Oreo Cheesecake and enhances its overall appeal with richness and sweetness.
Step 8: Decorate
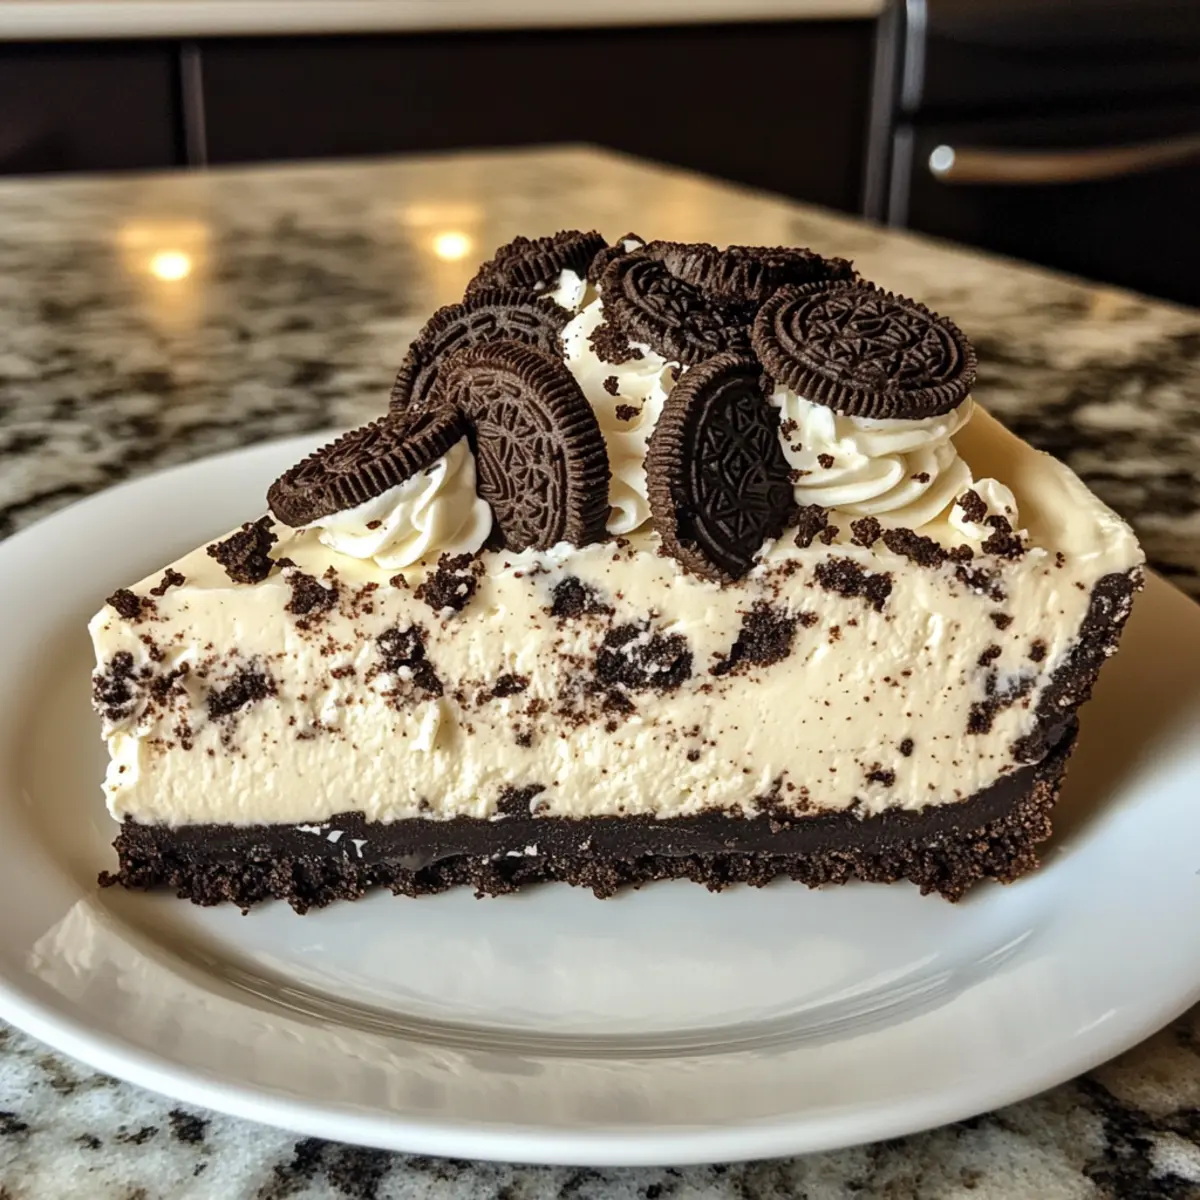
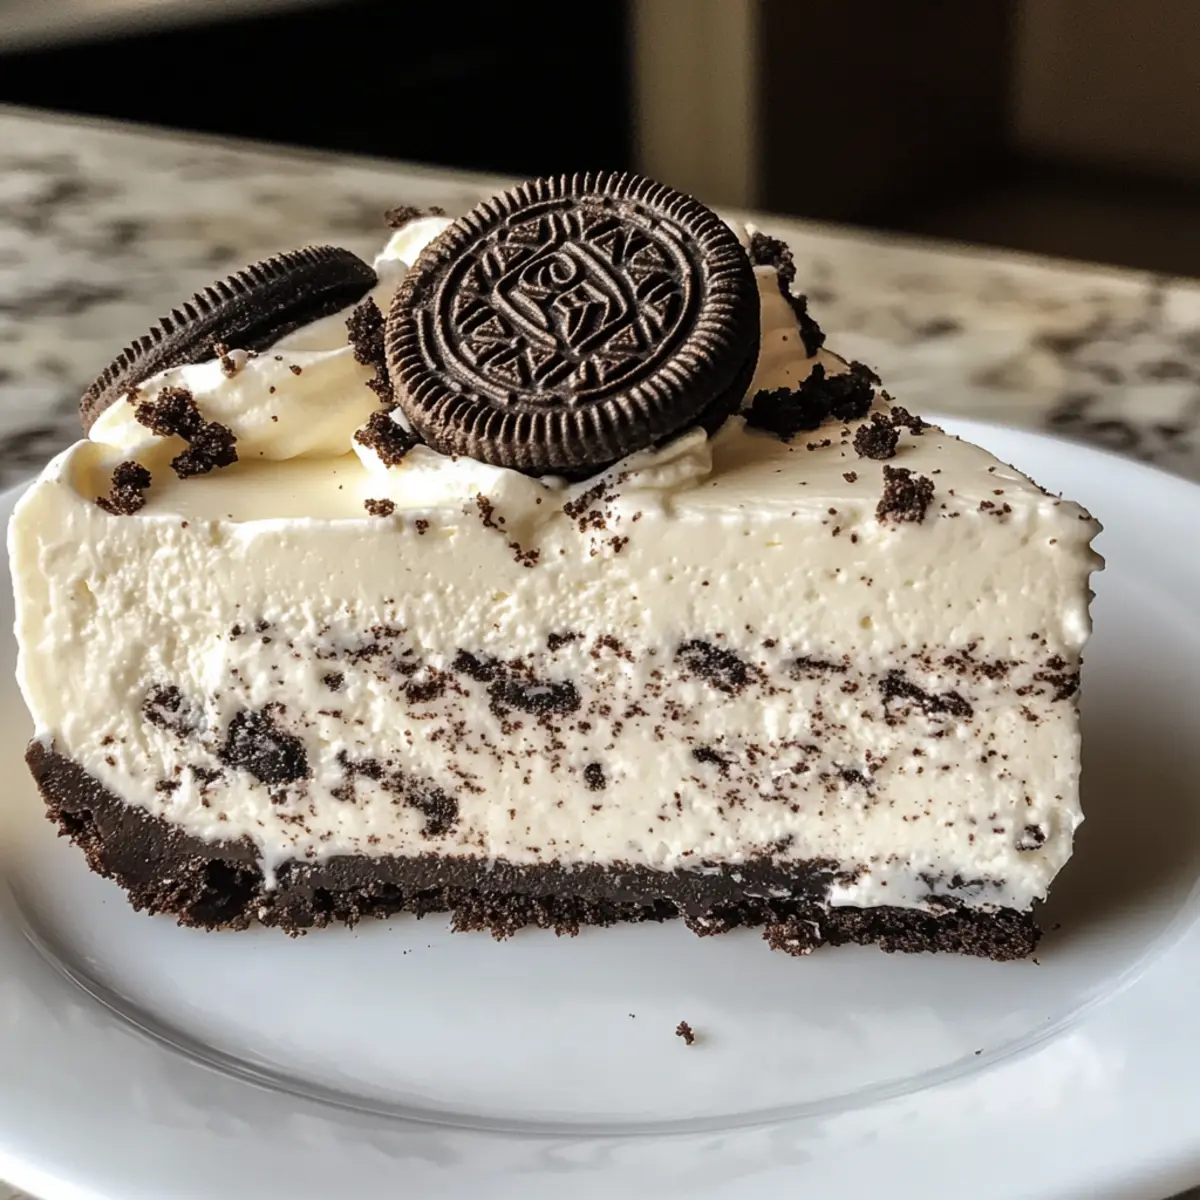
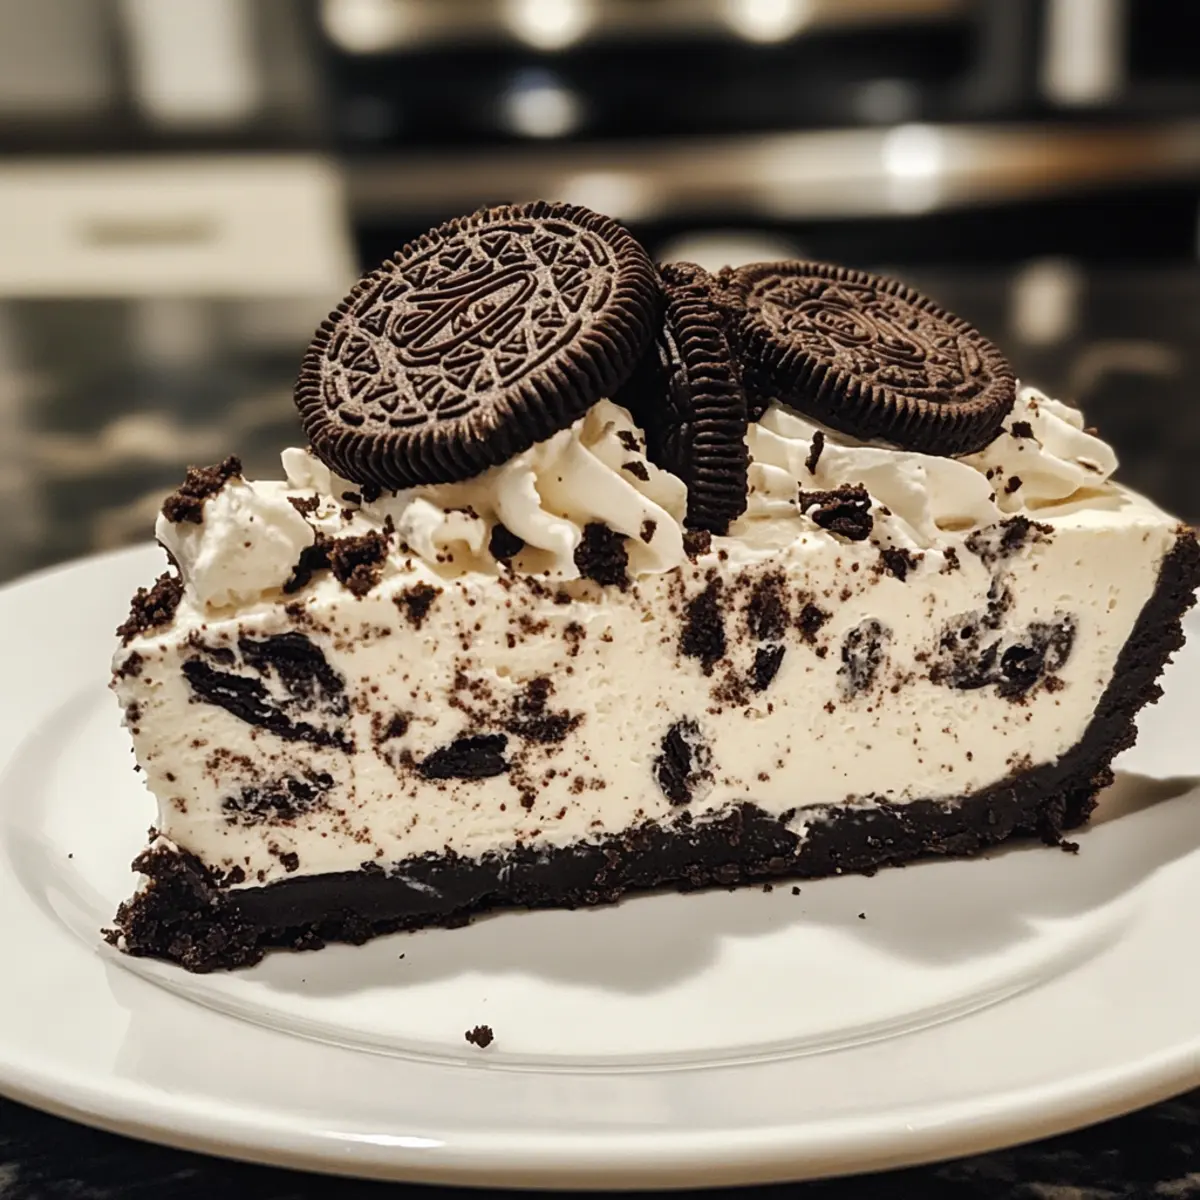
Carefully remove the cheesecake from the springform pan. Decorate the top with dollops of whipped cream, Oreo halves, and reserved crumbs for textural contrast and a decorative touch. The vibrant visuals will make your cheesecake both tempting and stunning on any dessert table.
Step 9: Serve and Store
Slice the cheesecake and serve chilled, enjoying the delightful contrast of the creamy filling and crunchy crust. For any leftovers, cover the cheesecake tightly and store in the refrigerator for up to 5-6 days, or freeze individual slices wrapped in plastic for longer preservation.
How to Store and Freeze No Bake Oreo Cheesecake
Fridge: Cover the cheesecake tightly with plastic wrap or a fitted lid. It will stay fresh for up to 5-6 days, making it easy to enjoy leftovers throughout the week.
Freezer: For longer storage, freeze individual slices of your No Bake Oreo Cheesecake wrapped in plastic wrap, then place them in an airtight container. This keeps them fresh for up to 2 months.
Thawing: When ready to enjoy, transfer the cheesecake from the freezer to the fridge and let it thaw overnight for the best texture and flavor.
Reheating: Since this is a no-bake dessert, there’s no need for reheating. Simply serve chilled for the ideal creamy experience!
No Bake Oreo Cheesecake Variations
Customize your creamy dessert adventure with these delightful twists that are sure to please every palate!
-
Gluten-Free Oreos: Swap standard Oreos for gluten-free ones to enjoy this treat without the gluten while keeping all that Oreo flavor intact.
-
Vegan Option: Use dairy-free cream cheese and a vegan whipping cream alternative to make a fully plant-based cheesecake that everyone can enjoy.
-
Chocolate Cream Cheese: For a more decadent experience, try adding chocolate-flavored cream cheese to the filling. The added richness will elevate every bite!
-
Fruit Topping: Top with fresh berries like strawberries or raspberries for a burst of color and a refreshing tartness that complements the sweet cheesecake perfectly.
-
Nutty Accents: Fold in crushed nuts such as pecans or walnuts into the filling for a delightful crunch and to enhance the texture.
-
Minty Fresh: Add a few drops of peppermint extract to the filling for a refreshing twist that pairs great with the chocolatey Oreo base.
-
Caramel Swirls: Drizzle some caramel sauce into the filling before chilling to create beautiful swirls and add a touch of sweetness.
-
Cookies and Cream Delight: Crush some extra Oreos and sprinkle them on top before serving for that extra indulgent cookies and cream flavor that Oreo lovers crave!
Feel free to let your creativity shine and transform this Easy No Bake Oreo Cheesecake into your signature dessert! You might also enjoy exploring variations with other delicious cheesecake recipes, like Gingerbread Spice Cheesecake or the seasonal goodness of Caramel Apple Cheesecake.
What to Serve with Easy No Bake Oreo Cheesecake
Indulging in a luscious dessert deserves the perfect companions to create a memorable meal experience.
-
Fresh Berries: The tartness of strawberries or blueberries enhances the rich, creamy flavors of the cheesecake, bringing a burst of freshness to each bite.
-
Vanilla Ice Cream: A scoop of decadently creamy vanilla ice cream provides a delightful contrast in temperature and texture, making each forkful more enjoyable.
-
Chocolate Sauce: Drizzling warm chocolate sauce over your slice adds an extra layer of indulgence, beautifully combining with the Oreo crust for a sweet treat overload.
-
Coffee or Espresso: The bold flavors of coffee balance the sweetness of the cheesecake, creating a sophisticated pairing that enhances the overall tasting experience.
-
Whipped Cream: A generous dollop of freshly whipped cream on top not only adds a creamy richness but also visually elevates your dessert.
-
Chocolate Chip Cookies: Serve alongside warm chocolate chip cookies for a fun and casual touch, enticing your guests with an array of sweet delights.
-
Caramel Sauce: Drizzling caramel sauce adds a sweet and buttery flavor that complements the Oreo cheesecake beautifully, creating a delicious flavor contrast.
-
Mint Chocolate Tea: As a light drink, mint chocolate tea can provide a refreshing finish after enjoying a rich dessert like the No Bake Oreo Cheesecake.
-
Fruit Salad: A refreshing fruit salad will lighten the meal and introduce a burst of color, making it an excellent palate cleanser.
-
Sparkling Water with Lemon: For a bubbly, refreshing option, pair your cheesecake with sparkling water squeezed with fresh lemon for a zesty and light drink choice.
Expert Tips for No Bake Oreo Cheesecake
-
Use Full-Fat Cream Cheese: The creaminess of your No Bake Oreo Cheesecake will significantly improve with full-fat cream cheese, so avoid low-fat options for the best results.
-
Whip Cream Properly: Make sure to whip your heavy cream until stiff peaks form; this adds the necessary lightness to the filling and helps the cheesecake maintain its structure.
-
Chill Time is Key: For optimal flavor and firmness, allow the cheesecake to chill overnight in the fridge. Rushing this step can result in a soupy texture.
-
Avoid Overmixing: When folding the whipped cream into the cream cheese mixture, do it gently to preserve airiness. Overmixing can lead to a denser filling.
-
Experiment with Toppings: Get creative with your toppings! Add fresh fruits, chocolate shavings, or nuts to elevate your No Bake Oreo Cheesecake to the next level.
Make Ahead Options
These Easy No Bake Oreo Cheesecake is fantastic for busy home cooks looking to save time! You can prepare the crust up to 24 hours in advance; simply crush the Oreos and mix with butter, then press into the pan and refrigerate. Additionally, the filling can be made up to 3 days ahead. Just combine the whipped cream and cream cheese mixture, fold in the chopped Oreos, and cover tightly to keep it fresh in the fridge. When you’re ready to serve, spread the filling over the crust and chill for at least 5-6 hours. This way, you’ll have a delightful dessert ready with minimal effort!
Easy No Bake Oreo Cheesecake Recipe FAQs
What kind of Oreos should I use for the crust?
You should use whole Oreo cookies, including the filling, to create a flavorful base for your Easy No Bake Oreo Cheesecake. If you prefer, gluten-free Oreos can be substituted for a gluten-free version, allowing everyone to enjoy this delightful treat!
Advertisement
How should I store leftovers?
Store any leftover cheesecake in the fridge by covering it tightly with plastic wrap or a fitted lid. It will last for up to 5-6 days, allowing you to savor the creamy goodness throughout the week.
Can I freeze this cheesecake?
Absolutely! For longer preservation, freeze individual slices of your No Bake Oreo Cheesecake by wrapping them tightly in plastic wrap and placing them in an airtight container. It can stay fresh for up to 2 months. When you’re ready to enjoy, simply transfer a slice to the fridge to thaw overnight for the best flavor and texture.
What if my whipped cream doesn’t form stiff peaks?
If your whipped cream doesn’t achieve stiff peaks, it likely hasn’t been whipped enough. Continue whisking until you see the peaks form. Be cautious not to over-whip, or it may turn grainy. To fix a soupy whipped cream, you can add a tablespoon of cornstarch and whip again until the desired consistency is reached.
Can I make this cheesecake dairy-free?
Yes, you can substitute the unsalted butter with coconut oil or a dairy-free butter alternative for the crust. For the filling, use vegan cream cheese and non-dairy whipping cream. These swaps will cater to those with dairy allergies or those following a vegan diet.
How do I get the best flavor from my cheesecake?
To achieve optimal flavor, allow your Easy No Bake Oreo Cheesecake to chill overnight in the fridge. This extended chilling time allows the flavors to meld beautifully and results in a firmer texture.
Irresistible No Bake Oreo Cheesecake Dreamy and Easy to Make
Ingredients
Equipment
Method
- Prepare the pan by lining a 9-inch springform pan with parchment paper and greasing the sides.
- Crush Oreo cookies into fine crumbs, then mix with melted butter and press into the bottom of the prepared pan. Refrigerate for 15 minutes.
- Whip heavy cream until soft peaks form, then gradually add powdered sugar and continue whipping until stiff peaks form.
- In another bowl, beat cream cheese, granulated sugar, and vanilla extract until smooth.
- Gently fold whipped cream into the cheese mixture and stir in chopped Oreos.
- Spread filling over the crust, cover, and refrigerate for 5-6 hours, or preferably overnight.
- Whip additional cream with powdered sugar for topping and set aside.
- Remove cheesecake from the pan, decorate with whipped cream, Oreo halves, and reserved crumbs.
- Slice and serve chilled, store leftovers in the fridge for up to 5-6 days.