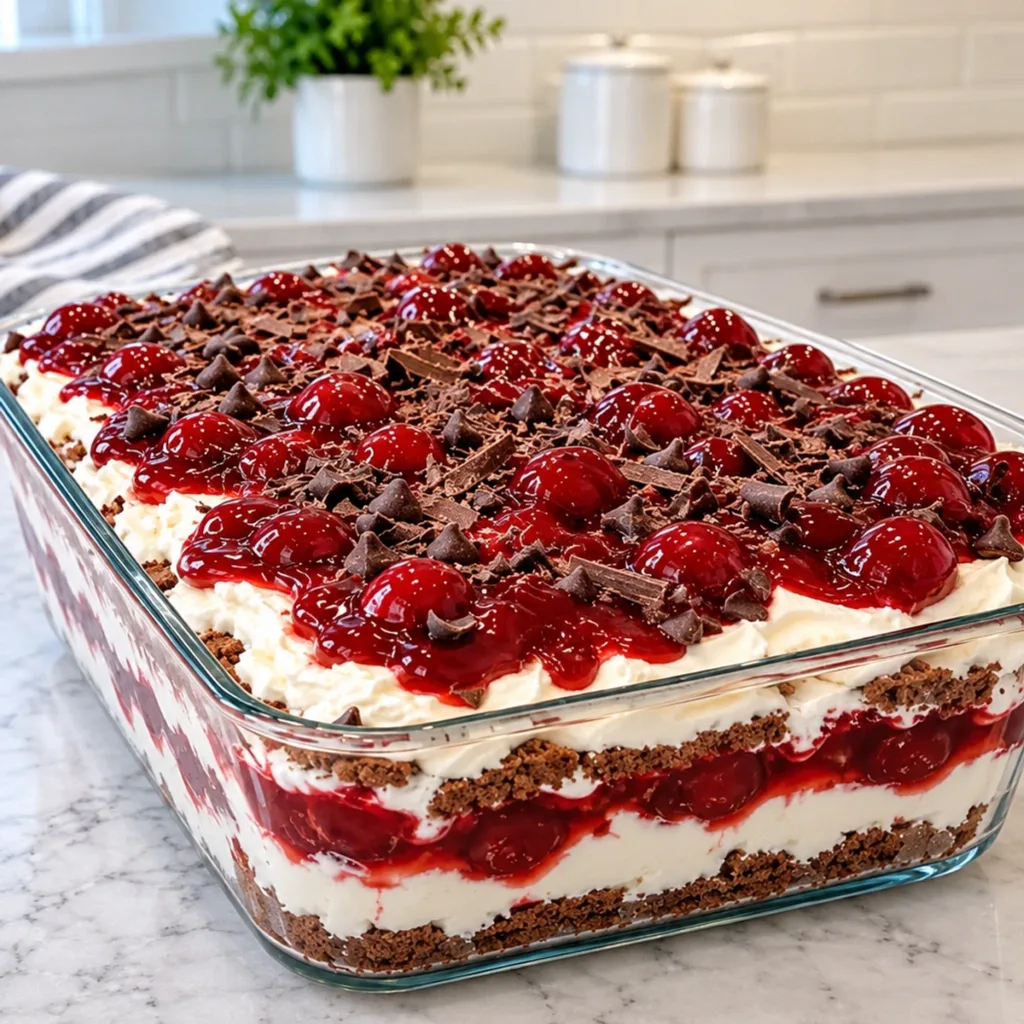
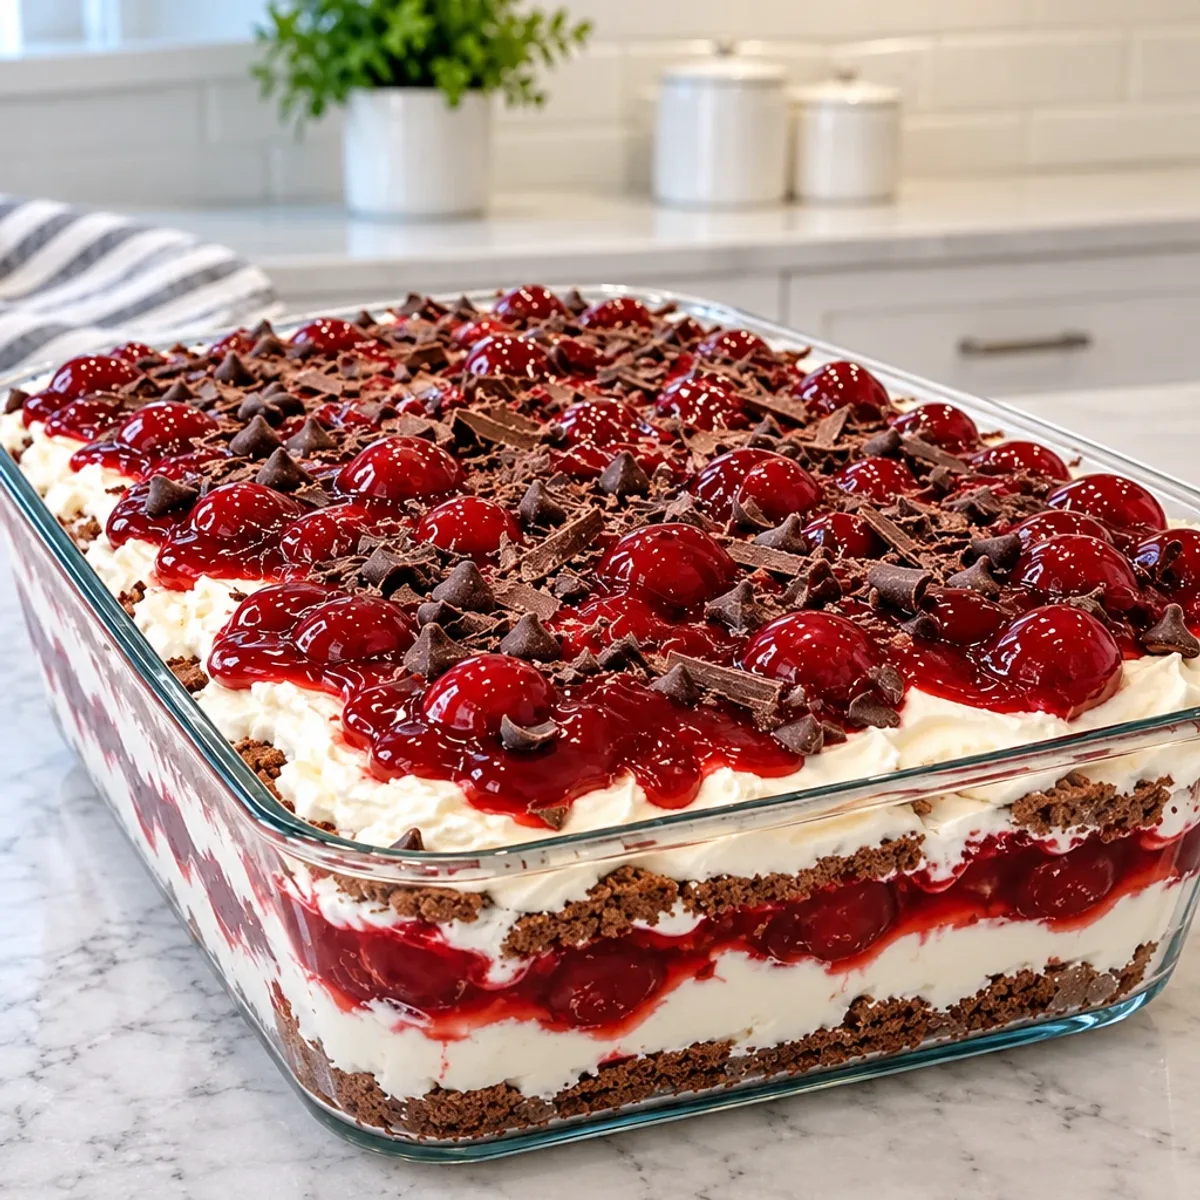
Every bite of this Chocolate Cherry Icebox Cake transports me back to those warm summer evenings filled with laughter and shared stories. The combination of creamy, whipped layers and tart cherries, nestled between chocolate graham crackers, creates a dessert that’s not just indulgent but refreshingly easy to make. This delightful treat requires no baking and comes together in just 25 minutes, making it perfect for both leisurely weekends and last-minute gatherings. Plus, its chill time allows the flavors to meld beautifully, ensuring each slice offers a little taste of nostalgia. Don't you love a recipe that shines at potlucks yet feels special enough for a quiet dinner at home? Let’s dive into making this dreamy dessert together!
Why will you adore this cake?
Decadence at its finest: The Chocolate Cherry Icebox Cake is a harmonious blend of rich creaminess and the vibrant tartness of cherries, making it an unforgettable treat.
Ease of preparation: With no baking required, you can whip this up in just 25 minutes, allowing more time for enjoying.
Perfect for gatherings: Ideal for potlucks or casual dinners, it’s a crowd-pleaser that never fails to impress.
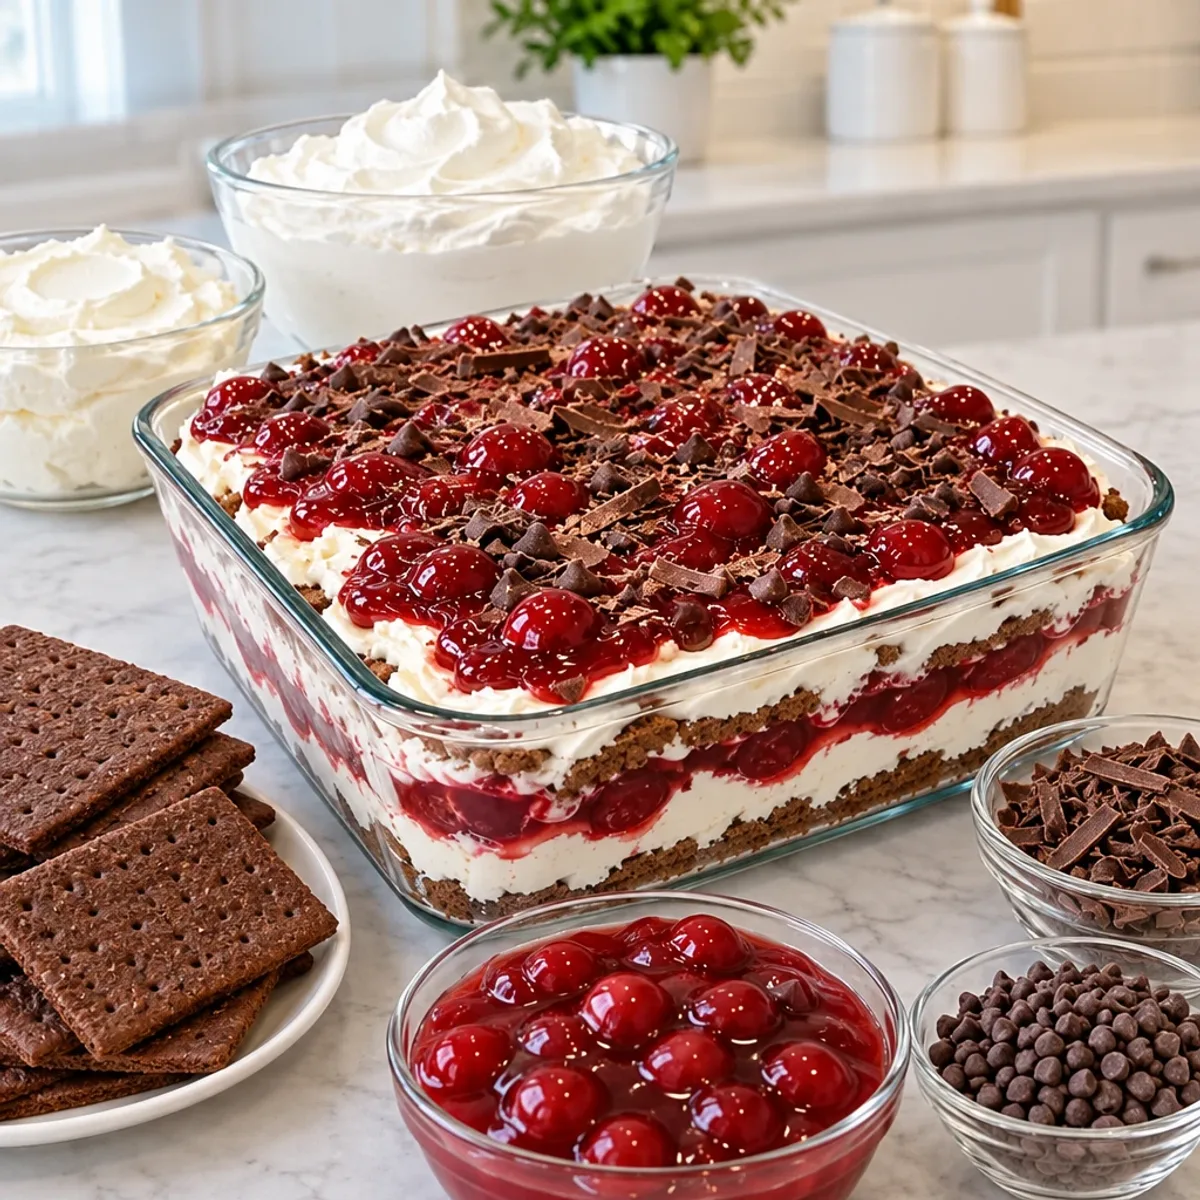
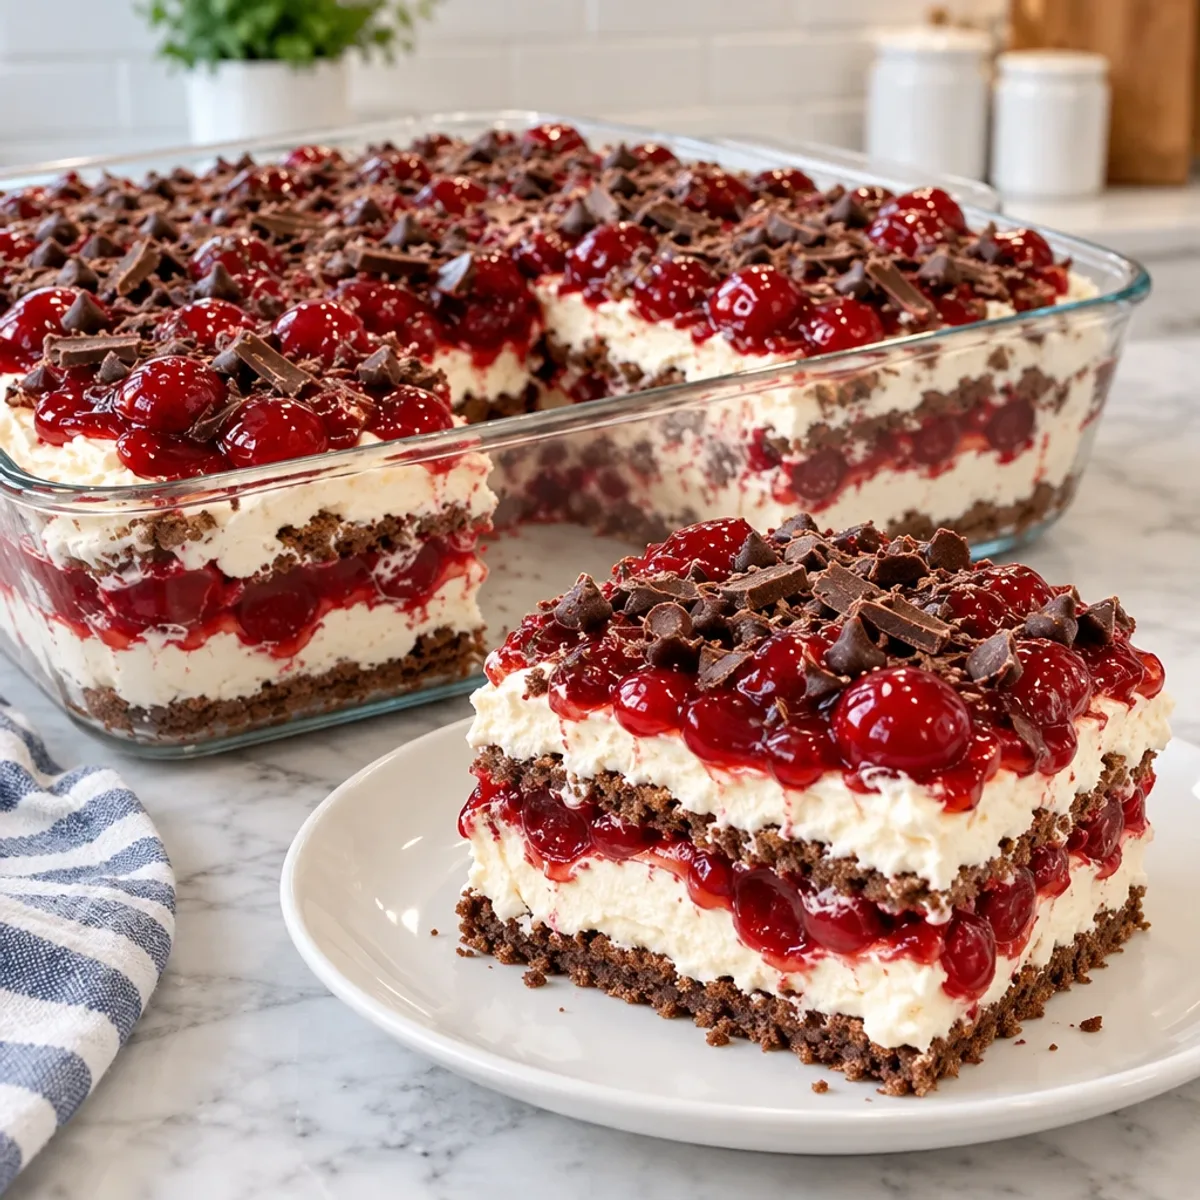
A visual delight: The layers of chocolate graham crackers and cherry filling create a stunning presentation that’s as delicious to look at as it is to eat.
Versatile serving options: Whether enjoyed as a light dessert after a meal or as a festive treat, it fits seamlessly into any occasion.
Make-ahead goodness: The chill time intensifies flavor, perfect for prepping a day in advance, ensuring that every slice is full of mouthwatering taste.
Chocolate Cherry Icebox Cake Ingredients
For the Cake Layers
• 14 ounces chocolate graham crackers – these crackers provide a buttery, chocolatey base that pairs beautifully with the creamy filling.
• 2 cans 21 ounces each cherry pie filling – offering a burst of tartness, the cherries add a delightful contrast to the rich layers.
For the Cream Mixture
• 16 ounces cream cheese softened – this forms the creamy heart of the cake, ensuring a smooth and rich texture.
• 1 cup powdered sugar – sweetens the cream mixture and helps achieve that dreamy consistency.
• 3 cups heavy whipping cream cold – whipping this to stiff peaks makes for a light, airy filling that elevates the cake.
• 2 teaspoons vanilla extract – adds a warm depth of flavor, enhancing the overall taste experience.
For the Garnish
• 1 half cup mini chocolate chips – these little bites of chocolate add texture and a fun surprise in every slice.
• 1 half cup dark chocolate shavings – sprinkle on top for an elegant finish and a rich cocoa flavor that ties everything together.
Step-by-Step Instructions for Chocolate Cherry Icebox Cake
Step 1: Prepare the Baking Dish
Begin by preparing a 9 by 13-inch rectangular glass baking dish. Ensure it’s clean and ready for layering. This dish will showcase the beautiful layers of your Chocolate Cherry Icebox Cake. Set it aside while you mix your cream filling.
Step 2: Beat the Cream Cheese
In a large mixing bowl, place the softened cream cheese. Using an electric mixer, beat the cream cheese on medium speed until it becomes smooth and fluffy, about 2-3 minutes. This step ensures your filling will have a rich and creamy texture.
Step 3: Combine the Sugar and Vanilla
Add 1 cup of powdered sugar to the cream cheese mixture. Continue beating until the sugar is fully incorporated, about 1-2 minutes. Then, mix in 2 teaspoons of vanilla extract, allowing the flavors to blend seamlessly for a deliciously sweet base.
Step 4: Whip the Heavy Cream
In a separate chilled bowl, pour in 3 cups of cold heavy whipping cream. Using a whisk or electric mixer, whip the cream until stiff peaks form, approximately 4-5 minutes. The whipped cream will add a light and airy texture that balances the richness of the cream cheese.
Step 5: Fold the Mixtures Together
Gently fold the whipped cream into the cream cheese mixture using a spatula. Be careful not to deflate the whipped cream—aim for a light and airy consistency throughout the filling. This fluffy mixture is what makes your Chocolate Cherry Icebox Cake truly indulgent.
Step 6: Layer the Graham Crackers
Arrange a single layer of chocolate graham crackers at the bottom of the prepared baking dish. Break the crackers as needed to create an even layer, ensuring that every bit of this base is covered with a delicious topping.
Step 7: Add the Cream Mixture
Spread one-third of the cream mixture evenly over the layer of graham crackers. Use a spatula for smoothness, ensuring the crackers are well-coated, which will create a delightful contrast of texture in your cake.
Step 8: Layer the Cherry Filling
Spoon one-third of the cherry pie filling over the cream layer. Distribute it evenly to ensure a burst of cherry flavor in every bite of your Chocolate Cherry Icebox Cake. The vibrant cherries not only taste great but also add a beautiful pop of color.
Step 9: Repeat the Layers
Create a second layer by adding another round of chocolate graham crackers over the cherry filling. Follow with another third of the cream mixture and another third of the cherry pie filling, repeating the process until all ingredients are utilized.
Step 10: Finish with Toppings
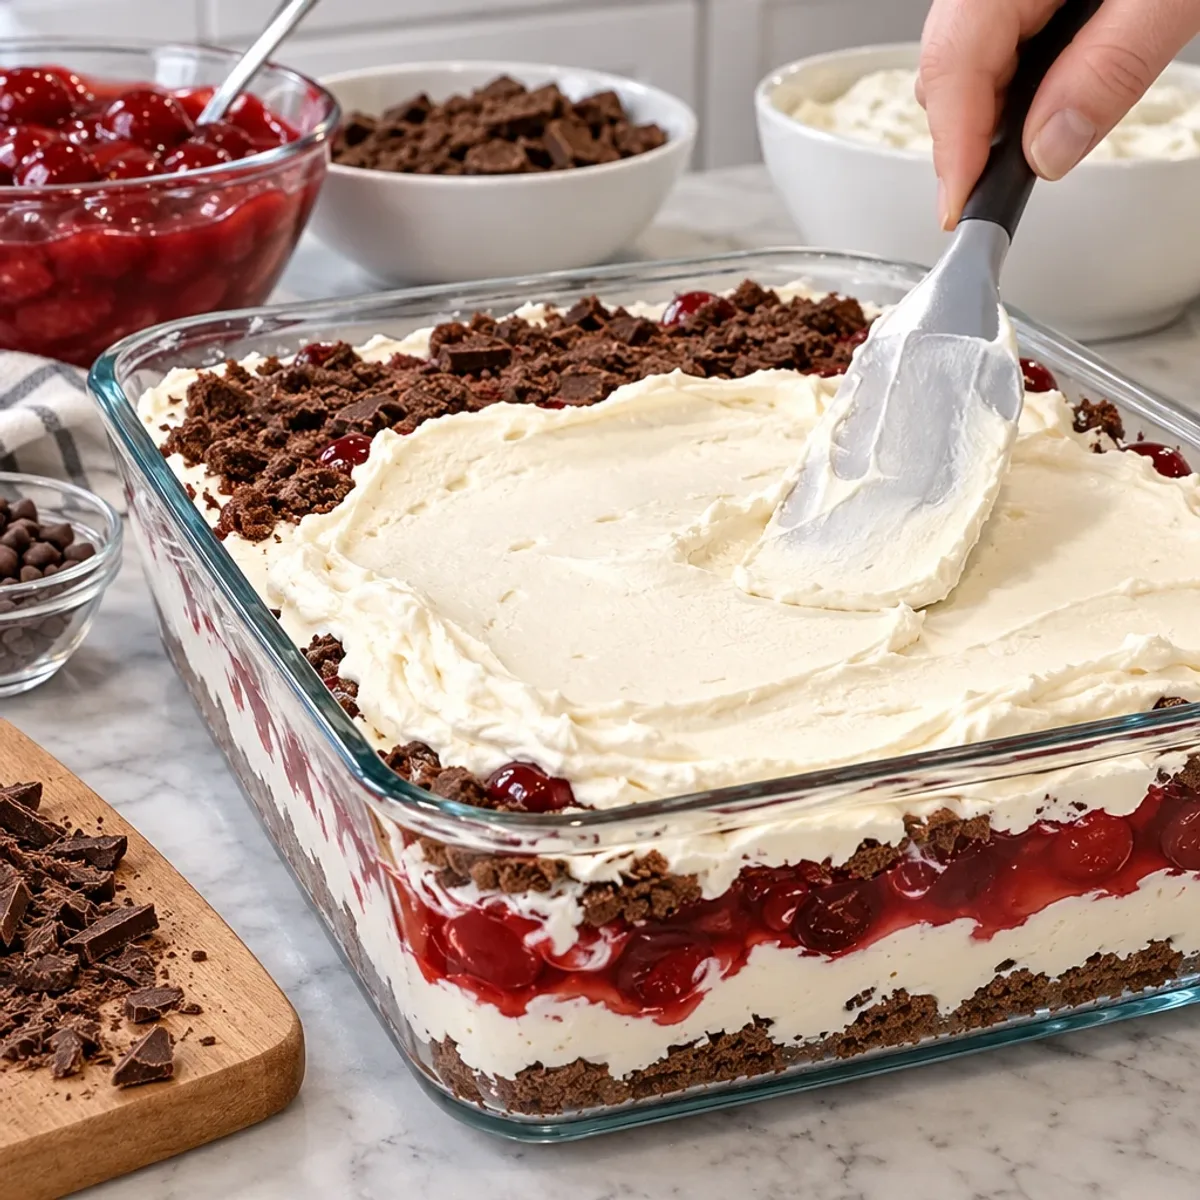
Cover the top layer of crackers with the remaining cream mixture, smoothing it out evenly. Spoon the last bit of cherry pie filling across the surface, gently swirling the cherries into the cream for an enticing appearance.
Step 11: Garnish the Cake
Sprinkle ½ cup of mini chocolate chips and ½ cup of dark chocolate shavings over the top for an extra touch of elegance. These garnishes give your Chocolate Cherry Icebox Cake a delightful finish, both visually and in taste.
Step 12: Chill and Serve
Cover the baking dish tightly with plastic wrap and refrigerate for at least 6 hours, or overnight if possible. This chilling step allows the flavors to meld beautifully, resulting in a soft, cake-like texture when served. Enjoy directly from the dish!
Time-Saving Tips for Preparing Chocolate Cherry Icebox Cake
The Chocolate Cherry Icebox Cake is a busy cook's best friend, as it can be prepped up to 24 hours in advance to make your life easier. You can start by making the cream mixture and layering it between the chocolate graham crackers, then tightly cover the baking dish with plastic wrap to keep everything fresh. If you're short on time, you can also prepare the individual components, like whipping the cream and making the cream cheese mixture, and store them separately in the fridge for up to 3 days. When you're ready to serve, simply layer the cherries on top, garnish with mini chocolate chips and dark chocolate shavings, and refrigerate until it's set. This way, you’ll ensure that every bite is just as delicious as when it was freshly made!
What to Serve with Chocolate Cherry Icebox Cake
Create a luscious dining experience with delightful pairings to enhance this delectable dessert.
- Vanilla Ice Cream: The creamy, smooth texture balances the tart cherries, offering a delightful contrast in every bite.
- Fresh Berries: A mix of raspberries or strawberries adds a refreshing burst of flavor, complementing the richness of the cake beautifully.
- Chocolate Drizzle: A rich drizzle over the top amps up the dessert’s decadence and ties in the chocolate elements perfectly.
- Coffee or Espresso: The robust flavors of coffee cut through the sweetness, making each mouthful of the icebox cake more flavorful.
- Mint Sprigs: Garnishing with fresh mint not only adds an eye-catching pop of color but also a hint of refreshing brightness.
- Whipped Cream Topping: A dollop of sweetened whipped cream enhances the overall creaminess and makes for a richer dessert experience.
- Nutty Biscotti: Crunchy almond biscotti offers a delightful textural contrast, perfect for dipping alongside each slice of icebox cake.
- Champagne: A glass of bubbly brings a sense of celebration, its acidity balancing the cake's sweetness with refreshing effervescence.
Chocolate Cherry Icebox Cake Variations
Feel free to get creative with your Chocolate Cherry Icebox Cake and make it your own!
Gluten-Free: Substitute chocolate graham crackers with gluten-free chocolate cookies for a deliciously inclusive dessert. It’s an easy way to cater to dietary needs!
Fruit Variations: Swap cherry pie filling for fresh strawberries or raspberries to bring a new fruit flavor. Each berry adds its unique charm, transforming the dish while keeping the essence intact.
Chocolate Lovers: Increase the mini chocolate chips to a full cup or add a layer of melted chocolate ganache in between layers. For those who crave that rich cocoa flavor, this twist will elevate your cake experience!
Nutty Crunch: Incorporate chopped nuts, like pecans or walnuts, between the layers for a delightful crunch. This adds textural contrast and makes each bite more interesting.
Dairy-Free: Use a dairy-free cream cheese alternative and coconut whipped cream for a lighter version. It’s just as scrumptious while accommodating specific dietary preferences.
Minty Fresh: Add a teaspoon of peppermint extract to the cream mixture for a refreshing twist. It’s a wonderful way to spice up your dessert for those hot summer days.
Layered Surprise: Layer in some crumbled Oreo cookies along with the graham crackers for a fun addition. This little surprise will have your guests guessing how you achieved that unique flavor!
Heat it Up: Introduce a pinch of cayenne pepper to the cream mixture for a surprising kick. This little heat can make the rich flavors pop in an exciting way!
Feel inspired by these variations and don’t hesitate to experiment! You might discover a new family favorite. For more delightful dessert ideas, check out my delicious No-Bake Cheesecake or treat yourself with an easy Chocolate Mousse. Enjoy!
Expert Tips for Chocolate Cherry Icebox Cake
Choose the Right Crackers: Opt for chocolate graham crackers with a rich flavor. Avoid generic brands that may lack the desired taste and texture.
Whip with Care: When whipping the cream, ensure it's cold, and stop when stiff peaks form. Over-whipping can turn it grainy and affect your Chocolate Cherry Icebox Cake's texture.
Gentle Folding: While combining the whipped cream with the cream cheese mixture, fold gently to maintain airiness. This keeps your filling light and fluffy.
Layering Tips: Ensure layers are even for a balanced bite. Use a spatula to smooth the cream and spread the cherry filling evenly to prevent sogginess.
Chill Time is Key: Don't rush the chilling process—let your cake sit for at least 6 hours. This allows the flavors to meld and the graham crackers to soften perfectly.
How to Store and Freeze Chocolate Cherry Icebox Cake
Fridge: Store leftovers tightly covered in the refrigerator for up to 3 days. This keeps your Chocolate Cherry Icebox Cake fresh while preserving its creamy texture.
Freezer: If you want to save the cake for later, slice and wrap individual pieces in plastic wrap, then place in an airtight container. It can be frozen for up to 2 months.
Thawing: When you're ready to enjoy your frozen dessert, transfer it to the refrigerator to thaw overnight. This gentle method ensures the layers remain intact and delicious.
Serving Cold: Always serve your Chocolate Cherry Icebox Cake cold. For the best texture, allow it to sit at room temperature for about 10 minutes before slicing, so it’s easier to cut through the delightful layers.
Advertisement
Chocolate Cherry Icebox Cake Recipe FAQs
What type of chocolate graham crackers should I use?
I recommend using high-quality chocolate graham crackers that have a rich flavor, which will enhance the overall taste of your Chocolate Cherry Icebox Cake. Avoid generic brands, as they might lack the depth and texture you want for this delightful dessert.
How should I store my icebox cake after making it?
Store leftovers tightly covered in the refrigerator for up to 3 days. This will help maintain the creamy texture while keeping the flavors fresh. Make sure to prevent air exposure to avoid any drying out!
Can I freeze Chocolate Cherry Icebox Cake?
Absolutely! To freeze, slice the cake into individual portions and wrap each piece tightly in plastic wrap. Place the wrapped slices in an airtight container. They can be frozen for up to 2 months. For the best texture upon thawing, transfer them to the refrigerator for an overnight thaw.
What should I do if my whipped cream deflates while folding?
If you notice your whipped cream deflating, it’s essential to take it slow during the folding process. Use a spatula, and gently incorporate the whipped cream into the cream cheese mixture with light, sweeping motions. If it happens while whipping, you may need to start over to get those fluffy, stiff peaks.
Are there any dietary considerations with this recipe?
Yes, the Chocolate Cherry Icebox Cake contains dairy, specifically cream cheese and heavy whipping cream, which can be concerning for those with lactose intolerance. For a dairy-free alternative, opt for coconut cream in place of heavy cream and vegan cream cheese, both of which work beautifully while maintaining texture and flavor.
Irresistible Chocolate Cherry Layered Dessert
Ingredients
Equipment
Method
- Prepare a 9 by 13-inch rectangular glass baking dish.
- In a large bowl, beat the cream cheese until smooth and fluffy, about 2-3 minutes.
- Add powdered sugar and vanilla extract; mix until fully incorporated.
- In a separate chilled bowl, whip the heavy cream until stiff peaks form, about 4-5 minutes.
- Gently fold the whipped cream into the cream cheese mixture until combined.
- Layer chocolate graham crackers at the bottom of the baking dish.
- Spread one-third of the cream mixture over the graham crackers.
- Spoon one-third of cherry pie filling over the cream layer.
- Repeat layers until all ingredients are used.
- Cover the top with the remaining cream mixture and cherry filling, swirling gently.
- Garnish with mini chocolate chips and dark chocolate shavings.
- Cover and refrigerate for at least 6 hours or overnight.