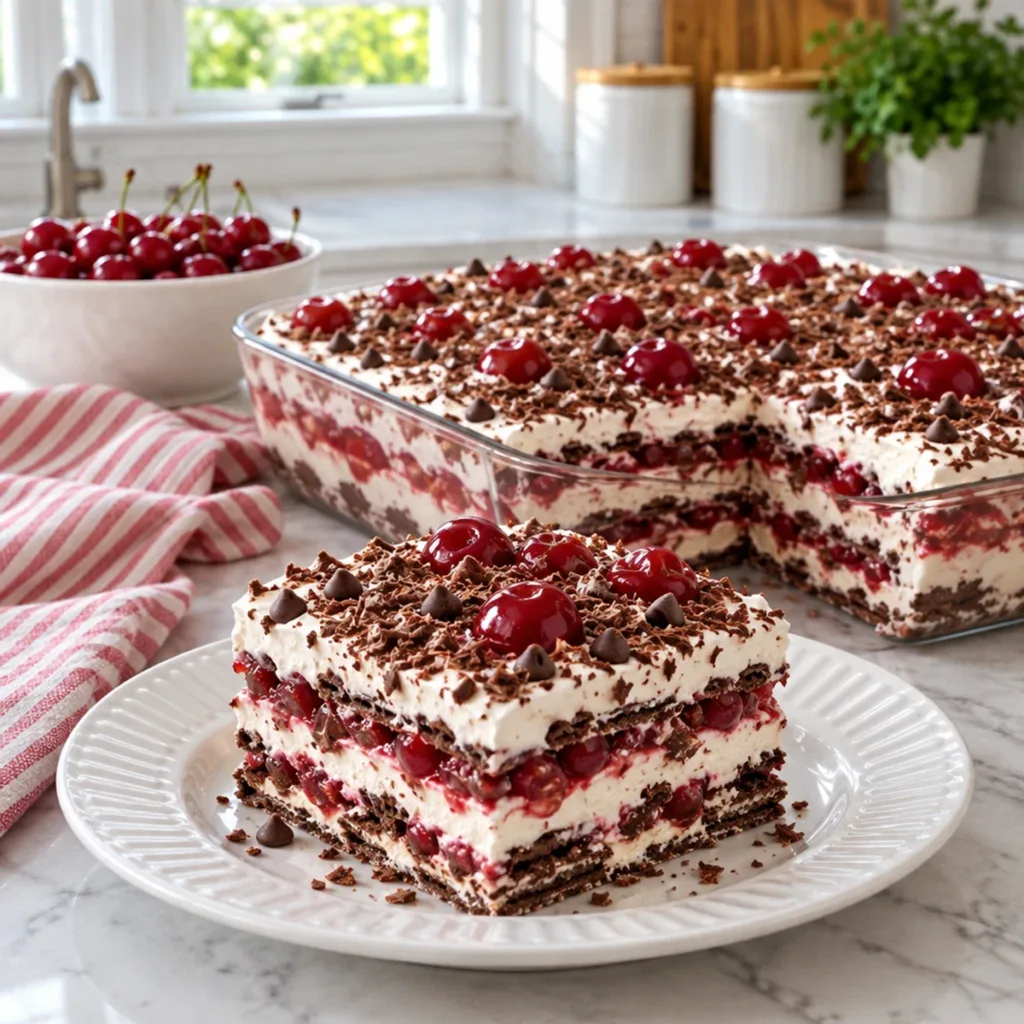
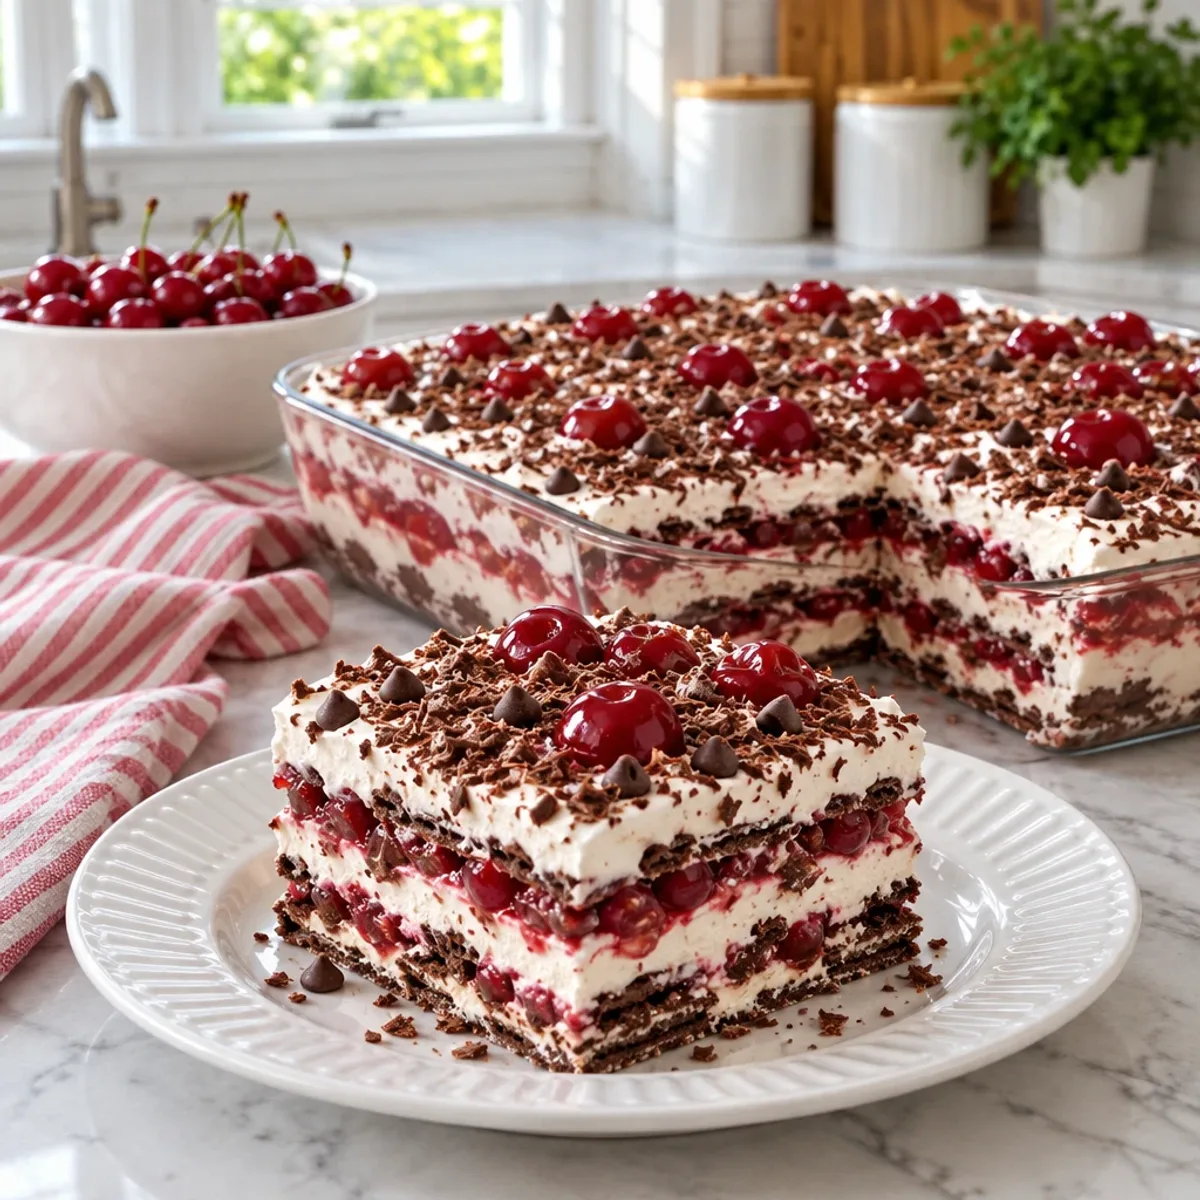
As I opened the door to my fridge, the cool air wafted over me, bringing a rush of excitement. There it was, my Chocolate Cherry Icebox Cake, patiently waiting to be devoured. This delightful dessert is a game-changer for anyone tired of the mundane, fast-food routine. With just a few simple layers of chocolate wafer cookies, a creamy blend of cream cheese and whipped cream, and the lusciousness of cherry pie filling, this recipe is both a crowd-pleaser and an effortless make-ahead marvel. Plus, it’s the ultimate treat for those warm evenings when you crave something refreshing yet indulgent. Ready to transform your dessert table with this no-bake masterpiece? Let’s dive into the layers of bliss!
Why is this cake a must-try?
Indulgent Layers: Each bite of this Chocolate Cherry Icebox Cake unveils delicious layers of chocolate wafer cookies, creamy filling, and sweet cherry pie, making it a feast for the senses.
Effortlessly Simple: With no baking required, this recipe is perfect for busy days, allowing anyone to whip up a delightful dessert in no time.
A Showstopper: Beautifully garnished with chocolate shavings and maraschino cherries, it’s sure to impress guests at any gathering, becoming the star of your dessert table.
Versatile Delight: Customize this treat by adding your favorite fruits or switching up the chocolate for different flavor profiles.
Make-Ahead Magic: The longer it sits, the better it gets! This cake can be prepared the night before, giving you more time to enjoy the event.
Unleash your inner chef and make this stunning dessert to satisfy those cravings! For even more delicious treats, don’t miss my favorite no-bake desserts.
Chocolate Cherry Icebox Cake Ingredients
For the Cake Base
• Chocolate wafer cookies or graham crackers – about 600 grams total will create the perfect foundation for your layers.
• Milk – optional for dipping; using it helps soften the cookies for a smoother texture.
For the Cream Filling
• Heavy whipping cream – 2 cups, cold; this is key for achieving the light and fluffy texture.
• Cream cheese – 8 ounces, softened; it gives a rich creaminess to the filling.
• Powdered sugar – 1 cup, for sweetness; ensure it's sifted for a smooth mix.
• Vanilla extract – 2 teaspoons to add a lovely aromatic flavor.
• Unsweetened cocoa powder – 1/4 cup for a chocolatey twist in part of the filling.
For the Cherry Layers
• Cherry pie filling – 2 cans (about 42 ounces total), providing that fruity burst in every slice.
• Fresh or frozen cherries – 1/2 cup, optional; they can enhance the cherry flavor.
For Toppings
• Semisweet chocolate chips – 1/2 cup to sprinkle on top for extra indulgence.
• Dark chocolate shavings – 1/4 cup for a beautiful finish.
• Maraschino cherries – 12, drained; use these to decorate the top and wow your guests.
This Chocolate Cherry Icebox Cake is a delightful balance of flavors and textures, waiting to be lusciously layered and chilled to perfection.
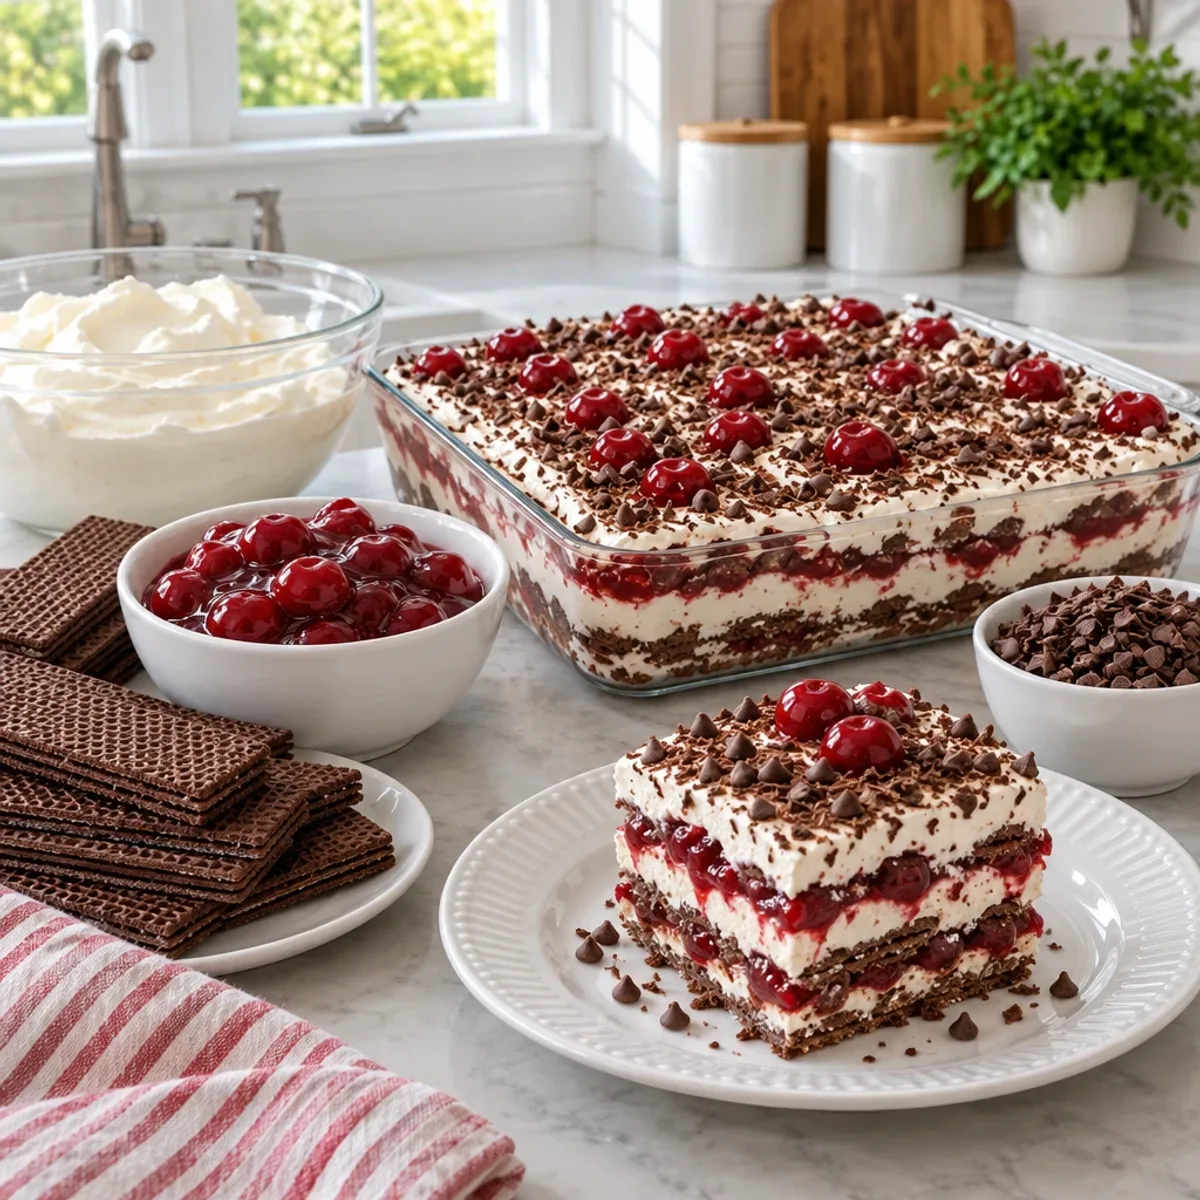
Step-by-Step Instructions for Chocolate Cherry Icebox Cake
Step 1: Prepare the Cream Cheese Mixture
In a large mixing bowl, place the softened cream cheese and beat with an electric mixer on medium speed until smooth and creamy, about 2-3 minutes. Integrate the powdered sugar and continue mixing until fluffy, ensuring no lumps remain. Add the vanilla extract and mix gently until it's evenly distributed throughout the cream cheese mixture.
Step 2: Whip the Heavy Cream
In a separate chilled mixing bowl, pour in the cold heavy whipping cream. Beat on medium speed until soft peaks form, approximately 3-4 minutes. Increase the mixer speed slightly and beat until stiff peaks form, ensuring the cream holds its shape. Be careful not to overbeat; you want a smooth, fluffy whipped cream to fold into your Chocolate Cherry Icebox Cake.
Step 3: Combine Whipped Cream and Cream Cheese
Transfer half of the whipped cream into the cream cheese mixture. Using a spatula, gently fold it in until completely combined. This will create a lighter texture. Add the remaining whipped cream and fold gently again until the filling is smooth and fluffy. This creamy filling will be the heart of your cake.
Step 4: Incorporate Cocoa Powder
Scoop out about one-third of the cream filling into a separate bowl. Sift the unsweetened cocoa powder into this smaller portion and fold gently until it's fully incorporated. This chocolate cream will add a rich flavor and enhance the decadent layers of your Chocolate Cherry Icebox Cake.
Step 5: Prepare the Cherry Layer
In another bowl, pour the cherry pie filling and gently stir to distribute the cherries throughout the syrup. If you’re adding fresh or frozen cherries, mix them in now, ensuring they are evenly coated. This fresh fruit element will bring a pop of flavor to your dessert.
Step 6: Assemble the Cake Layers
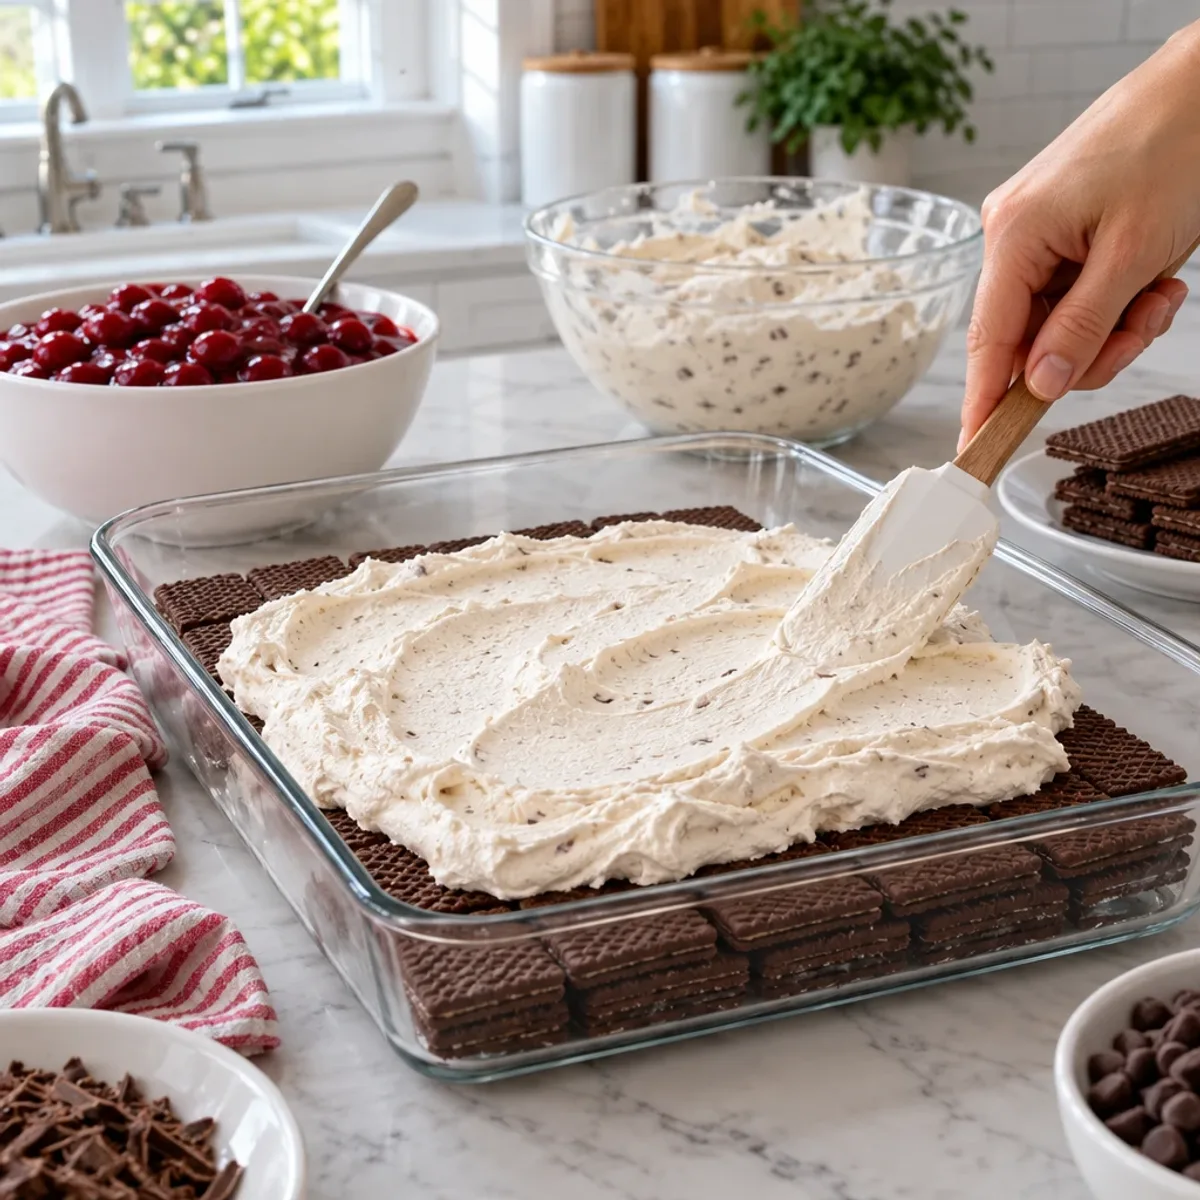
In a 9 by 13 inch rectangular glass baking dish, spread a thin layer of the vanilla cream filling on the bottom. If using, pour milk into a shallow bowl. Quickly dip each chocolate wafer cookie or graham cracker into the milk, ensuring they don’t soak. Arrange a single layer of cookies in the dish, slightly breaking some to fill gaps.
Step 7: Add the First Cream and Cherry Layers
Spread half of the chocolate cream filling over the cookie layer evenly. Next, spoon half of the cherry pie filling over this layer, gently spreading the cherries to create an even fruit layer. The beautiful colors will bring the structure of your Chocolate Cherry Icebox Cake to life.
Step 8: Repeat with More Layers
Add another layer of chocolate wafer cookies over the cherry filling, pressing lightly to keep it level. Spread half of the remaining vanilla cream filling on top, smoothing it into an even layer with a spatula. Then, place another layer of chocolate cookies on top of the cream.
Step 9: Complete the Assembly
Spread the remaining chocolate cream filling evenly over this cookie layer. Spoon the last of the cherry pie filling across, ensuring an even distribution of cherries. Finish with a final layer of chocolate wafer cookies, creating a stunning base for your cake.
Step 10: Final Cream Layer and Decoration
Spread the remaining vanilla cream filling atop the cake, smoothing it gently with an offset spatula. Sprinkle semisweet chocolate chips and dark chocolate shavings over the cream, adding texture and visual appeal. Finally, decorate with the drained maraschino cherries to create an inviting finish.
Step 11: Chill Before Serving
Cover the baking dish tightly with plastic wrap or a fitted lid and refrigerate the assembled Chocolate Cherry Icebox Cake for at least 6 hours, allowing the flavors to meld and the cookies to soften. For the best texture, refrigerate overnight, up to 8 hours, to enjoy the full creamy experience.
Step 12: Serve the Cake
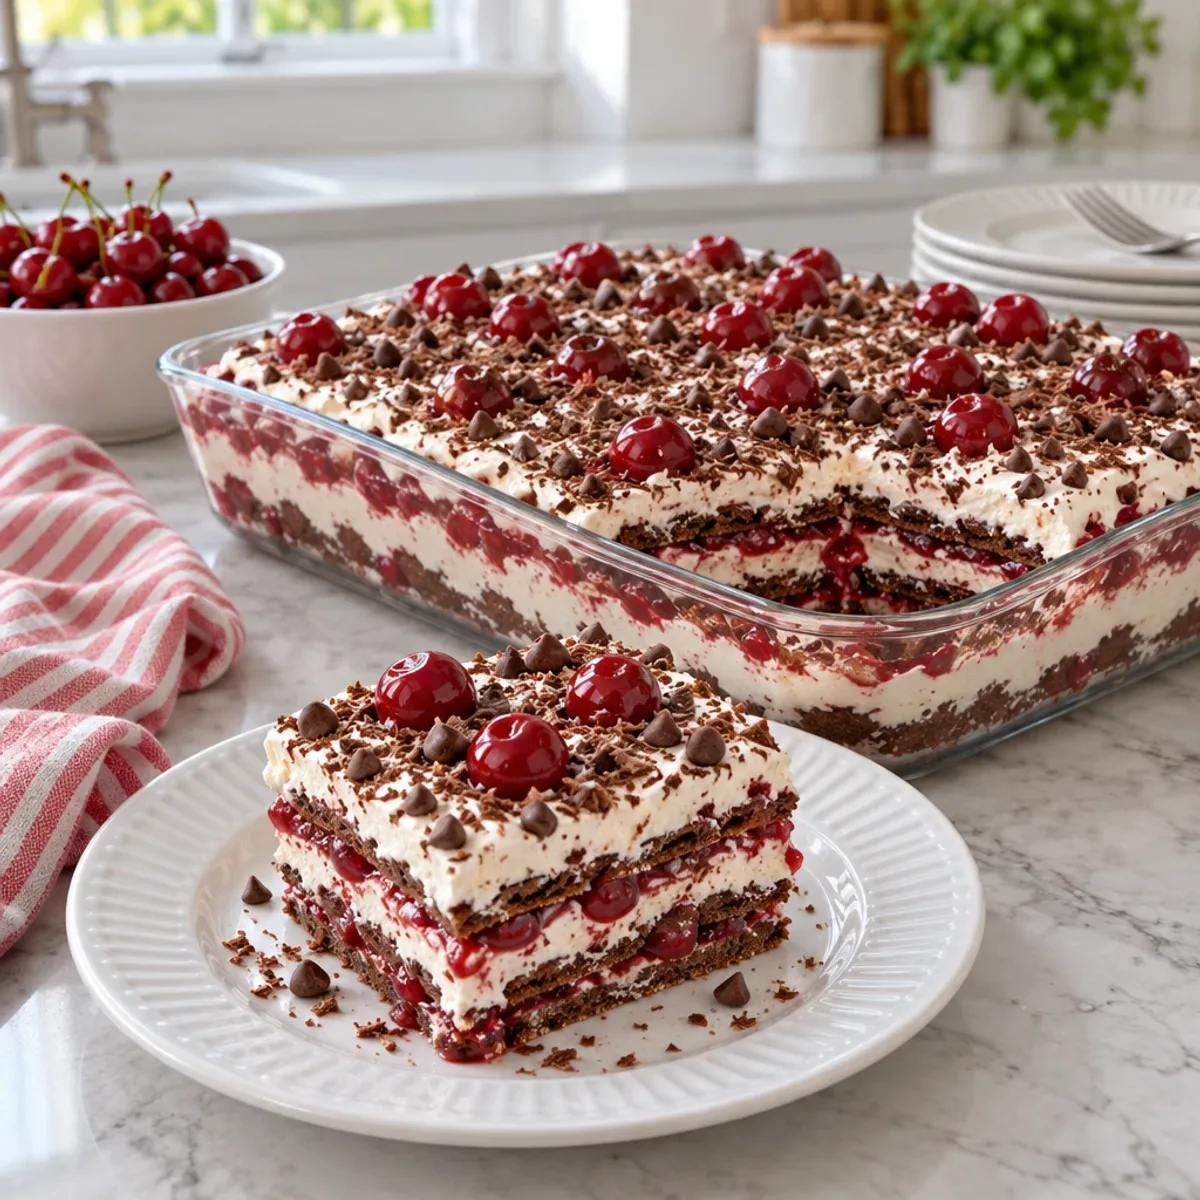
When ready to serve, carefully remove the plastic wrap. Use a sharp knife to cut the cake into 12 even squares, wiping the knife between cuts for neat layers. Lift each square with a wide serving spatula, transferring it onto individual dessert plates. Serve cold, and savor the delightful layers of your Chocolate Cherry Icebox Cake!
Meal Prep Magic for Chocolate Cherry Icebox Cake
This Chocolate Cherry Icebox Cake is a dream come true for meal prep enthusiasts! You can prepare the creamy filling and layer the cake up to 24 hours in advance, allowing the flavors to meld beautifully. To do this, simply whip your cream cheese, sugar, and cream the day before assembly, and keep it refrigerated (this maintains the fluffiness without compromising quality). You can also prepare the cherry filling a day ahead for extra convenience. Once you're ready to serve, let it chill for an additional 6-8 hours (or overnight for best results) before cutting into neat squares and delighting your family. With this approach, you’ll enjoy a delicious, time-saving dessert without the last-minute rush!
How to Store and Freeze Chocolate Cherry Icebox Cake
Fridge: Store any leftover Chocolate Cherry Icebox Cake tightly covered in the refrigerator for up to 3 days. This helps maintain its creamy texture and flavors.
Freezer: For longer storage, wrap individual slices in plastic wrap and then foil, freezing for up to 2 months. Thaw in the fridge before serving.
Reheating: Enjoy the cake chilled; there's no need to heat. Just cut a slice and appreciate the refreshing layers straight from the fridge!
Avoid Mold: Ensure the baking dish is covered properly to prevent moisture buildup, which can affect freshness and taste.
Chocolate Cherry Icebox Cake Variations
Feel free to take your Chocolate Cherry Icebox Cake to new heights with these delicious twists and swaps!
Gluten-Free: Use gluten-free chocolate cookies or graham crackers to make this dessert suitable for gluten-sensitive friends.
Nutty Crunch: Add chopped nuts, like pecans or walnuts, between the layers for a delightful crunch and enhanced flavor.
Mint Infusion: Incorporate crushed peppermint candies into the cream filling for a refreshing, minty twist that pairs beautifully with chocolate.
Dairy-Free: Substitute coconut cream for heavy whipping cream and use dairy-free cream cheese for a tasty vegan version.
Cherry Alternatives: Try using blueberry pie filling instead of cherry for a fruity change that still delivers on deliciousness.
Boozy Bliss: Add a splash of cherry liqueur or vanilla extract for an adult twist, enhancing the flavors with an extra layer of richness.
Frozen Delight: Freeze the assembled cake for a frozen treat; it becomes a decadent dessert ideal for hot summer days.
Chocolate Lovers: For intense chocolate flavor, mix chocolate syrup into the cream filling or use dark chocolate wafers instead of regular ones.
Let your creativity flow, and don't hesitate to experiment! If you're looking for even more delightful options, check out my favorite no-bake desserts or explore unique twists on cherry desserts for inspiration.
What to Serve with Chocolate Cherry Icebox Cake?
As you prepare to indulge in a decadent slice of this dessert, consider how to elevate your meal with delightful companions that match its rich flavors.
Vanilla Ice Cream: The creamy, sweet notes of vanilla ice cream perfectly contrast the luscious layers of your Chocolate Cherry Icebox Cake, adding a refreshing touch.
Fresh Berries: A mix of strawberries and blueberries introduces vibrant colors and a tartness that balances the sweetness, making each bite even more satisfying.
Nutty Biscotti: Crunchy almond or hazelnut biscotti provides a delightful texture against the soft layers of the cake, creating a pleasant contrast that's both inviting and satisfying.
Mint Tea: A warm, fragrant mint tea makes for a soothing beverage that cuts through the rich flavors, refreshing your palate as you enjoy your sweet treat.
Chocolate-Covered Cherries: Enhance the cherry flavors by pairing this cake with chocolate-covered cherries, turning your dessert into a chocolate lover's dream.
Almond Milkshake: A creamy almond milkshake serves as a smoothie-style drink that harmonizes with the cake's flavors, especially if you’re craving a rich beverage alongside your dessert.
Indulging in these pairings will transform your dessert experience, bringing out the cake’s creaminess and decadence with every bite.
Advertisement
Expert Tips for Chocolate Cherry Icebox Cake
Chill Your Bowls: Use cold mixing bowls for whipping cream to achieve the best volume and stability in your chocolate filling.
Avoid Soaking Cookies: Quickly dip the chocolate wafers in milk if using, but don’t soak them—over-saturation leads to a mushy texture in your cake.
Gentle Folding: When combining whipped cream and cream cheese, fold gently to maintain the airy texture. Over-mixing can make your filling dense.
Layering Technique: Make sure each layer of cookie and filling is level to avoid a lopsided cake. Press down gently to keep everything even and cohesive.
Refrigeration Time: For the most satisfying texture, allow the Chocolate Cherry Icebox Cake to chill overnight. This helps meld the flavors beautifully!
Chocolate Cherry Icebox Cake Recipe FAQs
How do I select the best cherries for my Chocolate Cherry Icebox Cake?
Absolutely! If you're using fresh cherries, look for those that are firm, bright in color, and have a glossy appearance. Avoid any with dark spots or blemishes, as they may be overripe. If using frozen cherries, make sure they're pitted and look vibrant without any signs of freezer burn.
How should I store my Chocolate Cherry Icebox Cake?
Very! Store any leftover Chocolate Cherry Icebox Cake tightly covered in the refrigerator for up to 3 days. This helps maintain its creamy texture and delightful flavors—just be sure it’s wrapped well to keep it fresh!
Can I freeze Chocolate Cherry Icebox Cake? How?
Absolutely! To freeze, wrap individual slices in plastic wrap and then wrap them again in aluminum foil. This way, they’ll stay fresh for up to 2 months. When you’re ready to enjoy, simply thaw the slices in the refrigerator overnight—no need to heat!
What should I do if my whipped cream is too grainy?
Don’t worry! If the whipped cream is grainy, it’s likely been overbeaten. The solution is to gently fold in a bit more unwhipped cream to smooth it out. Be sure to mix gently, as whipping too much can cause it to separate.
Is this recipe suitable for those with allergies?
Great question! This Chocolate Cherry Icebox Cake contains dairy products, including cream cheese and heavy cream, so it's not suitable for those with lactose intolerance or dairy allergies. You can experiment with dairy-free alternatives, such as coconut cream or almond cream, but results may vary.
Can I use different types of cookies for this recipe?
Very much so! If you want to mix things up, peanut butter cookies or vanilla wafers can be delicious alternatives. Each brings a different flavor twist to the cake—choose whatever inspires your taste buds the most!
Chocolate Cherry Icebox Cake Bliss in Every Bite
Ingredients
Equipment
Method
- Prepare the Cream Cheese Mixture: Beat softened cream cheese until smooth. Integrate powdered sugar, then add vanilla extract and mix.
- Whip the Heavy Cream: In a chilled bowl, beat the heavy cream until stiff peaks form.
- Combine Whipped Cream and Cream Cheese: Fold half the whipped cream into the cream cheese mixture, then add the remaining whipped cream.
- Incorporate Cocoa Powder: Mix one-third of the filling with cocoa powder until combined.
- Prepare the Cherry Layer: Mix cherry pie filling and optional cherries together.
- Assemble the Cake Layers: Spread a layer of vanilla filling, dip cookies in milk and layer them in the dish.
- Add the First Cream and Cherry Layers: Spread half of the chocolate cream and half of the cherry filling.
- Repeat with More Layers: Add more cookies, followed by vanilla filling, and layer on more cookies.
- Complete the Assembly: Top with remaining chocolate cream and cherry filling, finishing with a layer of cookies.
- Final Cream Layer and Decoration: Spread remaining vanilla filling, sprinkle toppings, and garnish with maraschino cherries.
- Chill Before Serving: Cover the dish and refrigerate for at least 6 hours or overnight.
- Serve the Cake: Cut into squares and serve cold.