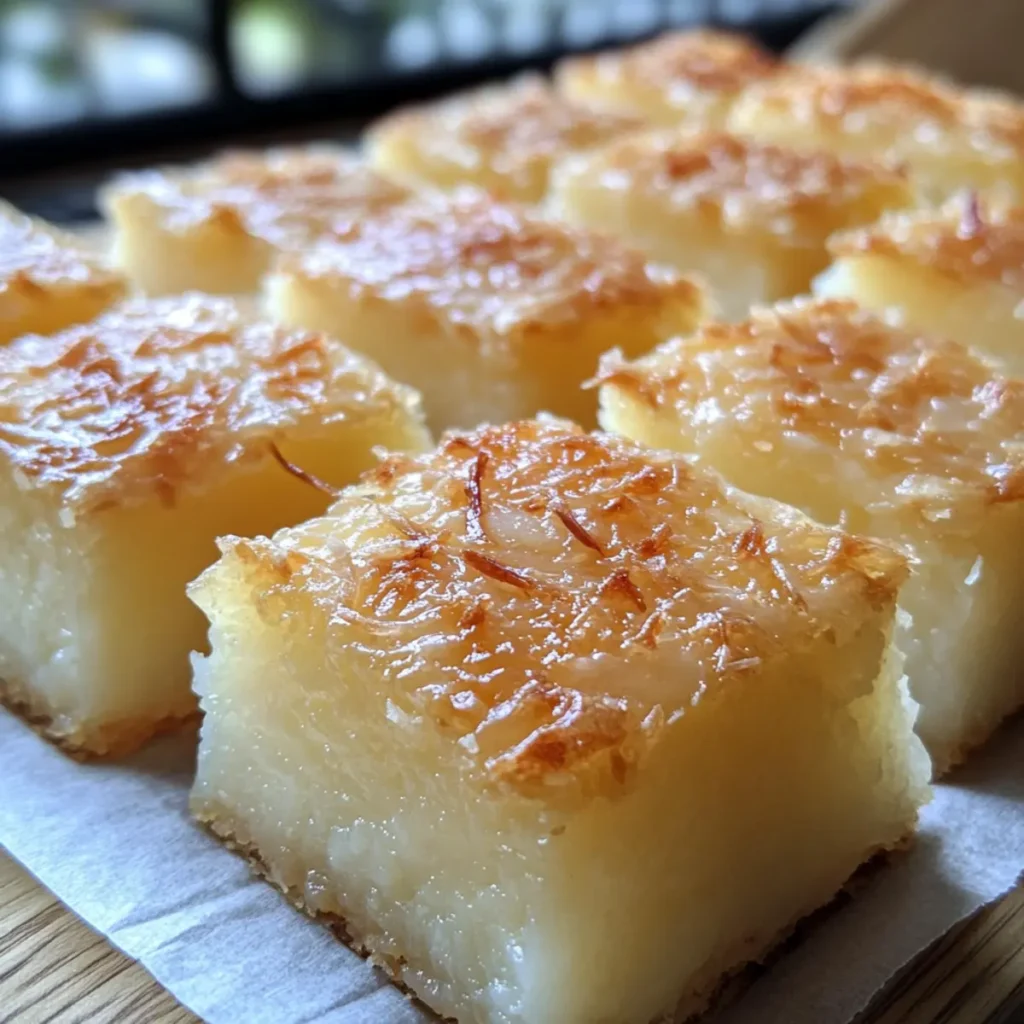
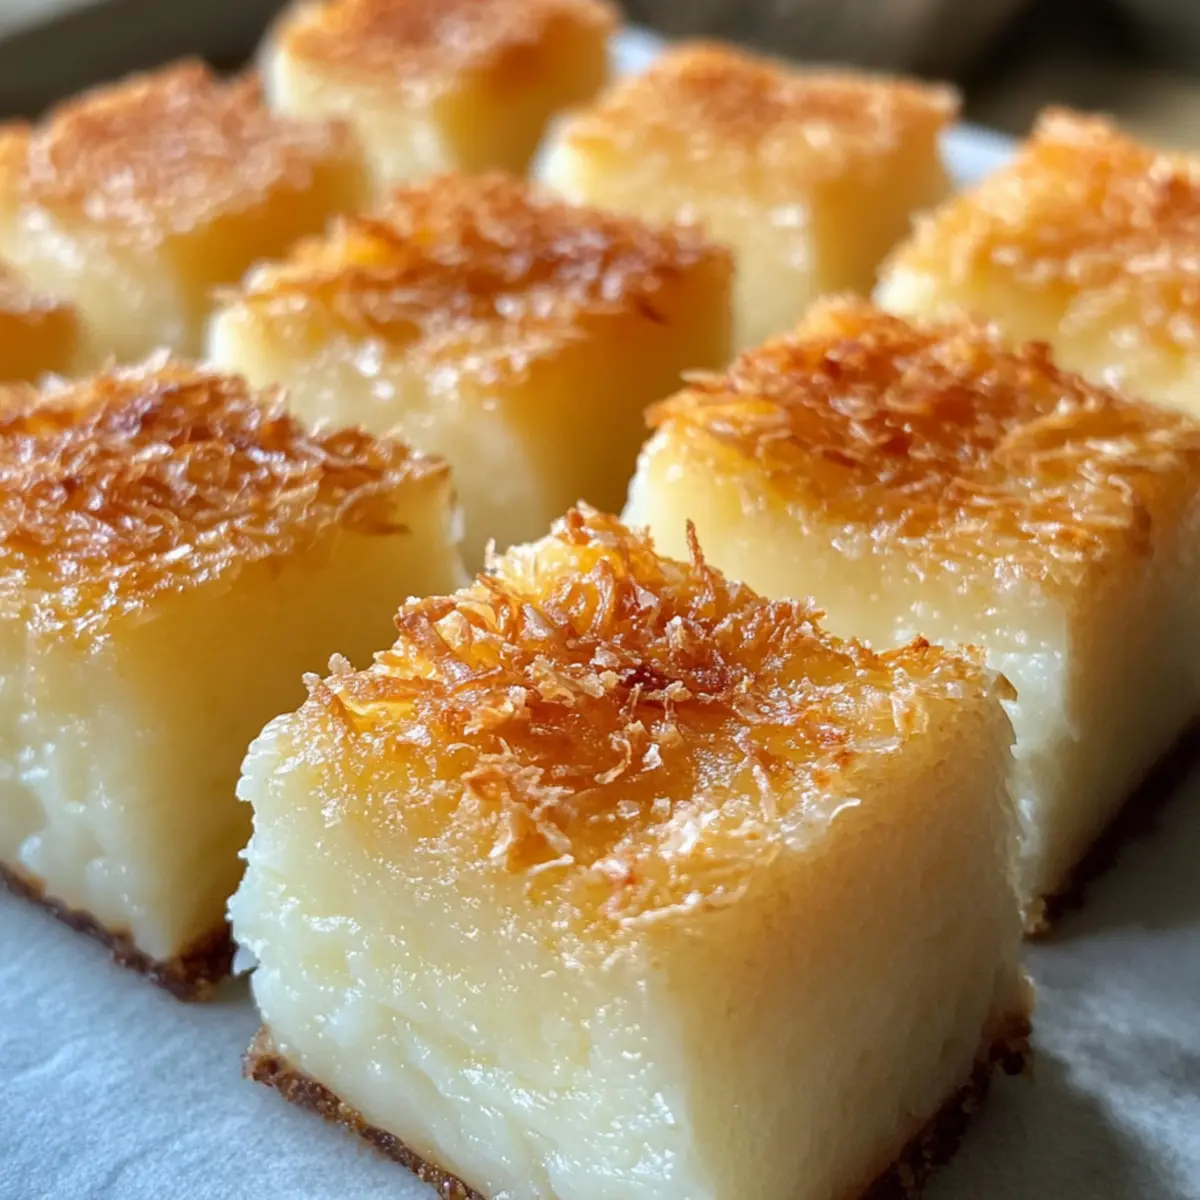
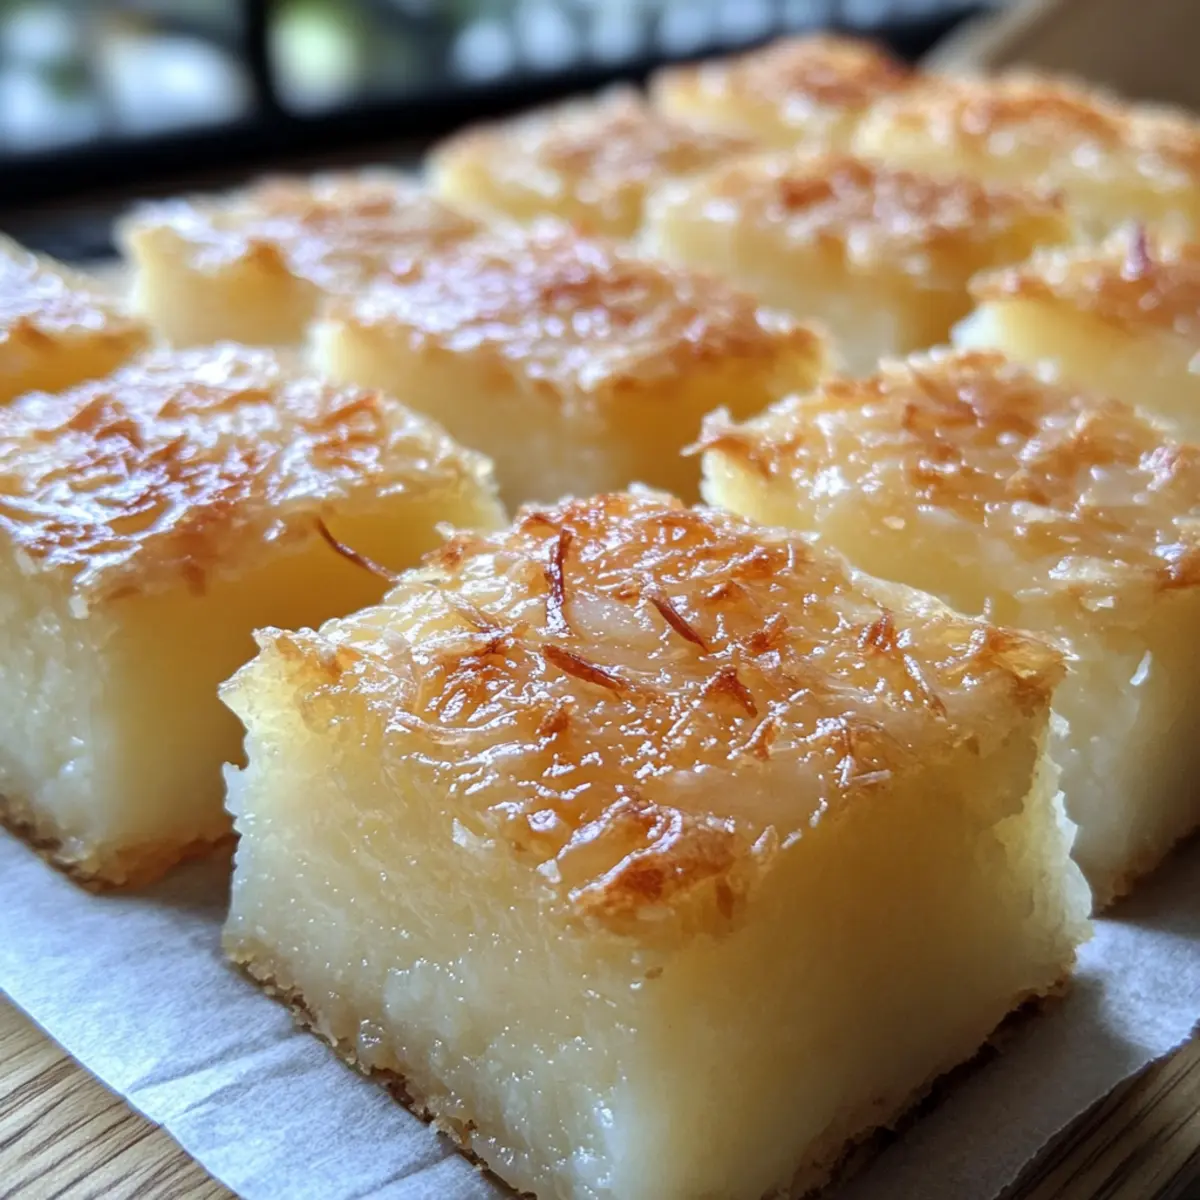
As I lifted the warm, slightly chewy squares of Hawaiian Butter Mochi from the pan, the sweet aroma of coconut and buttery goodness filled the kitchen, instantly transporting me to the shores of Hawaii. This delightful dessert not only boasts a wonderfully bouncy texture but is also incredibly easy to whip up at home—perfect for surprising friends at a gathering or indulging during a cozy afternoon snack. Made with simple ingredients like sweet rice flour and creamy coconut milk, every bite is a taste of tropical bliss. Plus, it’s gluten-free, making it a delicious option for everyone! Curious about how to make this irresistible treat and maybe even customize it with your favorite flavors? Let’s dive into the recipe!
Why is Hawaiian Butter Mochi a must-try?
Uniqueness: Hawaiian Butter Mochi is unlike any dessert you’ve ever tasted, featuring a chewy, springy texture that sets it apart.
Simple Ingredients: With easy-to-find ingredients like sweet rice flour and coconut milk, you can create this treat effortlessly.
Versatile Flavors: Customize your mochi with flavors like ube or matcha for a personal touch—perfect for any occasion!
Crowd-Pleaser: Bring this delightful dish to parties, and watch how quickly it disappears; everyone will be asking for seconds! Enjoy it alongside a savory dish like Garlic Butter Steak or treat yourself after a busy day with a comforting serving of Chewy Peanut Butter.
Gluten-Free Goodness: Satisfy your sweet tooth without worry; this dessert is gluten-free, so everyone can indulge!
Hawaiian Butter Mochi Ingredients
For the Batter
- Sweet Rice Flour – This unique flour is essential for creating the signature chewy texture of Hawaiian Butter Mochi.
- Salted Butter – Adds a rich flavor; for a vegan option, you can swap it with coconut butter.
- Eggs – These bind the ingredients and provide moisture; no substitute is suggested for this recipe.
- Granulated Sugar – Sweetens the mochi; consider using coconut sugar for a hint of caramel flavor.
- Coconut Milk – Contributes a creamy texture and aromatic coconut taste; if unavailable, whole milk works as a substitute.
- Vanilla Extract – Amplifies the flavors; you can omit this or substitute with almond extract based on your preference.
- Baking Powder – A leavening agent that helps the mochi rise and achieve that desirable fluffy quality; no substitutes suggested.
Optional Flavor Additions
- Shredded Coconut – Enhance the coconut goodness by mixing it into the batter or sprinkling on top; it’s a delightful addition that pairs beautifully.
- Ube Extract – Introduce a stunning purple hue and unique flavor; perfect if you want to add a twist to the traditional recipe.
- Matcha Powder – For a vibrant green variant, incorporate this for both flavor and color, making your mochi visually appealing as well.
Step‑by‑Step Instructions for Hawaiian Butter Mochi
Step 1: Preheat the Oven
Begin by preheating your oven to 350°F (175°C). This temperature is essential for achieving a golden-brown top on your Hawaiian Butter Mochi. While the oven warms up, gather your ingredients and ensure your baking tools are ready. You’ll need a 9×13 inch baking pan for this delicious treat.
Step 2: Prepare the Baking Pan
Take a moment to butter the bottom and sides of your prepared baking pan. Next, line the bottom with parchment paper for easier removal after baking. This will not only keep the gooey mochi from sticking but also help retain its chewy texture. Set the pan aside as you move on to mixing the ingredients.
Step 3: Mix the Wet Ingredients
In a large mixing bowl, combine the eggs, granulated sugar, coconut milk, and melted butter together. Whisk the mixture until it is smooth and well blended, which will take about 2-3 minutes. The creamy consistency will be the foundation for your Hawaiian Butter Mochi, so ensure everything is evenly incorporated before moving to the next step.
Step 4: Combine the Dry Ingredients
Gradually add the sweet rice flour and baking powder to the wet mixture. Gently fold the dry ingredients in using a spatula or wooden spoon until no lumps remain, and the batter is homogeneous. This step is crucial for achieving the tender, chewy texture that Hawaiian Butter Mochi is known for, so take your time and ensure it’s well mixed.
Step 5: Pour and Bake the Batter
After ensuring the batter is completely combined, pour it into the prepared baking pan. Spread it evenly and ensure there are no air bubbles trapped inside. Then, place the pan in your preheated oven and bake for 1 hour and 25 minutes. You’ll know it’s done when the top turns a lovely golden brown, and a toothpick inserted in the center comes out clean.
Step 6: Cool and Cut the Mochi
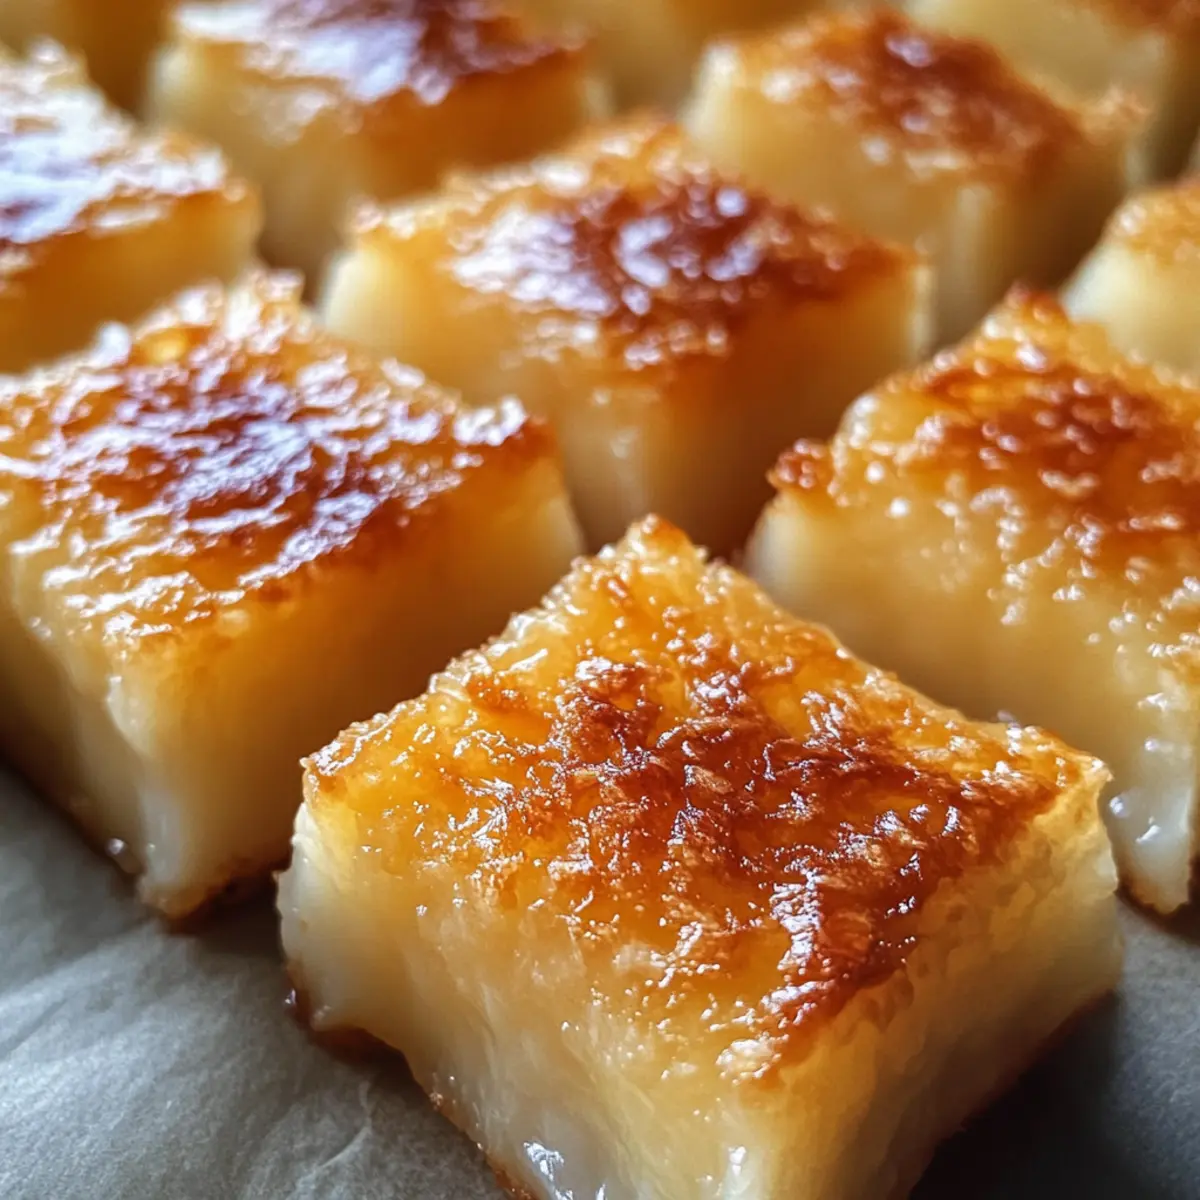
Once baked, remove the Hawaiian Butter Mochi from the oven and allow it to cool in the pan for about 30 minutes. After cooling, carefully lift the mochi out using the parchment paper and transfer it to a cutting board. Slice it into squares, and the tender, chewy treats are now ready to be served to your eager family and friends!
Helpful Tricks for Hawaiian Butter Mochi
• Check the Texture: Make sure to bake until the top is golden brown and a toothpick comes out clean; this ensures your mochi has that perfect chewy consistency.
• Experiment with Flavors: Add shredded coconut or your favorite flavorings, like ube extract or matcha powder, to personalize your Hawaiian Butter Mochi.
• Avoid Overmixing: When combining the wet and dry ingredients, mix until just incorporated to prevent a tough texture; less is more for this chewy delight.
• Oven Variability: Oven temperatures can vary; keep an eye on the baking process and adjust the time accordingly to achieve the best results.
• Enjoy Warm or Cold: Hawaiian Butter Mochi is delicious both straight out of the oven or chilled; try it both ways to see which you love more!
How to Store and Freeze Hawaiian Butter Mochi
Room Temperature: Store leftover Hawaiian Butter Mochi in an airtight container at room temperature for up to 3 days to maintain its chewy texture and flavor.
Fridge: For longer freshness, refrigerate the mochi in an airtight container for up to a week. Just remember that refrigeration may slightly alter the texture.
Freezer: You can freeze Hawaiian Butter Mochi by wrapping squares individually in plastic wrap and placing them in a freezer-safe bag. It will keep well for up to 3 months.
Reheating: To enjoy the mochi after freezing, simply thaw it in the fridge overnight and reheat in the microwave for 10-15 seconds, ensuring it returns to its delightful chewy state.
Make Ahead Options
These Hawaiian Butter Mochi are perfect for meal prep enthusiasts! You can mix the batter up to 24 hours in advance, storing it covered in the refrigerator to maintain its freshness and flavor. The key component you can also prepare ahead is the baking pan—just blend all your wet ingredients and dry ingredients until smooth, then refrigerate. When you’re ready to bake, simply pour your chilled batter into the prepared pan and increase the baking time by an additional 5-10 minutes to ensure it’s properly cooked through. This way, you can savor the delightful taste of Hawaiian Butter Mochi without the rush, enjoying soft, chewy squares at your convenience!
Hawaiian Butter Mochi: Fun Variations Await!
Feel free to get playful with your Hawaiian Butter Mochi by mixing in these delightful variations that will tantalize your taste buds!
-
Shredded Coconut: Add a handful to the batter for extra texture and coconut flavor. You can also sprinkle some on top for a beautiful finish!
-
Coconut Water: Swap out half of the coconut milk with coconut water for a lighter, refreshing flavor. It’s a subtle tweak that brings a tropical breeze to your mochi.
-
Ube Extract: Incorporate ube extract or paste into the batter for a vibrant purple color and a subtly sweet, nutty flavor. This stunning visual will impress at any gathering!
-
Matcha Powder: Stir in matcha powder for a unique green treat with earthy notes. The bright color and taste will make your mochi stand out.
-
Chocolate Chips: Fold in mini chocolate chips for a delightful sweet surprise! The chocolate will melt slightly, adding a creamy richness that pairs beautifully with the chewy mochi.
-
Cinnamon Sugar Topping: Before baking, sprinkle a mixture of cinnamon and sugar on top. It adds a fragrant sweetness that complements the mochi’s texture.
-
Pineapple Chunks: For a fruity twist, fold in small pieces of pineapple or mango. The burst of fruitiness will elevate your Hawaiian experience!
-
Spicy Kick: If you’re feeling adventurous, add a pinch of cayenne pepper to the batter for a surprising burst of heat. It’s a fun twist that will intrigue your guests!
Each of these variations can transform your standard recipe into something extraordinary. Serve your creations alongside a comforting dish like Garlic Butter Chicken or enjoy it solo as a special treat to brighten your day!
What to Serve with Hawaiian Butter Mochi
Indulge in a harmonious meal full of delightful textures and flavors that complement the tropical sweetness of this chewy treat.
-
Coconut Sorbet: A refreshing, icy treat that echoes the flavors of your mochi while providing a cool contrast.
-
Fresh Tropical Fruit Salad: Bright, juicy fruits like mango, pineapple, and kiwi offer a burst of freshness that balances the richness of the mochi.
-
Steamed Edamame: Light and savory, these tender soybeans add a pleasing contrast in texture and a hint of saltiness, elevating the overall meal.
-
Matcha Green Tea: The earthy notes of matcha create a beautifully balanced pairing, enhancing the sweetness of the Hawaiian Butter Mochi.
-
Chocolate Drizzle: A rich, chocolaty drizzle transforms each bite into an indulgent experience, making for a delightful combination of flavors.
-
Spicy Chicken Skewers: The heat from the grilled chicken and its savory marinade can create an exciting balance with the sweetness of the mochi.
-
Tropical Smoothie: Blend together coconut milk, banana, and a hint of pineapple for a drink that echoes the mochi’s flavors while providing a creamy, refreshing sip.
-
Sliced Almonds: Sprinkle toasted almonds on top for a satisfying crunch that contrasts beautifully with the mochi’s soft, chewy texture.
-
Iced Coffee: Pair with a chilled cup of coffee for a delightful afternoon treat, as the coffee’s bitterness complements the dessert’s sweetness.
Hawaiian Butter Mochi Recipe FAQs
What kind of sweet rice flour should I use?
I recommend using “mochi flour,” specifically labeled as sweet rice flour, as it’s essential for that signature chewy texture. You can typically find it in Asian grocery stores or online. Regular rice flour won’t work the same way and will result in a different final product.
Advertisement
How do I store leftovers properly?
Store any leftover Hawaiian Butter Mochi in an airtight container at room temperature for up to 3 days. If you’d like to keep it fresh for longer, refrigerate it for up to a week. Just be aware that refrigeration might slightly alter its texture, so enjoy it at room temperature if you can!
Can I freeze Hawaiian Butter Mochi?
Absolutely! You can freeze Hawaiian Butter Mochi by wrapping each square tightly in plastic wrap, then placing them in a freezer-safe bag. It keeps well for up to 3 months. When you’re ready to enjoy, simply thaw in the fridge overnight and then reheat in the microwave for about 10-15 seconds to restore its delightful chewiness.
What if my mochi doesn’t turn out chewy?
If your Hawaiian Butter Mochi loses its chewy texture, it might be due to overmixing the batter, which can create a tough result. Always mix just until incorporated and avoid excessive stirring. Also, ensure you bake it long enough until golden brown; if it’s undercooked, the texture may be too gooey.
Is Hawaiian Butter Mochi suitable for gluten-free diets?
Yes! Hawaiian Butter Mochi is naturally gluten-free due to the use of sweet rice flour. This makes it a delightful dessert option for anyone avoiding gluten. Just be cautious with any flavor add-ins to ensure they are also gluten-free if you have dietary concerns.
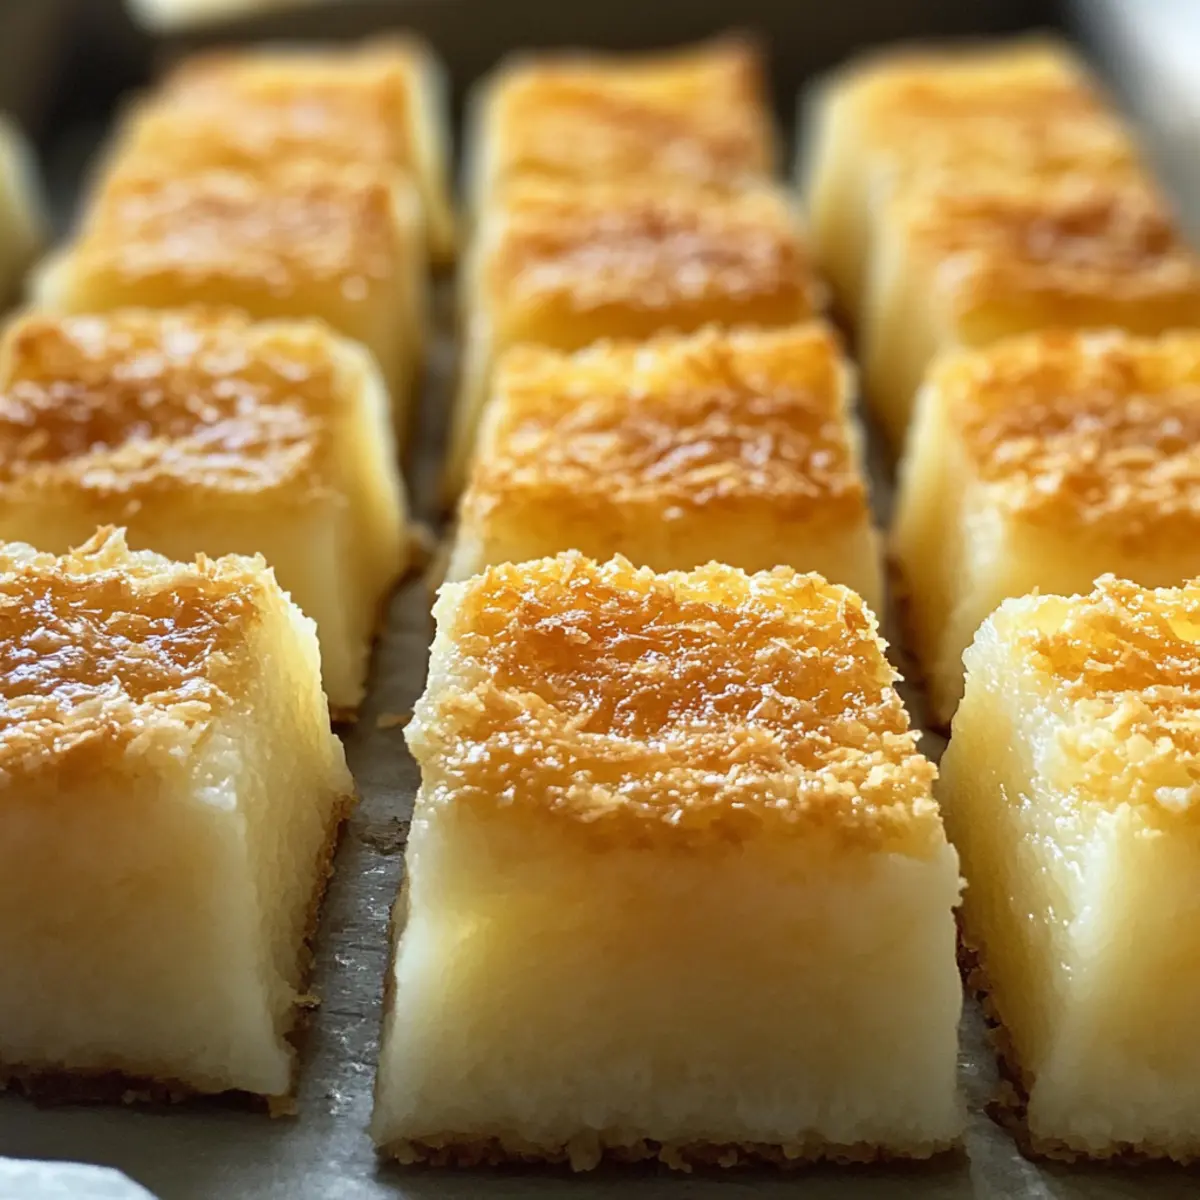
Hawaiian Butter Mochi: Chewy Coconut Bliss Just for You
Ingredients
Equipment
Method
- Preheat your oven to 350°F (175°C). Gather your ingredients and have your baking tools ready.
- Butter the bottom and sides of your baking pan, then line with parchment paper.
- In a large mixing bowl, combine eggs, granulated sugar, coconut milk, and melted butter. Whisk until smooth.
- Gradually add sweet rice flour and baking powder to the wet mixture, folding until no lumps remain.
- Pour the batter into the prepared baking pan, spreading evenly. Bake for 1 hour and 25 minutes.
- Allow the mochi to cool in the pan for about 30 minutes, then transfer to a cutting board and slice into squares.