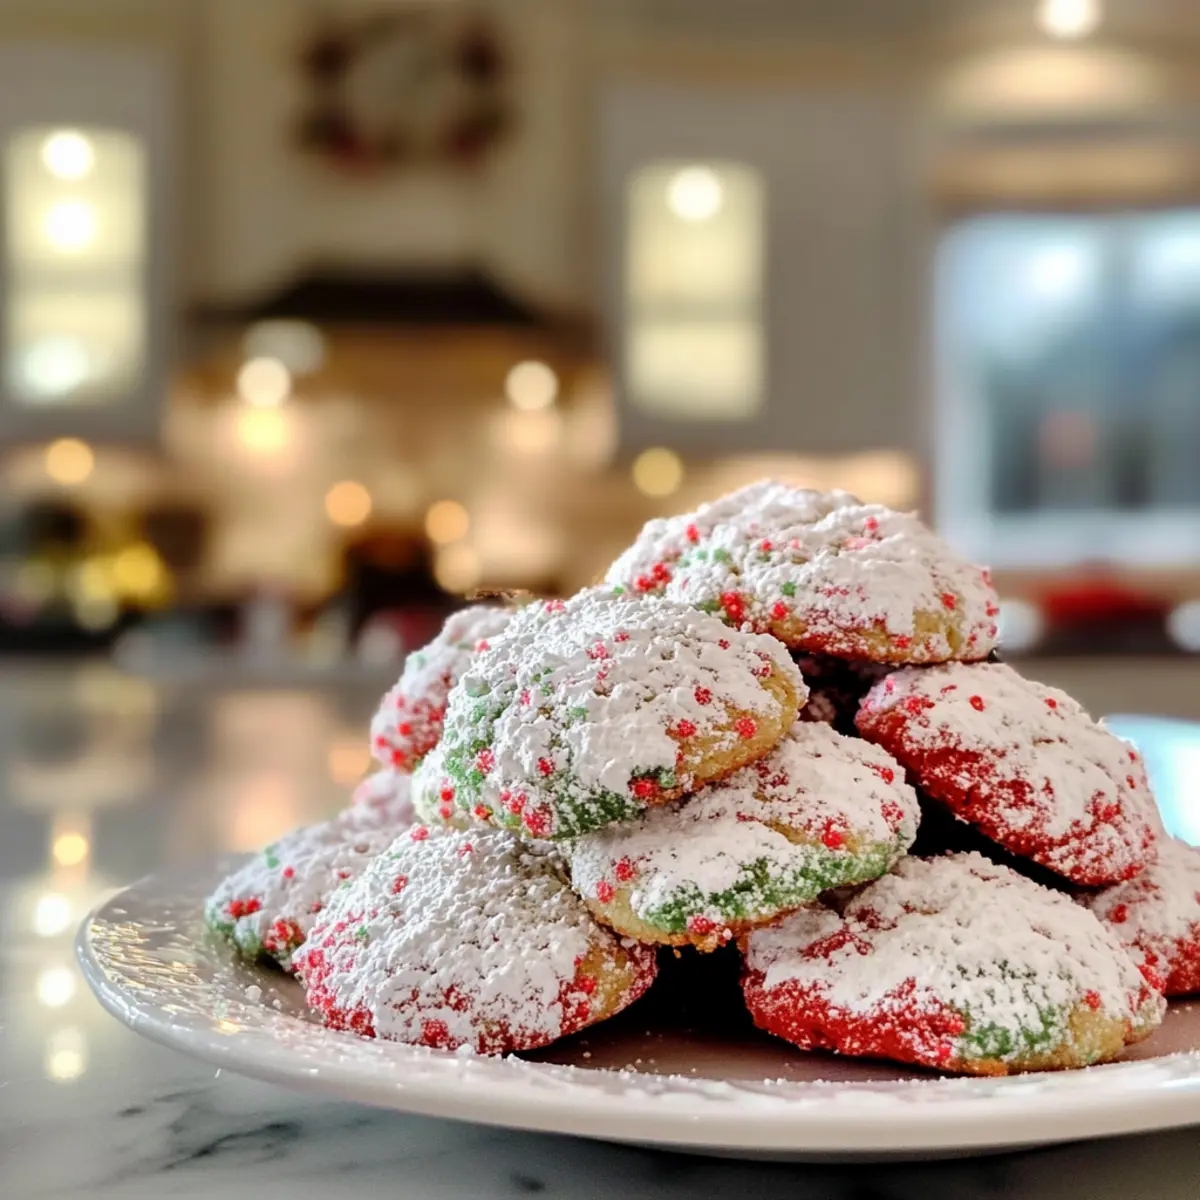
As I nestled my cat-shaped measuring cups back in the cupboard, my heart swelled with the excitement of the season. There’s something magical about holiday baking, especially when it involves making colorful Christmas Crinkle Cookies. These delightful treats remind me of joyful gatherings, vibrant decorations, and the laughter shared with loved ones. Crafted with a simple boxed white cake mix, this recipe offers an effortless way to whip up these soft and chewy delights. The best part? They come together in no time, making them perfect for last-minute holiday baking or festive gift-giving. Plus, their charming snowy coating of powdered sugar adds a whimsical touch that will delight both kids and adults alike. Ready to add a splash of color to your cookie platter? Let’s dive into this easy and festive cookie recipe that’s sure to become a holiday favorite!
Why Are These Cookies a Must-Make?
Effortless Baking: With just a boxed cake mix, these Christmas Crinkle Cookies ensure even novice bakers can create festive treats effortlessly.
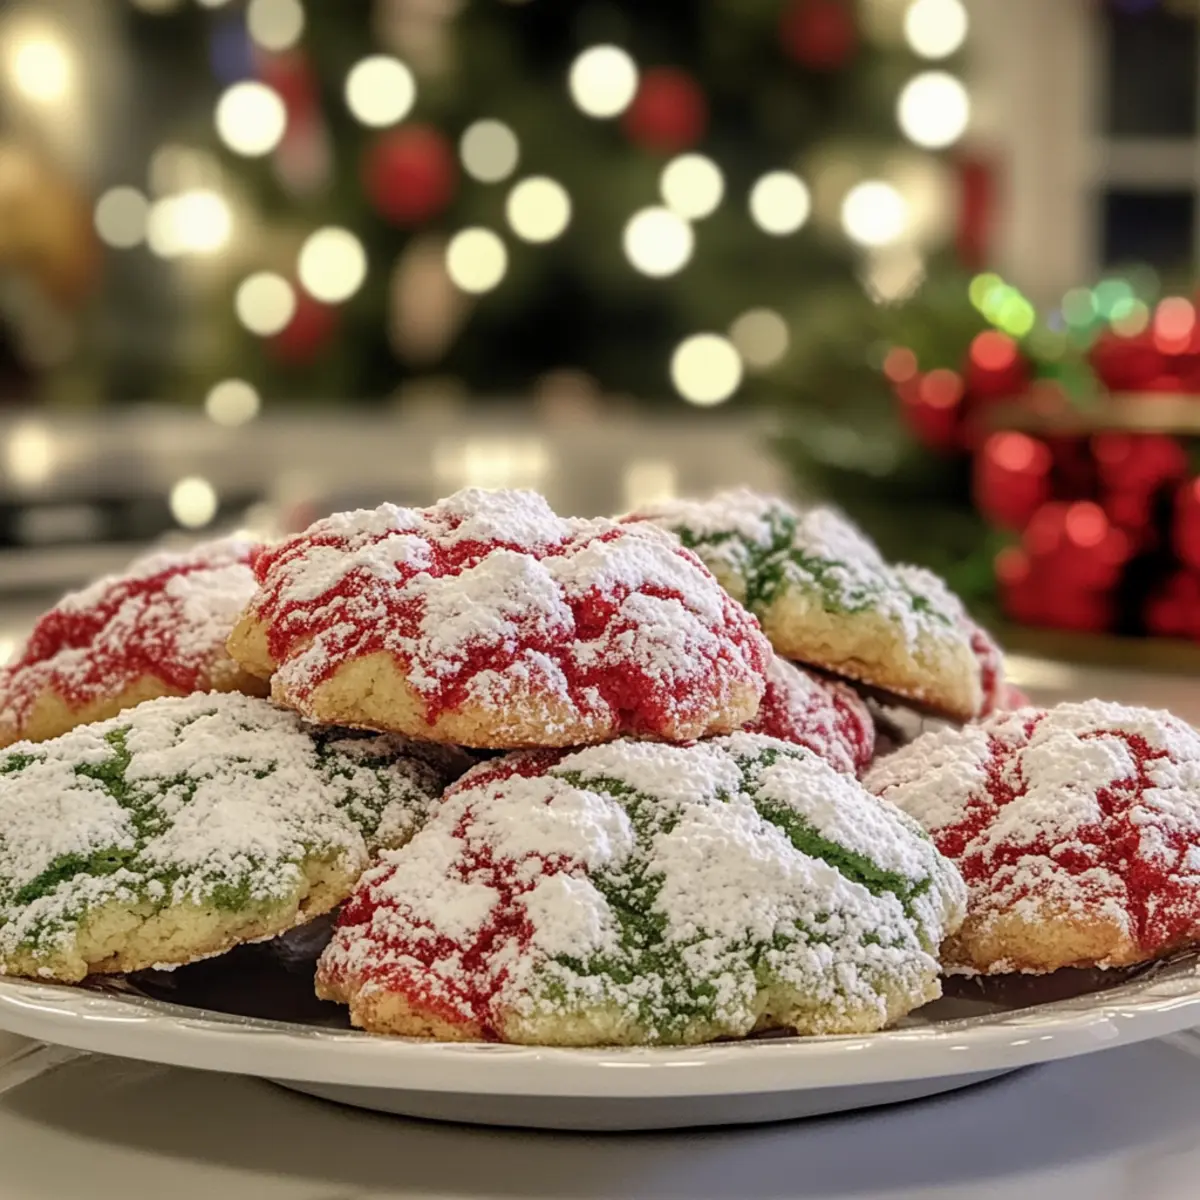
Vibrant Colors: The use of food coloring gel adds a stunning visual element, making them an eye-catching addition to any dessert spread.
Crowd Pleaser: Bursting with soft, chewy goodness, these cookies cater to both kids and adults, perfect for holiday parties and gatherings.
Versatile Recipe: Experiment with different colors or flavors—try incorporating mint or chocolate to create variations that suit your holiday spirit.
Quick Prep Time: These cookies come together swiftly, so you can whip up a batch just in time for unexpected guests or as a thoughtful homemade gift, ideal alongside treats like Cheesecake Cookies Salted.
Christmas Crinkle Cookies Ingredients
• To create these colorful treats, here’s what you’ll need!
For the Cookie Base
- White Cake Mix – This creates a soft and chewy foundation; feel free to substitute with a gluten-free cake mix if needed.
- Eggs – Essential for binding and moisture, which gives the cookies their delicious texture.
- Vegetable Oil – Adds the right amount of moisture; melted butter or coconut oil can enrich the flavor.
- Vanilla Extract – Deepens the flavor profile; try almond extract for a delightful twist.
For the Festive Colors
- Wilton Red Food Coloring Gel – Use gel for vibrant, intense color without watering down the batter.
- Wilton Green Food Coloring Gel – Creates that fun, festive green hue; gel is preferred for its potency.
For the Snowy Coating
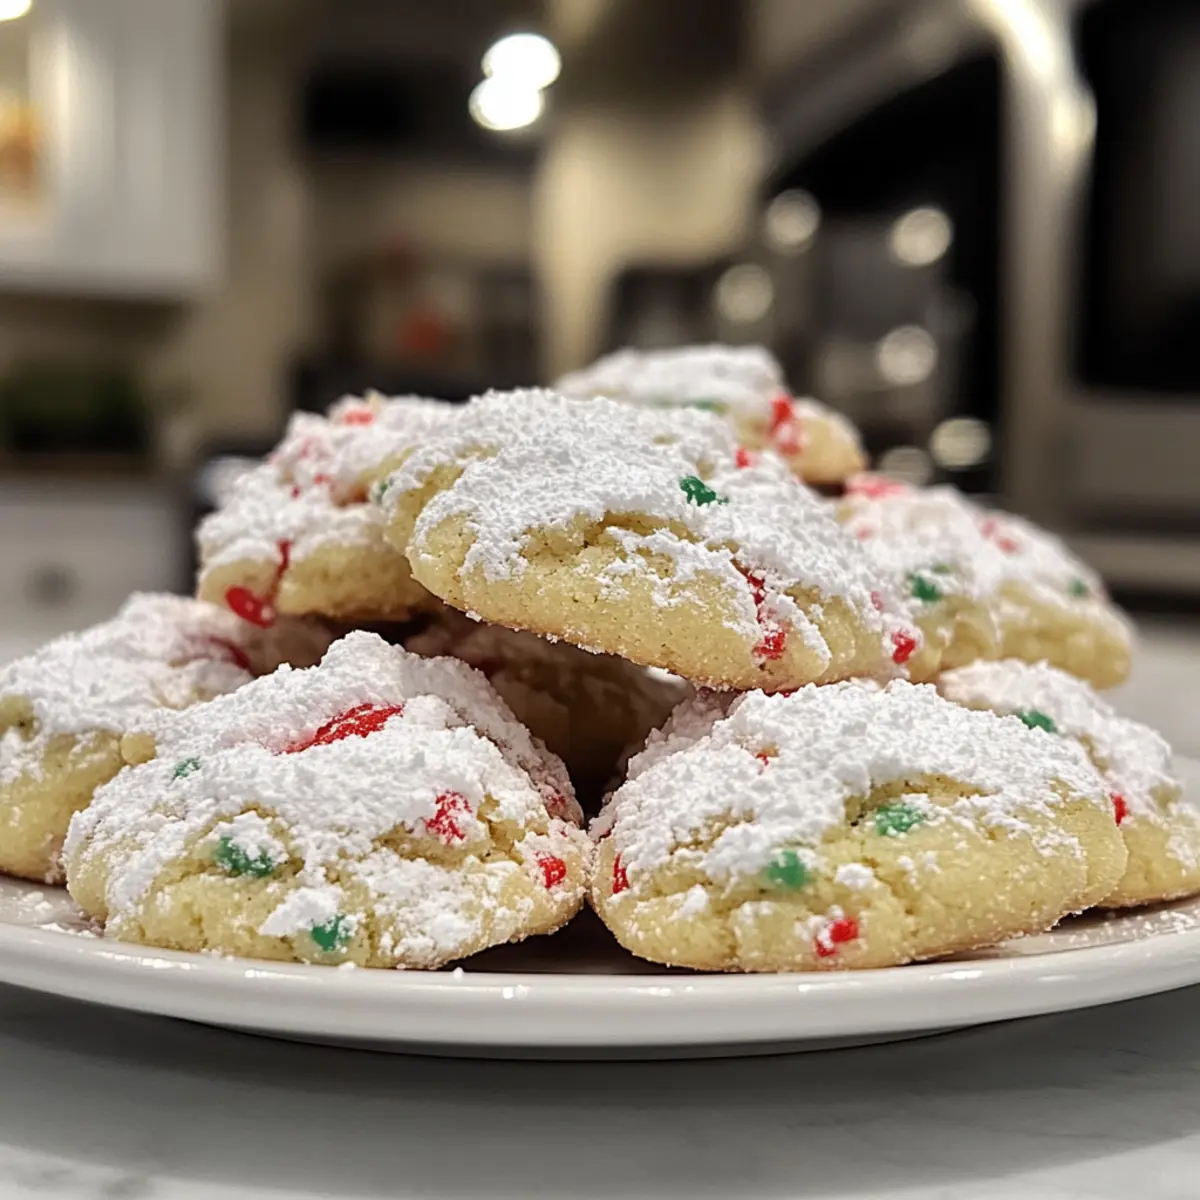
- Powdered Sugar – Provides the signature crinkle effect and sweetness that makes these Christmas Crinkle Cookies irresistible.
Step‑by‑Step Instructions for Christmas Crinkle Cookies
Step 1: Prepare Your Workspace
Start by preheating your oven to 375°F (190°C). While the oven warms up, line a baking sheet with parchment paper or a silicone mat to prevent sticking. This will make for easy cleanup later and ensure your Christmas Crinkle Cookies bake evenly. Have your mixing bowl, whisk, and measuring tools ready for use.
Step 2: Mix the Ingredients
In a large mixing bowl, whisk together the eggs, vegetable oil, and vanilla extract until smooth. Then, gradually add the white cake mix, stirring until fully combined and cohesive. The mixture should be thick and slightly sticky, which will create that delightful chewy texture for your Christmas Crinkle Cookies.
Step 3: Color the Dough
Divide the dough into two equal portions. In one portion, add the red food coloring gel, and mix thoroughly until you achieve your desired shade. In the other portion, repeat the process with the green food coloring gel. Don’t be shy—use enough coloring to make these Christmas Crinkle Cookies vibrant and festive!
Step 4: Chill the Dough
Cover both portions of colored dough with plastic wrap and place them in the refrigerator for at least 30 minutes. Chilling the dough is essential for easier handling and helps the cookies maintain their shape and fluffy texture during baking. You can use this time to clean up your workspace or prepare other holiday treats.
Step 5: Shape the Cookies
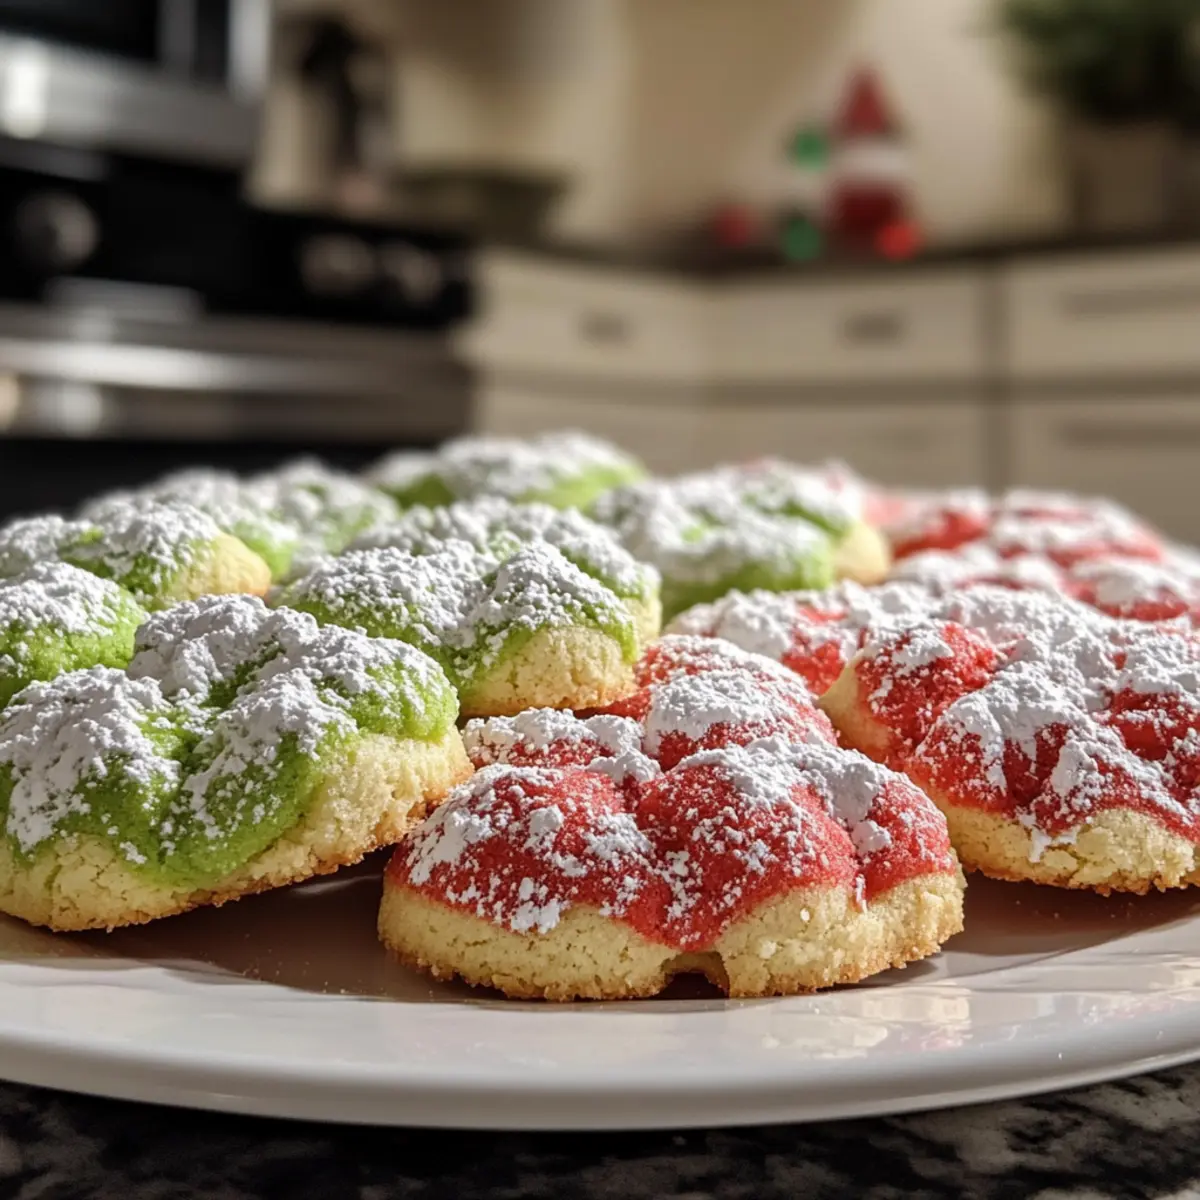
Once chilled, remove the dough from the refrigerator. Scoop tablespoon-sized portions of the red and green dough, then roll each ball in your hands to form smooth spheres. Roll each ball in powdered sugar until completely coated for that iconic snowy look that makes Christmas Crinkle Cookies so appealing.
Step 6: Bake the Cookies
Place the powdered sugar-coated dough balls on the prepared baking sheet, ensuring they are spaced about two inches apart. Bake in the preheated oven for 9-11 minutes, or until the edges appear set but the centers are still soft. The cookies will puff up and develop a beautiful crinkle pattern as they bake.
Step 7: Cool Before Serving
Once baked, remove the tray from the oven and let the cookies cool on the baking sheet for about 5 minutes. This allows them to firm up slightly. Then, transfer the Christmas Crinkle Cookies to a wire rack to cool completely. Enjoy the festive aroma filling your kitchen as they cool before serving or packaging in festive jars!
Christmas Crinkle Cookies Variations
Feel free to get creative with your Christmas Crinkle Cookies by trying out these exciting twists that will leave everyone wanting more!
-
Gluten-Free: Use a gluten-free cake mix to ensure everyone can enjoy these treats without compromising flavor or texture. It’s a simple swap that makes a big difference at holiday gatherings!
-
Peppermint Twist: Replace vanilla extract with peppermint extract for a refreshing minty flavor. It’s perfect for a wintery holiday feel and pairs wonderfully with chocolate chips.
-
Colorful Theme: Try using pastel food coloring for a spring celebration, or blue and white for a festive Hanukkah treat. The vibrant colors will still deliver that eye-catching visual appeal!
-
Nutty Crunch: Add chopped nuts, like walnuts or pecans, to the dough for added texture and a delightful crunch. This twist brings in a lovely contrast to the soft cookie base.
-
Chocolate Swirl: Incorporate mini chocolate chips or swirl in melted chocolate to the dough before forming the balls. This adds a decadent chocolatey flavor to your Christmas Crinkle Cookies.
-
Extra Sprinkles: Roll the dough balls in a mixture of powdered sugar and festive holiday sprinkles before baking for an extra pop of color and celebratory touch.
-
Bourbon Vanilla: Swap out regular vanilla extract for bourbon vanilla for a richer, deeper flavor. This twist adds sophistication and warms up your holiday desserts.
-
Coconut Joy: Mix in shredded coconut to each portion of colored dough for a tropical twist. This flavor addition is sure to make your cookies unforgettable!
Don’t forget to share these delightful cookies on your festive dessert platters, perhaps alongside other treats like Easy Caramel Apple Cookies or Chocolate Thumbprint Cookies. Each variation you try is a new chance to spread joy and flavor!
Expert Tips for Christmas Crinkle Cookies
-
Chill the Dough: Refrigerating the colored dough for at least 30 minutes makes handling easier and ensures fluffier Christmas Crinkle Cookies.
-
Use Gel Coloring: Opt for gel food coloring instead of liquid to avoid extra moisture in your dough and achieve those vibrant hues effortlessly.
-
Monitor Baking Time: Keep an eye on your cookies while baking. Start checking at 9 minutes—underbaking slightly will help keep them soft and chewy.
-
Don’t Overmix: Once you combine the cake mix and wet ingredients, mix just until incorporated. Overmixing can make the texture dense instead of light and fluffy.
-
Experiment: Feel free to add chocolate chips or nuts to the dough for extra flavor and texture, creating a delightful twist on the classic Christmas Crinkle Cookies.
Make Ahead Options
These Easy Christmas Crinkle Cookies make incredible make-ahead treats, perfect for the busy holiday season! You can prepare the cookie dough up to 24 hours in advance by mixing all ingredients and chilling it in the refrigerator for easier handling. Alternatively, you can roll the dough into balls, coat them in powdered sugar, and store them in an airtight container in the refrigerator for up to 3 days. This helps maintain their soft, chewy texture! When you’re ready to bake, simply arrange the chilled or pre-rolled dough balls on a baking sheet and bake at 375°F (190°C) for 9-11 minutes. Your holiday baking will be a breeze, leaving you with delicious cookies that are just as festive and delightful as if baked fresh!
What to Serve with Easy Christmas Crinkle Cookies?
Indulge in the festive spirit by pairing these delightful cookies with complementary treats that elevate your holiday experience.
-
Hot Cocoa Bar: Create a cozy hot cocoa station with melt-in-your-mouth toppings like whipped cream and marshmallows. The rich chocolate flavor harmonizes beautifully with the sweetness of crinkle cookies.
-
Gingerbread Houses: Bringing a touch of tradition, gingerbread houses add structure and spice, making a whimsical contrast to the soft and chewy Christmas Crinkle Cookies. Plus, they make an entertaining activity for the whole family!
-
Eggnog: This creamy, spiced drink pairs perfectly with the powdered sugar sweetness of the cookies. Serve it chilled for a refreshing balance against the delightful warmth from the baked treats.
-
Fruit Platter: Fresh fruits like oranges, pomegranates, and apples provide a zesty contrast, brightening up your dessert table and cleansing the palate between sweet bites.
-
Vanilla Ice Cream: The cool creaminess of vanilla ice cream with a drizzle of chocolate sauce offers a luxurious experience, enhancing every scrumptious bite of your Christmas Crinkle Cookies.
-
Chewy Caramel Brownies: For those who adore a mix of textures, these fudgy brownies add another layer of chocolatey goodness to your festive dessert spread, leaving everyone craving more.
-
Peppermint Bark: This chocolatey, minty treat not only adds a pop of color but also complements the flavor of the cookies. The refreshing mint balances the sweetness beautifully, making it a seasonal favorite.
-
Coffee or Tea: A warm cup of coffee or spiced chai provides a comforting beverage choice that works wonders to cut through the sweetness, making each cookie taste even more delightful.
-
Sugar Cookie Bars: Soft, vanilla-flavored sugar cookie bars give a classic twist that pairs well with the iconic crinkle look without overshadowing the festive vibes of your Christmas Crinkle Cookies.
How to Store and Freeze Christmas Crinkle Cookies
Room Temperature: Store cooled cookies in an airtight container at room temperature for up to 5 days. This keeps them soft and chewy for those festive gatherings.
Fridge: If you prefer, you can keep them in the refrigerator for up to a week. Just ensure they are well wrapped to prevent drying out.
Freezer: For longer preservation, freeze the cookies in a single layer on a baking sheet. Once frozen, transfer them to a zip-top bag for up to 3 months.
Reheating: When ready to enjoy, thaw at room temperature or heat in the oven at 300°F (150°C) for about 5 minutes to regain that delightful texture of freshly baked Christmas Crinkle Cookies.
Christmas Crinkle Cookies Recipe FAQs
What type of cake mix should I use for Christmas Crinkle Cookies?
Absolutely! The base of these cookies is a boxed white cake mix, which provides a soft and chewy texture. If gluten is a concern, feel free to substitute with a gluten-free cake mix; just ensure it’s suitable for baking.
Advertisement
How should I store leftover cookies?
I recommend storing your cooled Christmas Crinkle Cookies in an airtight container at room temperature for up to 5 days. This keeps them fresh and ensures they maintain that delightful soft texture. If you’re packing them in for holiday gifts, they’ll stay perfect for any festive gathering!
Can I freeze Christmas Crinkle Cookies?
Yes, indeed! To freeze, place the shaped, powdered sugar-coated dough balls in a single layer on a baking sheet and freeze until solid. Then, transfer to a zip-top bag and they’ll stay fresh for up to 3 months. When you’re ready to enjoy, simply thaw at room temperature and bake as directed or enjoy them straight from the freezer for a chilly treat!
What if my cookies don’t crinkle properly?
Very common question! If your cookies aren’t developing the signature crinkle, it may be due to overmixing or insufficient chilling of the dough. Ensure to mix just until combined and refrigerate for at least 30 minutes before baking. This helps the cookies retain their shape and lets them rise beautifully.
Can I use different colors for the Christmas Crinkle Cookies?
For sure! The beauty of these cookies lies in their versatility. You can absolutely swap out red and green for other festive colors—think blue and white for Hanukkah or pastel shades for spring celebrations. Get creative and have fun with your color combinations!
Are there any dietary considerations for Christmas Crinkle Cookies?
Certainly! This recipe is inherently simple and accessible. However, if there are allergies to eggs, try substituting each egg with 1/4 cup of unsweetened applesauce. Keep an eye on the food coloring as well—most gels are gluten-free and vegan, but always check your specific brands if dietary restrictions are a concern.
Colorful Christmas Crinkle Cookies That Melt in Your Mouth
Ingredients
Equipment
Method
- Preheat your oven to 375°F (190°C) and line a baking sheet with parchment paper.
- In a large mixing bowl, whisk together the eggs, vegetable oil, and vanilla extract until smooth. Gradually add the white cake mix and stir until fully combined.
- Divide the dough into two equal portions. Add red food coloring gel to one portion and green to the other, mixing until desired shades are achieved.
- Cover the dough with plastic wrap and refrigerate for at least 30 minutes.
- Scoop tablespoon-sized portions of the dough, roll them into balls, and coat in powdered sugar.
- Place the dough balls on the prepared baking sheet, spaced apart. Bake for 9-11 minutes, until edges are set but centers are soft.
- Let the cookies cool on the baking sheet for 5 minutes before transferring to a wire rack to cool completely.