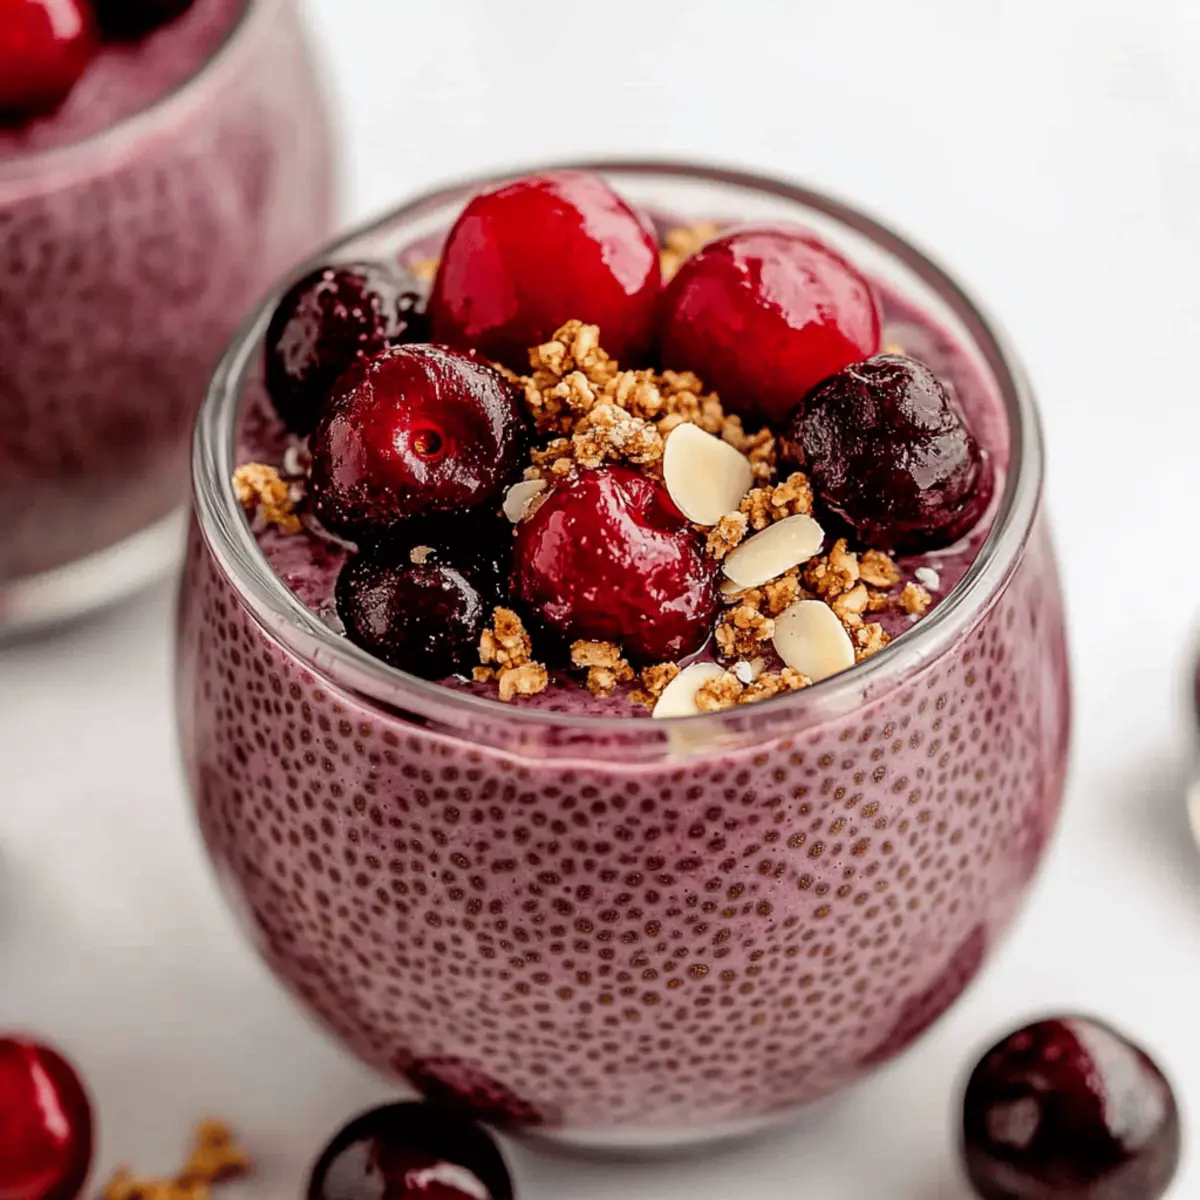
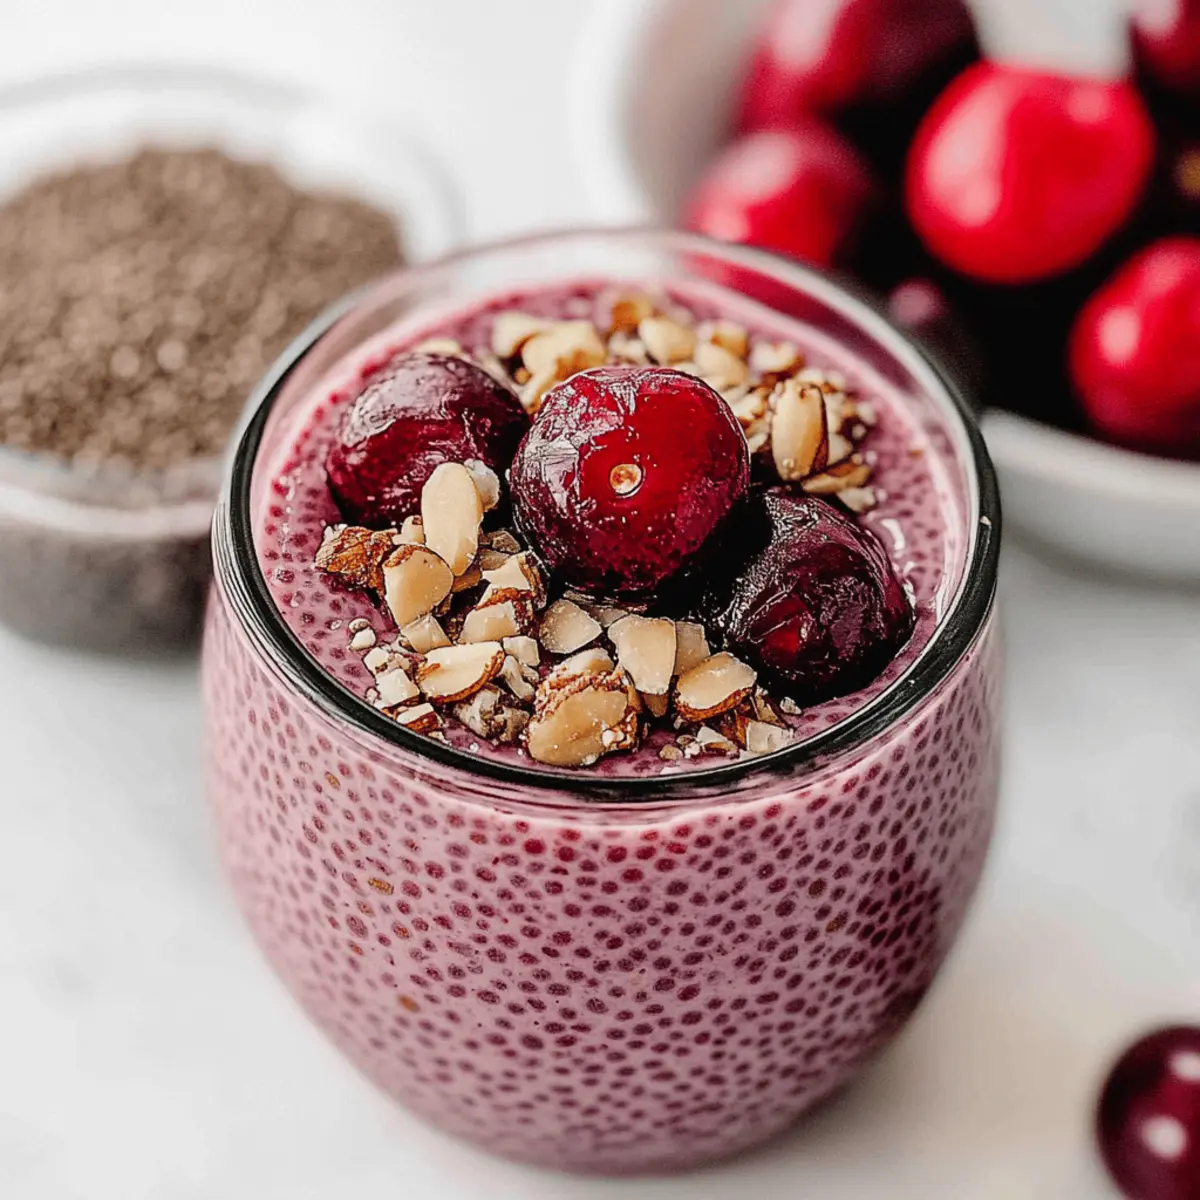
Picture this: the sun spills through your kitchen window, illuminating a bowl of creamy Cherry Chia Pudding, inviting you to indulge. This delightful treat, infused with the sweetness of maple syrup and the warmth of almond extract, is not just a feast for the eyes but a guilt-free delight for the taste buds. As someone who adores homemade food, you’ll love this vegan, dairy-free, and oil-free recipe, perfect for those hectic mornings or as a wholesome afternoon snack. With minimal prep time and packed with nutrients, it’s an easy addition to your meal prep routine. So, why settle for fast food when you can whip up this dreamy, velvety pudding right at home? What toppings will you choose to elevate your Cherry Chia Pudding?
What Makes Cherry Chia Pudding Irresistible?
Deliciously Nutritious: This pudding is a powerhouse of nutrients, brimming with fiber and omega-3 fatty acids that nourish your body while satisfying your cravings.
Effortless Preparation: With just a few simple steps, you can create this creamy treat in no time. Perfect for busy mornings or a quick snack!
Flavor Flexibility: Enjoy it as written, or try switching the almond extract for vanilla for a fresh twist. The possibilities are endless!
Meal Prep Delight: Make ahead and store in the fridge for up to four days, providing you with a healthful breakfast option right at your fingertips.
Crowd-Pleasing Appeal: Whether served as breakfast or dessert, this Cherry Chia Pudding is bound to impress family and friends. Don’t forget to check out our meal prep tips to make your cooking even easier!
Cherry Chia Pudding Ingredients
• For the Cherry Base
- Frozen Cherries – The main flavor source; they blend beautifully into a creamy milk base for your Cherry Chia Pudding.
- Dairy-Free Milk – Adds creaminess; opt for unsweetened almond, coconut, or oat milk to keep it healthy.
• For Sweetening
- Maple Syrup – Sweetens the pudding naturally; feel free to substitute with agave or date syrup based on how sweet you prefer it.
- Almond Extract – A little goes a long way for flavor; consider swapping it with vanilla extract if you want a different taste.
• For Texture
- Whole Chia Seeds – Essential for achieving that luscious pudding texture; stick with whole seeds for the best results as ground seeds won’t thicken properly.
Dive into this delightful concoction, and experience the joy of homemade Cherry Chia Pudding!
Step‑by‑Step Instructions for Cherry Chia Pudding
Step 1: Blend the Cherry Base
In a blender, combine 1 cup of frozen cherries, 2 cups of dairy-free milk, 2 tablespoons of maple syrup, and ½ teaspoon of almond extract. Blend on high speed for about 30 seconds or until the mixture is smooth and vibrant in color. You’ll know it’s ready when there are no visible chunks of cherries, and the mixture is creamy.
Step 2: Incorporate Chia Seeds
Pour the cherry milk mixture into a clean jar or bowl, then add ¼ cup of whole chia seeds. Stir vigorously for about 1 minute to ensure the chia seeds are evenly distributed, preventing clumping. The visually appealing swirl of the cherry mixture with the chia seeds should be obvious as you mix, setting the stage for the pudding’s thickening.
Step 3: Let it Thicken
Allow the mixture to sit at room temperature for 10 minutes. During this time, the chia seeds will start to absorb the liquid, creating a pudding-like texture. After 10 minutes, give it another good stir to break any remaining clumps, ensuring even thickening throughout the cherry chia pudding.
Step 4: Refrigerate Overnight
Cover the jar or bowl tightly with a lid or plastic wrap, and place it in the refrigerator. Let it chill overnight, or for at least 4 hours, to achieve the perfect consistency. When you return, you’ll notice the pudding has thickened significantly and taken on a delightful gel-like texture, inviting you to enjoy its creamy goodness.
Step 5: Serve and Enjoy
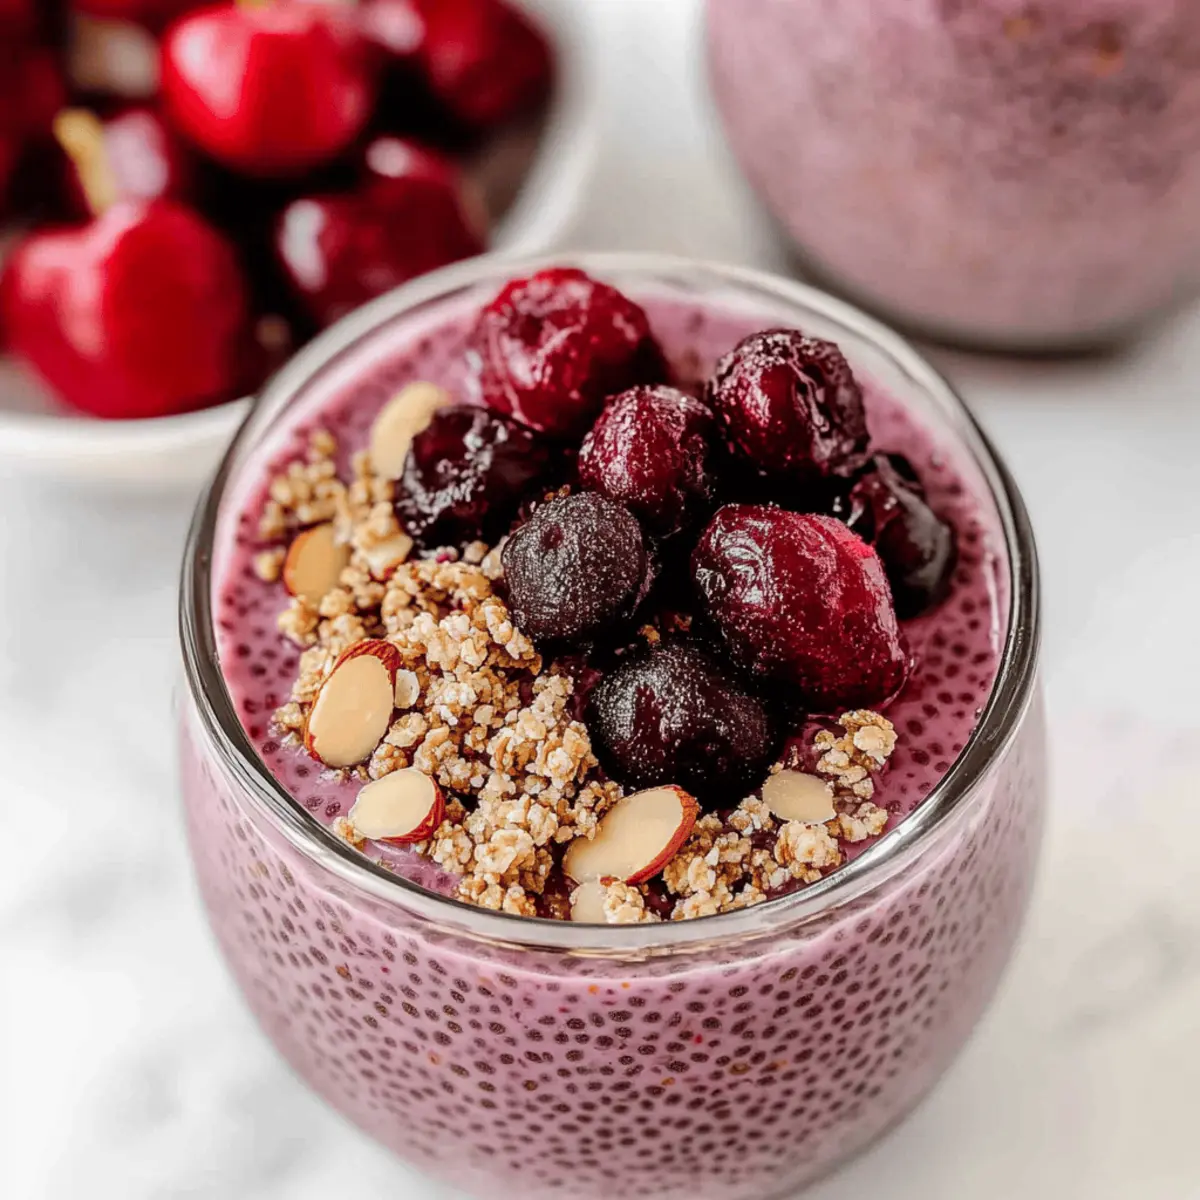
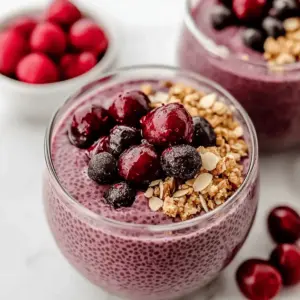
Before serving, give the pudding a good stir to bring back its creamy texture. Spoon it into serving dishes, and top with your favorite fresh fruits, crunchy granola, or a dollop of creamy yogurt. The vibrant color and fresh toppings will not only look beautiful but will also enhance the deliciousness of your Cherry Chia Pudding!
Expert Tips for Cherry Chia Pudding
Measure Your Extract: Ensure you’re cautious with almond extract; too much can overpower the pudding’s delightful flavor. Stick to ½ teaspoon for balance.
Thickening Time: If your pudding is too thin after chilling, add an extra tablespoon of chia seeds and let it sit longer to achieve your desired consistency.
Brand Matters: Different brands of chia seeds may absorb liquid differently. Experiment with your favorite brand to find that perfect creamy texture for your cherry chia pudding.
Cool Down: Let the blended cherry milk cool to room temperature before refrigerating; this helps the chia absorb moisture more effectively for optimal thickening.
Storage Savvy: Store leftovers in an airtight container in the fridge for up to 4 days. If it thickens too much, just stir in a splash of dairy-free milk to loosen it up!
How to Store and Freeze Cherry Chia Pudding
- Fridge: Store your Cherry Chia Pudding in an airtight container for up to 4 days. If it thickens too much, simply add a splash of dairy-free milk to regain the desired consistency.
- Freezer: For longer storage, freeze the pudding in portions for up to 2 months. Thaw overnight in the fridge before serving and stir well to restore its creamy texture.
- Reheating: Enjoy it cold or at room temperature; avoid microwaving as it may affect the pudding’s texture. Give it a good stir before serving to refresh the consistency.
Cherry Chia Pudding Variations
Feel free to get creative with your Cherry Chia Pudding and transform it into something uniquely yours!
-
Dairy-Free Delight: Use any non-dairy milk like coconut or oat milk for a different creamy vibe. Each variety adds its own subtle flavor!
-
Nut-Free Option: Swap almond extract for a splash of vanilla extract to cater to nut allergies while still delivering a delicious taste. Vanilla’s sweet warmth complements the cherry beautifully.
-
Sweetness Swap: If you prefer less sugar, try using stevia or monk fruit sweetener as your sweetener of choice. Just remember to adjust the amount to taste!
-
Fruit Fusion: Replace frozen cherries with peaches or raspberries for a fruity twist. Mixing fruits adds a vibrant color and a delightful taste experience to each spoonful.
-
Chocolate Lovers: For a decadent touch, add a tablespoon of cocoa powder to the cherry mixture before blending. A drizzle of melted dark chocolate on top will take your pudding to new heights!
-
Topping Variations: Top with sliced bananas, crushed nuts, or even a dollop of coconut yogurt for extra texture and flavor. Don’t hesitate to add crunchy granola, too—your taste buds will thank you!
-
Protein Boost: For an added protein punch, mix in a scoop of your favorite plant-based protein powder into the cherry base before blending. It’s a great way to enhance nutrition without compromising taste.
-
Spicy Kick: For those who enjoy a bit of heat, add a pinch of cayenne pepper or a drizzle of sriracha before blending. It’s an unexpected twist that could surprise you and your guests!
Exploring these variations can elevate your Cherry Chia Pudding and make it an even more enjoyable homemade treat. Plus, for more flavors, check out our meal prep tips to simplify your cooking routine!
Make Ahead Options
These Cherry Chia Pudding cups are a fantastic option for busy home cooks looking to save time during the week! You can prepare the cherry base (frozen cherries, dairy-free milk, maple syrup, and almond extract) up to 24 hours in advance. Store this mixture in an airtight container in the refrigerator. When you’re ready to enjoy, simply add the whole chia seeds and let the pudding sit for 10 minutes before stirring and refrigerating overnight (or for at least 4 hours). This way, you’ll ensure a creamy, thick pudding that remains just as delicious after being prepped ahead. Enjoy the convenience of having a nutritious breakfast or snack ready to go!
What to Serve with Cherry Chia Pudding
Picture a breakfast table bathed in morning light, with a bowl of vibrant cherry chia pudding enticing you to indulge. This deliciously creamy treat is not only nourishing but pairs beautifully with a variety of complementary dishes.
- Crunchy Granola: Add a delightful texture contrast with nutty granola. It brings a satisfying crunch that elevates each spoonful of creamy pudding.
- Fresh Berries: Brighten your bowl with a mix of strawberries and blueberries, accentuating the cherry flavor and adding a tart sweetness.
- Creamy Coconut Yogurt: The rich and creamy yogurt provides a luxurious touch, making the dessert feel indulgent while keeping it plant-based.
- Savory Avocado Toast: Pair with a slice of whole-grain avocado toast for a balanced meal, where the creaminess of avocado complements the pudding perfectly.
For those looking to quench their thirst, consider serving a refreshing glass of Smooth Green Juice. This vibrant juice offers a nutrient-dense pairing that invigorates the senses.
Lastly, don’t forget about dessert! A simple Dark Chocolate Square can finish off your meal with a touch of elegance, leaving a satisfying hint of sweetness on your palate.
Cherry Chia Pudding Recipe FAQs
How do I choose the best frozen cherries for the pudding?
Absolutely! When selecting frozen cherries, look for ones that are bright in color and without any frost or ice crystals. Avoid packages with dark spots all over, as these can indicate freezer burn, which will impact the flavor. If using fresh cherries, choose ones that are ripe, plump, and free from blemishes.
How should I store leftover Cherry Chia Pudding?
Very simple! Store your Cherry Chia Pudding in an airtight container in the refrigerator for up to 4 days. To keep the pudding from thickening too much, just add a splash of dairy-free milk and stir it in to reach your desired consistency before enjoying.
Advertisement
Can I freeze Cherry Chia Pudding?
Of course! You can freeze your Cherry Chia Pudding in individual portions or as a whole. Just make sure it’s in a freezer-safe container and label it. It will stay fresh for up to 2 months. When you’re ready to enjoy it, thaw the pudding overnight in the refrigerator and give it a good stir to restore its creamy texture.
What if my pudding is too thin?
No worries! If your pudding turns out too runny after refrigerating, simply add an additional tablespoon of whole chia seeds. Stir well, and then let it sit at room temperature for about 20-30 minutes to thicken—it should achieve the perfect pudding-like consistency!
Are there any dietary considerations for pets with this recipe?
Absolutely! While Cherry Chia Pudding is nutritious for humans, it’s best to keep it away from pets, especially the sweeteners like maple syrup. Cherries can also be toxic to dogs, so make sure to enjoy this delicious dessert just for yourself!
Can I substitute any ingredients for allergies?
Very much so! If you have allergies, feel free to swap out the almond extract for vanilla to accommodate nut sensitivities. Also, you can use any dairy-free milk of your choice, like soy or oat, to meet your dietary needs while still enjoying this delicious Cherry Chia Pudding!

Delicious Cherry Chia Pudding for a Healthy Start
Ingredients
Equipment
Method
- Blend the cherry base: In a blender, combine the frozen cherries, dairy-free milk, maple syrup, and almond extract. Blend on high speed for about 30 seconds until smooth.
- Incorporate chia seeds: Pour the mixture into a clean jar or bowl, add chia seeds, and stir for about 1 minute.
- Let it thicken: Allow the mixture to sit at room temperature for 10 minutes, then stir again.
- Refrigerate overnight: Cover and chill in the refrigerator for at least 4 hours, or overnight.
- Serve and enjoy: Before serving, stir well, spoon into dishes, and add your favorite toppings.