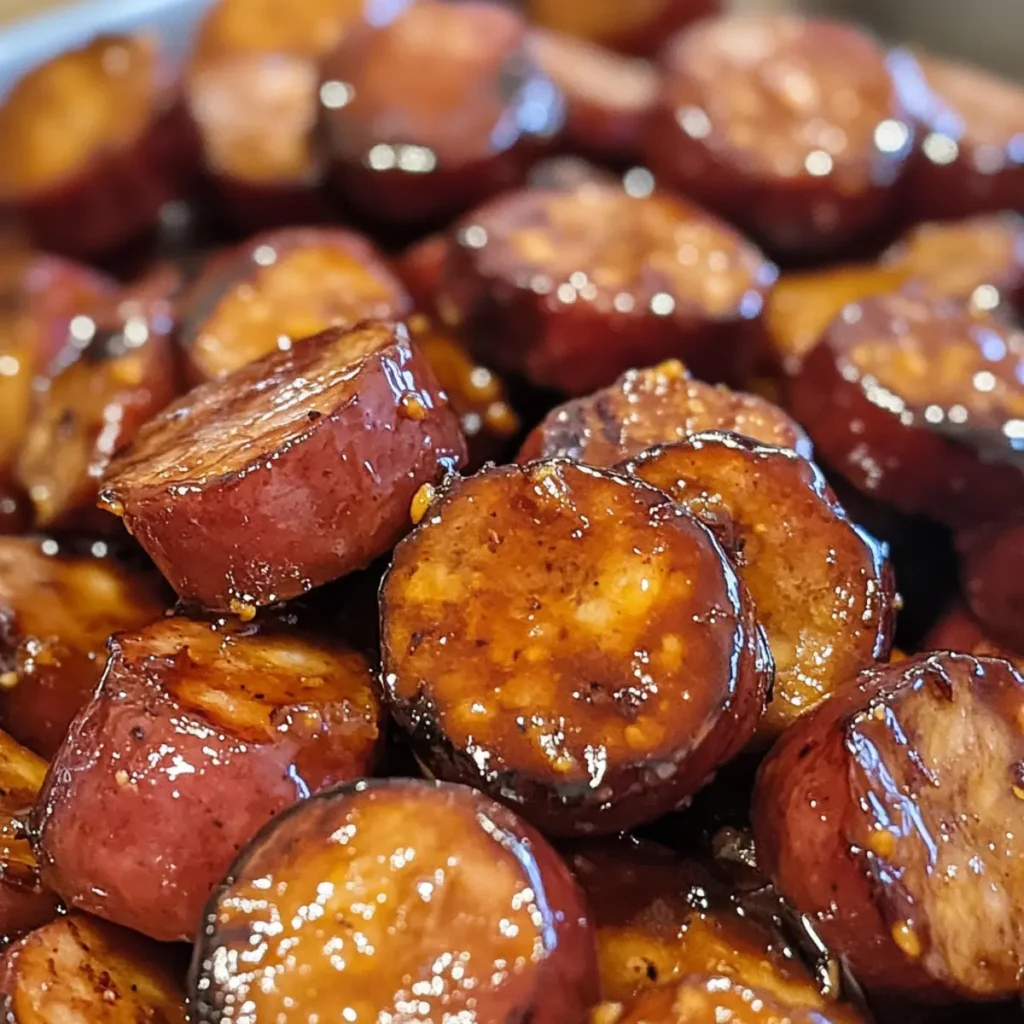
At our last game night, laughter filled the air, but so did the irresistible aroma of something sweet and smoky simmering on the stove. Those were my Candied Kielbasa Bites, the showstopper of the evening. With each glazed, juicy bite coated in a luscious sauce, they transformed my small gathering into a flavor-packed celebration. This easy recipe not only whips up in a jiffy but also guarantees to impress your friends and family. Whether you’re prepping for a casual get-together or a lively party, these bites are perfect for satisfying your cravings while keeping your kitchen stress-free. Ready to elevate your appetizer game? Let’s dive into the sweet and savory world of Candied Kielbasa Bites that are bound to become a staple at your gatherings!
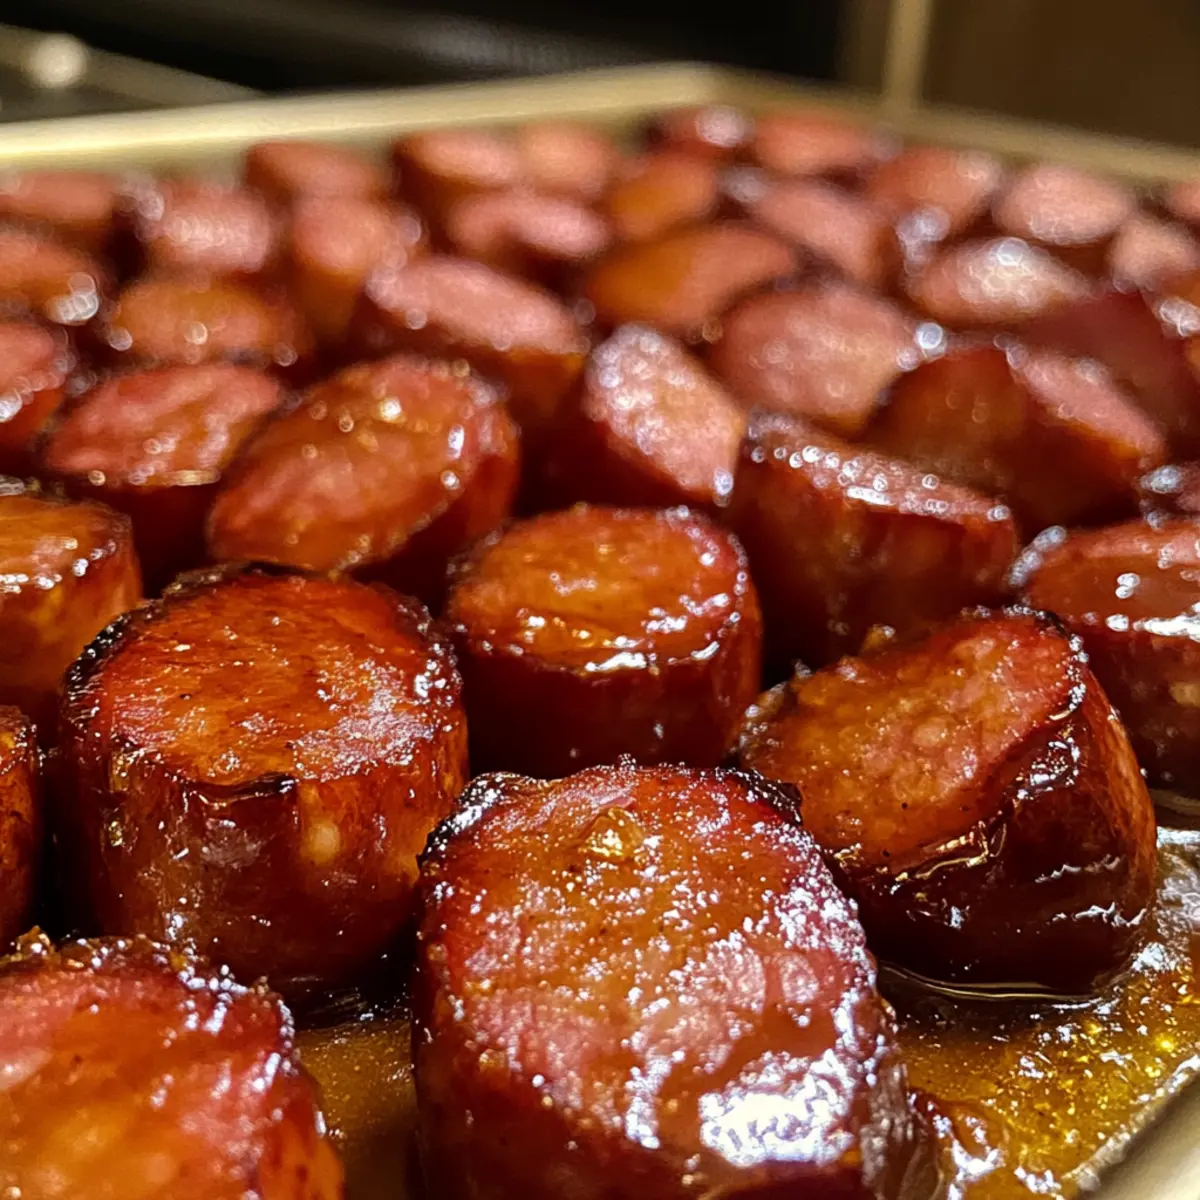
Why Are Candied Kielbasa Bites a Must-Try?
Unforgettable Flavor: The blend of sweet brown sugar and savory kielbasa creates an incredible taste sensation that keeps everyone coming back for more.
Effortlessly Simple: With just a handful of ingredients and minimal prep time, these bites let you enjoy time with your guests instead of slaving away in the kitchen.
Versatile Variations: Want to kick it up a notch? Feel free to swap in turkey sausage or add a spicy flair with red pepper flakes or hot sauce!
Perfect for Any Occasion: Whether it’s game day or a holiday party, these bites are guaranteed to win over both guests and taste buds. Serve them alongside some Butter Steak Bites for a diverse platter that delights!
Make Ahead Magic: Prepare these a day in advance and simply reheat for an easy, stress-free serving at your next gathering.
Candied Kielbasa Bites Ingredients
• Discover the delicious components that make these bites irresistible!
For the Bites
- Kielbasa Sausage – Choose quality smoked kielbasa for rich flavor and juicy texture.
- Brown Sugar – Essential for sweetness; light or dark both work beautifully.
- Ketchup – Adds tanginess and helps the glaze stick perfectly to the sausage.
- Worcestershire Sauce – Infuses deep umami flavors, balancing the sweetness.
- Garlic Powder – Introduces a subtle savory depth to the overall flavor profile.
- Red Pepper Flakes (optional) – Add these for a zesty kick if you enjoy a spicy twist!
Make these Candied Kielbasa Bites for a scrumptious party appetizer that everyone will love!
Step‑by‑Step Instructions for Candied Kielbasa Bites
Step 1: Slice the Sausage
Begin by slicing the smoked kielbasa into ½-inch thick rounds, ensuring each piece is uniform for even cooking. Use a sharp knife and a cutting board for safety and ease. This step is crucial as it allows the kielbasa to absorb the flavors of the glaze effectively while providing a satisfying bite size.
Step 2: Prepare the Glaze
In a medium saucepan over medium heat, combine the brown sugar, ketchup, Worcestershire sauce, and garlic powder. Stir the mixture gently until it begins to bubble and the sugar is fully dissolved, which should take about 3-4 minutes. Keep an eye on the glaze as it thickens, creating a sticky and glossy consistency that will coat your Candied Kielbasa Bites perfectly.
Step 3: Add Heat (Optional)
If you desire a spicy kick, this is the moment to add red pepper flakes or hot sauce to the bubbling glaze. Stir well to incorporate the heat evenly throughout the mixture. The sweet and smoky flavor of the kielbasa will balance beautifully with any added spice, enhancing this appetizer’s appeal at your gatherings.
Step 4: Coat the Kielbasa
Carefully add the sliced kielbasa to the saucepan, ensuring each piece is well-coated with the luscious glaze. Use a wooden spoon to gently stir the sausage, allowing it to soak in all the sweet and savory flavors. Keep the heat on medium-low, ensuring the glaze continues to bubble around the bites as they cook.
Step 5: Simmer Until Thickened
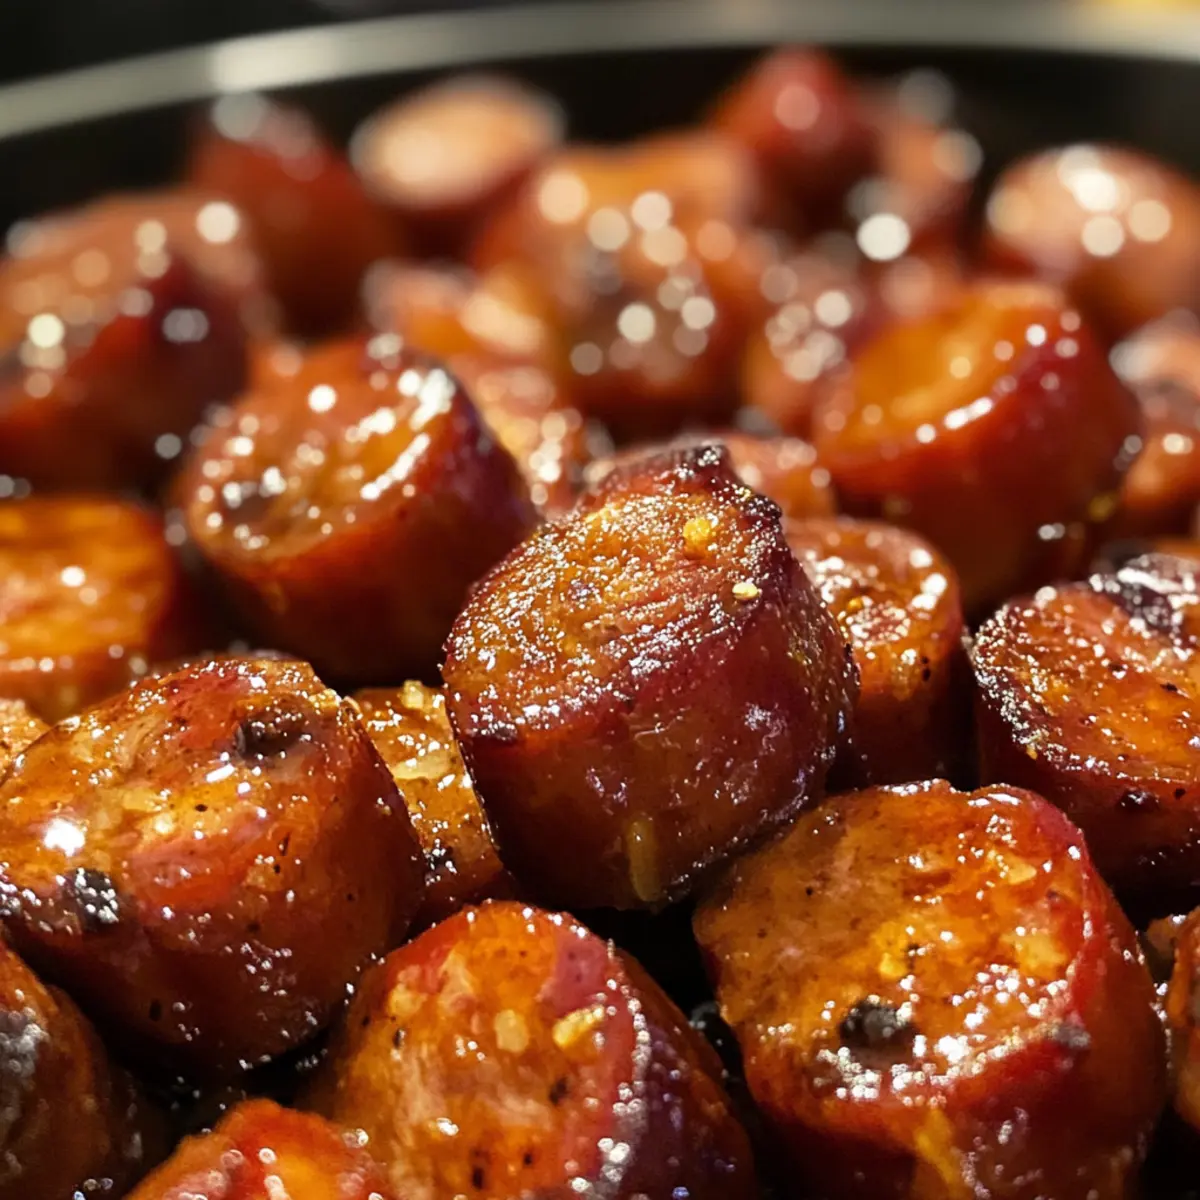
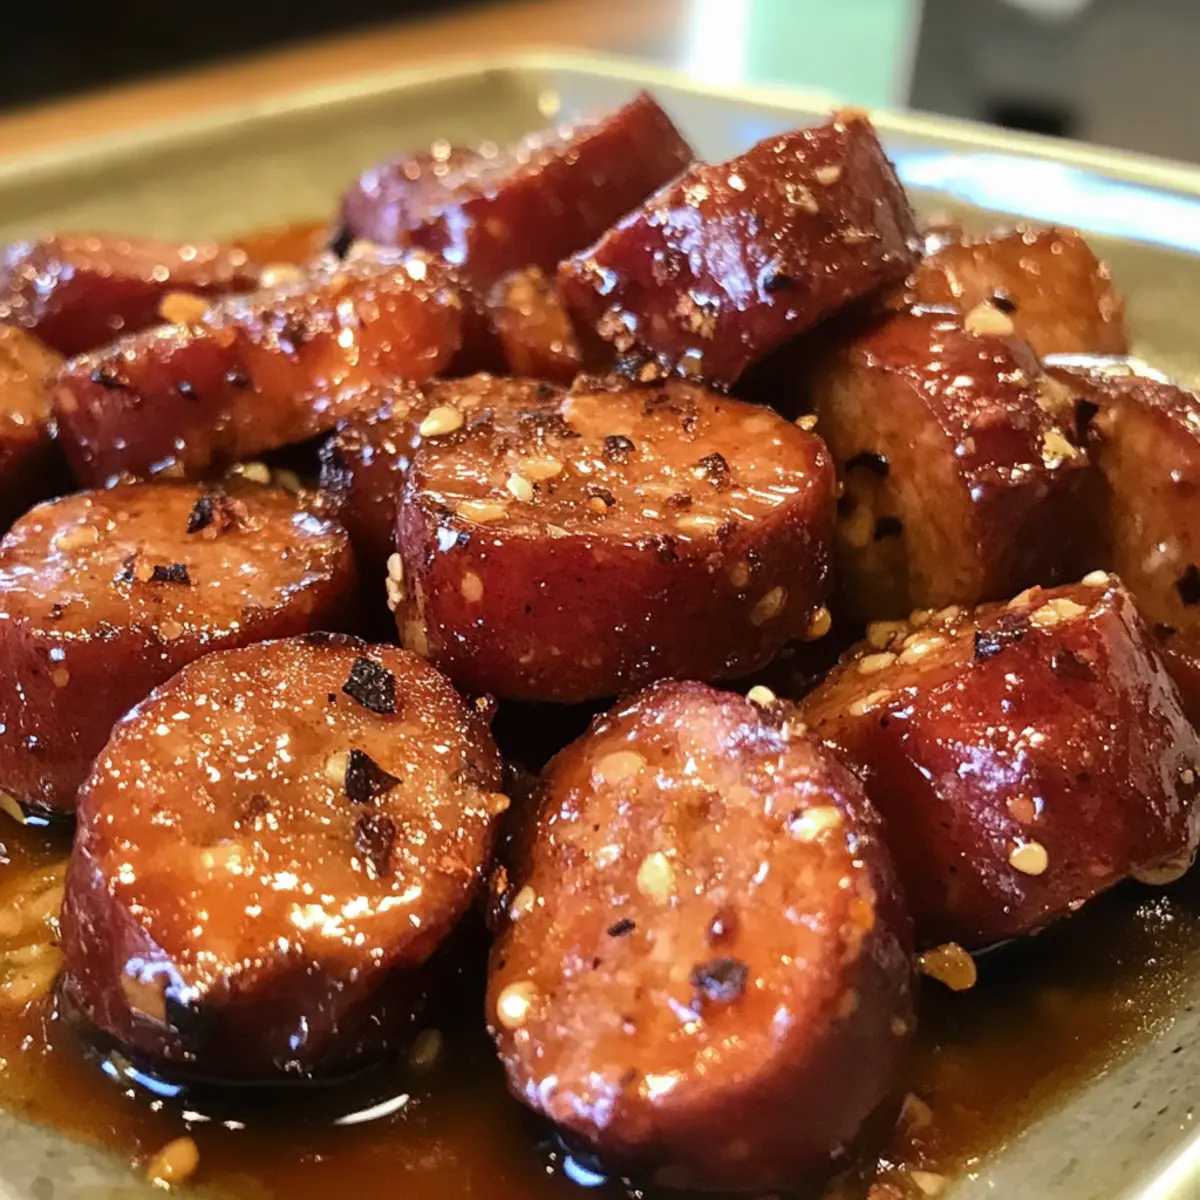
Reduce the heat to low and let the candied kielbasa simmer for about 20-25 minutes. Occasionally stir the mixture to promote even coating and prevent sticking. As it cooks, you’ll notice the glaze thickening and clinging beautifully to each sausage piece, transforming into irresistibly sticky bites.
Step 6: Serve and Garnish
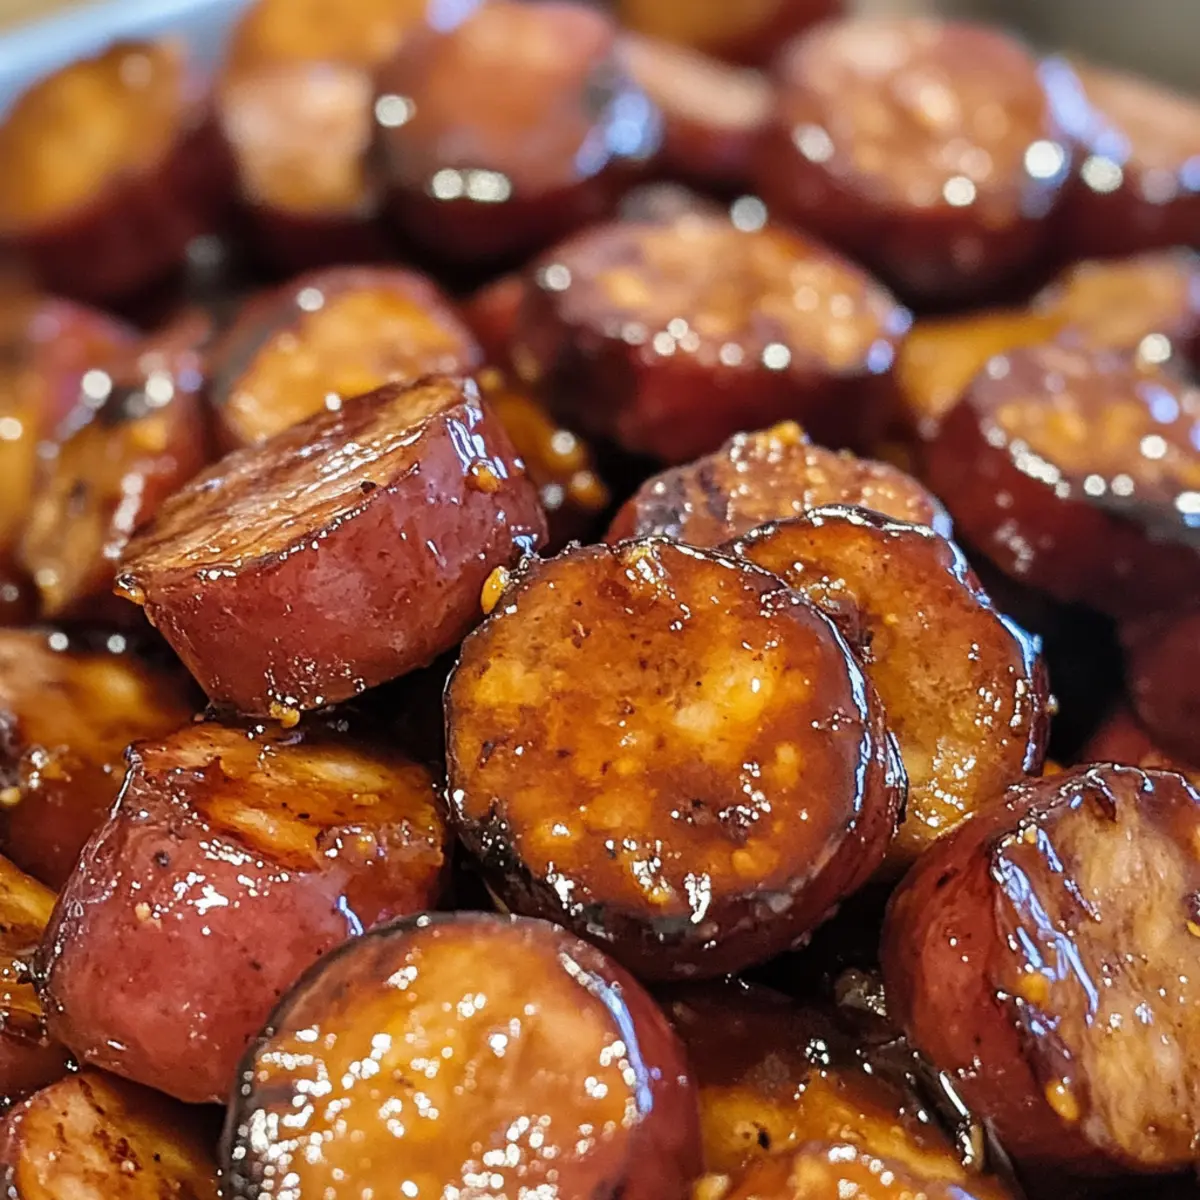
Once the Candied Kielbasa Bites are perfectly glazed, remove them from the heat and transfer to a serving platter. Serve these warm, and consider garnishing with chopped parsley for a pop of color and freshness. Providing toothpicks will help your guests easily enjoy these delightful, flavorful bites at your gathering!
Make Ahead Options
These Candied Kielbasa Bites are perfect for meal prep, making them a fantastic choice for busy weeknights or gatherings. You can prepare the glaze and slice the kielbasa up to 24 hours in advance. Simply store the sliced sausage and glaze separately in airtight containers in the refrigerator. When you’re ready to serve, all you need to do is combine them in a saucepan and simmer for about 20-25 minutes until warmed through and the sauce clings beautifully to the sausage. This method ensures that your Candied Kielbasa Bites remain just as delicious and flavorful, saving you time and stress on the day of your event!
What to Serve with Sweet & Smoky Candied Kielbasa Bites
Elevate your gathering by pairing these sticky, sweet bites with sides that complement and enhance their delicious flavors.
-
Creamy Mashed Potatoes: The velvety texture of buttery mashed potatoes creates a perfect contrast to the candied kielbasa’s sticky glaze. Each bite becomes an indulgent experience!
-
Cornbread Muffins: Sweet cornbread introduces a lovely texture and mild sweetness, balancing the savory flavors of the kielbasa beautifully. These muffins are delightful dunked in the leftover glaze.
-
Crisp Green Salad: A fresh salad with mixed greens and vibrant veggies provides a refreshing crunch that lightens up the meal while cutting through the richness of the candied bites.
-
Coleslaw: The crunchy cabbage and tangy dressing in coleslaw offers a refreshing bite that pairs excellently with the sweet and smoky notes of the kielbasa.
-
Fruit Skewers: Bright, juicy fruits like pineapple or strawberries on skewers bring a pop of color and refreshing sweetness, perfectly balancing the savory richness of the bites.
-
Sparkling Lemonade: Quench thirst with a bubbly, citrusy drink that enhances the flavors while refreshing your palate. It perfectly complements the sweetness of the candied sausages.
-
Chocolate Chip Cookies: End the meal on a sweet note with warm, gooey chocolate chip cookies, their richness providing a lovely counterbalance to your savory appetizer.
Storage Tips for Candied Kielbasa Bites
Fridge: Store any leftover Candied Kielbasa Bites in an airtight container for up to 4 days. Ensure they are well-coated with glaze for maximum flavor retention.
Freezer: For longer storage, freeze the bites in an airtight container or freezer bag for up to 3 months. Thaw overnight in the fridge before reheating.
Reheating: Gently reheat the bites on the stove over low heat or in the microwave. Add a splash of water to the pan or container to keep them moist and saucy.
Make-Ahead Tip: Prepare the kielbasa bites a day in advance, then simply reheat before serving for a convenient and delicious appetizer option!
Variations for Candied Kielbasa Bites
Feel free to mix it up and customize these bites to suit your palate and occasion!
-
Turkey Sausage: Swap kielbasa for turkey sausage to enjoy a lighter option without sacrificing flavor. The glaze pairs beautifully with the leaner meat, offering a delicious twist!
-
Andouille Flavor: For a smoky kick, use andouille sausage instead. This variation brings a delightful spice that enhances the overall complexity of the dish, perfect for adventurous eaters.
-
Sweetener Swap: Experiment with maple syrup or honey instead of brown sugar for a different sweetness profile. This creates a unique taste that’s both pleasantly sticky and warmly rich.
-
Kick Up the Heat: Add diced jalapeños or a splash of sriracha to the glaze for that extra heat. Your guests will love the fiery surprise cutting through the sweetness!
-
Fruity Twist: Mix in some pineapple or mango chunks during the simmering stage for a tropical flair. The fruit adds a burst of freshness and a delightful contrast to the savory bites.
-
Herb Infusion: Consider adding fresh herbs like thyme or rosemary to the glaze. A touch of fresh herbs can elevate the flavor and add aromatic dimensions to your candied bites.
-
Sweet and Spicy Glaze: Create a sweet and spicy experience by blending brown sugar with chili powder in the glaze. This signature twist will make your bites uniquely memorable.
-
Cheesy Finish: Top the finished bites with shredded cheese, like cheddar or pepper jack, and broil until melted for a savory, gooey twist! Pair them with some creamy mashed potatoes for a comforting feast, or serve alongside DIY Christmas Bites for a festive platter.
With these variations, you have plenty of room to play around and make this recipe uniquely yours. Bon appétit!
Expert Tips for Candied Kielbasa Bites
-
Choose Quality Sausage: Opt for high-quality smoked kielbasa for those rich flavors and juicy textures that make these bites irresistible.
-
Avoid Overcooking: Monitor the simmering time closely; overcooking can result in a dry texture. Aim for 20-25 minutes of simmering.
-
Customize Your Heat: Feel free to adjust the spiciness! If you like it less spicy, start with a small amount of red pepper flakes and taste as you go.
-
Garnish to Impress: A sprinkle of fresh parsley not only adds color but also a hint of freshness that balances the flavors nicely.
-
Keep Warm Easily: To maintain temperature during parties, transfer the glazed bites to a slow cooker set on low. They’ll stay deliciously warm and ready to serve.
-
Storage Hacks: Leftovers? No problem! Store them in an airtight container and reheat gently with a splash of water to keep them saucy and enjoyable.
Candied Kielbasa Bites Recipe FAQs
How do I choose the best kielbasa for this recipe?
Absolutely! For the best flavor and texture in your Candied Kielbasa Bites, opt for quality smoked kielbasa. Look for brands that emphasize natural ingredients and have a good balance of fat. A shiny, casing and a firm feel are also signs of a high-quality sausage. This choice will elevate your bites to a whole new level of deliciousness!
What’s the best way to store leftovers?
Very! After enjoying your Candied Kielbasa Bites, store any leftovers in an airtight container in the refrigerator. They’ll stay fresh for up to 4 days. Remember to add a little extra glaze before sealing to keep them moist and flavorful!
Advertisement
Can I freeze Candied Kielbasa Bites?
You bet! To freeze your Candied Kielbasa Bites, first let them cool completely. Then, transfer them to an airtight container or freezer-safe bag. They can be stored for up to 3 months. When you’re ready to enjoy them again, simply thaw overnight in the fridge and reheat gently on the stove or in the microwave, adding a splash of water to prevent drying out.
What if the glaze doesn’t stick to the sausage?
If you find that the glaze isn’t sticking as well as you’d like, it’s likely due to not simmering long enough. Ensure you let the mixture simmer for the full 20-25 minutes, allowing it to thicken and coat the sausages effectively. Remember to stir occasionally, and if you find the sauce still feels thin, add a little more brown sugar and let it simmer a few minutes longer. The consistency will improve beautifully!
Any dietary considerations I should be aware of?
Great question! For those with dietary restrictions, make sure to check the labels on your kielbasa and any sauces for allergens. Some brands may contain gluten or dairy. If you’re catering to gluten-sensitive guests, consider using gluten-free ketchup and ensuring that your sausage is gluten-free. If you have any pets, it’s best to keep these bites away from them as the seasoning might be too rich for their tummies.
Can I make these bites a day ahead?
Absolutely! Preparing your Candied Kielbasa Bites a day ahead is a fantastic idea. Cook them completely and let them cool before storing them in an airtight container in the fridge. When it’s time to serve, just reheat them gently on the stove with a splash of water to help the glaze return to its sticky, luscious state.
Sweet & Smoky Candied Kielbasa Bites for Epic Gatherings
Ingredients
Equipment
Method
- Slice the smoked kielbasa into ½-inch thick rounds.
- In a medium saucepan, combine the brown sugar, ketchup, Worcestershire sauce, and garlic powder over medium heat.
- Add red pepper flakes if desired to the glaze.
- Coat the sliced kielbasa in the glaze.
- Simmer for about 20-25 minutes, stirring occasionally.
- Serve warm and garnish with chopped parsley.