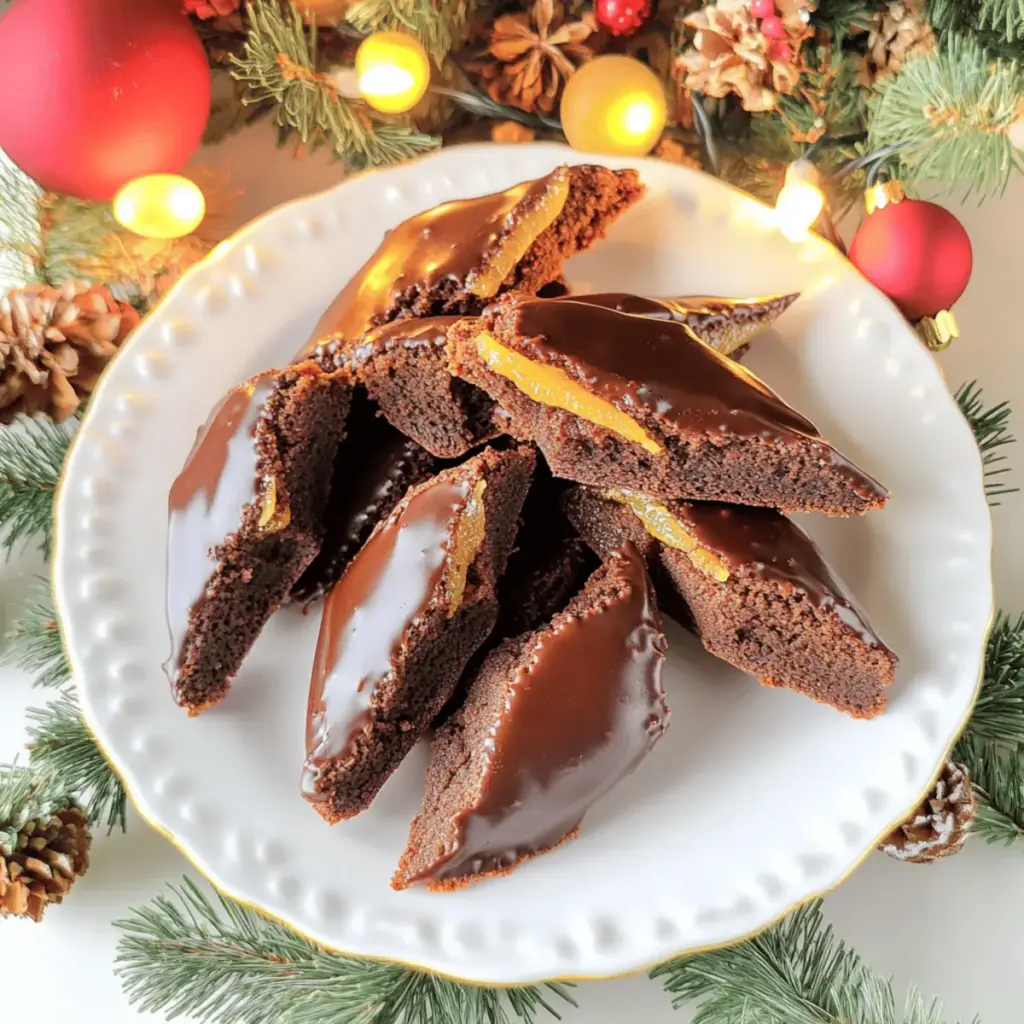
As the crisp autumn air creeps in, there’s an electric buzz in the kitchen, and that can only mean one thing—Halloween baking is officially on! Enter my Wicked Witch Hat Brownies, a delightful blend of ooey-gooey fudgy goodness and playful decoration. These fun treats not only capture the spirit of the season but also offer the perfect platform for creativity, making them a fantastic project for bakers of all levels. Plus, they can easily accommodate your dietary needs with gluten-free and vegan adaptations, ensuring that everyone can join in on the spooky celebration. Who could resist a brownie topped with a whimsical witch hat? Trust me, these brownies will not only vanish faster than you can say “Trick or Treat,” but they’ll also bring smiles to faces young and old. Ready to conjure up some magic in your kitchen? Let’s dive into the recipe!
Why Are These Brownies So Magical?
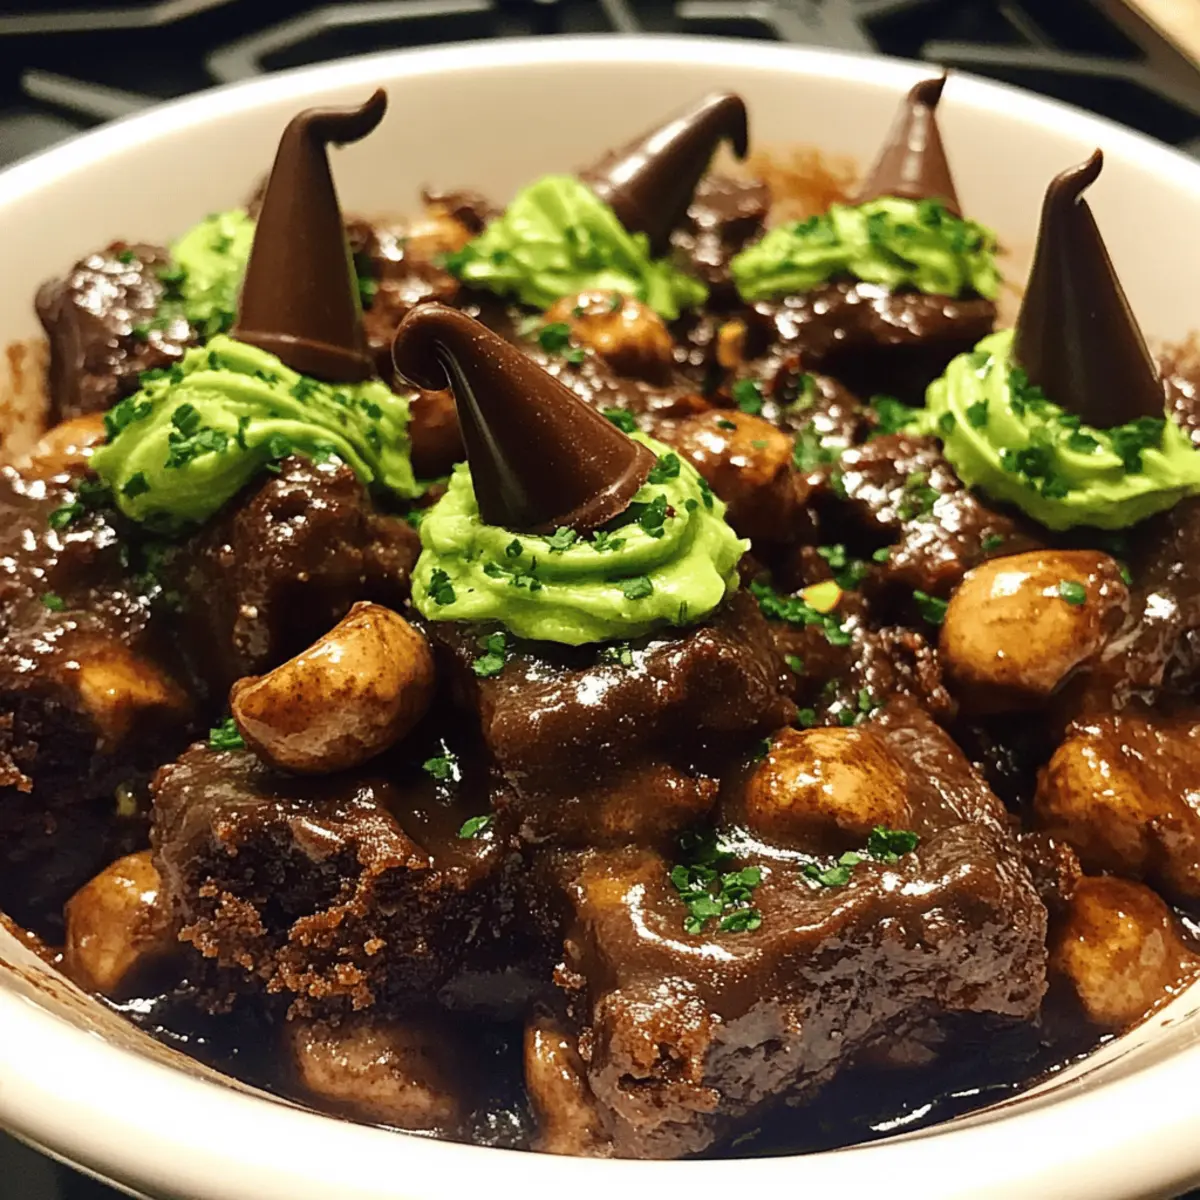
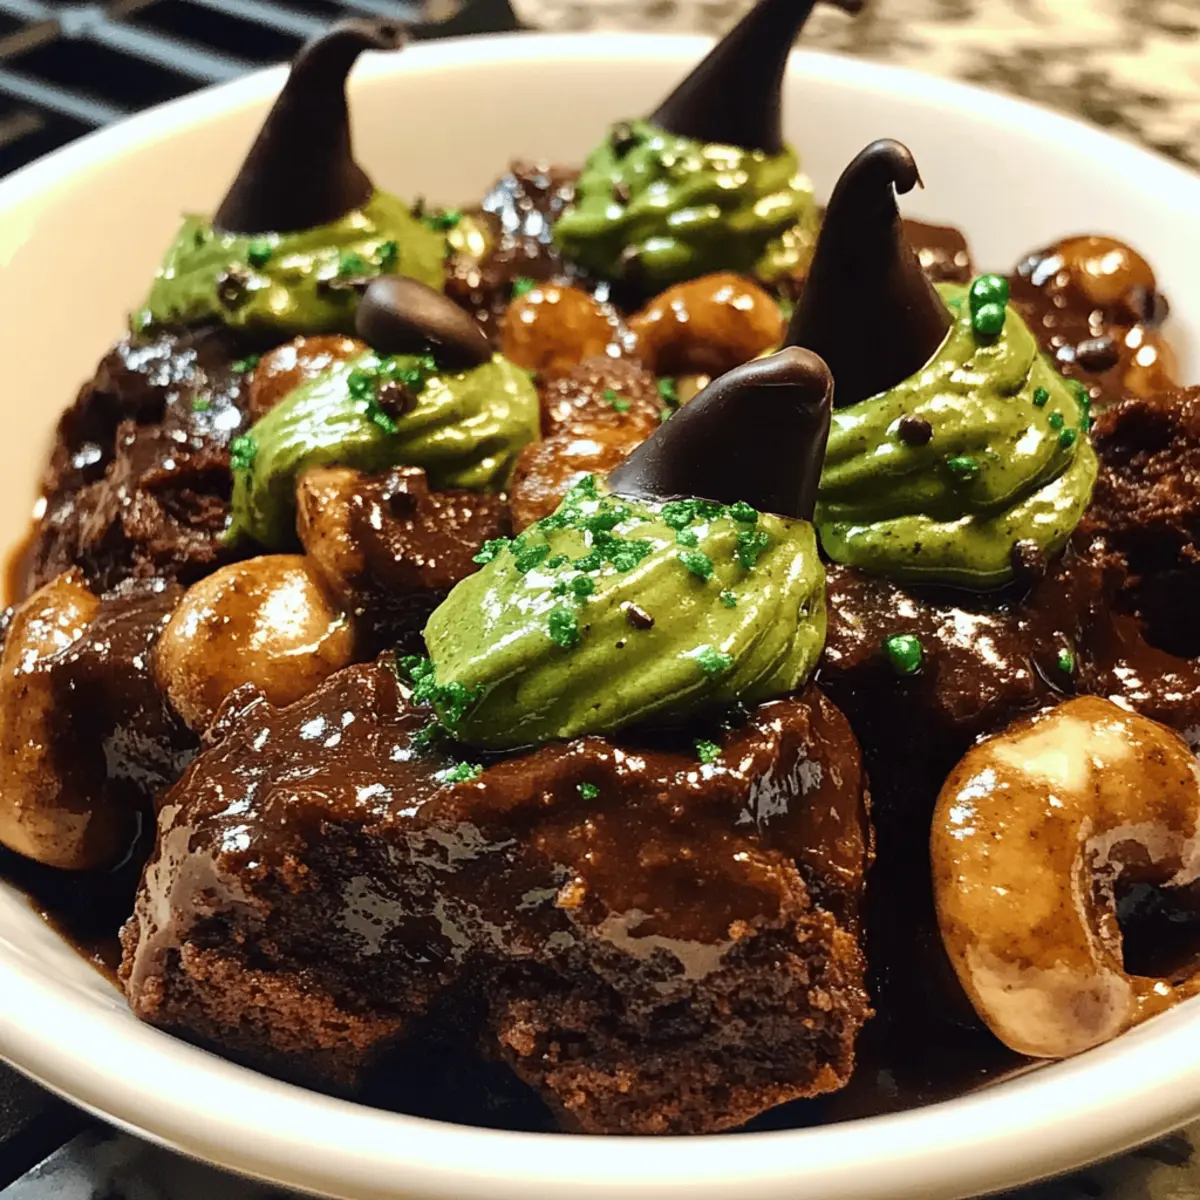
Playful presentation: These Wicked Witch Hat Brownies steal the show with their creative witch hat design, making them a hit at Halloween parties.
Versatile options: With gluten-free and vegan variations, everyone can indulge. Don’t hesitate to explore options with a Crockpot Marry Chicken or a Healthy Beef Broccoli to complete your festive spread!
Fudgy perfection: Each brownie is rich and moist, delivering a perfectly decadent bite.
Easy to make: Simple directions ensure that even novice bakers can master this spooktacular treat.
Crowd pleaser: These brownies are bound to impress both kids and adults, making them the ultimate Halloween delight!
Wicked Witch Hat Brownie Ingredients
• Gather your ingredients for this fun brownie adventure that’s perfect for Halloween!
For the Brownies
- Unsalted Butter – Adds richness and moisture; swap with vegan butter for a dairy-free option.
- Granulated Sugar – Provides sweetness and helps achieve a tender, soft texture.
- Eggs – Adds structure and richness; for vegan brownies, use flax eggs (1 tbsp ground flaxseed + 2.5 tbsp water per egg).
- Vanilla Extract – Enhances flavor; no substitutions needed, but a clear vanilla can be used for a more vibrant taste.
- All-Purpose Flour – Gives structure; substitute with a gluten-free flour blend that includes xanthan gum for gluten-free brownies.
- Unsweetened Cocoa Powder – Provides deep chocolate flavor; try dark cocoa for a richer taste.
- Salt – Balances sweetness and enhances flavor.
- Baking Powder – Helps brownies rise slightly; replace with baking soda if needed, but this will change the texture.
For the Decoration
- Chocolate Ice Cream Cones – Serve as the whimsical witch hat; chocolate cones provide a delicious flavor pairing.
- Powdered Sugar – Essential for the frosting’s sweetness and texture; sugar substitutes can alter consistency.
- Milk – Adds moisture to the frosting; opt for non-dairy milk for vegan versions.
- Green Food Coloring – Gives that spooky frosting its vibrant hue; skip it for natural colorings or plant-based alternatives.
- Halloween-themed Sprinkles – Adds a festive touch to your witch hats; use them to make your brownies even more magical!
With these ingredients, you’re well on your way to crafting these delightful Wicked Witch Hat Brownies. They’re guaranteed to be a hit at any Halloween gathering!
Step‑by‑Step Instructions for Wicked Witch Hat Brownies
Step 1: Prepare the Brownie Batter
Begin by preheating your oven to 350°F (175°C). In a medium saucepan over low heat, melt 1 cup of unsalted butter, stirring until smooth. Once melted, remove from heat and mix in 2 cups of granulated sugar until well combined. Add in 4 large eggs one at a time, followed by 2 teaspoons of vanilla extract, mixing until the batter is glossy and smooth.
Step 2: Mix Dry Ingredients
In a separate bowl, whisk together 1 cup of all-purpose flour, 1 cup of unsweetened cocoa powder, 1 teaspoon of baking powder, and a pinch of salt. Gently fold the dry ingredients into the wet mixture until just combined; be cautious not to overmix, as this could lead to dense brownies. The batter should be thick and fudgy, with no dry flour visible.
Step 3: Bake
Pour the brownie batter into a greased 9×13 inch pan, spreading it evenly. Place it in the preheated oven and bake for 25-30 minutes. To check for doneness, insert a toothpick in the center; it should come out with moist crumbs attached, indicating perfectly fudgy Wicked Witch Hat Brownies.
Step 4: Cool the Brownies
Once baked, remove the brownies from the oven and allow them to cool completely in the pan on a wire rack. This cooling period is essential for achieving the ideal texture, as the brownies will continue to set as they cool. Take your time—patience is key for fudginess!
Step 5: Prepare Witch Hats
As the brownies cool, take your chocolate ice cream cones and, if desired, dip the tops in melted chocolate, then roll them in colorful Halloween sprinkles. This fun step adds a delightful twist to your witch hats and ensures they shine atop your brownies.
Step 6: Frost Brownies
In a mixing bowl, combine 2 cups of powdered sugar, 2-4 tablespoons of milk, 1 teaspoon of vanilla extract, and green food coloring until smooth and fluffy. Once the brownies are fully cooled, generously frost them with this vibrant green mixture, creating a whimsical base for your witch hats.
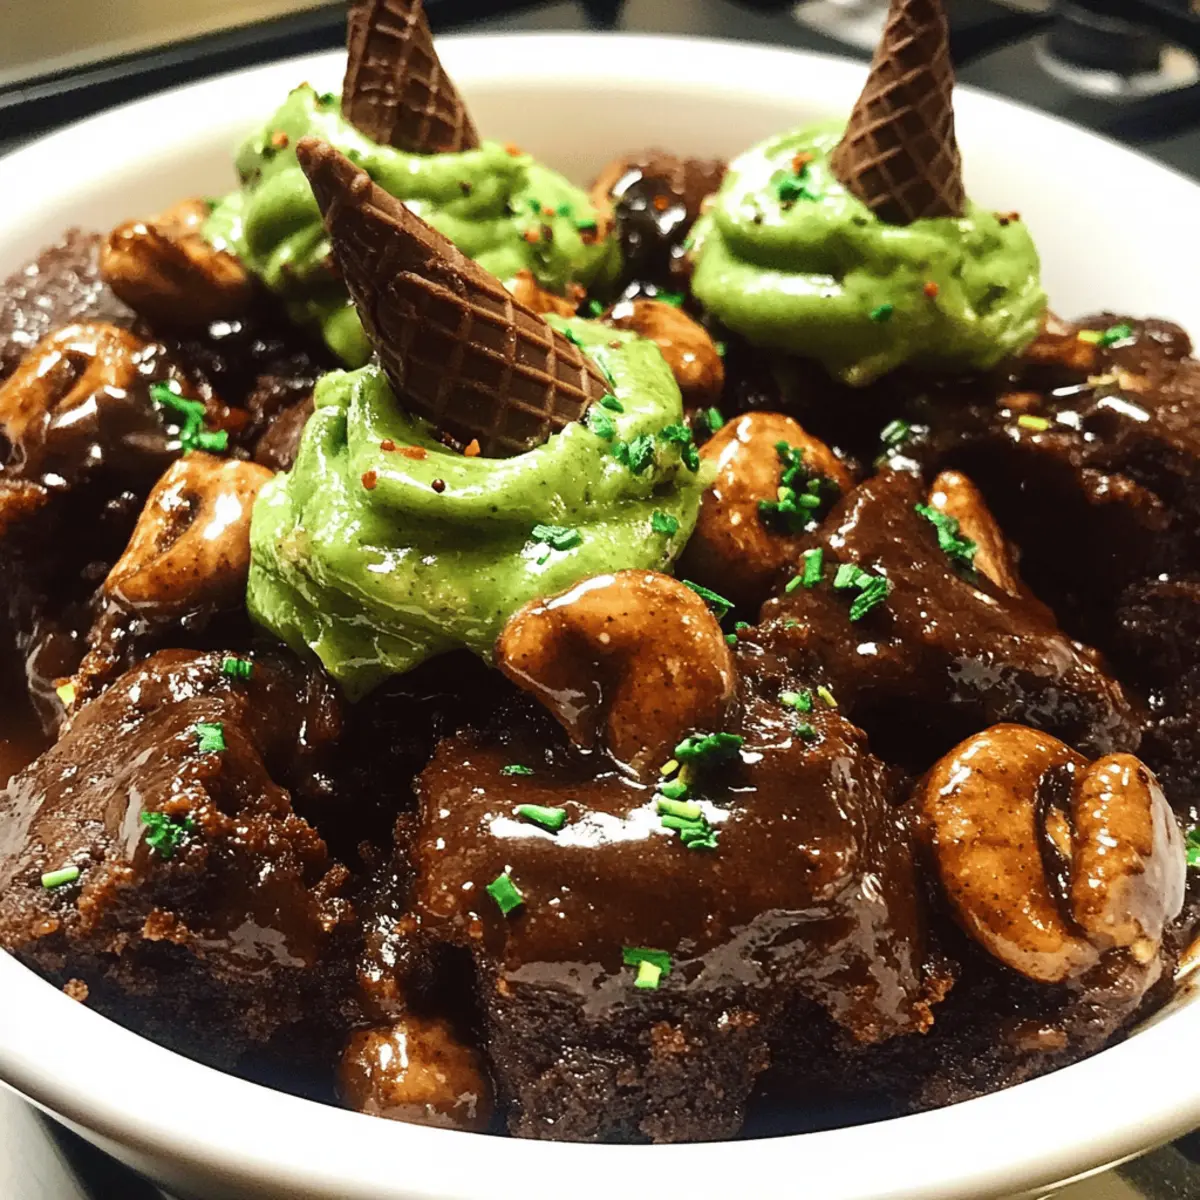
Step 7: Decorate
Finally, take your prepared chocolate ice cream cones and place them upside down on each frosted brownie, resembling witch hats. Feel free to sprinkle additional Halloween-themed decorations on top for an extra festive look. Your Wicked Witch Hat Brownies are now ready to enchant!
Make Ahead Options
These Wicked Witch Hat Brownies are perfect for busy home cooks looking to save time during Halloween festivities! You can bake the brownies up to 2 days in advance and store them in an airtight container at room temperature to keep them moist and fudgy. Additionally, if you expect to decorate them later, prepare the chocolate ice cream cones by dipping the tops in melted chocolate and sprinkles—this can be done 1 day ahead and stored at room temperature. Frost the brownies on the day of serving for the freshest taste; simply whip up the green frosting and spread it generously before topping with the witch hats. This way, your treats will be just as delightful as if you made them all at once!
Expert Tips for Wicked Witch Hat Brownies
-
Room Temperature Eggs: Ensure eggs are at room temperature for better emulsification, which leads to a smoother, fudgier brownie texture.
-
Avoid Overbaking: Keep an eye on the baking time; brownies should be slightly underbaked to maintain their moist, fudgy consistency. Aim for moist crumbs on the toothpick test.
-
Cool Before Frosting: Let the brownies cool completely before frosting to avoid melting the vibrant green topping. This step is crucial for keeping your decorations intact.
-
Use Quality Ingredients: High-quality cocoa powder and vanilla extract will significantly enhance the chocolate flavor; never underestimate the importance of quality in your baking.
-
Perfect Your Frosting: If your frosting is too thick, add a splash more milk until you reach a smooth, spreadable consistency. A well-blended frosting makes for a delightful finish.
-
Decorate Creatively: Feel free to experiment with different Halloween-themed sprinkles or edible decorations, adding a personal touch to your Wicked Witch Hat Brownies for an even more festive dessert!
How to Store and Freeze Wicked Witch Hat Brownies
- Room Temperature: Keep brownies in an airtight container at room temperature for up to 3-5 days to maintain freshness and flavor.
- Fridge: For longer shelf life, store brownies in the fridge; they can last up to a week when kept sealed properly, but may slightly dry out.
- Freezer: Freeze brownies in an airtight container for up to 3 months. Ensure they are wrapped in plastic wrap for added protection against freezer burn.
- Reheating: To enjoy leftover brownies, warm them in the microwave for 10-15 seconds. They’ll soften up beautifully, allowing you to savor the fudgy goodness again!
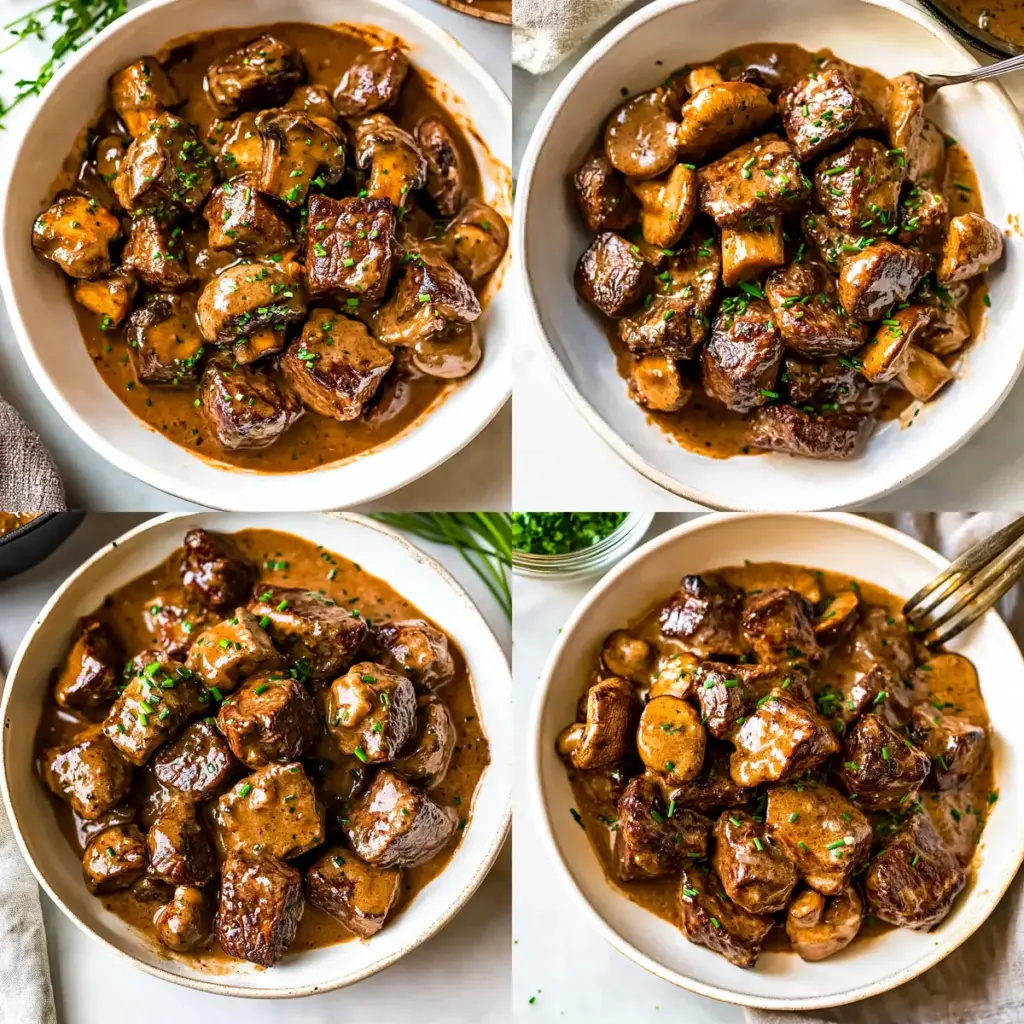
Creamy Crockpot Beef Tips Mushrooms Variations
Feel free to let your creativity shine with these delightful twists on the original recipe that can enhance your culinary experience!
- Gluten-Free Option: Use gluten-free soy sauce and corn starch instead of regular for a delicious adaptation.
- Vegan Version: Swap beef for mushrooms or jackfruit and use vegetable broth instead of broth for a plant-based treat.
- Spicy Kick: Add diced jalapeños or crushed red pepper flakes for an extra layer of heat to the dish.
- Herb Infusion: Experiment with fresh herbs like rosemary or thyme for a burst of flavor that resonates with autumn.
- Creamy Variations: Stir in a dollop of cream cheese or sour cream at the end for a richer sauce that’ll tie everything together beautifully.
- Starchy Side: Serve over creamy mashed potatoes or zoodles for a delightful change in texture that will satisfy your cravings.
- Asian Twist: Incorporate sesame oil and chopped green onions, creating a dish that sings of Asian flavors while still being cozy.
- Hearty Additions: Toss in frozen peas or carrots during the last hour of cooking for a colorful crunch without compromising flavor.
Why not make your wicked witch hat brownies pop by serving them alongside a comforting bowl of these creamy beef tips? Or for an adventurous evening, pair them with a side of decadent spaghetti to balance the richness! Whatever variations you choose, your meals are sure to bewitch your taste buds!
What to Serve with Wicked Witch Hat Brownies?
Indulging in these festive treats is a delight on their own, but pairing them can take your Halloween celebration to the next level!
-
Vanilla Ice Cream: The creamy sweetness of vanilla ice cream contrasts beautifully with the fudgy brownies, making each bite a treat.
-
Spiced Apple Cider: Serve warm spiced apple cider alongside your brownies to bring cozy autumn flavors that complement their richness.
-
Pumpkin Pie: Embrace the season with slices of classic pumpkin pie, balancing chocolatey sweetness with spiced, creamy goodness.
-
Chocolate Milk: For a nostalgic touch, pair these brownies with a glass of chocolate milk, enhancing the indulgent chocolate experience.
-
Homemade Whipped Cream: A dollop of freshly whipped cream adds a luxurious element, lightening the rich brownies while giving a festive flair.
-
Pecan Pie Bars: Featuring a nutty crunch, these bars can add an exciting texture variability next to the soft brownies, pleasing every palate.
Whether you stick to fun drinks or add delightful desserts, these ideas will make your spooky gathering even more memorable!

Wicked Witch Hat Brownies Recipe FAQs
How do I choose the right ripeness for my ingredients?
Absolutely! Make sure your eggs are at room temperature for better mixing. Also, if you’re using fresh butter, it should be slightly soft but not melted—this helps create that perfect, fudgy brownie texture. When picking your cocoa powder, it should be fresh and unsweetened for the best chocolate flavor.
How should I store my brownies, and how long do they last?
For best results, store your Wicked Witch Hat Brownies in an airtight container at room temperature for about 3-5 days. If you want them to last longer, refrigerate them for up to a week, but keep in mind they might dry out a bit. I recommend enjoying them at room temperature or lightly warmed for that decadent experience!
Advertisement
Can I freeze these brownies, and how do I do it correctly?
Sure thing! To freeze your brownies, let them cool completely first. Wrap each brownie individually in plastic wrap, then place them in an airtight container or a zip-top bag to protect against freezer burn. They can stay fresh for up to 3 months this way. When you’re ready to enjoy them, simply thaw overnight in the fridge or microwave for about 10-15 seconds to regain that fudginess!
What if my brownies are too dry or dense?
Don’t worry! If your brownies come out too dry, it’s often due to overbaking. I recommend checking them a few minutes before the suggested baking time. Also, make sure you’re measuring your flour accurately—too much can lead to the dreaded dry brownie! If they seem too dense, try folding the dry ingredients in gently to avoid overmixing next time.
Are there any dietary considerations for pets or allergies?
Yes, you should avoid giving brownies to pets as chocolate is toxic to them. Additionally, if anyone has allergies, consider options like replacing eggs with flax eggs for a vegan version or using gluten-free flour blends to cater to those with gluten sensitivities. Always double-check your ingredients for potential allergens, especially when serving at gatherings!
How can I adapt this recipe for gluten-free or vegan diets?
Very easily! For gluten-free brownies, simply replace all-purpose flour with a gluten-free flour blend that includes xanthan gum. To create a vegan version, substitute eggs with flax eggs (1 tbsp ground flaxseed and 2.5 tbsp water per egg) and use vegan butter and non-dairy milk in your frosting. These adjustments will ensure everyone can join in the Halloween fun without missing out!
Creamy Crockpot Beef Tips Mushrooms for Cozy Comfort Cooking
Ingredients
Equipment
Method
- Combine beef tips, beef broth, cream of mushroom soup, onion, garlic, Worcestershire sauce, salt, and pepper in the crockpot.
- Add sliced mushrooms on top.
- Cover and cook on low for 8 hours or high for 4 hours until the beef is tender.
- Serve over rice or noodles.