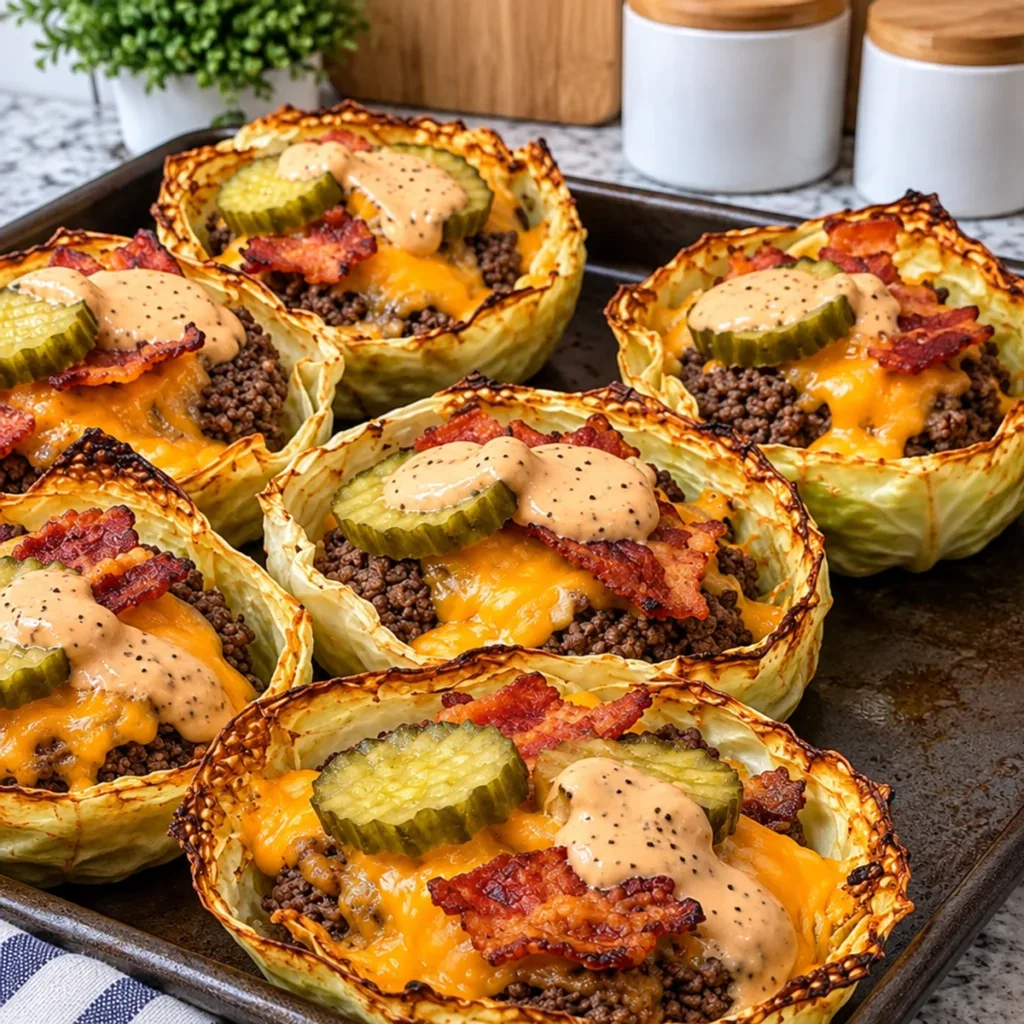
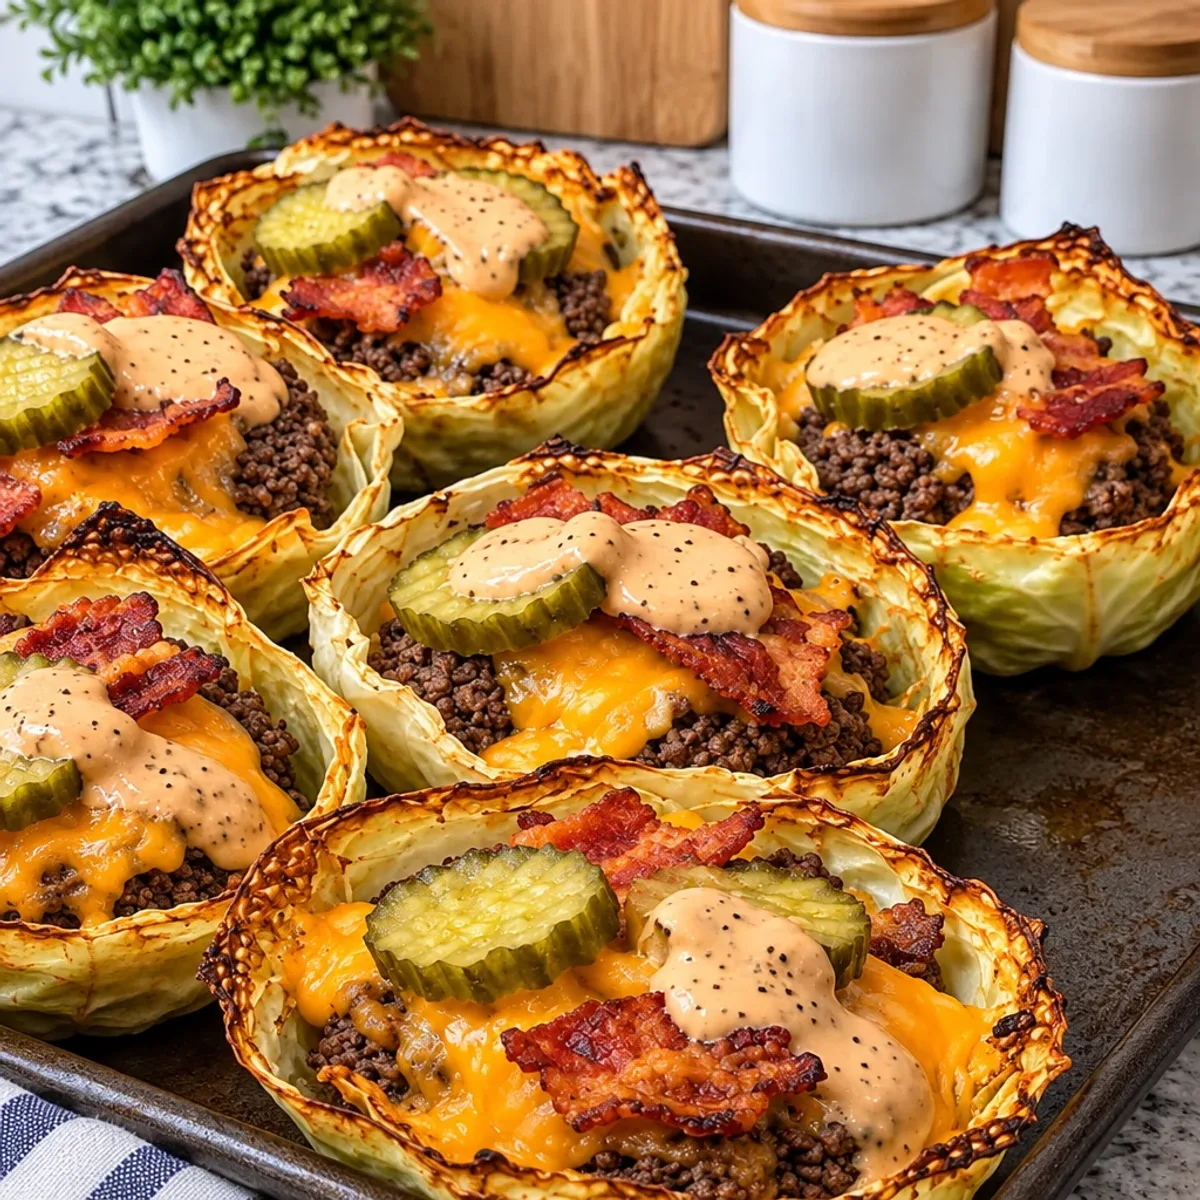
As I rummaged through the fridge looking for inspiration, it dawned on me: crisp cabbage leaves could do more than just hold salads together. Enter the Crispy Bacon Cheeseburger Cheddar Cabbage Cups—a playful yet comforting twist on a classic that combines all the best burger elements in a vibrant, low-carb package. This recipe not only keeps things healthy, but it's also a fantastic crowd-pleaser, making it perfect for busy weeknights or weekend gatherings. With juicy ground beef, crispy bacon, and melted cheddar all nestled in tender cabbage cups, you’ll uncover an unexpected harmony of flavors and textures that makes it hard to resist. Curious about how to whip up this delightful dish? Let’s dive into the mouthwatering details!
Why Are These Cabbage Cups a Must-Try?
Flavorful Fusion: These Crispy Bacon Cheeseburger Cheddar Cabbage Cups combine the best of burger flavors with a healthy twist.
Perfect for Meal Prep: Easy to make ahead, these cups store well, making them a great option for busy days or last-minute gatherings.
Texture Variety: Enjoy the contrast of crispy cabbage edges, gooey melted cheddar, and savory beef—each bite is an explosion of taste!
Crowd Pleasing: Ideal for both weeknight dinners and parties, they’ll have guests raving and asking for more.
Quick to Make: Packed with flavor but ready in under an hour, it's an effortless recipe for home chefs.
Crispy Bacon Cheeseburger Cheddar Cabbage Cups Ingredients
For the Cabbage Cups
• Medium green cabbage – about 12 large leaves, perfect for holding all the delicious fillings.
For the Cheeseburger Filling
• Ground beef – 1 pound, the star protein providing rich flavor.
• Bacon – 8 slices, cooked until crispy and crumbled to add a salty crunch.
• Sharp cheddar cheese – 1 and 1/2 cups, shredded for gooey goodness that melts perfectly.
• Dill pickle slices – 1/2 cup, bringing that tangy kick synonymous with cheeseburgers.
• Yellow onion – 1 small, finely diced to add sweetness and depth.
• Garlic – 2 cloves, minced for an aromatic boost.
• Olive oil – 2 tablespoons, used for greasing and flavor enhancement.
• Worcestershire sauce – 1 tablespoon, introducing umami richness.
• Smoked paprika – 1 teaspoon, to give a subtle smoky flavor.
• Onion powder – 1 teaspoon, amplifying the savory notes.
• Salt – 1/2 teaspoon, essential for bringing all the flavors together.
• Ground black pepper – 1/2 teaspoon, providing a touch of heat.
For the Creamy Sauce
• Mayonnaise – 1/2 cup, forming a rich and creamy base.
• Ketchup – 2 tablespoons, adding sweetness to balance the savory elements.
• Yellow mustard – 1 tablespoon, for a classic cheeseburger zing.
• Dill pickles – 1 tablespoon, finely chopped for extra crunch.
• Garlic powder – 1/2 teaspoon, enhancing the overall flavor profile.
• Smoked paprika (for sauce) – 1/2 teaspoon, echoing the filling's taste.
Now you're equipped with all the ingredients to create these Crispy Bacon Cheeseburger Cheddar Cabbage Cups! Let's move on to the exciting preparation steps.
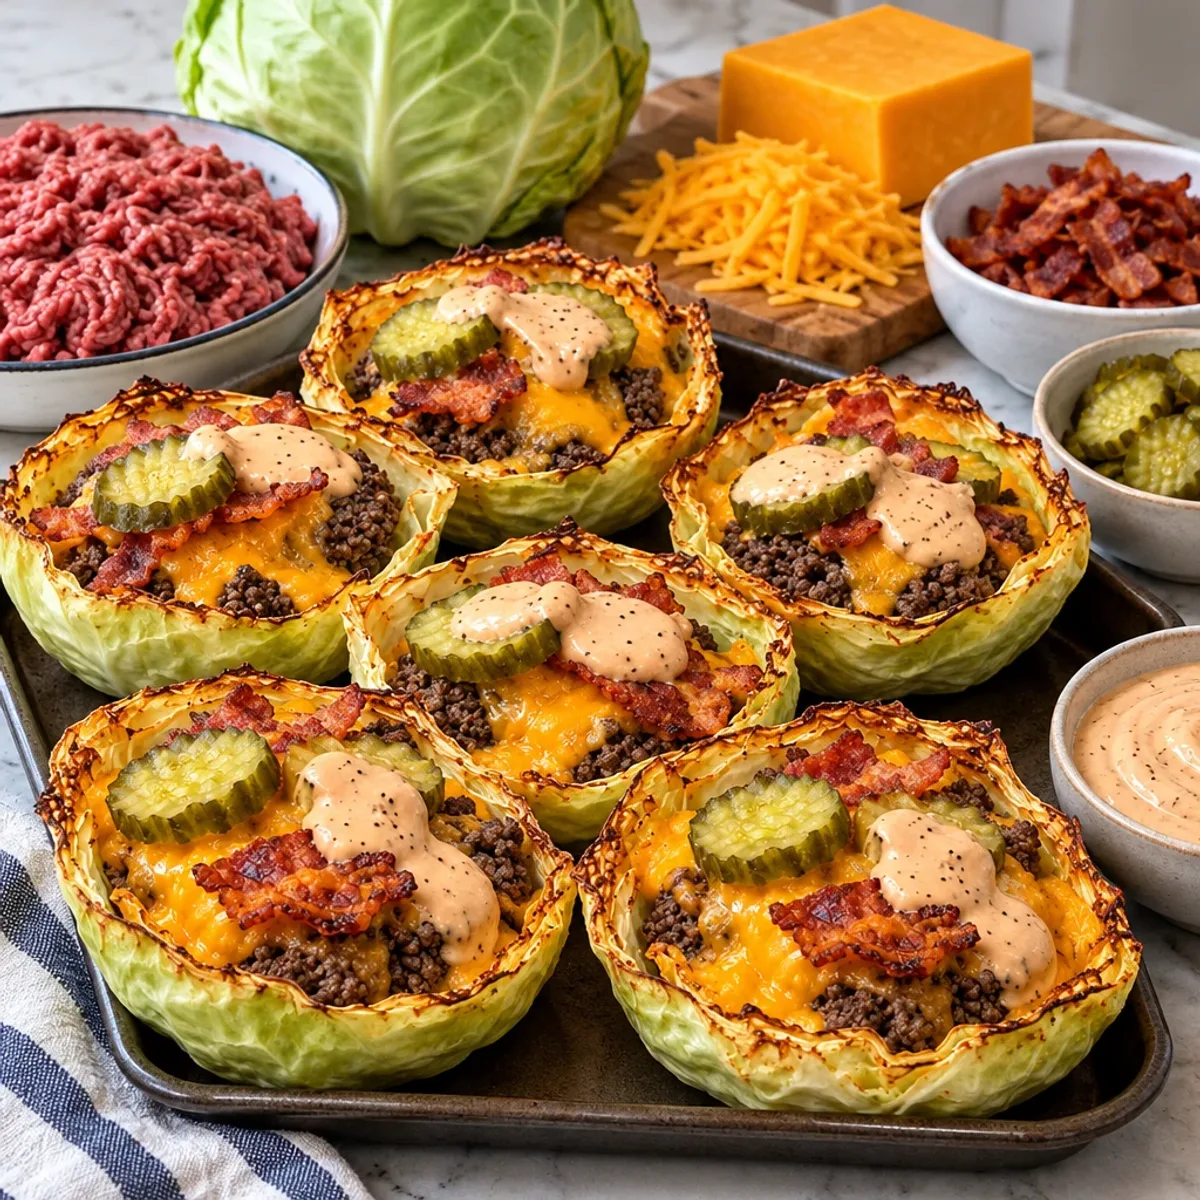
Step-by-Step Instructions for Crispy Bacon Cheeseburger Cheddar Cabbage Cups
Step 1: Preheat the Oven
Start by preheating your oven to 400°F (200°C). This ensures that your Crispy Bacon Cheeseburger Cheddar Cabbage Cups will bake evenly. While the oven heats, lightly grease a large muffin tin or deep baking dish with a little olive oil to prevent sticking when you fill it with the cabbage cups later.
Step 2: Prepare the Cabbage Leaves
Remove any damaged outer leaves from the medium green cabbage. Carefully separate 12 large leaves, trying to keep them intact. Bring a large pot of water to a gentle boil over medium-high heat, then add the cabbage leaves in small batches to blanch them for 2 to 3 minutes until they are softened and flexible, making them easy to shape.
Step 3: Stop the Cooking Process
Once the cabbage leaves are blanched, transfer them to a bowl filled with cold water. This will stop the cooking process and maintain their bright color. Carefully remove the leaves from the cold water and drain them well. Pat each leaf dry with paper towels to remove excess moisture, ensuring they don’t turn soggy when filled.
Step 4: Trim and Oil the Leaves
Inspect the cabbage leaves, trimming any particularly thick center ribs to help them form better cups. Then, brush both sides of each leaf lightly with the remaining olive oil. This adds flavor and will help the cabbage crisp up in the oven when you bake the cups.
Step 5: Form the Cabbage Cups
Gently press the oiled cabbage leaves into the prepared muffin tin, creating deep cup shapes. If needed, overlap smaller leaves to ensure the cups are sturdy enough to hold the filling. Once formed, place the cabbage cups in your preheated oven to bake for 10 to 12 minutes, until they are softened and the edges start to turn golden.
Step 6: Prepare the Cheeseburger Filling
While the cabbage cups are baking, heat a large skillet over medium-high heat. Add the pound of ground beef, breaking it into small crumbles with a wooden spoon. Once browned, about 7 to 8 minutes, add the finely diced yellow onion and continue cooking until the onion is tender, then drain any excess grease from the skillet.
Step 7: Season the Beef Mixture
After draining, add the minced garlic and stir for 30 seconds until fragrant. Pour in the Worcestershire sauce, and sprinkle the smoked paprika, onion powder, salt, and ground black pepper over the beef mixture. Stir thoroughly for another 1 to 2 minutes to ensure all flavors meld together beautifully.
Step 8: Fill the Cabbage Cups
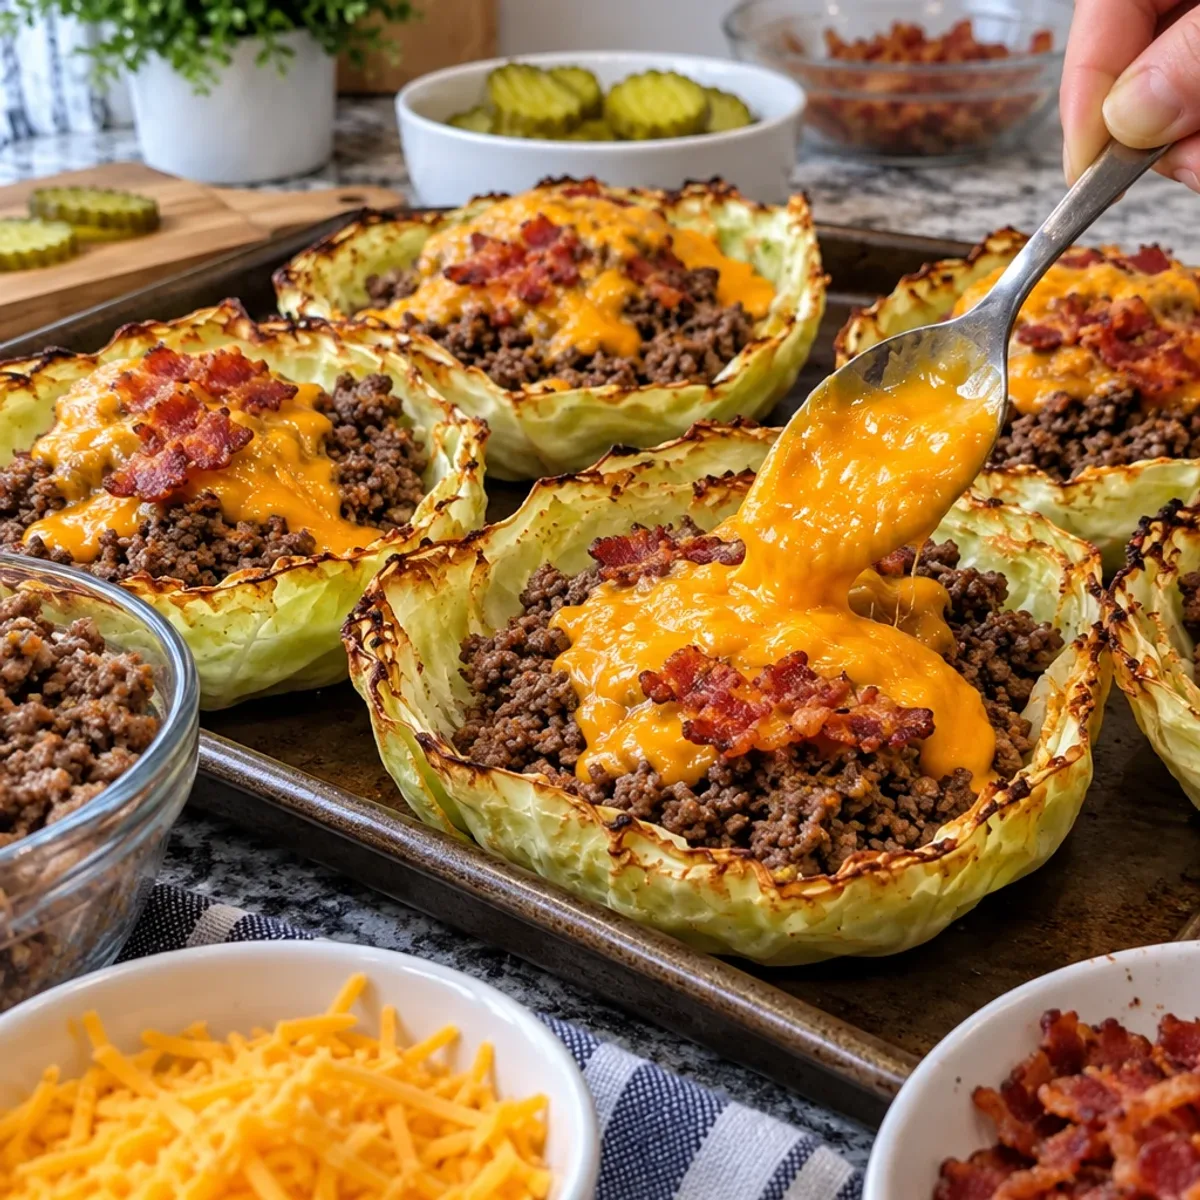
Remove the skillet from heat and spoon the seasoned beef mixture evenly into the baked cabbage cups. Press down gently to pack each cup fully, ensuring every bite is filled with flavor. Evenly sprinkle the shredded sharp cheddar cheese over the beef in each cup.
Step 9: Bake Until Cheesy
Return the filled cabbage cups to the oven and bake for 5 to 8 minutes. Watch for the cheese to melt completely and start bubbling, while the edges of the cabbage crisp up slightly, achieving that delightful golden-brown finish.
Step 10: Prepare the Creamy Sauce
While the cabbage cups finish baking, you can prepare the creamy sauce. In a small mixing bowl, combine the mayonnaise, ketchup, yellow mustard, finely chopped dill pickles, garlic powder, and remaining smoked paprika. Whisk together until smooth and creamy, adjusting the seasoning according to your taste.
Step 11: Assemble and Serve
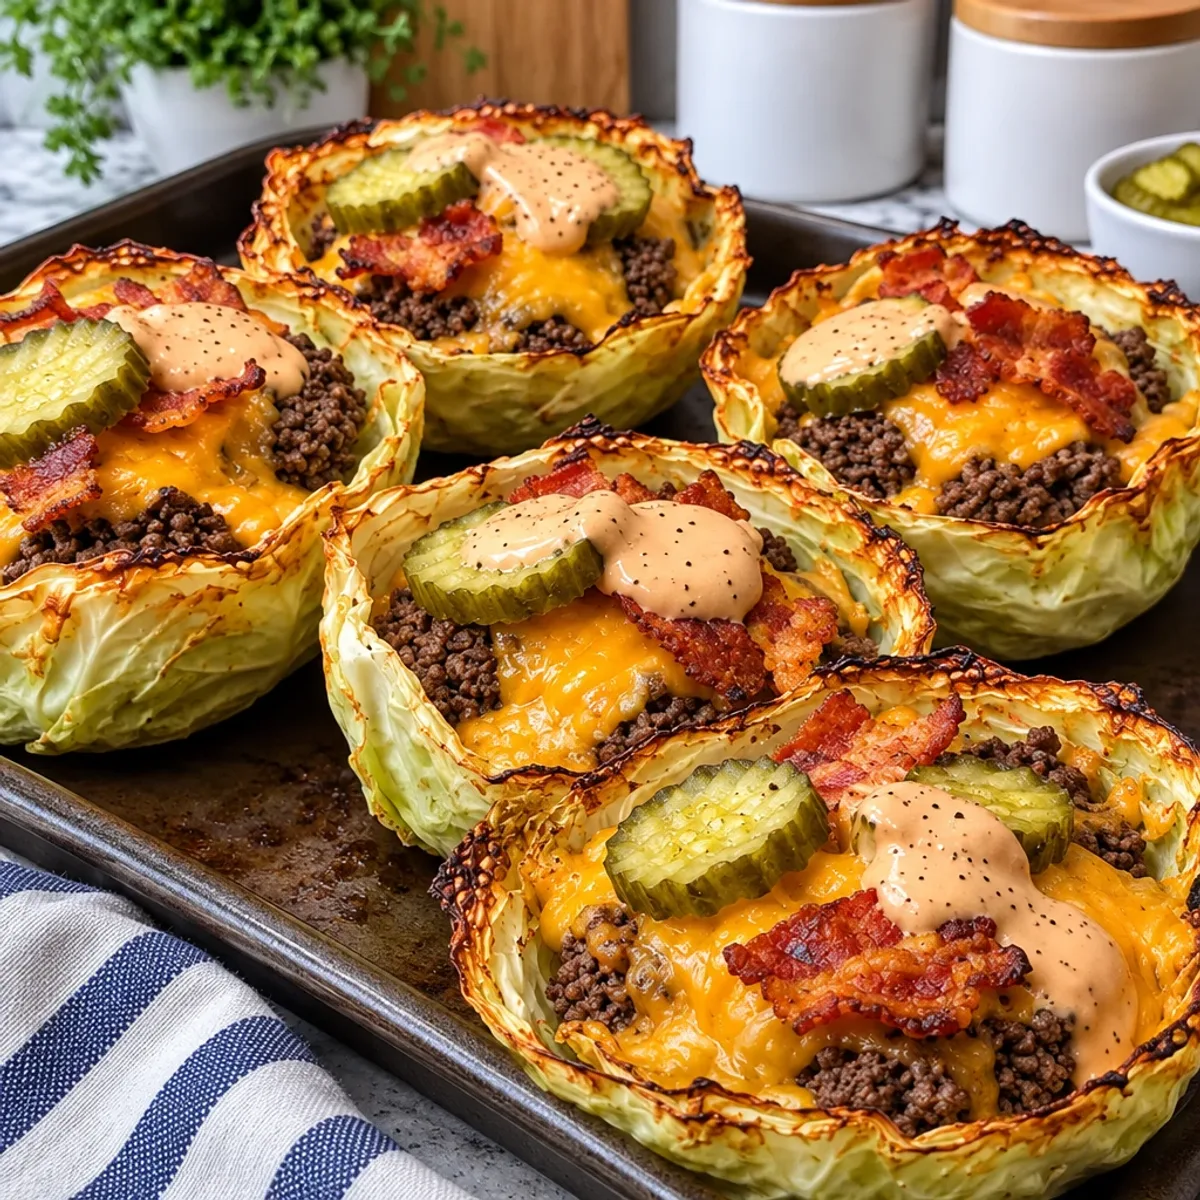
Once you remove the cabbage cups from the oven, allow them to rest for about 3 minutes. Top each cup with crispy crumbled bacon, arrange dill pickle slices, and generously drizzle the creamy cheeseburger sauce over the top. Carefully lift the cups from the muffin tin using a wide spatula, and arrange them on a serving platter.
Step 12: Enjoy!
Serve these Crispy Bacon Cheeseburger Cheddar Cabbage Cups immediately while the cheese is warm and gooey, and the cabbage edges are still crispy. These delicious cups can be stored separately in airtight containers for up to 3 days, with reheating instructions for a quick meal later.
What to Serve with Crispy Bacon Cheeseburger Cheddar Cabbage Cups
Pair your delightful cabbage cups with these tasty sides for a well-rounded meal experience that satisfies every craving.
Sweet Potato Fries: The sweetness and crispiness of these fries beautifully contrast the savory flavors of the cabbage cups. They add a satisfying crunch to each bite!
Coleslaw: This classic side brings a refreshing crunch, balancing the richness of the creamy cheeseburger sauce while adding a zesty bite.
Garlic Herb Rice: A fluffy, fragrant rice dish complements the bold flavors of the Crispy Bacon Cheeseburger Cheddar Cabbage Cups without overshadowing them.
Experience the harmony of textures by pairing these cups with a side of grilled vegetables, such as zucchini and bell peppers. Their slight char adds a smoky essence that dots every plate beautifully.
Crispy Kale Chips: Light yet crunchy, these chips offer a nutritious alternative to traditional chips while mirroring the crispness of the cabbage.
Creamy Tomato Soup: The warmth and acidity of tomato soup provide a comforting contrast, making for a cozy pairing that feels like a hug in a bowl.
Iced Tea or Lemonade: Refreshing beverages like iced tea or lemonade help cleanse the palate, enhancing the flavors of the cabbage cups while keeping you refreshed.
Expert Tips for Crispy Bacon Cheeseburger Cheddar Cabbage Cups
Choose Fresh Cabbage: Always select a firm, vibrant cabbage; wilty leaves won’t hold up as well when forming cups.
Avoid Soggy Cups: Drain and pat dry the cabbage leaves thoroughly after blanching to prevent excess moisture from making the cups soggy.
Fill Generously: Don’t be shy with your filling! Press the seasoned ground beef and cheese down firmly to maximize flavor in each Crispy Bacon Cheeseburger Cheddar Cabbage Cup.
Watch the Cheese: Keep an eye on the baking time to ensure the cheddar cheese melts perfectly without burning, aiming for that beautiful golden-brown finish.
Customize the Sauce: Feel free to tweak the sauce ingredients to suit your taste—add some hot sauce for a kick or substitute Greek yogurt for a lighter base.
Meal Prep Magic for Crispy Bacon Cheeseburger Cheddar Cabbage Cups
These Crispy Bacon Cheeseburger Cheddar Cabbage Cups are a lifesaver for busy weeknights! You can prep the cabbage cups and the cheeseburger filling up to 24 hours in advance, storing them separately in airtight containers to maintain freshness. Simply keep the filled cups in the fridge and reheat in an oven at 350°F (175°C) for about 10 to 12 minutes until warmed through. For the best results, add fresh pickle slices and drizzle the creamy sauce just before serving to ensure they stay crispy and delicious. This meal prep strategy not only saves time but also allows you to enjoy homemade goodness without the fast-food hassle!
How to Store and Freeze Crispy Bacon Cheeseburger Cheddar Cabbage Cups
Refrigerator: Store leftover cabbage cups in airtight containers for up to 3 days, keeping both the cups and sauce separately to maintain crispness.
Freezer: For longer storage, freeze the unbaked filled cabbage cups. Wrap each cup tightly in plastic wrap and then in foil. They’ll stay fresh for up to 3 months.
Reheating: To reheat, place the frozen cups in the oven at 350°F (175°C) for about 25-30 minutes, or until heated through. Add fresh sauce and pickle slices after reheating for best flavor.
Serving Tip: Enjoy your Crispy Bacon Cheeseburger Cheddar Cabbage Cups fresh from the oven for that perfect blend of warmth and crunch!
Crispy Bacon Cheeseburger Cheddar Cabbage Cups Variations
Feel free to unleash your creativity and customize these delightful cabbage cups to suit your taste buds!
Dairy-Free: Substitute the cheddar cheese with a plant-based cheese alternative to keep it creamy without dairy.
Spicy Kick: Add diced jalapeños or a splash of hot sauce to the beef mixture for a zesty heat that tantalizes your taste buds.
Veggie-Loaded: Replace half the ground beef with finely chopped mushrooms and bell peppers for a hearty but lighter filling.
Smoky Flavor: Smoked gouda can provide an exciting flavor twist, enhancing the overall smokiness of the dish.
Herbed Sauce: Stir in fresh herbs like dill or cilantro into your creamy sauce to elevate its freshness and bring bright notes to every bite.
Gluten-Free: Swap Worcestershire sauce with a gluten-free version to ensure everyone at the table can enjoy these tasty cups.
Sweet and Savory: Add cooked, crumbled sausage to the beef and mix in a bit of brown sugar to create a delightful sweet-savory combo.
Crunch Factor: Top the cups with crushed tortilla chips before serving for an added texture that gives a satisfying crunch alongside the soft cabbage!
Each variation invites a new experience to savor while keeping the heart of the Crispy Bacon Cheeseburger Cheddar Cabbage Cups. If you're interested in exploring more flavor combinations, we have delightful recipes like Sweet Potato Fries and Creamy Tomato Soup that would pair perfectly with these cups!
Advertisement
Crispy Bacon Cheeseburger Cheddar Cabbage Cups Recipe FAQs
How do I select the best cabbage for this recipe?
Absolutely! When choosing cabbage, look for a medium green cabbage with firm, crisp leaves. Avoid any with dark spots or wilting, as these indicate spoilage. A fresh cabbage will hold up better when forming cups and will provide a delightful crunch.
What is the best way to store leftover cabbage cups?
For sure! Store any leftover Crispy Bacon Cheeseburger Cheddar Cabbage Cups in airtight containers in the refrigerator for up to 3 days. Keep the sauce in a separate container to maintain the crispness of the cabbage. This will ensure that you can enjoy them later, just as delicious as the first serving!
Can I freeze the filled cabbage cups?
Very much so! To freeze, wrap each unbaked filled cabbage cup tightly in plastic wrap, then cover with aluminum foil to prevent freezer burn. They can be stored this way for up to 3 months. When you're ready to enjoy, simply bake them straight from the freezer—no need to thaw! Just add an extra 5-10 minutes to the baking time.
What if the cabbage leaves break while separating them?
No worries at all! If a leaf breaks, you can still use it. Just press smaller, torn pieces into the muffin tin to form cups. Alternatively, you can create a layered effect by overlapping pieces to maintain structural integrity. The taste will still shine through regardless!
Are there any dietary considerations to keep in mind?
Absolutely! If serving to guests with dietary restrictions, consider using lean ground turkey or a plant-based meat substitute. For those avoiding gluten, ensure that your Worcestershire sauce is gluten-free. And if you have anyone allergic to dairy, you can substitute nutritional yeast blended with cashews for a cheesy flavor without the cheese itself!
How should I reheat the cabbage cups?
To reheat, place the leftover Crispy Bacon Cheeseburger Cheddar Cabbage Cups in an oven preheated to 350°F (175°C) and heat for about 10-12 minutes. This will ensure they come back to life, with crispy edges and melty cheese. Adding fresh pickle slices and cheeseburger sauce after reheating will enhance their flavor even more!
Savory Cheeseburger Cabbage Cups with Crispy Bacon
Ingredients
Equipment
Method
- Preheat your oven to 400°F (200°C) and grease a large muffin tin with olive oil.
- Remove damaged outer leaves from the cabbage and separate 12 large leaves. Blanch them in boiling water for 2 to 3 minutes.
- Transfer blanched leaves to cold water to stop cooking. Drain, pat dry with paper towels.
- Trim thick center ribs from cabbage leaves and brush both sides lightly with olive oil.
- Gently press the oiled cabbage leaves into the muffin tin to form deep cup shapes and bake for 10 to 12 minutes.
- In a skillet, cook ground beef until browned. Add diced yellow onion and drain excess grease.
- Stir in minced garlic, Worcestershire sauce, smoked paprika, onion powder, salt, and black pepper. Cook for 1 to 2 minutes.
- Fill cabbage cups with the beef mixture, pressing down gently, and top with shredded cheese.
- Bake filled cups for 5 to 8 minutes until cheese is melted and bubbling.
- Prepare sauce by mixing mayonnaise, ketchup, mustard, dill pickles, garlic powder, and smoked paprika until smooth.
- Rest the cups for 3 minutes, then top with crispy bacon, dill pickle slices, and drizzle sauce over.
- Serve immediately while warm and enjoy!