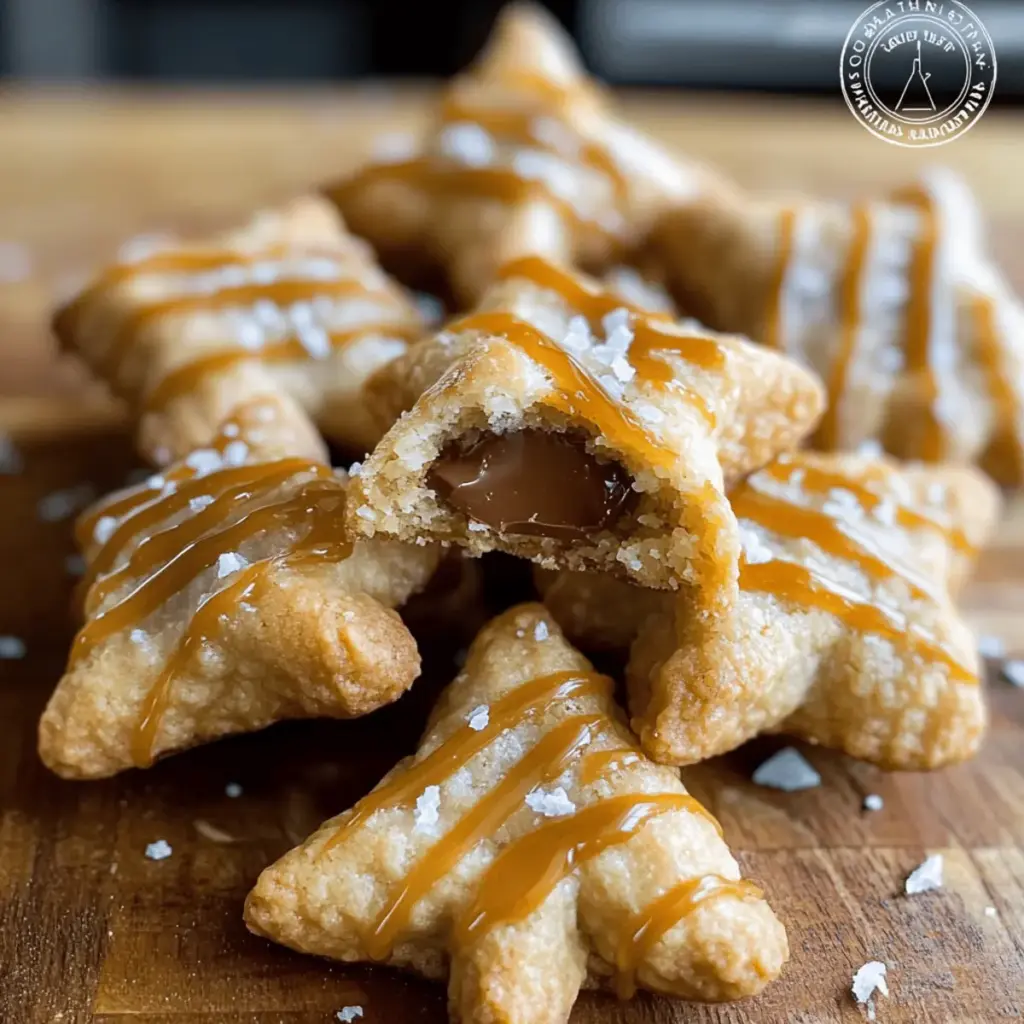
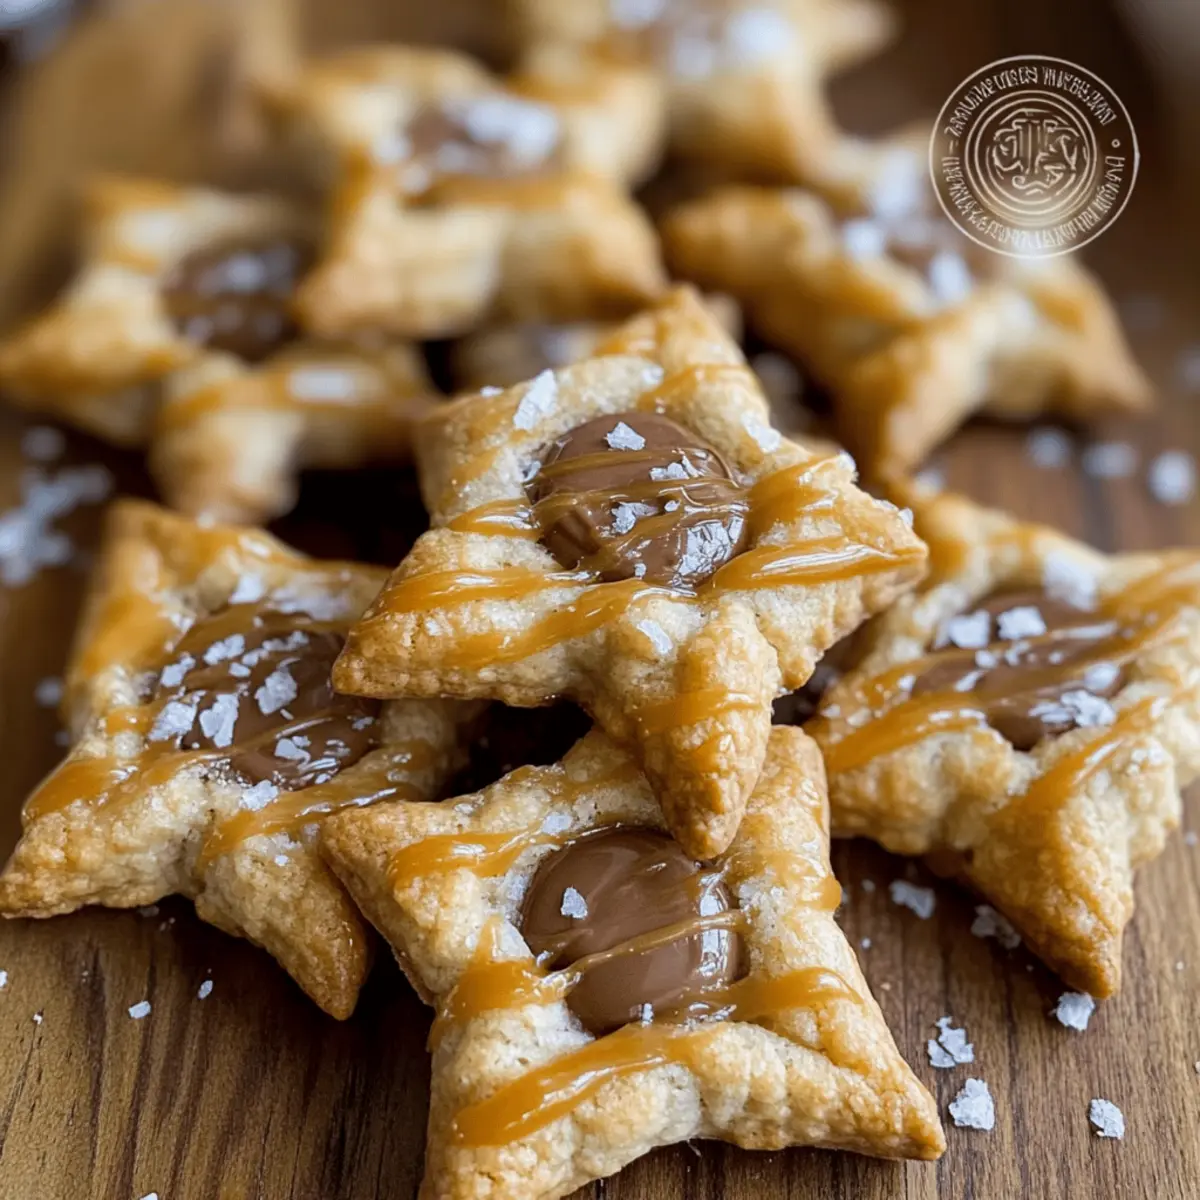
As I stood in my kitchen, the sweet aroma of caramel wafted through the air, instantly transporting me to my favorite bakery. It’s a delightful moment that often leads to my go-to treat: Salted Caramel Chocolate Pillow Cookies. This quick and easy recipe gives you a beautifully flaky, buttery crust cradling a luscious Hershey Kiss and a drizzle of caramel. In under 30 minutes, you can transform simple ingredients into an elegant bite-sized dessert perfect for impressing guests or indulging after a long day. Plus, the divine balance of sweet and salty makes these cookies dangerously hard to resist. Who’s ready to discover the secret to these dreamy delights?
Why are These Cookies a Must-Try?
Irresistible flavors: The combining of sweet caramel and rich chocolate creates a mouthwatering treat you’ll crave.
Quick and easy: Perfect for busy bakers, these cookies can be whipped up in under 30 minutes, delivering impressive results with minimal effort.
Customizable delight: With options to use various Hershey Kiss flavors, like Double Chocolate Brownie or even peppermint variants, you can create unique flavor profiles every time.
Perfect for any occasion: Whether it’s a cozy family gathering or a festive cookie exchange, these treats are sure to delight everyone.
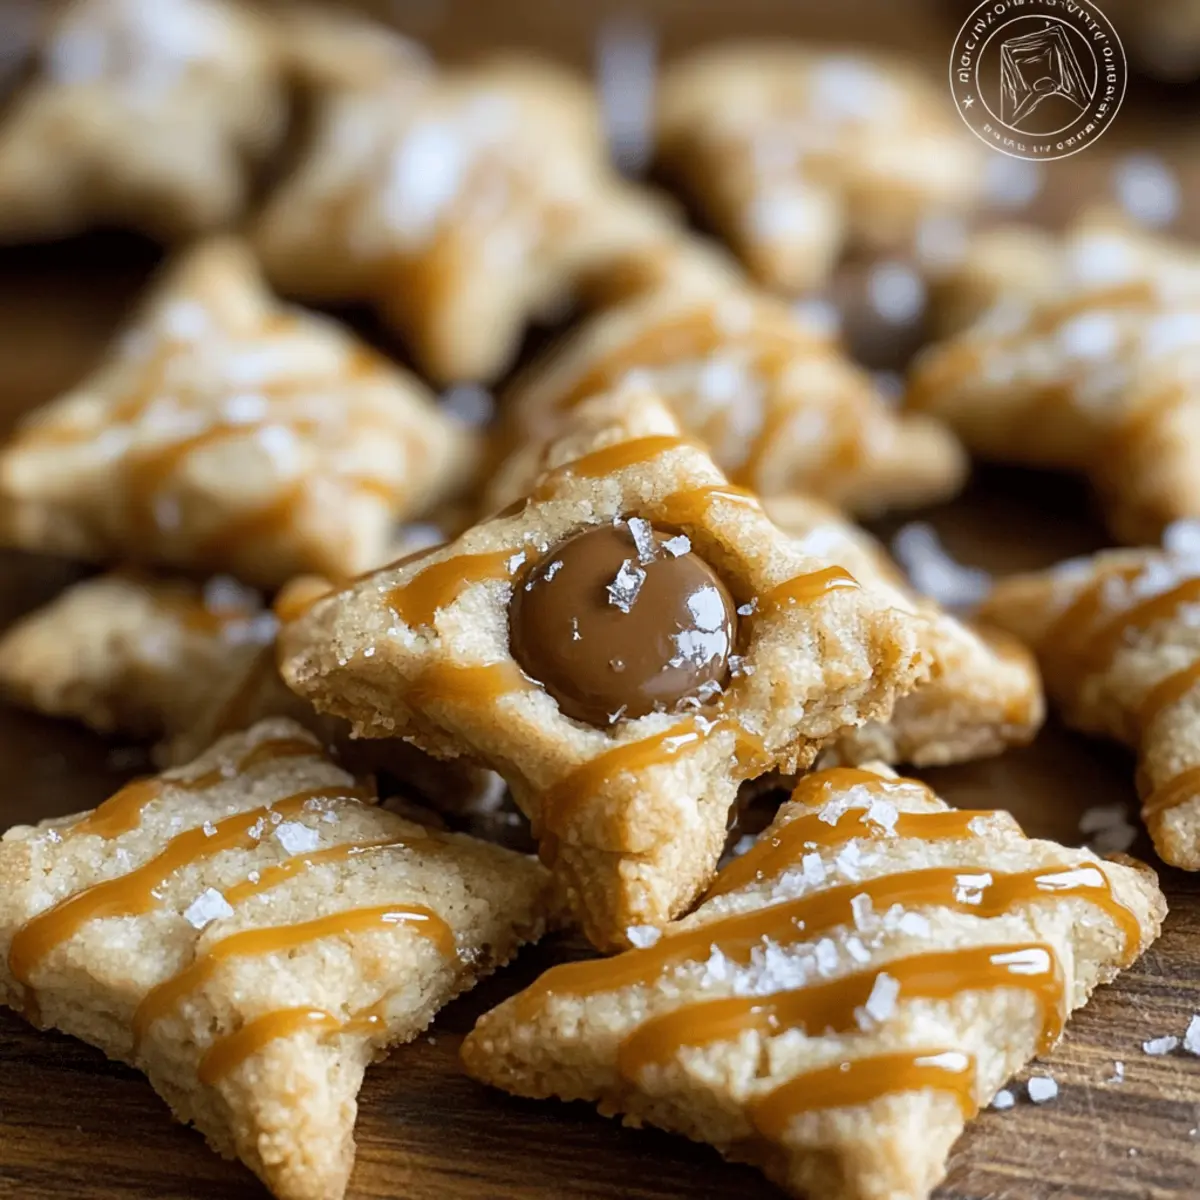
Gooey texture magic: When you bite into these cookies, the crispy exterior meets a warm, gooey center, making for an unforgettable texture experience that rivals your favorite bakery finds.
Minimal mess: Just roll, cut, and fill—the simple process means you can enjoy these delicious bites without the hassle of complicated clean-up. Enjoy them alongside a cup of coffee or tea for a delightful afternoon pick-me-up!
Salted Caramel Chocolate Pillows Ingredients
Indulge in these sweet, bite-sized treats!
For the Cookie Base
- Refrigerated Pie Crust – Offers a light and flaky base; feel free to use homemade dough for a personal touch.
- Egg White (whisked with 1 Tbsp water) – Serves as an egg wash to create a beautiful golden finish and help toppings adhere.
For the Filling
- Hershey Kisses – The chocolate center that brings sweetness; substitute with your favorite flavor for variety!
- Mrs. Richardson’s Caramel Topping – Adds a rich, indulgent caramel flavor; homemade caramel works beautifully as a substitute.
For the Topping
- Mediterranean Sea Salt – Elevates the sweetness with a savory twist; regular sea salt can suffice if needed.
- Granulated Sugar – Sprinkled on top before baking to enhance texture and sweetness.
Optional Toppings
- Melted Chocolate Chips – Adds a delicious chocolate layer on top for extra richness.
- Finely Chopped Nuts – Provides a crunchy contrast; walnuts or pecans are excellent choices.
- Powdered Sugar – Dust lightly for an elegant finish; it’s optional but adds an appealing sweetness.
Transform your baking experience with these Salted Caramel Chocolate Pillows! Enjoy the delightful blend of flavors and textures in every bite.
Step‑by‑Step Instructions for Salted Caramel Chocolate Pillow Cookies
Step 1: Preheat the Oven
Begin by preheating your oven to 350°F (175°C) to ensure the perfect baking environment for your Salted Caramel Chocolate Pillows. This temperature will allow the cookies to bake evenly, developing that golden-brown hue we all love. While the oven heats up, you can prepare your baking sheet.
Step 2: Prepare the Baking Sheet
Line a baking sheet with parchment paper or lightly coat it with non-stick spray, providing a non-stick surface for your cookies. This ensures that when your Salted Caramel Chocolate Pillows emerge from the oven, they’ll easily glide off the sheet, preserving their delightful shapes. Set the prepared sheet aside while you work on the dough.
Step 3: Roll Out the Pie Crust
On a lightly floured surface, roll out your refrigerated pie crust to approximately 1/8 inch thick. This thickness is crucial to achieving that flaky texture. As you roll, maintain even pressure to create a smooth and consistent layer, which will form the base of your delightful cookies. Once rolled, you’re ready to cut out circles.
Step 4: Cut Out the Dough Circles
Using a cutter or a glass measuring approximately 2.5 inches in diameter, cut out circles from the rolled dough. Aim for clean, even cuts for uniform cookies that bake evenly. Gather any scraps, re-roll them, and continue cutting circles until all the dough is used, ensuring no delicious dough goes to waste.
Step 5: Add the Hershey Kisses
Place one Hershey Kiss in the center of each circle of dough. This chocolate centerpiece will melt beautifully, creating a rich filling for your cookies. Ensure the kisses are positioned well so that they will be entirely enveloped when you fold the dough over them, making for a delightful surprise with each bite.
Step 6: Fold and Seal the Dough
Gently fold the dough over the Hershey Kiss, pinching the edges to seal securely and form a pouch. Crimp the edges with a fork for added decoration and extra sealing. This step is vital to keep the gooey filling from leaking out during baking, ensuring that every Salted Caramel Chocolate Pillow is perfectly intact.
Step 7: Brush with Egg Wash
In a small bowl, whisk together the egg white and 1 tablespoon of water. With a pastry brush, coat each cookie pouch lightly with the egg wash. This will give your cookies that beautiful golden brown finish once baked. You can also sprinkle granulated sugar or sea salt on top for added texture and flavor.
Step 8: Bake the Cookies
Carefully place your prepared cookies on the lined baking sheet and bake in the preheated oven for 15 to 20 minutes. Keep an eye on them as they bake; they are ready when they turn golden brown and puff up slightly, creating a tantalizing visual promise of what’s to come.
Step 9: Cool and Drizzle
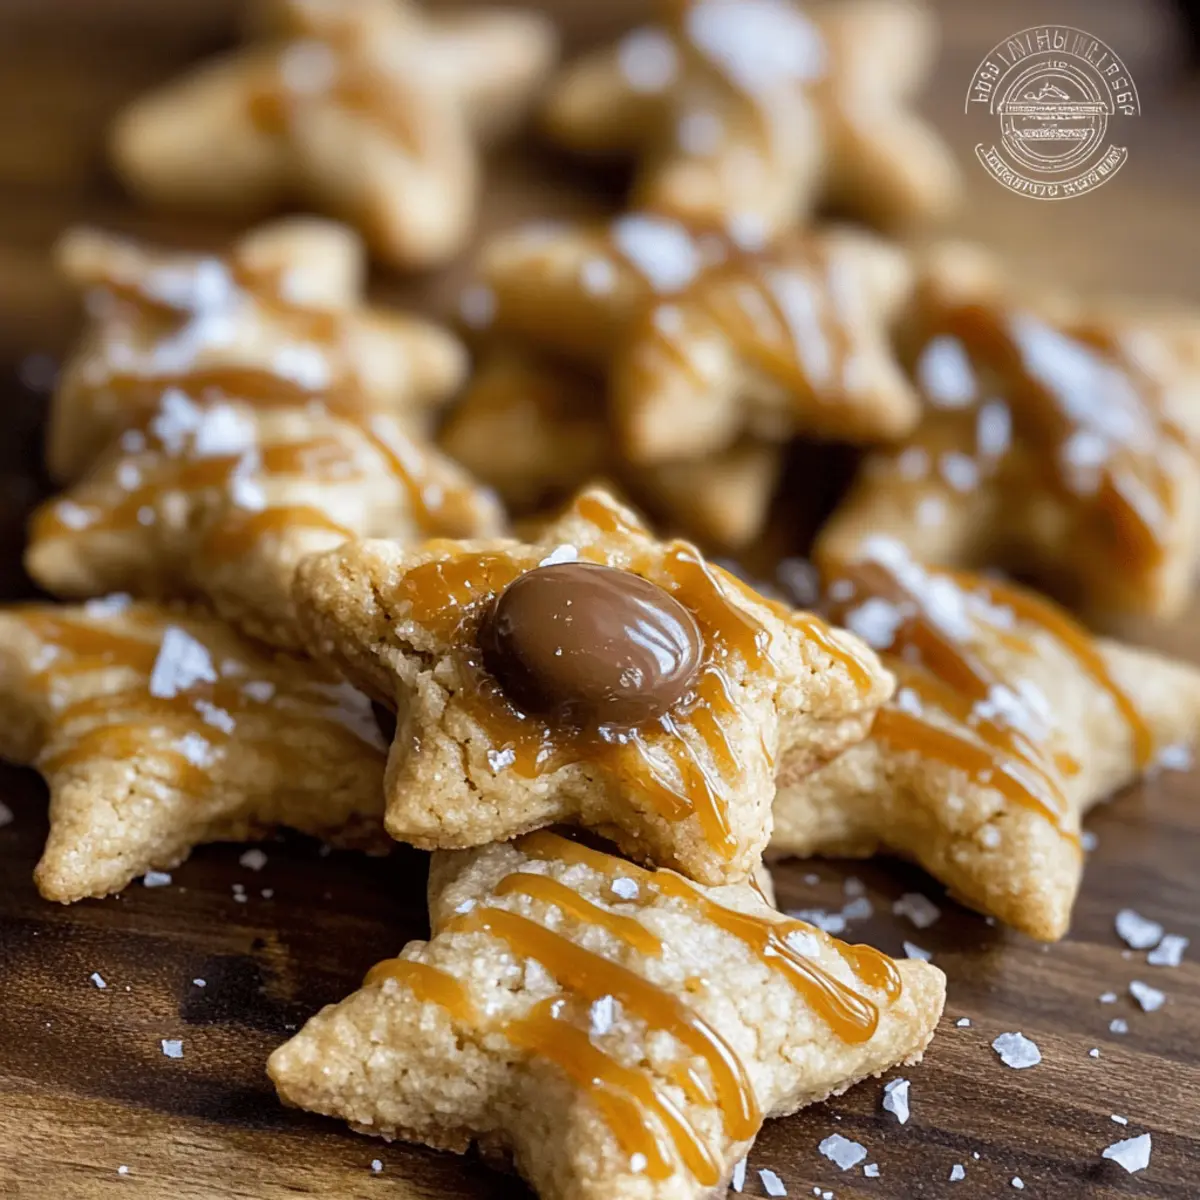
After baking, let the cookies cool on the baking sheet for about 5 minutes. This short cooling time allows them to set slightly, making handling easier. Transfer the cookies to a wire rack for further cooling. When they are still warm, drizzle with Mrs. Richardson’s caramel topping and finish with a sprinkle of sea salt for that irresistible sweet and salty touch.
Salted Caramel Chocolate Pillows Variations
Feel free to explore creative twists on these delightful cookies that will ignite your taste buds!
-
Minty Surprise: Use Peppermint Patties instead of Hershey Kisses for a refreshing twist that’s perfect for the holidays. The mint combined with chocolate creates a festive flavor explosion.
-
Nutty Delight: Incorporate chopped hazelnuts or almonds within the dough for a crunchy texture. Each bite will surprise you with delightful nutty goodness that enhances the rich chocolatey flavor.
-
Nut-Free Option: Consider using sunflower seed butter as a filling substitute for those with nut allergies. This creamy option imparts an entirely new layer of flavor while being safe for all diets.
-
Spiced Up: Add a pinch of cinnamon or nutmeg to the pie crust for a hint of warmth and spice. This subtle change elevates the overall flavor profile, perfect for cozy gatherings.
-
Chocolate Lovers’ Dream: Try using chocolate-covered caramel candies instead of Hershey Kisses for an intensely chocolate experience. This variation is sure to please anyone craving extra chocolatey goodness.
-
Fruit Fusion: Place a slice of banana or a few chopped strawberries inside the cookie with the chocolate for a fruity burst in every bite. The pairing of fruit and chocolate creates a beautiful balance of flavors.
-
Reinventing the Crust: Experiment with a cookie dough crust or graham cracker crust for a different texture. This change adds a slight crunch or buttery flavor, making each cookie a new adventure.
For a luscious dessert after these cookies, you might also want to try some of my other favorite recipes like the Chewy Hot Chocolate Cookies with Melty Marshmallows or the delightful Elegant White Chocolate Raspberry Cake Ideas. Enjoy the process of customizing your Salted Caramel Chocolate Pillows!
Expert Tips for Salted Caramel Chocolate Pillows
-
Thawing Matters: Ensure your refrigerated pie crust is completely thawed before rolling it out; this makes for easier handling and prevents cracks.
-
Flavor Variety: Experiment with different Hershey Kiss flavors to elevate your cookies; think about using caramel-filled or raspberry variants for a unique twist!
-
Seal Securely: Be diligent in sealing the edges of the dough tightly to contain the molten filling; leaks can occur if not well-crimped.
-
Even Egg Wash: Brush the cookies gently with the egg wash to promote an even golden color; an overly heavy application can lead to puddles.
-
Avoid Overfilling: While caramel adds great flavor, don’t overfill your cookies; too much can cause spills while baking, making a sticky mess.
-
Perfect Cooling Time: Let the cookies cool adequately before drizzling with caramel; this ensures the topping doesn’t slide off, allowing you to savor every bite of your Salted Caramel Chocolate Pillows.
Make Ahead Options
These Salted Caramel Chocolate Pillows are perfect for busy home cooks who want to enjoy homemade treats without the last-minute rush! You can prepare the dough and fill each cookie pouch up to 24 hours in advance. To do this, simply follow the recipe instructions up to the folding step, then place the prepared cookies on a baking sheet lined with parchment paper. Cover them tightly with plastic wrap and refrigerate. This helps maintain their quality and prevents any sogginess. When you’re ready to bake, just brush with the egg wash, sprinkle with salt or sugar, and pop them in the oven. You’ll have delicious, gooey cookies in no time!
Storage Tips for Salted Caramel Chocolate Pillows
Room Temperature: Store your cookies in an airtight container at room temperature for up to 3 days. This helps maintain their flaky texture and gooey filling.
Refrigerator: For extended freshness, refrigerate the Salted Caramel Chocolate Pillows for up to a week. Just be sure to reseal the container after each serving.
Freezer: Freeze the cookies for up to 2 months in a freezer-safe bag. To reheat, simply let them thaw in the fridge overnight, then warm in the oven to restore their freshness.
Reheating: If you prefer warm cookies, pop them in the microwave for about 10-15 seconds or in a preheated oven at 350°F (175°C) for 5 minutes. Enjoy the gooey delight again!
What to Serve with Salted Caramel Chocolate Pillows
Nothing complements the rich flavors of these delightful cookies like the perfect side dishes and drinks to balance the sweetness.
- Rich Coffee: A cup of freshly brewed coffee enhances the flavors, cutting through the sweetness for a perfect afternoon pick-me-up.
- Vanilla Ice Cream: The creamy texture and subtle vanilla flavor provide a refreshing contrast to the warm, gooey pillows, creating a delectable dessert experience.
- Cold Milk: A classic pairing, cold milk balances the sweetness of the cookies and adds a nostalgic touch that brings back childhood memories.
- Fruity Sorbet: A scoop of lemon or raspberry sorbet introduces a bright, tangy note that perfectly offsets the rich caramel and chocolate.
- Chocolaty Hot Cocoa: Cozy up with a cup of hot cocoa, where the chocolaty goodness complements the cookies’ flavors while providing extra warmth.
- Mixed Berry Salad: Fresh berries add a burst of flavor and brightness, creating a refreshing palate cleanser between bites of the rich cookies.
- Toasted Nuts: Lightly toasted walnuts or pecans offer a crunchy contrast, enhancing the texture and flavor profile of your salty-sweet experience.
- Cheese Platter: Go for a refined touch with a cheese platter featuring creamy brie or sharp cheddar, providing a savory element to balance the cookies’ sweetness.
Advertisement
Salted Caramel Chocolate Pillows Recipe FAQs
What type of pie crust should I use for these cookies?
You can use a refrigerated pie crust for convenience, but I highly recommend trying a homemade crust if you have the time! Homemade dough adds a personal touch and taste. If you choose refrigerated, make sure it is well-thawed to roll out smoothly without cracking.
How should I store Salted Caramel Chocolate Pillows?
To keep your cookies fresh, store them in an airtight container at room temperature for up to 3 days. If you want them to last longer, you can refrigerate them for up to 1 week. Just remember to reseal the container after each serving to maintain their deliciousness!
Can I freeze the cookies?
Absolutely! To freeze your Salted Caramel Chocolate Pillows, place them in a single layer on a baking sheet and pop it into the freezer for about 1 hour, until they’re firm. Then, transfer them to a freezer-safe bag, where they can be stored for up to 2 months. When ready to enjoy, thaw them in the fridge overnight, and warm them up in a preheated oven at 350°F (175°C) for about 5 minutes for that freshly baked taste.
What if my cookies are leaking during baking?
If you notice leaks, it’s often due to not sealing the dough securely. Ensure you crimp the edges well to enclose the filling. Additionally, avoid overfilling with caramel, as this can also lead to spills. If your cookies do leak, don’t worry; their flavor will still be amazing!
Can these cookies be made for those with allergies?
For a gluten-free option, you can use gluten-free pie crust, which is readily available at most grocery stores. If you have nut allergies, make sure to skip the optional chopped nuts in the toppings. Always double-check the ingredient labels to ensure they’re safe for everyone you’re serving.
How do I customize the filling?
The fun part about these Salted Caramel Chocolate Pillows is their versatility! You can switch out the Hershey Kisses for different flavors like caramel-filled or even dark chocolate. For an extra flavor boost, try adding a dollop of peanut butter or using flavored caramel, such as sea salt or chocolate. The more the merrier!

Salted Caramel Chocolate Pillows: Irresistibly Gooey Treats
Ingredients
Equipment
Method
- Preheat your oven to 350°F (175°C).
- Line a baking sheet with parchment paper or coat with non-stick spray.
- Roll out your refrigerated pie crust to approximately 1/8 inch thick.
- Cut out circles from the rolled dough using a cutter or glass.
- Place one Hershey Kiss in the center of each circle.
- Fold the dough over the Hershey Kiss and seal the edges.
- Brush each cookie pouch lightly with the egg wash.
- Bake the cookies on the lined baking sheet for 15 to 20 minutes.
- Let the cookies cool for about 5 minutes before transferring to a wire rack.
- Drizzle with caramel topping and sprinkle with sea salt.