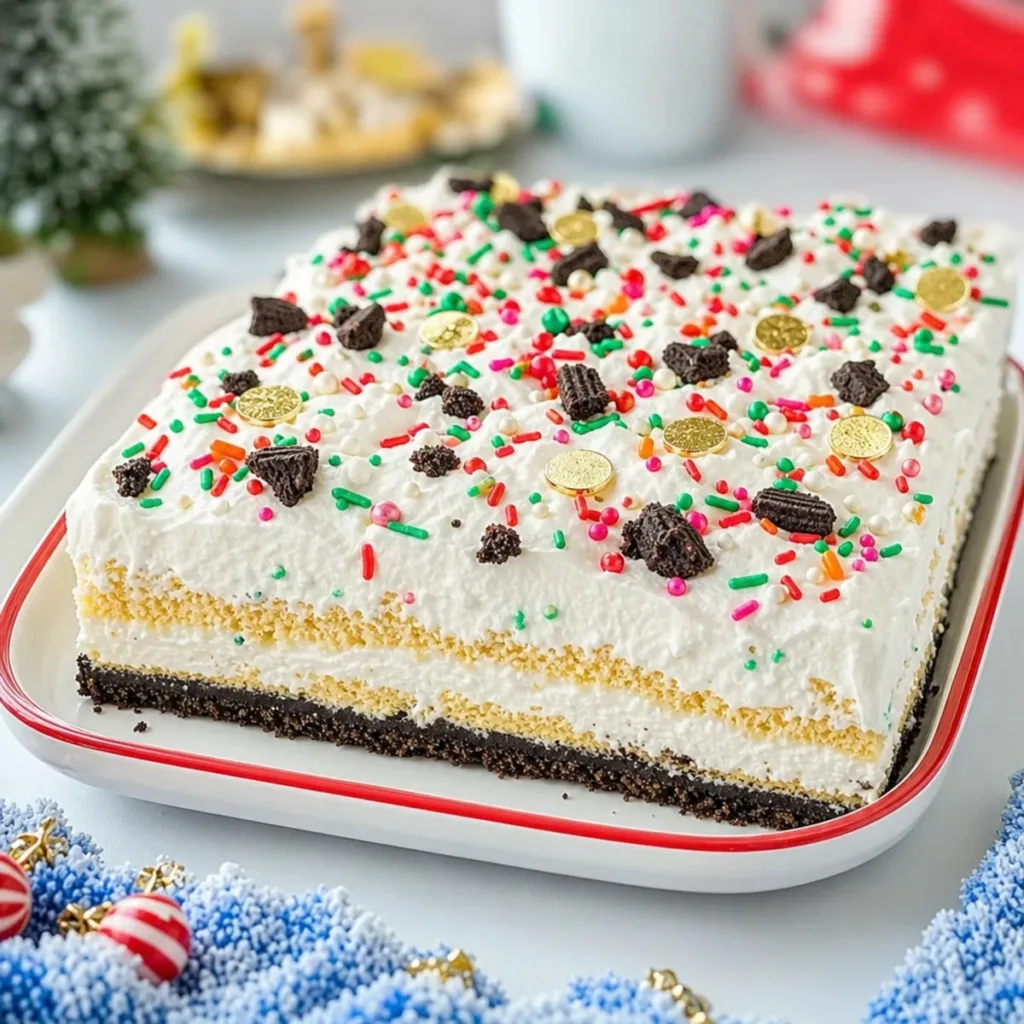
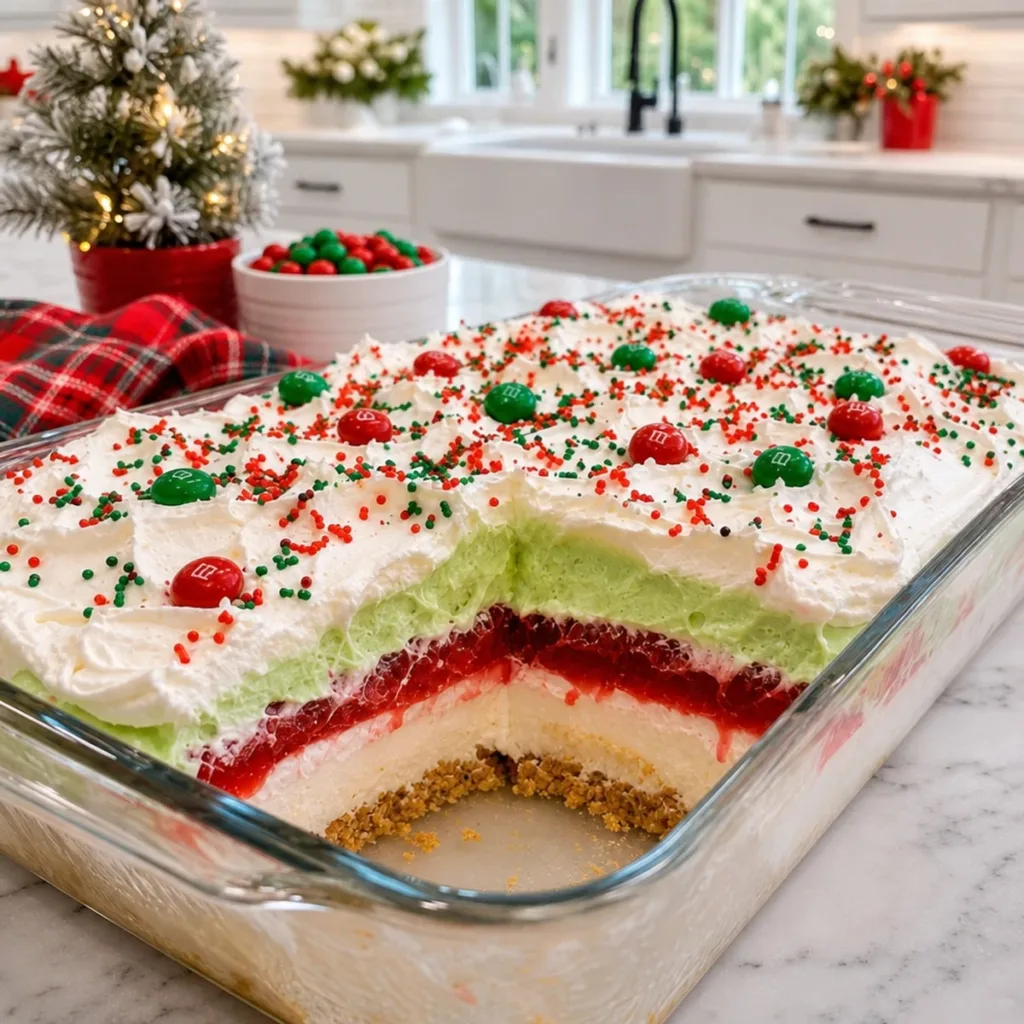
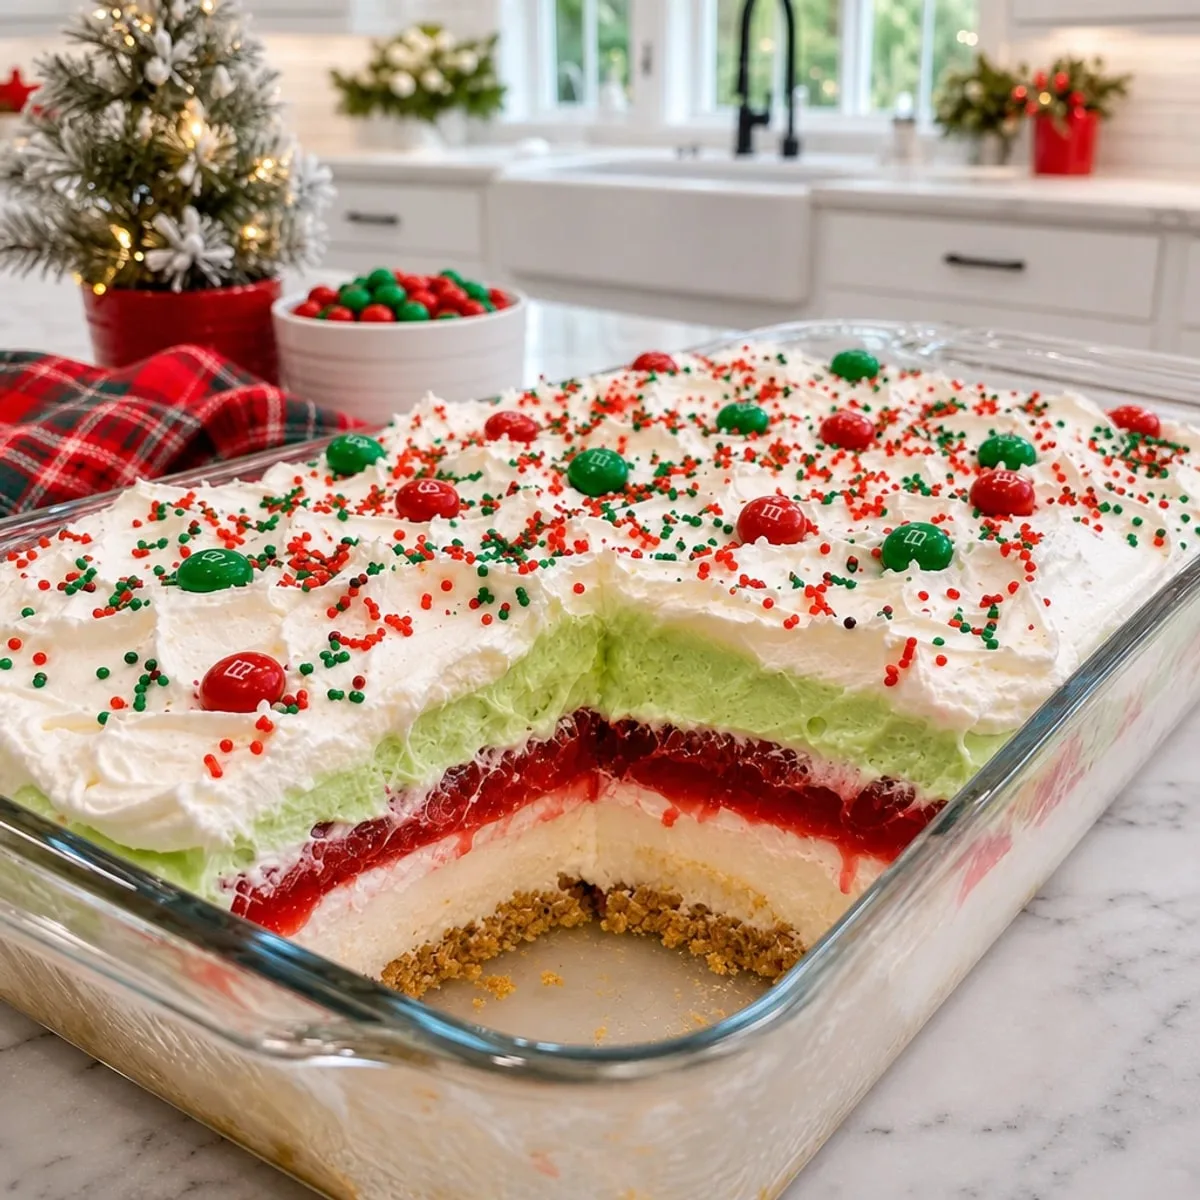
As I watched the snowflakes dance outside my window, I couldn't help but crave a treat that was as festive as the season itself. Enter the No Bake Christmas Lush Dessert, a delightful celebration of flavors and textures that’s perfect for cozy gatherings. With its vibrant layers of creamy goodness, this dessert is not only a feast for the eyes but also a crowd-pleaser that requires zero baking! Whether you're a busy home-chef or just looking for a fun way to bring holiday cheer to your table, the effortless preparation and stunning presentation make this dessert a delightful highlight. Ready to impress your guests and enjoy a sweet slice of winter magic? Let’s dive in!
Why is this dessert a holiday favorite?
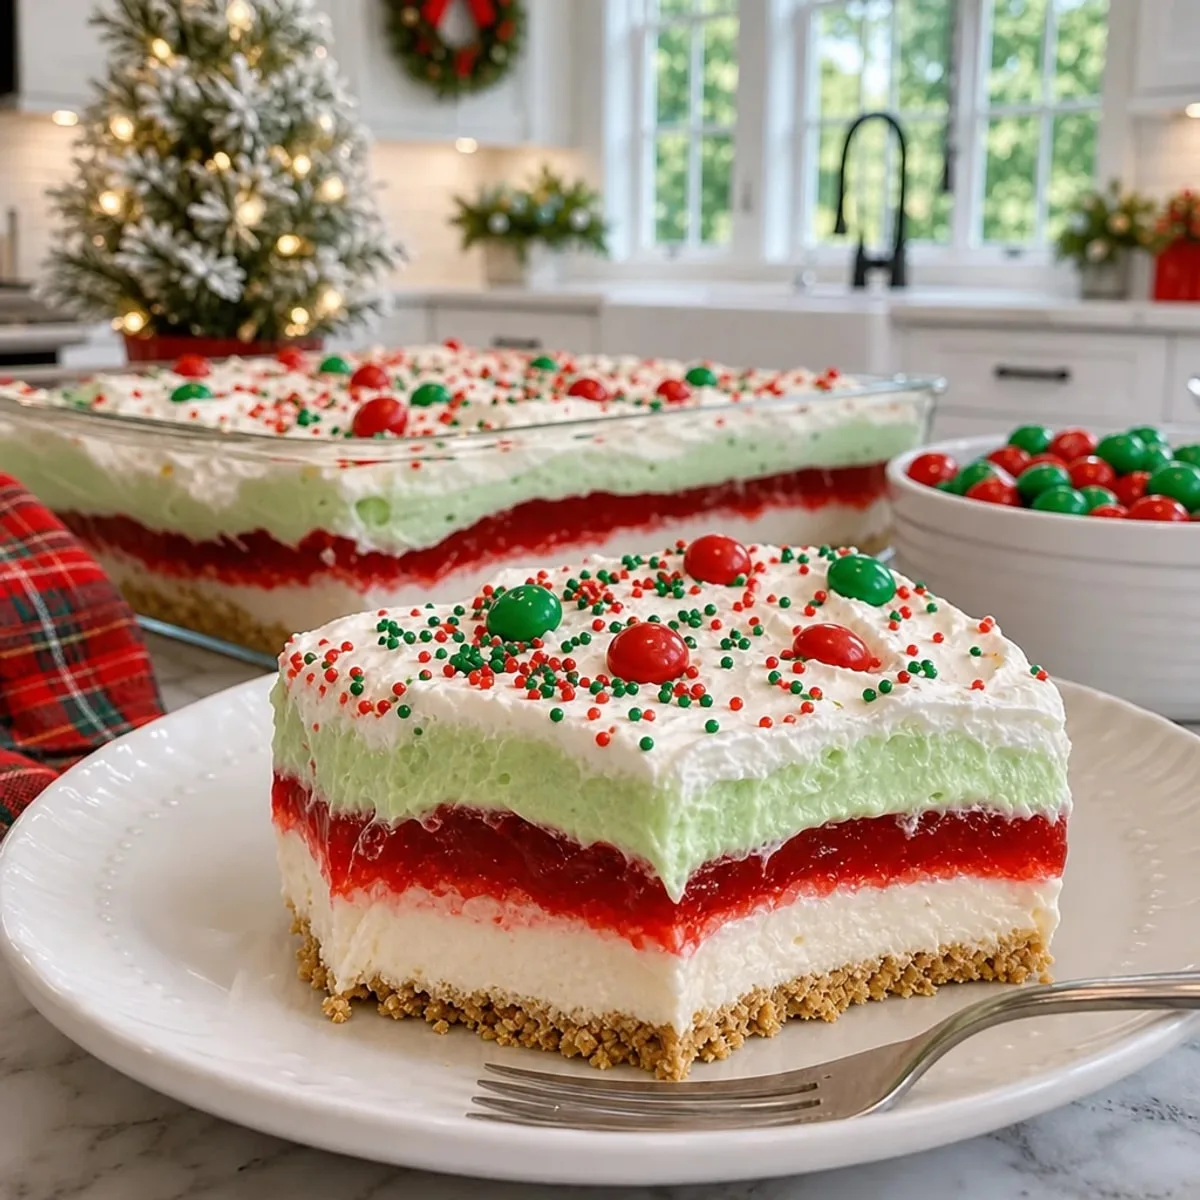
Irresistible Layers: Each scoop reveals vibrant colors and textures, from the crunchy graham cracker crust to the creamy cheesecake and glossy strawberry gelatin.
Effortless Preparation: With no baking required, this dessert is perfect for busy schedules and novice cooks alike.
Crowd-Pleasing Appeal: It’s a showstopper at any holiday gathering, making it an instant favorite among friends and family.
Festive Flavors: The combination of strawberries and pistachios brings joyful holiday flavors that are sure to delight your taste buds.
Make-Ahead Convenience: You can prepare this scrumptious treat in advance, ensuring a stress-free dessert option for your celebrations.
Celebrate the season with this No Bake Christmas Lush Dessert, and don't forget to check out my Ultimate Christmas Dessert Guide for more festive inspirations!
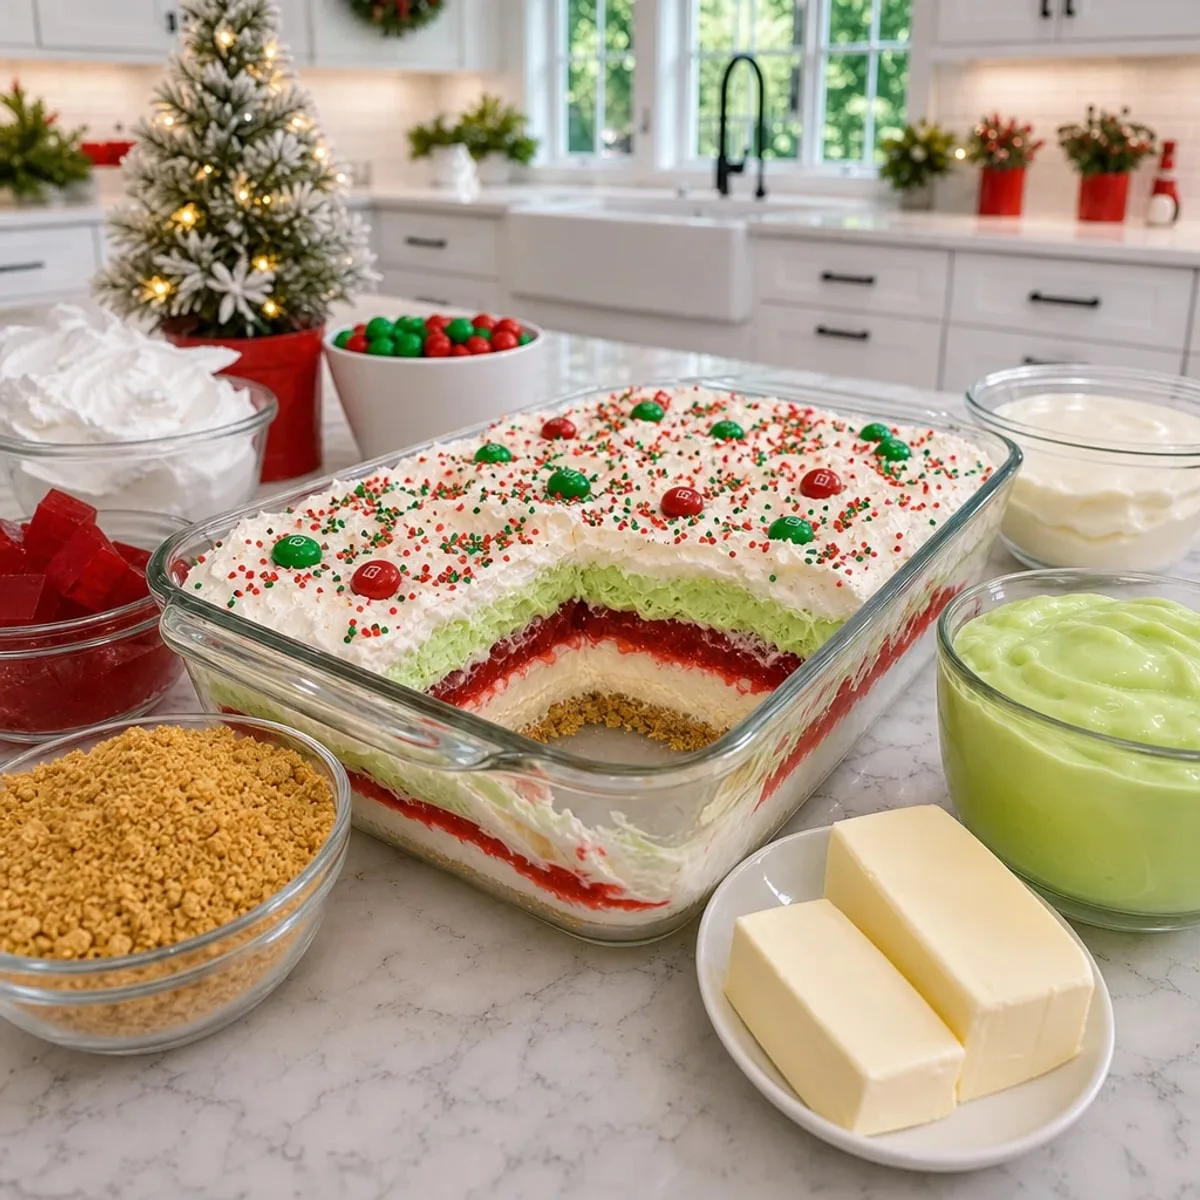
No Bake Christmas Lush Dessert Ingredients
• Get ready to create a festive delight!
For the Crust
- Graham cracker crumbs – adds a buttery crunch that forms the base.
- Unsalted butter – ensures a rich, moist texture for the crust.
- Granulated sugar – enhances the sweetness and balances the flavors.
For the Cream Cheese Layer
- Cream cheese – provides a smooth, creamy base filled with flavor.
- Powdered sugar – sweetens the filling without adding graininess.
- Vanilla extract – infuses a warm, inviting aroma into the filling.
- Whipped topping – lightens the texture while adding creaminess.
For the Strawberry Layer
- Strawberry flavored gelatin powder – ensures a vibrant, fruity layer.
- Boiling water – activates the gelatin for smooth mixing.
- Cold water – helps to set the gelatin to the perfect consistency.
- Fresh strawberries – adds natural fruitiness and texture.
For the Pistachio Layer
- Instant pistachio pudding mix – creates a rich, creamy green layer.
- Cold whole milk – is essential for the pudding to reach the right thickness.
- Whipped topping – again brings creaminess to this luscious layer.
For the Toppings
- Christmas sprinkles – add festive flair and color on top.
- Red and green candy coated chocolates – provide a sweet crunch and holiday cheer.
This delightful No Bake Christmas Lush Dessert is ready to enchant your holiday table with its stunning visual appeal and mouthwatering flavors!
Step-by-Step Instructions for No Bake Christmas Lush Dessert
Step 1: Prepare the Crust
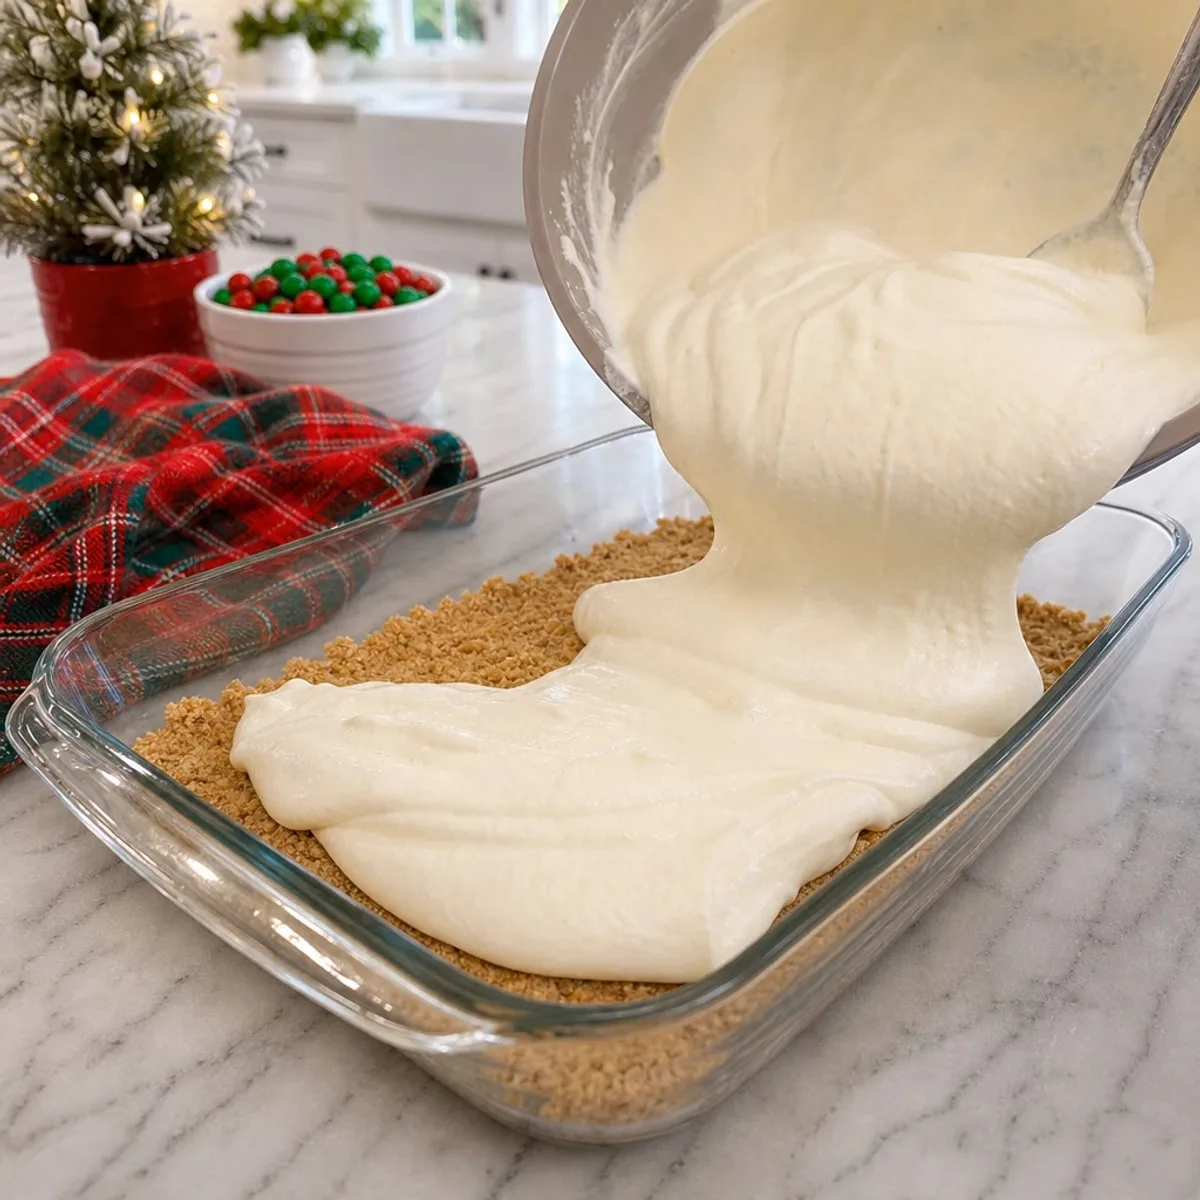
In a medium mixing bowl, combine 2 cups of graham cracker crumbs with ½ cup of melted unsalted butter and 2 tablespoons of granulated sugar. Stir until the crumbs are fully coated. Transfer this mixture to a 9×13 inch glass baking dish, pressing it firmly across the bottom to create an even, compact crust. Refrigerate for 20 minutes to allow it to firm up.
Step 2: Make the Cream Cheese Filling
In a large mixing bowl, place 16 ounces of softened cream cheese and beat it with an electric mixer until smooth and fluffy. Gradually add 1 cup of powdered sugar and 1 teaspoon of vanilla extract while continuing to mix. Beat until the filling is light and creamy, then gently fold in 4 ounces of thawed whipped topping until well combined. Spread this creamy filling evenly over the chilled graham cracker crust. Refrigerate for another 20 minutes.
Step 3: Prepare the Strawberry Gelatin Layer
In a heatproof mixing bowl, pour in 3 ounces of strawberry-flavored gelatin powder and add 1 cup of boiling water. Stir continuously for 2 minutes until completely dissolved. Next, add 1 cup of cold water and stir until well-mixed. Refrigerate for 30 to 45 minutes until the gelatin thickens slightly but remains spoonable. Once thickened, fold in 1 cup of finely chopped fresh strawberries.
Step 4: Assemble the Layers
Carefully spoon the strawberry gelatin mixture over the chilled cream cheese layer, spreading it evenly without disturbing the creamy base underneath. Make sure to cover it well for the best visual appeal. Refrigerate for about 2 hours, until this strawberry gelatin layer is completely firm.
Step 5: Create the Pistachio Layer
In a separate mixing bowl, pour in 3.4 ounces of instant pistachio pudding mix and 1.5 cups of cold whole milk. Whisk vigorously for 2 minutes until the pudding begins to thicken, then let it rest for 5 minutes. Gently fold in another 4 ounces of thawed whipped topping, creating a rich pistachio cream. Spread this evenly over the set strawberry layer and refrigerate for 20 minutes until it firms up slightly.
Step 6: Finish with Toppings
Once the pistachio layer is set, spread the remaining 8 ounces of whipped topping over it gently with a spatula. Sprinkle red and green Christmas sprinkles uniformly across the surface, then arrange red and green candy-coated chocolates attractively on top. Cover the dish with plastic wrap, ensuring it doesn't touch the decorations, and refrigerate for at least 2 more hours until all layers are chilled and firm.
Step 7: Serve the No Bake Christmas Lush Dessert
When ready to serve, remove the dessert from the refrigerator. Use a sharp knife to cut the chilled dessert into 12 even portions, wiping the knife clean between cuts to maintain the beautiful layers. Enjoy this festive treat cold for the best creamy texture! Any leftovers can be stored in the refrigerator for up to 3 days.
How to Store and Freeze No Bake Christmas Lush Dessert
Fridge: Store any leftover No Bake Christmas Lush Dessert covered with plastic wrap or in an airtight container for up to 3 days, keeping its delightful layers intact.
Freezer: For longer storage, wrap portions tightly in plastic wrap, then place in a freezer-safe container. This dessert can be frozen for up to 1 month.
Thawing: To enjoy, transfer the dessert to the fridge and let it thaw overnight. Avoid thawing at room temperature to maintain texture.
Reheating: Serve chilled to preserve the creaminess and flavor; no reheating is necessary for this treat!
Expert Tips for No Bake Christmas Lush Dessert
Prepping Ingredients: Make sure all ingredients are at room temperature, especially cream cheese. This ensures a smooth and creamy filling that blends seamlessly.
Chilling Layers: Don’t skip the refrigeration between layers. Allowing each layer to set properly prevents them from mixing and maintains distinct layers in your No Bake Christmas Lush Dessert.
Mixing Gelatin: Stir well and check the consistency of the strawberry gelatin. It should be slightly thickened but still spoonable before adding strawberries to achieve the best texture.
Cutting Smoothly: Use a sharp knife to slice the dessert, and wipe the knife between cuts. This keeps each piece looking pristine and showcases the gorgeous layers.
Decorating with Care: When covering the dish with plastic wrap, avoid directly touching the toppings. This keeps your beautiful decorations intact until serving.
No Bake Christmas Lush Dessert Variations
This recipe invites your creativity to shine with delightful tweaks and spins that will make this festive treat uniquely yours!
Gluten-Free Crust: Substitute graham cracker crumbs with gluten-free cookies or almond flour for a safe, tasty base. You'll keep the crunch without missing a beat!
Berry Bliss: Swap the strawberries for raspberries or blueberries for a bright twist. Each berry brings its own sweet-sour balance, making every bite a jewel.
Nutty Indulgence: Add chopped pistachios to the pistachio layer for added texture and flavor. The crunch alongside the creamy richness will be a delightful surprise.
Dairy-Free Delight: Use vegan cream cheese and coconut whipped cream to make this dessert dairy-free. The flavors remain rich and creamy, ensuring everyone can enjoy a slice of joy.
Chocolate Heaven: Drizzle melted chocolate over the whipped topping for a decadent finish. This extra layer of bliss will surely take your dessert experience to new heights.
Tropical Twist: Replace the strawberry gelatin with passion fruit or mango gel for a tropical flair. Your No Bake Christmas Lush Dessert will transport you to a sunny paradise!
Cooling Touch: Incorporate a dash of peppermint extract into the cream cheese layer for a refreshing flavor burst. It’s a subtle way to bring holiday cheer into every bite.
Extra Whipped Topping: For those who love creaminess, increase the whipped topping by 8 ounces throughout the layers. The more, the merrier!
Feel free to combine these ideas, or try out a few more from your own kitchen magic! And if you’re looking for more flavorful inspirations, check out my Ultimate Christmas Dessert Guide. You’re bound to impress and spread festive cheer!
What to Serve with No Bake Christmas Lush Dessert
Elevate your holiday gathering with delightful pairings that enhance the festive spirit and flavors of this stunning dessert.
Festive Fruit Salad: A refreshing mix of seasonal fruits brightens the palate and adds a healthful touch to your dessert spread.
Hot Chocolate Bar: Rich, creamy hot chocolate complements the creamy layers beautifully, inviting guests to indulge in winter warmth.
Christmas Cookie Platter: A variety of cookies offers diverse textures and flavors, making it a delightful companion to the lush dessert.
Sparkling Cider: The effervescence of sparkling cider cuts through the creaminess, providing a light and festive drink option.
Peppermint Bark: The minty crunch adds a refreshing twist, perfectly balancing the sweetness of the No Bake Christmas Lush Dessert.
Gingerbread House: This whimsical addition brings a sense of nostalgia and visual appeal, enhancing your holiday ambiance.
Cranberry Compote: Tart and sweet, a spoonful of cranberry compote enhances flavors while adding a seasonal touch to each bite.
Coffee or Espresso: The rich, bold flavor of coffee creates a beautiful contrast to the dessert's sweetness, perfect for a cozy evening treat.
Discover the joy of combining flavors and textures for a truly magical holiday experience!
How to Meal Prep Your No Bake Christmas Lush Dessert for Effortless Entertaining
These No Bake Christmas Lush Dessert layers can be prepped in advance to make your holiday gatherings even easier! You can prepare the graham cracker crust up to 24 hours ahead—the key is to refrigerate it for 20 minutes to firm it up. Both the cream cheese filling and strawberry gelatin layer can be made within a day, ensuring freshness while saving time. When you're ready to finalize, simply spread the pistachio layer and toppings before serving. To maintain quality, cover each layer with plastic wrap to avoid drying out. This dessert can be enjoyed chilled for up to 3 days, allowing for a stress-free sweet treat that remains just as delightful!
Advertisement
No Bake Christmas Lush Dessert Recipe FAQs
How do I select ripe strawberries for the dessert?
Absolutely! Look for strawberries that are bright red, firm, and have a sweet fragrance. Avoid any that have dark spots or are overly soft. Freshness adds to the flavor and visual appeal of your No Bake Christmas Lush Dessert!
What is the best way to store leftover dessert?
For sure! Cover any remaining No Bake Christmas Lush Dessert with plastic wrap or transfer it to an airtight container. It will stay fresh in the fridge for up to 3 days. Just make sure to keep it chilled for the best creamy texture.
Can I freeze this dessert?
Yes, you can! To freeze, carefully wrap individual portions in plastic wrap and then place them in a freezer-safe container. Your No Bake Christmas Lush Dessert can be frozen for up to 1 month. When you’re ready to enjoy it, simply transfer it to the fridge to thaw overnight.
What should I do if the gelatin layer doesn't set properly?
No worries! If your strawberry gelatin layer isn't firm after chilling for the required time, it could be that it wasn’t mixed enough with the boiling water. Try refrigerating it longer, or if it’s still too soft, consider preparing a new batch of gelatin and layering it again, ensuring to mix thoroughly.
Is this recipe suitable for those with allergies?
Very good question! The No Bake Christmas Lush Dessert contains cream cheese, gelatin, and whipped topping, all of which may not be suitable for those with dairy allergies. You can experiment with dairy-free cream cheese and whipped topping alternatives to make this dessert more allergy-friendly. Always check labels for any hidden ingredients!
No Bake Christmas Lush Dessert Dreams Come True
Ingredients
Equipment
Method
- In a medium mixing bowl, combine graham cracker crumbs, melted unsalted butter, and granulated sugar. Stir until fully coated. Transfer to a 9x13 inch glass baking dish, pressing firmly to create a compact crust. Refrigerate for 20 minutes.
- In a large mixing bowl, beat softened cream cheese until smooth. Gradually add powdered sugar and vanilla extract. Beat until creamy, then fold in thawed whipped topping. Spread evenly over crust and refrigerate for another 20 minutes.
- In a heatproof bowl, pour gelatin powder and add boiling water. Stir until dissolved. Add cold water and refrigerate until thickened (30-45 minutes). Fold in chopped strawberries.
- Spoon strawberry gelatin mixture over cream cheese layer. Refrigerate for about 2 hours, until firm.
- In a separate bowl, mix pudding mix and cold milk. Whisk until thick, let rest for 5 minutes. Fold in additional whipped topping. Spread over strawberry layer and refrigerate for 20 minutes.
- Spread remaining whipped topping over pistachio layer. Sprinkle with Christmas sprinkles and arrange candy-coated chocolates on top. Cover with plastic wrap and refrigerate for at least 2 more hours.
- Remove dessert from refrigerator, cut into 12 portions using a sharp knife. Serve cold and enjoy!