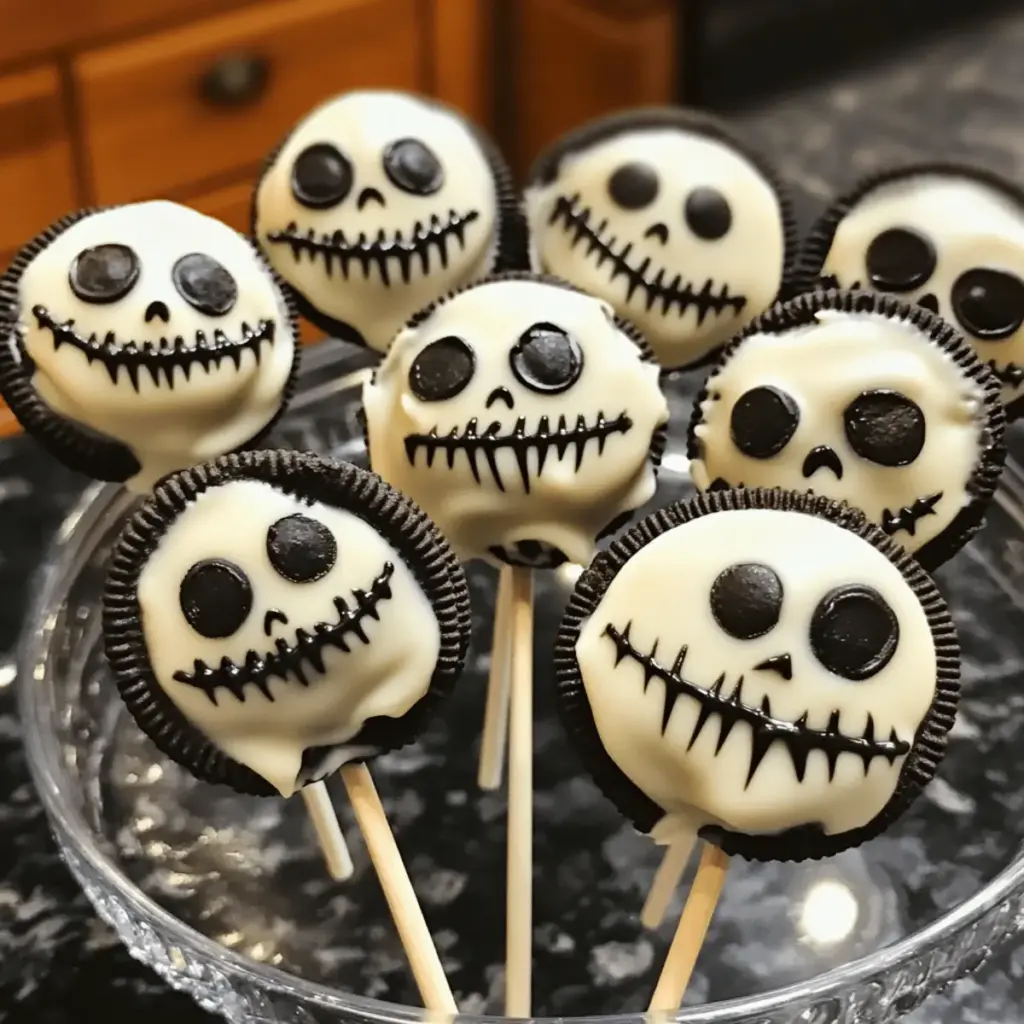
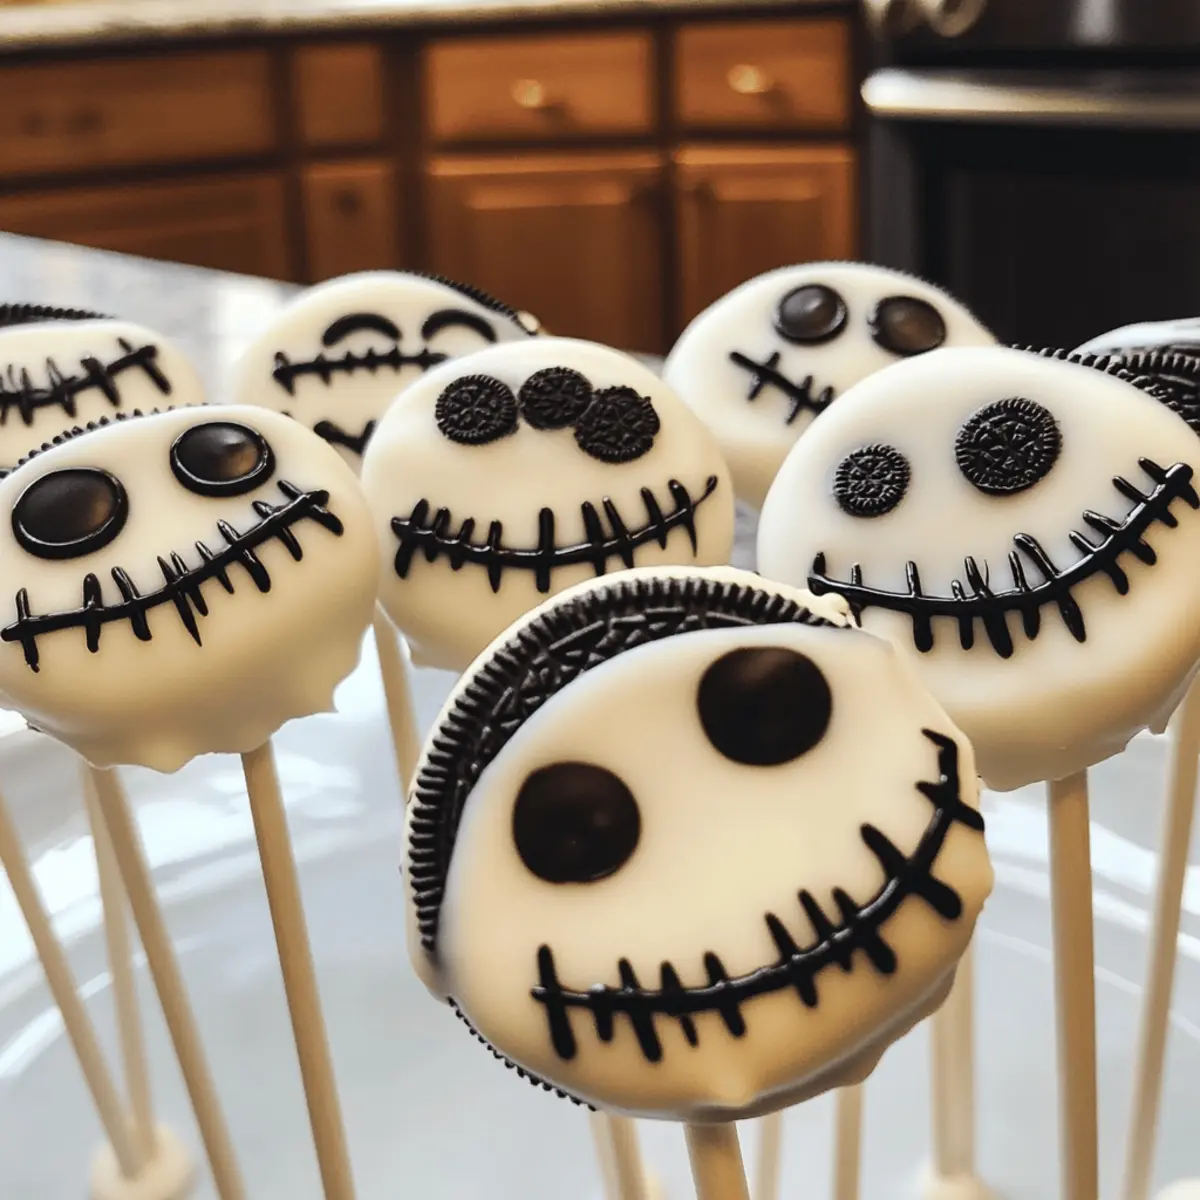
As autumn sets in and the days grow shorter, the familiar sight of Halloween decorations begins to pepper our neighborhoods. Crafting an easy yet delightful treat like Jack Skellington Oreo Pops can add just the right touch of whimsy to your Halloween festivities. These no-bake wonders blend the beloved flavor of Oreos with a spooky twist that’s perfect for kids and adults alike. Not only are they a breeze to whip up—making them ideal for those busy days leading up to the holiday—but they also provide a fun opportunity to unleash your creativity. Imagine the joy on your family’s faces as they indulge in these delicious pops, each one a delightful little masterpiece. Ready to dive into some Halloween fun? Let’s get started!
Why Are These Pops So Special?
Simplicity at Its Best: These Jack Skellington Oreo Pops are a no-bake treat, requiring minimal effort and just a few ingredients, making them perfect for all skill levels.
Fun for All Ages: Kids will love decorating their pops, and adults can join in on the festive fun, ensuring everyone feels part of the Halloween spirit.
Versatile Variations: Feel free to switch up the Oreos—try mint or peanut butter for a twist, or use colorful candy melts to create different Halloween characters!
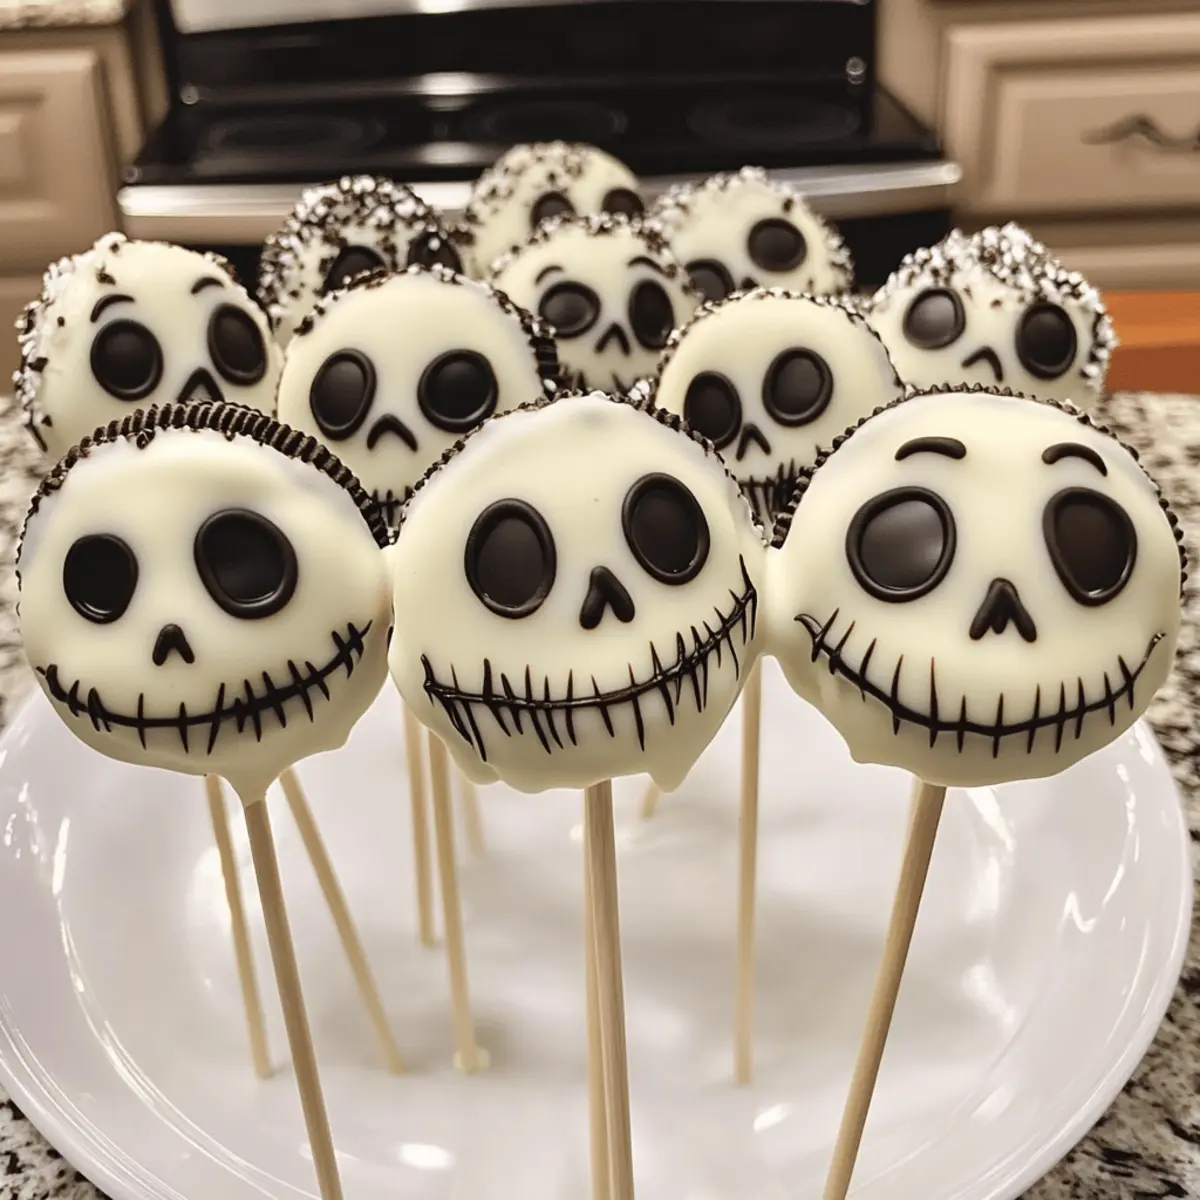
Perfect for Parties: These eye-catching pops not only taste delicious but also make fantastic party favors or spooky snacks for gatherings. Serve them on a cute plate or jar for added charm.
Get inspired with other festive creations like Creative Snowman Oreo or try out the Fun Grinch Oreo for year-round fun!
Jack Skellington Oreo Pops Ingredients
• Craft your festive treat with ease!
For the Pops
• Oreos – The irresistible chocolate base that gives these pops their signature flavor; consider Halloween-themed Oreos for extra color!
• White chocolate candy melts – Provides a sweet and creamy coating; white chocolate chips with coconut oil can be used for a smooth finish.
• Black Edible Marker (AmeriColor Recommended) – Essential for decorating Jack Skellington’s smile and eyes; keep the marker tip moist to maintain perfect flow.
• Lollipop Sticks – These handy sticks make your pops easy to hold; insert into the cream filling of the Oreos for stability.
• Black Ribbon – A charming touch to finish off your pops with style; choose any decorative ribbon that suits your Halloween theme.
• Baking Sheet lined with Foil – Essential for easy cleanup and to prevent the pops from sticking as they set.
Unleash your creativity and enjoy making these delightful Jack Skellington Oreo Pops that will bring joy to your Halloween celebrations!
Step‑by‑Step Instructions for Jack Skellington Oreo Pops
Step 1: Melt the Chocolate
Begin by melting the white chocolate candy melts in a microwave-safe bowl. Heat them in 30-second intervals at medium power, stirring after each interval until smooth and fully melted. This process usually takes about 1-2 minutes. The chocolate should be glossy and pourable, free of lumps, ready for dipping your delicious Jack Skellington Oreo Pops.
Step 2: Insert the Lollipop Sticks
Dip one end of each lollipop stick into the melted chocolate, just enough to coat it lightly, then gently insert it into the cream filling of each Oreo. Lay the Oreos on a baking sheet lined with foil, ensuring they’re spaced apart. This step helps stabilize the sticks, allowing you to create the perfect pops.
Step 3: Chill the Oreos (Optional)
For added support, you can place the Oreos with the inserted sticks in the freezer for about 1 minute. This brief chill will help the chocolate adhere and firm up the structure of each Jack Skellington Oreo Pop, making the next step easier and less messy.
Step 4: Dip the Oreos
Gently hold each Oreo pop by the stick and dip it into the melted white chocolate, ensuring complete coverage. Allow the excess chocolate to drip back into the bowl before placing them again on the foil-lined baking sheet. Aim for a smooth, even coat over the pop, which not only enhances the look but also adds a delightful creaminess.
Step 5: Refrigerate to Set
Once all the pops are coated, place the baking sheet in the refrigerator for about 5 minutes, or until the white chocolate coating hardens completely. This step is crucial for achieving that firm exterior, ideal for decorating your Jack Skellington faces afterward.
Step 6: Decorate the Pops
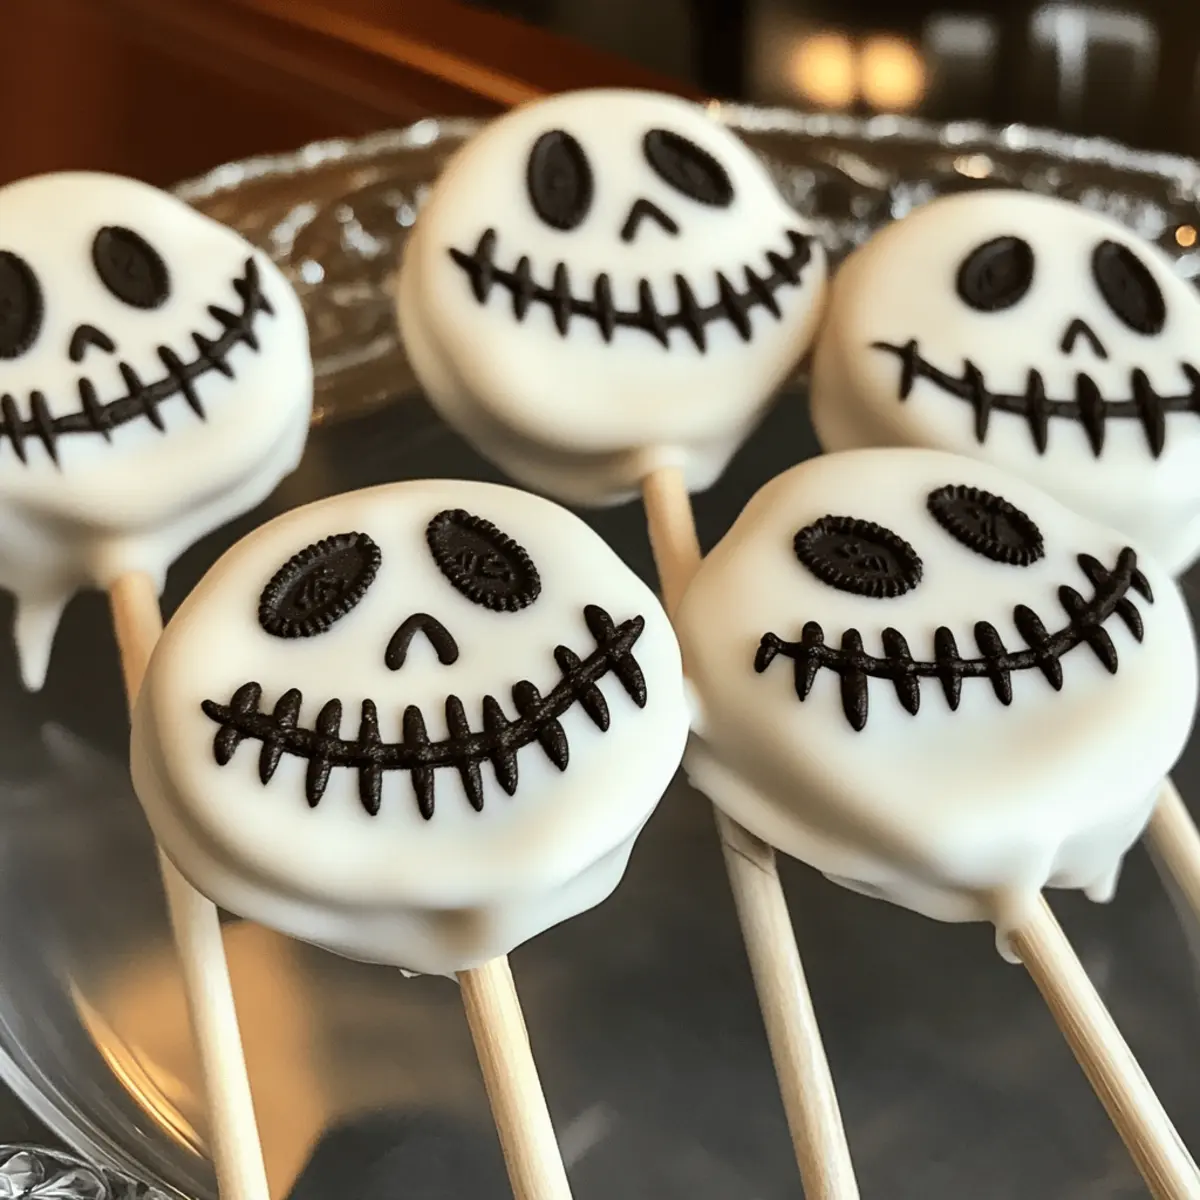
After the coating is set, use the black edible marker to draw Jack Skellington’s whimsical face on each of your pops. This is where creativity shines—each pop can become its unique character! If your marker dries out, simply dab the tip with a damp paper towel to keep it moist and ready for use.
Step 7: Add the Finishing Touch
To give your Jack Skellington Oreo Pops a charming final look, tie a piece of black ribbon around the base of each stick. This decorative touch not only enhances their aesthetic but also adds a festive flair that’s perfect for Halloween celebrations. Your delicious treats are now complete and ready to impress!
Expert Tips for Jack Skellington Oreo Pops
• Right Temperature: Ensure the melted chocolate is at a warm but not hot temperature to maintain Oreo’s structure and prevent breaking.
• Marker Maintenance: Keep your AmeriColor Edible Marker tip damp with a paper towel to ensure a smooth flow while decorating Jack Skellington faces.
• Stick Stability: If using regular Oreos, opt for double-stuffed for added stability when inserting the lollipop sticks and dipping into chocolate.
• Decorative Ideas: Consider using colored candy melts for various themed pops, enhancing the festive look while keeping the process simple with Jack Skellington Oreo Pops.
• Chilling Time: Don’t skip the optional chill step—briefly chilling the pops helps secure the lollipop stick and simplifies dipping into the white chocolate.
Make Ahead Options
These Jack Skellington Oreo Pops are fantastic for meal prep, making them perfect for busy home cooks gearing up for Halloween festivities! You can prepare the pops up to 3 days in advance by dipping and decorating the Oreos, and then store them in an airtight container in the refrigerator to maintain their freshness. To prevent the chocolate from losing its shine, ensure they are chilled properly before sealing. When you’re ready to showcase these festive treats, simply tie the black ribbon around the sticks and they’re good to go! This way, you can enjoy quality time with family while still delivering delightful, homemade treats without stress.
Storage Tips for Jack Skellington Oreo Pops
Room Temperature: Store the pops in a cool, dry place for up to 3 days to maintain their delightful texture. Keep them in a decorated container for presentation.
Fridge: If you prefer to keep them fresher, place unwrapped pops in an airtight container in the refrigerator for up to 5 days. This helps retain their flavor and prevent moisture.
Freezer: For longer storage, you can freeze Jack Skellington Oreo Pops. Wrap them individually in plastic wrap and store in a freezer-safe container for up to 1 month. Thaw in the refrigerator before serving.
Reheating: These pops are best enjoyed chilled or at room temperature, so avoid reheating them. Simply allow frozen pops to come to room temperature before indulging!
Jack Skellington Oreo Pops Variations
Feel free to have fun and personalize your Jack Skellington Oreo Pops with these tasty twists!
- Minty Oreo: Swap regular Oreos for mint-flavored ones to give your pops a refreshing twist. The cool mint flavor adds an exhilarating surprise!
- Peanut Butter Oreo: Use peanut butter Oreos for a nutty and sweet alternative. The combination of chocolate and peanut butter is sure to thrill your taste buds!
- Colored Candy Melts: Instead of white chocolate, experiment with vibrant colored candy melts for a playful pop of color. Create a whimsical Halloween palette with these festive hues!
- Drizzle Decoration: After the base coat sets, drizzle contrasting melted chocolate over the pops for an elegant finish. This simple technique adds an artistic flair to your treats.
- Spice It Up: Add a pinch of cinnamon or chili powder to the melted chocolate for a slight spicy kick. This secret ingredient can create a bold flavor that surprises everyone!
- Halloween Sprinkles: Before the chocolate sets, sprinkle festive edible decorations on top for an extra crunch and a touch of holiday spirit. They’ll look as good as they taste!
- Flavor Infusions: Mix in some orange zest into the white chocolate for a zesty, autumn-inspired flavor. This brightens up the taste and adds a lovely citrus undertone!
For more spooky ideas, don’t forget to check out these festive treats: Creative Snowman Oreo or try the delicious Fun Grinch Oreo for variation year-round!
What to Serve with Jack Skellington Oreo Pops
As you prepare these delightful Halloween treats, consider adding more flavors and textures to create a spooktacular spread.
-
Crispy Apple Slices: The crispness of fresh apples contrasts beautifully with the creamy Oreos, refreshing your palate between bites. Drizzle with caramel for a festive touch!
-
Pumpkin Spice Cupcakes: These moist, spiced cupcakes harmonize with the Halloween theme, offering a sweet and cozy flavor that complements the chocolatey pops.
-
Chocolaty Hot Cocoa: Serve a mug of rich chocolatey cocoa beside the pops for a comforting drink experience that pairs delectably with each sweet bite.
-
Mallow Monster Brownies: Fudgy brownies topped with marshmallow eyes create an enticing dessert queue that brings a playful, spooky twist to your dessert table.
-
Spooky Snack Mix: A mix of pretzels, candy corn, and chocolate-covered treats offers a delightful crunch. It’s a great interactive snack that guests can nibble on while enjoying the pops.
-
Ghostly Fruit Kabobs: Thread together bananas, strawberries, and mini marshmallows for a fun and colorful fruit option—perfectly balancing the sweetness of the Oreo pops while maintaining a festive look.
-
Candy Corn Cookies: Incorporate the iconic seasonal candy into cookies for a chewy addition to your Halloween treat platter. Their vibrant colors echo the spirit of the festivities!
-
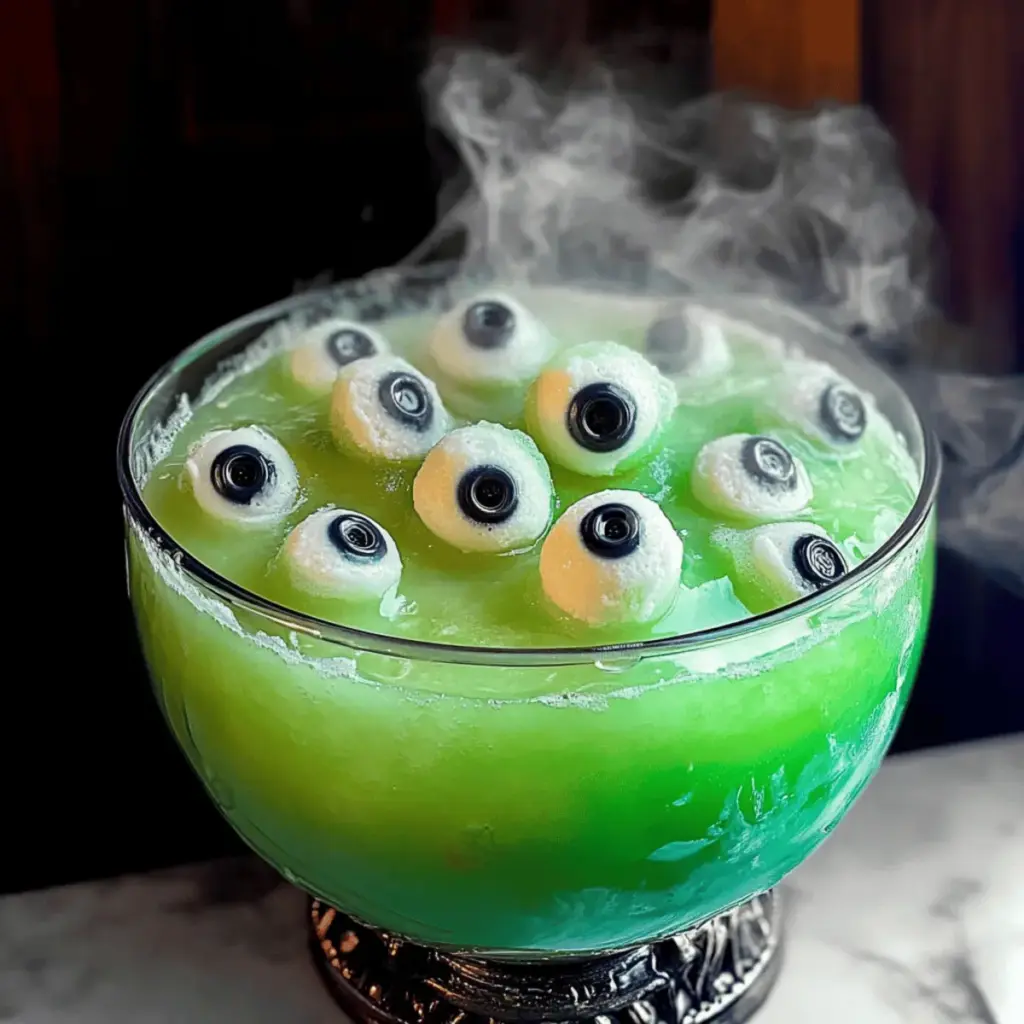
Monster Punch: A spooky beverage made with green punch and floating gummy eyeballs can quench everyone’s thirst and create a fun atmosphere alongside the Jack Skellington Oreo Pops.
Creating a complete Halloween spread is all about delightful combinations that keep the spirit alive and the flavors flowing!
Advertisement
Jack Skellington Oreo Pops Recipe FAQs
What kind of Oreos should I use for Jack Skellington Oreo Pops?
Using regular Oreos provides a rich chocolate flavor, but I recommend trying Halloween-themed Oreos for extra color and creativity! If you want better stability for the pops, choose the double-stuffed variety, which holds the sticks securely.
How should I store my Jack Skellington Oreo Pops?
Store the pops in an airtight container in the refrigerator for up to 5 days. This keeps them fresh and prevents moisture from ruining their delightful texture. If they stay out at room temperature, unwrapped pops can last about 3 days in a cool, dry spot.
Can I freeze Jack Skellington Oreo Pops?
Absolutely! To freeze your pops, wrap each one individually in plastic wrap and place them in a freezer-safe container. They can stay fresh for up to 1 month. To enjoy, simply thaw them in the refrigerator for a few hours before serving.
What should I do if my melted chocolate is too hot?
If the melted chocolate becomes too hot, it can loosen the Oreo structure and make dipping messy. I recommend letting it cool slightly, stirring regularly until it reaches a warm, pourable consistency, usually warmer than room temperature but not scalding.
Are there any dietary considerations for Jack Skellington Oreo Pops?
Yes, keep in mind that Oreos and white chocolate contain gluten and dairy, so they may not be suitable for those with gluten sensitivities or lactose intolerance. For a pet-friendly treat, avoid giving these pops to your furry friends, as chocolate can be harmful to them.
How do I make my edible marker work better while decorating?
To keep your edible marker flowing smoothly while decorating Jack Skellington’s face, dab the tip with a damp paper towel if it starts to dry out. This tip keeps your marker moist and ensures you can create those perfect smile and eye details!

Create Spooktacular Jack Skellington Oreo Pops at Home
Ingredients
Equipment
Method
- Melt the white chocolate candy melts in a microwave-safe bowl, heating in 30-second intervals until smooth.
- Dip one end of each lollipop stick into the melted chocolate and insert into each Oreo.
- Chill the Oreos with sticks in the freezer for about 1 minute for added support.
- Dip each Oreo pop into the melted white chocolate to coat them completely.
- Refrigerate the coated pops for about 5 minutes to let the chocolate harden.
- Use the black edible marker to decorate Jack Skellington's face on each pop.
- Tie a piece of black ribbon around the base of each stick for a charming look.