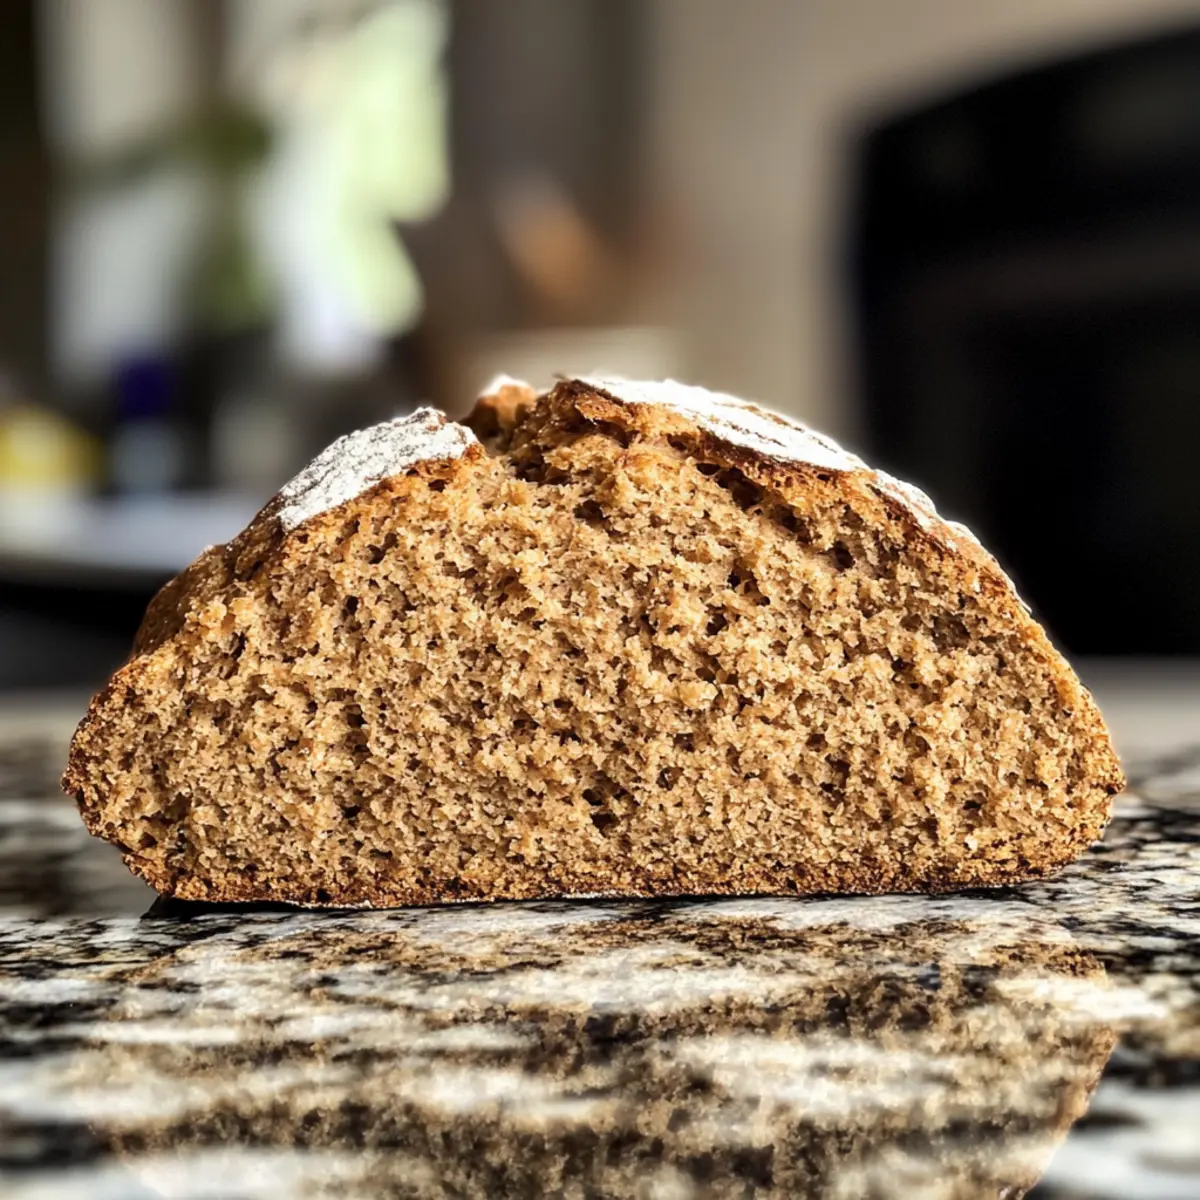
As I stood in my kitchen, the warmth of the early morning sun dappled across the counter, I couldn’t help but feel a pull toward a classic recipe that always gets me nostalgic—Irish Brown Bread. This traditional variant of soda bread is simplicity at its best, combining just five pantry staples to create a wholesome, rustic loaf full of heart. With its quick prep time of only 10 minutes and a bake of just 30, this no-yeast bread is perfect for both the novice baker and the seasoned chef craving a comforting homemade creation. Whether served warm slathered in butter or as an accompaniment to a hearty stew, this Irish Brown Bread not only elevates your meals but also fills your home with that delightful, freshly-baked aroma. Curious about how you can whip up this delightful recipe and maybe experiment with a dairy-free version? Let’s dive in!
Why is Irish Brown Bread so beloved?
Simplicity: Made with just five ingredients, this rustic loaf is incredibly easy and stress-free, making it perfect for bakers of all skill levels.
Heartwarming Aroma: The enticing smell of freshly baked bread wafting through your home is a joy that no fast food can replicate.
Versatile Pairing: Ideal with soups, stews, or simply topped with butter and jam, this bread complements any meal beautifully.
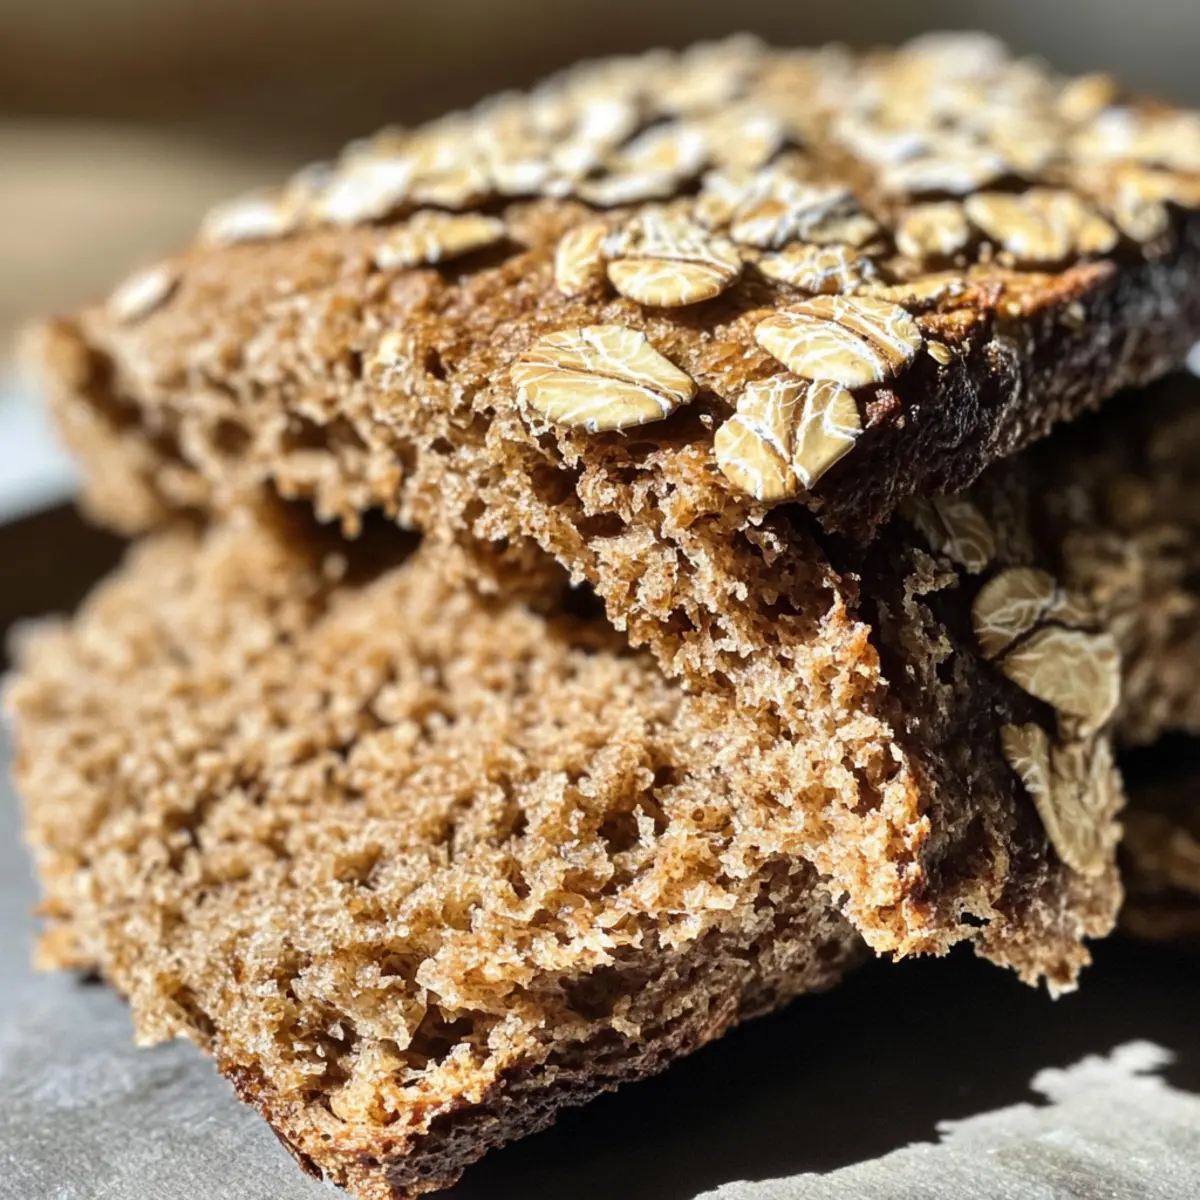
Wholesome Goodness: Packed with whole grains, it offers a nutty flavor that feels good to eat, satisfying both your palate and your nutritional needs.
Time-Saving: With only 10 minutes of prep and a quick bake, you can enjoy homemade goodness without the fuss.
Don’t forget to explore dairy-free options by substituting buttermilk with plant-based milk and a splash of lemon juice for a delightful twist!
Irish Brown Bread Ingredients
For the Bread
- Whole Wheat Flour – A hearty, nutty base that gives this bread its rustic quality; replace with all-purpose flour for a lighter texture.
- All-Purpose Flour – Lightens the dense consistency, allowing for a softer crumb; you may use extra whole wheat flour if you prefer more fiber.
- Old Fashioned Rolled Oats – Provides a wonderful texture and wholesome aspect; quick oats can work, but they will change the final result.
- Buttermilk – Adds a unique tang and works as a leavening agent; substitute with a blend of plant-based milk and lemon juice for a dairy-free version.
- Baking Soda – The key leavening agent that interacts with the acidity of buttermilk, vital for the bread to rise properly.
- Salt – A simple ingredient that enhances all the flavors of the bread; feel free to adjust to suit your taste.
Optional Add-ins
- Honey or Maple Syrup – For a touch of sweetness that complements the hearty flavors of the loaf.
- Caraway Seeds – Introduces a lovely hint of flavor that pairs wonderfully with the rustic bread.
- Raisins or Currants – Adds a delightful chewiness and sweetness for a fun twist on the classic Irish Brown Bread.
Now, gather these ingredients and let’s get ready to fill your kitchen with the warm, inviting aroma of homemade bread!
Step‑by‑Step Instructions for Irish Brown Bread
Step 1: Preheat the Oven
Begin by preheating your oven to 400°F (200°C). While the oven warms up, line a large rimmed baking sheet with parchment paper. This will prevent the bread from sticking and ensure a golden, crusty exterior. A well-prepared baking sheet sets the stage for your delightful Irish Brown Bread.
Step 2: Mix Dry Ingredients
In a large mixing bowl, combine the whole wheat flour, all-purpose flour, rolled oats, baking soda, and salt. Whisk these dry ingredients together until they are well blended and homogenous. This step is crucial as it integrates the flavors effectively and ensures even rising in your Irish Brown Bread.
Step 3: Incorporate Buttermilk
Pour 1 cup of buttermilk into the bowl with your dry ingredients. Gently stir the mixture with a wooden spoon or spatula until it starts to come together. If the dough seems too dry, add the remaining 1/4 cup of buttermilk gradually. It should be wet and sticky, indicating your dough is just right for the rustic loaf.
Step 4: Shape the Dough
Turn the wet dough onto your prepared baking sheet. With clean, floured hands, shape it into a round ball, being careful not to overwork it. Aim for a rustic appearance while ensuring that the dough maintains its moisture and stickiness. At this point, your Irish Brown Bread will start taking shape!
Step 5: Score the Dough
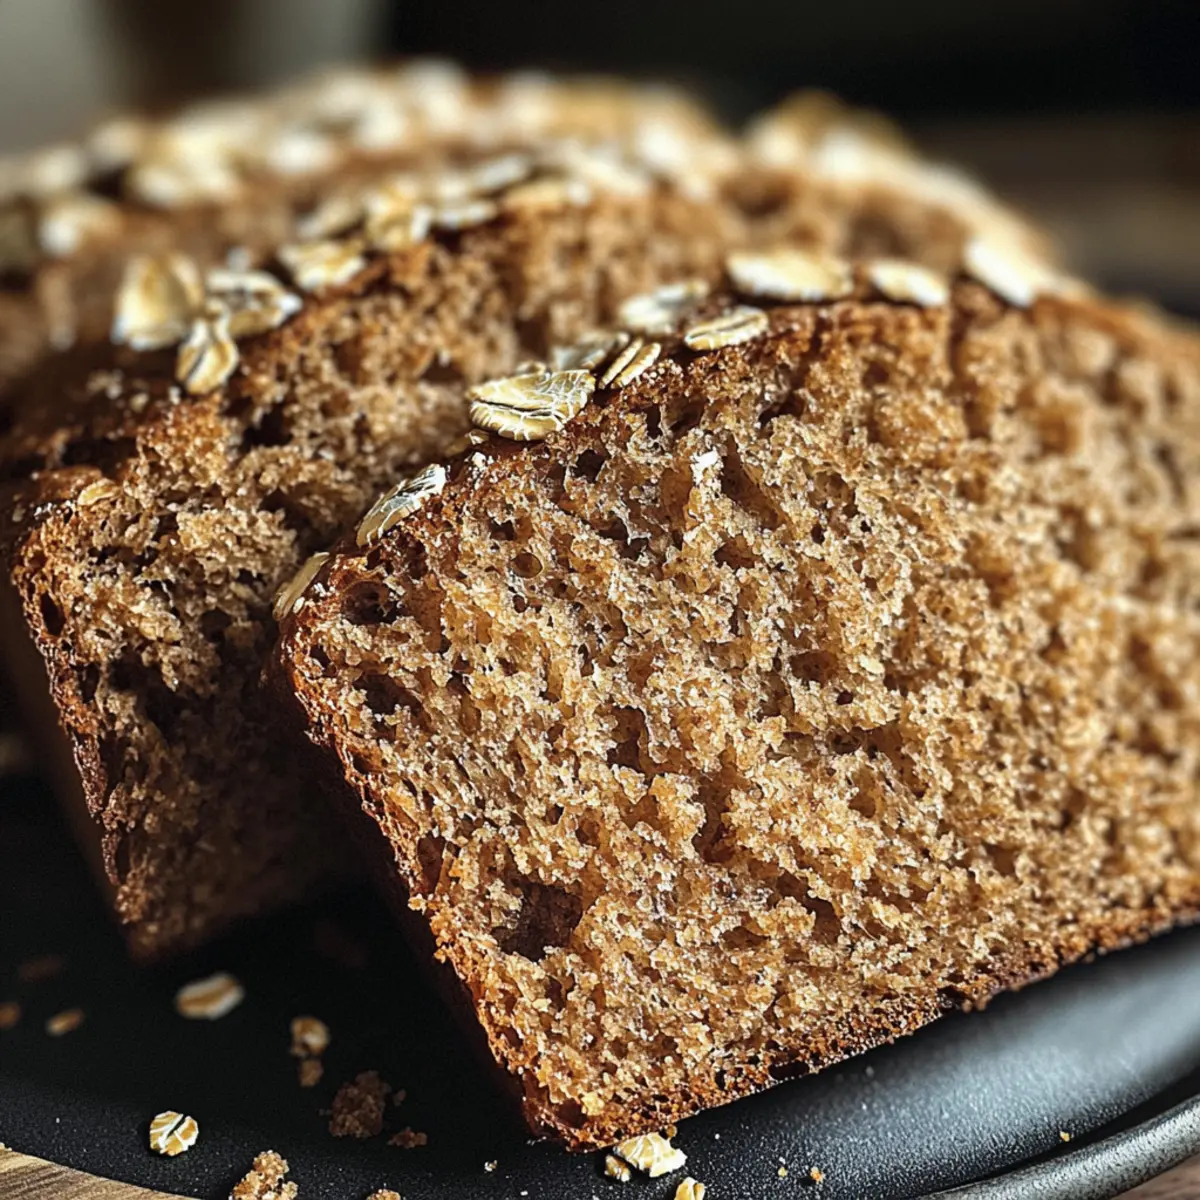
Using a sharp knife, score an “x” on the top of the dough about 1/2 inch deep. This not only adds a decorative touch but also allows for expansion while baking. For an extra touch of flavor, sprinkle a few additional rolled oats on top of the dough before it heads to the oven.
Step 6: Bake the Bread
Place your baking sheet in the preheated oven and bake for 30 minutes. Keep an eye on the bread, and look for a rich golden-brown color — it should sound hollow when tapped on the bottom. This indicates that your Irish Brown Bread is perfectly baked and ready to emerge from the oven.
Step 7: Cool and Slice
Once baked, remove the bread from the oven and let it cool completely on a wire rack. This cooling process helps set the texture and makes slicing easier. Patience pays off here, as the delightful aroma of your homemade Irish Brown Bread fills the kitchen, inviting everyone to enjoy its warmth.

How to Store and Freeze Irish Brown Bread
Room Temperature: Keep your Irish Brown Bread in an airtight container at room temperature for up to 3 days to maintain its freshness and flavor.
Freezer: For longer storage, wrap the bread tightly in plastic wrap and aluminum foil, then place it in the freezer for up to 3 months. Thaw on the counter when ready to enjoy.
Reheating: To refresh the bread, reheat slices in a toaster or an oven set to 350°F for about 5-7 minutes, restoring that warm, rustic goodness you love.
Slicing Tip: If you plan to freeze, slice the bread beforehand; this makes thawing single servings easy and convenient!
What to Serve with Rustic Irish Brown Soda Bread
Nothing completes a hearty meal quite like a few perfect side dishes or drinks to elevate your rustic loaf!
- Creamy Potato Soup: The velvety texture of potato soup is an ideal match, perfect for dunking and soaking up every last drop.
- Hearty Beef Stew: This warm and comforting dish pairs beautifully, offering rich flavors that complement the bread’s crusty exterior.
The warm spices and tender chunks in a beef stew resonate with the nuttiness of your Irish Brown Bread, creating a satisfying dining experience.
-
Savory Caramelized Onions: Sweet and rich, caramelized onions add depth and sweetness, making each bite a delightful surprise.
-
Garlic Butter Shrimp: Light and flavorful, these shrimp bring a touch of brightness that contrasts beautifully with the dense bread.
-
Fresh Garden Salad: A refreshing salad with a zingy vinaigrette can cleanse the palate after the hearty bread, creating a balanced meal.
-
Homemade Jam: Sweet preserves spread on warm slices of bread create a comforting combination that’s both nostalgic and delicious.
-
Irish Tea: A warm cup of strong Irish tea rounds out the meal nicely, its robust flavor and aroma complementing the bread effortlessly.
-
Chocolate Bread Pudding: For dessert, this luscious treat benefits from the rustic bread, bringing sweet, rich flavors full circle.
These delightful options will ensure that your meal is not only hearty but also incredibly satisfying!
Expert Tips for Irish Brown Bread
-
Avoid Overmixing: Gently combine the ingredients until just mixed to maintain a tender texture; a wet, sticky dough is key for a perfect rise.
-
Flour Variety: For the best results, use a blend of whole wheat and all-purpose flour; substituting all whole wheat might yield a denser loaf.
-
Fresh Buttermilk: Ensure your buttermilk is fresh for optimal flavor; if you need a dairy-free option, mix plant-based milk with lemon juice for a quick substitute.
-
Correct Baking Time: Keep an eye on the clock! Bake until golden brown and hollow-sounding when tapped at the bottom, ensuring that your Irish Brown Bread is just right.
-
Experiment with Add-ins: Feel free to customize your bread by adding honey, caraway seeds, or dried fruits for a personal touch and enhanced flavor!
Make Ahead Options
These Irish Brown Bread loaves are a dream come true for meal prep lovers! You can mix the dry ingredients (whole wheat flour, all-purpose flour, oats, baking soda, and salt) and store them in an airtight container for up to 3 days, making it easy to whip up fresh bread with just a few extra steps. When ready to bake, simply combine the dry mix with the wet ingredients (buttermilk), shape the dough, and score it before baking. For optimal quality, make sure to refrigerate any leftover bread, which will stay fresh for up to 3 days. Reheat slices in the oven for that warm crunch just before serving!
Variations & Substitutions for Irish Brown Bread
Customize your Irish Brown Bread and make it your own with these delightful variations that entice the senses!
-
Dairy-Free: Substitute buttermilk with a blend of plant-based milk and lemon juice for a perfect dairy-free option. This swap retains the tangy flavor while ensuring everyone’s dietary needs are met.
-
Sweetness Boost: Add a tablespoon of honey or maple syrup to the dough for a hint of natural sweetness. This adds a lovely contrast to the earthy flavors and makes the bread even more inviting.
-
Spice It Up: Mix in a teaspoon of caraway seeds or fennel seeds for a flavor twist. These spices evoke traditional flavor profiles that enhance the rustic charm of the bread.
-
Fruity Additions: Toss in a handful of raisins, currants, or dried cranberries to the batter. Their natural sweetness and texture create a delightful contrast, making every bite exciting.
-
Oat Variation: For a unique texture, replace rolled oats with chopped nuts or seeds. They provide an extra crunch and nutty flavor that pairs beautifully with the bread.
-
Herb Infusion: Incorporate chopped fresh herbs like rosemary or thyme into your mix for a savory twist. These aromatic additions will elevate your Irish Brown Bread to a whole new level.
-
Different Flours: Experiment with spelt or rye flour instead of whole wheat for a different taste and texture. Each flour brings its own unique properties, resulting in delightful surprises!
-
Whole Grain Twist: Add a couple of tablespoons of flaxseeds or chia seeds to boost the nutritional content. These small seeds pack a punch, providing healthy Omega-3 fatty acids and a nutty flavor.
Feeling inspired? You can elevate your baking experience or discover a delightful treat with these variations. And if you still have a craving for something sweet, consider trying my Double Chocolate Brownie Cookies or enjoy the warm comfort of my Soft Gingerbread Cupcakes. Happy baking!
Irish Brown Bread Recipe FAQs
What type of flour should I use for the best results?
For the perfect balance of flavor and texture, I recommend using a combination of whole wheat flour and all-purpose flour. This duo gives the bread its rustic, hearty quality while keeping the crumb soft and manageable. If you want a denser loaf, you can use all whole wheat flour, but the bread might be less tender than when blended.
Advertisement
How do I know if my buttermilk is fresh enough?
Absolutely! Fresh buttermilk should have a clean, slightly tangy smell and should not have any lumps or dark spots. To ensure you’re using fresh buttermilk, check the sell-by date and give it a little stir before using it. If you need a dairy-free alternative, just mix plant-based milk with a teaspoon of lemon juice and let it sit for about 5 minutes to replicate that tanginess.
How should I store my leftover Irish Brown Bread?
To keep your Irish Brown Bread fresh, store it in an airtight container at room temperature for up to 3 days. If you have more bread than you can eat in that time, simply wrap it tightly in plastic wrap and aluminum foil, and place it in the freezer. It will keep well for up to 3 months. When you’re ready to enjoy it, thaw it at room temperature for a few hours and reheat slices in a toaster for that fresh-baked warmth!
What if my dough is too dry?
Very! If your dough appears dry and isn’t coming together, don’t worry! Start by adding a tablespoon of buttermilk at a time until it reaches the desired sticky consistency. Remember, the dough should look wet and slightly tacky; this will help create that lovely texture. Avoid overmixing as you incorporate the liquids, to ensure a tender bread.
Can my dog eat Irish Brown Bread?
While sharing the love of homemade bread is tempting, it’s best not to give your dog Irish Brown Bread, especially due to the salt and baking soda. Instead, consider baking a special dog-friendly treat. If you want to offer a little something special to your furry friend, plain, unsalted ingredients like oats or whole wheat flour in moderation can be a safe option.
Can I freeze the Irish Brown Bread?
Yes, indeed! To freeze your Irish Brown Bread, first let it cool completely. Then slice the bread to make it easier for future use. Wrap each slice or the whole loaf tightly in plastic wrap, followed by aluminum foil, and place it in a freezer bag. It will keep for up to 3 months. When ready to eat, simply thaw at room temperature and reheat for about 5-7 minutes in a 350°F oven to restore that warm, rustic goodness you love!
Homemade Irish Brown Bread: Quick, Rustic Comfort Awaits
Ingredients
Equipment
Method
- Preheat your oven to 400°F (200°C) and line a large baking sheet with parchment paper.
- In a large mixing bowl, combine the whole wheat flour, all-purpose flour, rolled oats, baking soda, and salt; whisk until well blended.
- Pour in the buttermilk and gently stir until the mixture comes together; add more buttermilk if too dry.
- Turn the dough onto the prepared baking sheet and shape it into a round ball.
- Score an 'x' on the dough surface about 1/2 inch deep with a sharp knife.
- Bake for 30 minutes until golden brown and sounds hollow when tapped.
- Let it cool completely on a wire rack before slicing.