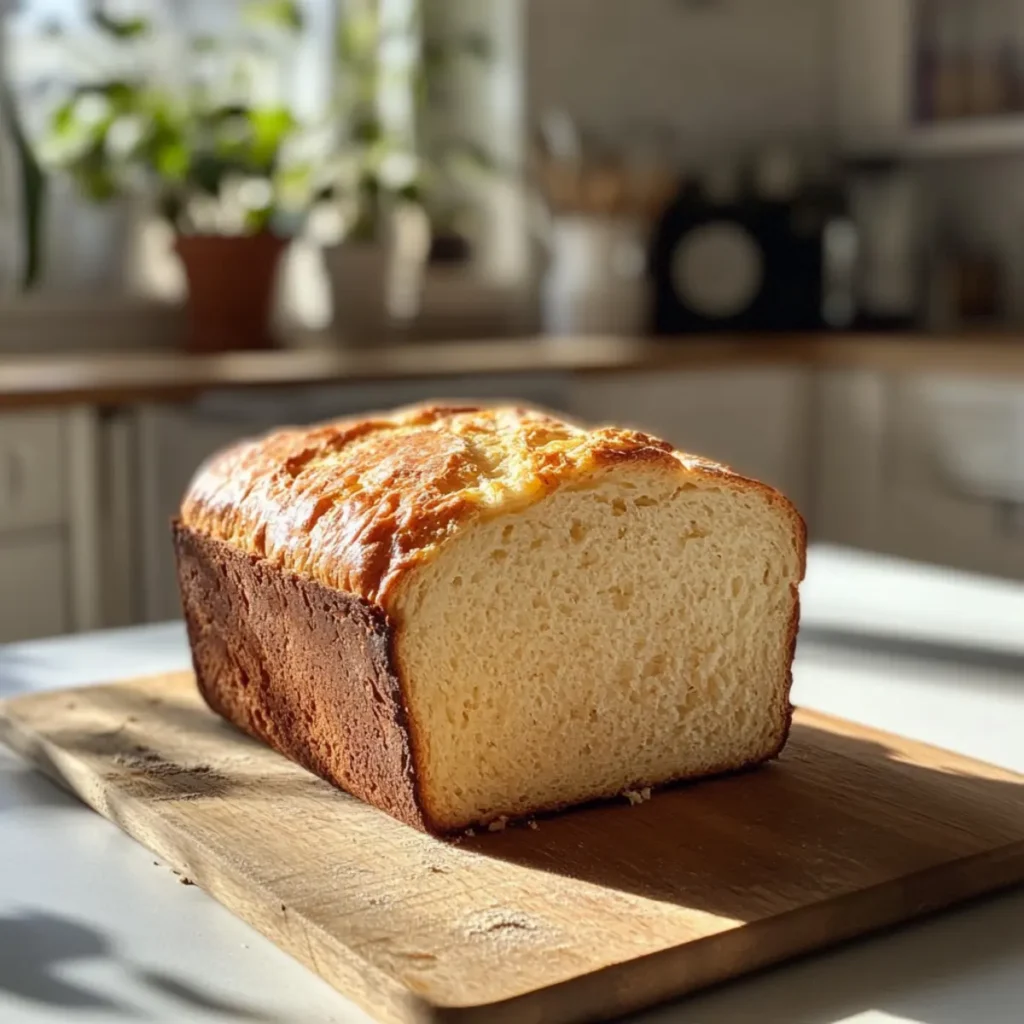
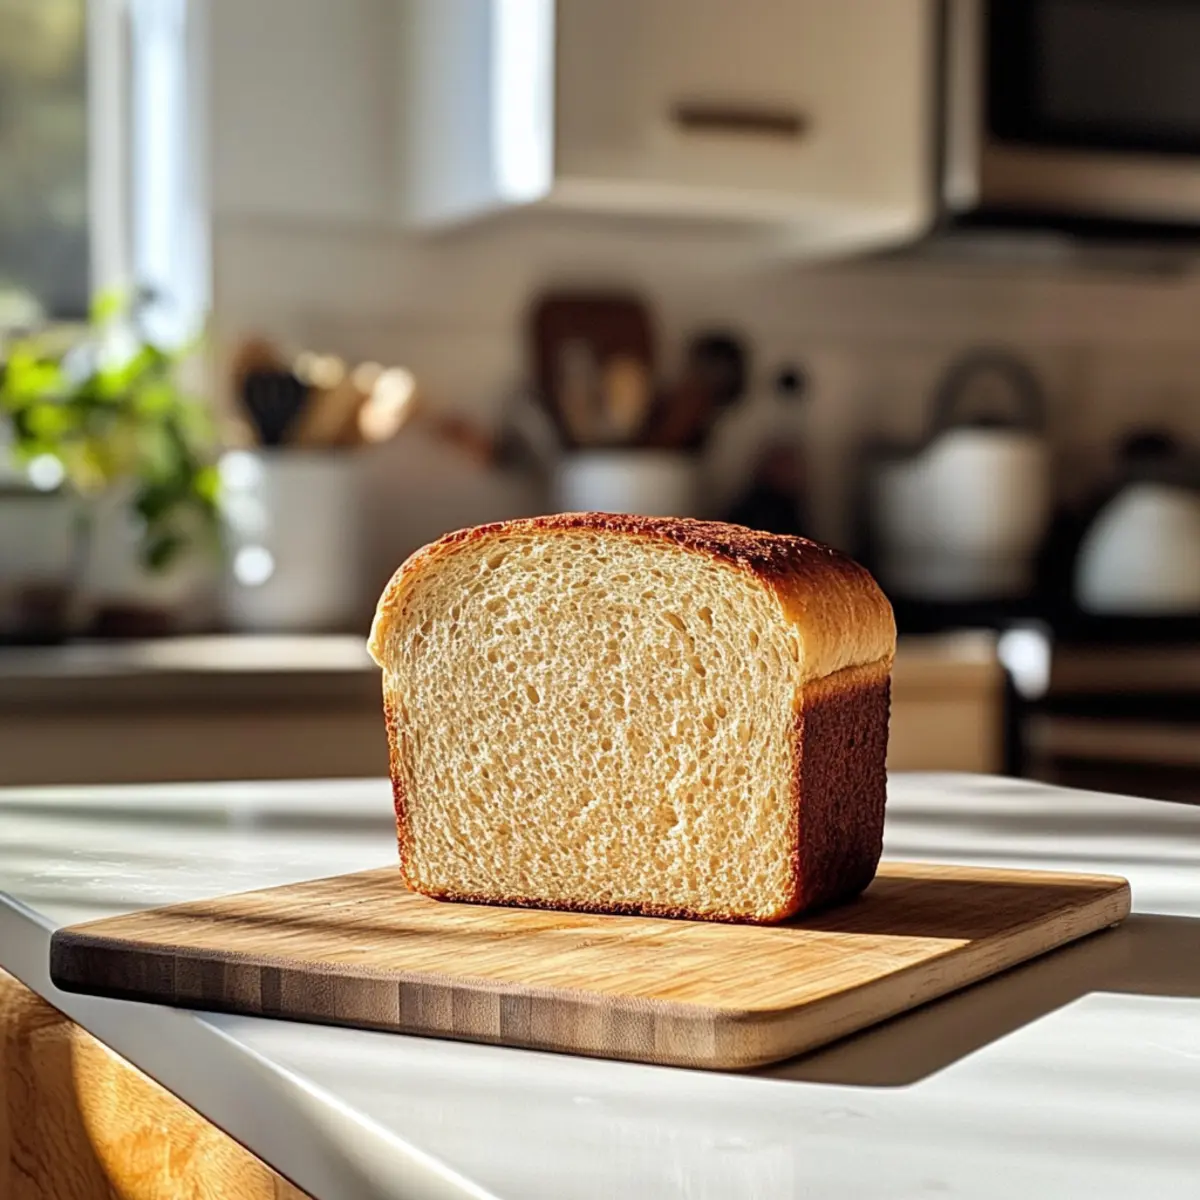
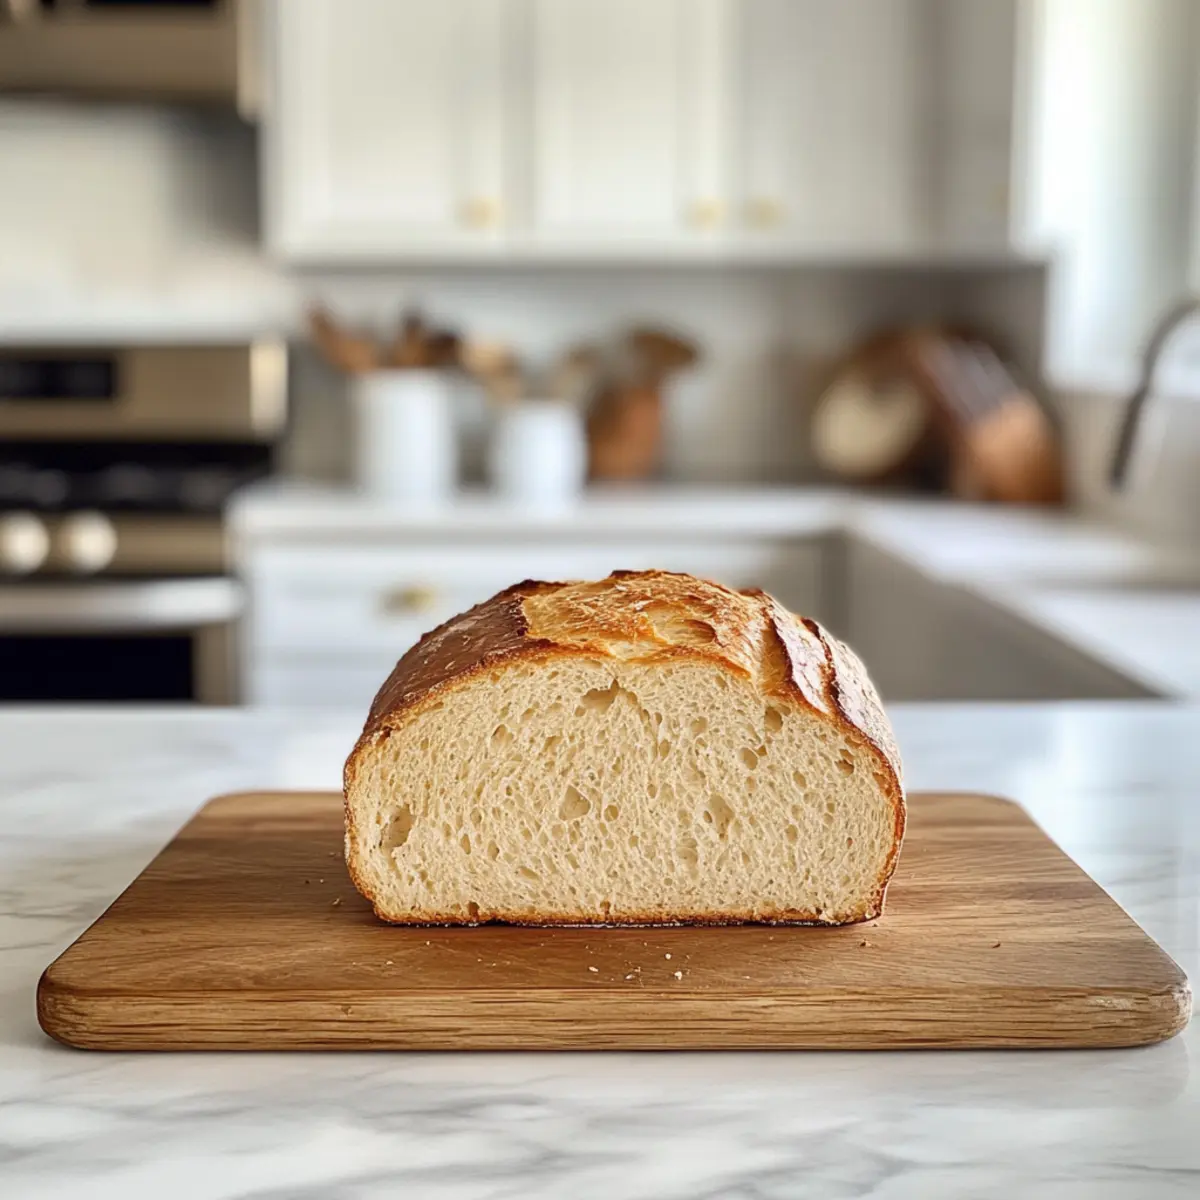
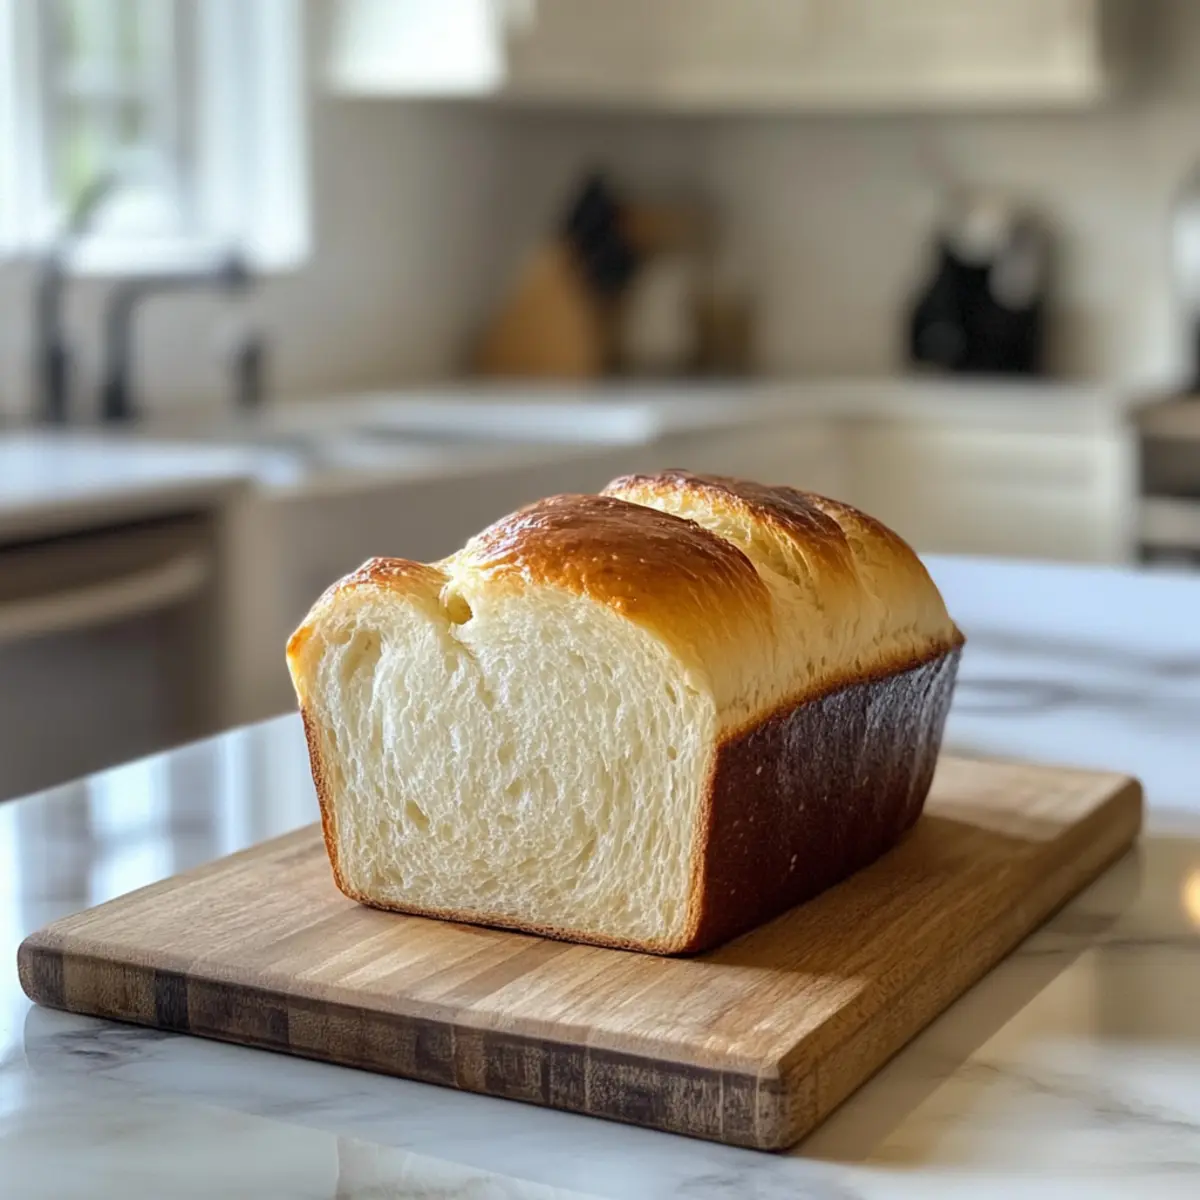
The first waft of freshly baked bread can turn any kitchen into a cozy haven, beckoning everyone to gather around. I can hardly resist the allure of making this Simple Six-Ingredient Homemade Bread, a recipe that turns baking into a joyful adventure. With just six easy-to-find pantry staples, this bread not only makes for splendid sandwiches and warm breakfasts, but it also freezes beautifully for those spontaneous cravings. Imagine serving warm slices slathered in butter, or even crafting delightful toast sprinkled with your favorite toppings. The best part? This recipe is so uncomplicated that anyone can master it, bringing the comforting aromas of home cooking into their lives. Curious about how to achieve that perfect golden crust and fluffy interior? Let’s dive into this scrumptious journey of homemade goodness!
Why is Homemade Bread So Special?
Simplicity: With just six ingredients, anyone can create bakery-worthy bread right at home!
Freezable Delight: Make extra loaves to stash in your freezer, ready to warm up for whenever those cravings hit.
Versatile Uses: This bread is perfect for sandwiches, toast, or simply with butter, transforming meal times into something special.
Golden Crust: Achieve a beautiful, crispy exterior with a soft, fluffy interior that’s sure to impress.
Crowd-Pleasing Aroma: The irresistible smell of fresh bread baking will make your kitchen the heart of your home.
If you’re inspired by easy recipes like this one, don’t miss out on my Homemade Mac Cheese or the sweet magic of Homemade Cinnamon Rolls!
Homemade Bread Ingredients
• Dive into this simple, satisfying adventure with just six key ingredients!
For the Dough
- Active Dry Yeast – Essential for the bread’s rise, ensuring a light and fluffy texture; always use fresh yeast.
- Warm Water (110°F/43°C) – Activates the yeast for fermentation; too hot can kill the yeast, so be careful!
- Sugar or Honey – Fuels the yeast and adds a hint of sweetness; opt for honey for a richer flavor.
- Salt – Enhances the overall taste and controls yeast activity; skipping it is not an option for great flavor.
- Vegetable Oil – Keeps the bread moist and adds richness; can be swapped with olive oil for a delightful twist.
- All-Purpose Flour – Provides structure and gluten; accurate measuring is key for best results, and you can mix in whole wheat flour for added nutrition.
This Homemade Bread recipe makes every kitchen feel like a warm bakery!
Step‑by‑Step Instructions for Homemade Bread
Step 1: Activate the Yeast
In a large mixing bowl or stand mixer, combine the active dry yeast with warm water heated to 110°F (43°C) and a pinch of sugar or honey. Let the mixture sit for about 5 to 10 minutes until it’s bubbly and foamy, which indicates that the yeast is active. This step is crucial for your homemade bread to rise beautifully.
Step 2: Combine the Ingredients
After the yeast has activated, stir in the remaining sugar or honey, salt, vegetable oil, and 3 cups of all-purpose flour. Mix until fully combined, and then gradually add an additional cup of flour until the dough starts to pull away from the bowl’s edges. This mixture forms the base of your delicious homemade bread.
Step 3: Knead the Dough
Turn the dough out onto a floured surface or keep it in the mixing bowl. Knead the dough by hand for 5 to 8 minutes or use a stand mixer for 4 to 5 minutes, until it becomes smooth and elastic. A well-kneaded dough will spring back when gently pressed – this texture is key for a perfect homemade bread.
Step 4: First Rise
Grease a clean bowl lightly with oil and place your kneaded dough inside, covering it with a cloth. Let it rise in a warm place until it doubles in size, which will take about 1.5 hours. This rising step helps develop the flavor and texture of your homemade bread, so be patient!
Step 5: Shape the Loaves
Once the dough has risen, punch it down gently to release the air. Divide the dough into two equal portions and shape each into a log. Place these logs into greased loaf pans, ensuring they fit snugly. This shaping will give your homemade bread a beautiful form.
Step 6: Second Rise
Cover the shaped loaves with a cloth and allow them to rise again in a warm spot until they exceed the edges of the pans, which will take about 45 to 60 minutes. This second rise is essential for achieving that airy, light texture you desire in your homemade bread.
Step 7: Bake the Bread
Preheat your oven to 350°F (175°C). Once the loaves have risen adequately, place them in the oven and bake for 30 to 33 minutes. When finished, the bread should be golden brown and sound hollow when tapped on the bottom, indicating it’s perfectly baked.
Step 8: Cool and Slice
Remove the loaves from the oven and let them cool in the pans for a few minutes before transferring them to a wire rack. Allow the loaves to cool completely before slicing; this resting step helps the texture of your homemade bread set perfectly, creating that delicious soft interior.
Homemade Bread Variations & Substitutions
Feel free to get creative and tailor this classic recipe to your taste and dietary needs!
-
Whole Wheat: Substitute part of the all-purpose flour with whole wheat flour for a nuttier flavor and added nutrition. This variation not only enhances health benefits but also gives your bread a heartier texture.
-
Herbed Delight: Add fresh herbs like rosemary or thyme into the dough for a fragrant twist. The aroma of herbs while baking will fill your kitchen with warmth, making the experience even more delightful.
-
Seeded Crust: Incorporate sunflower seeds, sesame seeds, or poppy seeds into the dough or sprinkle on top before baking to add texture and flavor. This offers a pleasant crunch that contrasts beautifully with the soft bread.
-
Honey-Infused: Replace sugar with honey for a natural sweetness and rich flavor. This sweetness pairs wonderfully when making breakfast toast or sandwiches.
-
Spicy Kick: Stir in red pepper flakes or fresh jalapeños to the dough for a spicy version. You’ll enjoy a flavorful surprise with each bite, perfect for adventurous palates!
-
Cheesy Addition: Mix in shredded cheese like cheddar or mozzarella for a savory twist. The melted cheese creates a gooey, indulgent experience that pairs perfectly with soups.
-
Fruit & Nut: Add dried fruits like cranberries or raisins, along with nuts for delightful bursts of flavor and texture. This sweet and nutty combination can elevate your bread to a delicious snack on its own.
-
Gluten-Free: Replace the all-purpose flour with a gluten-free flour blend for an alternative that still bakes beautifully. A good blend will give you the texture you crave without sacrificing flavor.
As you explore these variations, don’t forget to check out my delightful Homemade Danish Butter or the comforting taste of Homemade Cowboy Breakfast for even more culinary inspiration!
Expert Tips for Homemade Bread
- Fresh Ingredients: Always use fresh yeast for the best rise and quality. Stale yeast can lead to dense bread.
- Measure Accurately: For consistent results, measure ingredients like flour precisely. A kitchen scale is your best friend!
- Don’t Rush Rising: Allow the dough sufficient time to rise. If you rush this step, you’ll end up with dense homemade bread.
- Perfect Kneading: Knead the dough adequately for gluten development; this is essential for achieving that soft, fluffy texture.
- Doneness Test: Tap the bottom of the loaf after baking; it should sound hollow. If not, return it to the oven for a few more minutes.
Make Ahead Options
These Simple Six-Ingredient Homemade Bread loaves are perfect for busy home cooks looking to save time! You can prepare the dough up to 24 hours in advance by following steps 1 through 4, then cover it and refrigerate it. This approach allows the flavors to deepen while maintaining quality. When you’re ready to bake, simply take the dough out, let it come to room temperature (about 30 minutes), and then shape it into loaves as instructed. Allow the dough to rise again (about 45-60 minutes) before baking, ensuring it gets that lovely airy texture. With this make-ahead option, you can have fresh, warm homemade bread ready with minimal effort on your busy weeknights!
How to Store and Freeze Homemade Bread
Room Temperature: Store your homemade bread in an airtight container at room temperature for up to 5 days to retain its freshness and flavor.
Fridge: If you prefer keeping it longer, your bread can last up to a week in the refrigerator, although it may lose some of its perfect texture.
Freezer: For the best long-term storage, tightly wrap slices or whole loaves in aluminum foil or freezer bags, freezing for up to 3 months.
Reheating: To enjoy your homemade bread, reheat in the oven wrapped in foil for a crispy crust or microwave in short bursts to warm gently without losing texture.
What to Serve with Simple Six-Ingredient Homemade Bread
Picture the aroma of inviting, warm bread filling your kitchen, a prelude to a delightful meal experience together.
- Creamy Tomato Soup: Silky and rich, it perfectly complements the fluffy texture of fresh bread for a comforting duo.
- Garden Salad: Crisp greens and vibrant veggies add a refreshing crunch, balancing the warm, soft bread beautifully.
- Herbed Butter: A blend of fresh herbs and butter transforms every slice into a gourmet delight, inviting every bite to be savored.
- Savory Cheese Platter: A selection of soft cheeses adds creaminess, crafting a delightful contrast with the homemade bread’s light crust.
- Chili Con Carne: Bold, spicy flavors call for the comforting absorbency of the bread, perfect for mopping up every last bit.
- Honey and Jam Duo: Sweet spreads provide the perfect breakfast topping, making your bread shine as a breakfast star.
- Roasted Garlic Hummus: Creamy and aromatic, it pairs beautifully with bread for a tasty appetizer or snack.
- Fruit Infused Iced Tea: A refreshing beverage that complements the warmth of the bread while accentuating its pleasant aroma.
- Chocolate Chip Cookies: Sweet, chewy treats can serve as a delightful dessert, wrapping up your meal on a joyful note.
Homemade Bread Recipe FAQs
What is the best way to select active dry yeast?
Absolutely! When choosing active dry yeast, look for packets or jars that have not passed their expiration date. Ensure the yeast is fresh and stored in a cool, dry place. When you’re ready to use it, activate it in warm water (110°F/43°C) with a pinch of sugar or honey – if it becomes bubbly and foamy after 5-10 minutes, you’re good to go!
Advertisement
How should I store homemade bread for optimal freshness?
You can store homemade bread at room temperature in an airtight container for up to 5 days. If you prefer a longer shelf life, refrigerate it for up to a week, although the texture may not be as perfect. Make sure to wrap the bread tightly in plastic wrap or foil to prevent drying out or staleness.
Can I freeze homemade bread, and how?
Yes! Freezing is a wonderful option to keep your homemade bread fresh. To freeze your loaves, first, let them cool completely. Then, wrap each loaf tightly in plastic wrap and aluminum foil, or place slices in freezer bags. You can freeze your homemade bread for up to 3 months. To reheat, simply thaw it overnight in the fridge or at room temperature, and then warm it in the oven for the best texture.
What troubleshooting tips can help if my bread doesn’t rise properly?
If your bread fails to rise, there could be a few reasons. Ensure your yeast is fresh and has been activated properly – if not bubbly after 10 minutes, you’ll need a new batch. Also, double-check that your water was at the right temperature; too hot can kill the yeast. Finally, make sure your dough had enough time to rise in a warm, draft-free place. If your environment is too cool, consider using an oven with just the light on or placing the dough near a warm stove.
Is this homemade bread recipe suitable for people with allergies?
This homemade bread recipe is not gluten-free due to the use of all-purpose flour. For those with wheat allergies or gluten intolerance, consider substituting the all-purpose flour with a gluten-free blend designed for baking. Always check ingredient labels for potential allergens, and consult with a healthcare provider if you have specific dietary concerns.
How can I enhance the flavor of my homemade bread?
Very! You can add different flavors by incorporating herbs (like rosemary or thyme) or seeds (such as sesame or poppy) directly into the dough before baking. Another option is to replace a portion of all-purpose flour with whole wheat flour for a nuttier taste. You might even consider adding cheese, sun-dried tomatoes, or garlic for a gourmet twist!

Homemade Bread Recipe: Soft, Fluffy, and Simple Joys
Ingredients
Equipment
Method
- Activate the yeast by combining it with warm water and sugar/honey. Let it sit until bubbly and foamy.
- Combine the activated yeast mixture with remaining sugar/honey, salt, vegetable oil, and flour. Mix until combined.
- Knead the dough for 5-8 minutes by hand or 4-5 minutes with a mixer until smooth and elastic.
- Grease a bowl, place the dough in it, cover, and let it rise in a warm place until doubled in size, about 1.5 hours.
- Punch down the dough, divide it, and shape into logs. Place into greased loaf pans.
- Cover and let the loaves rise in a warm spot until exceeding the pans, about 45-60 minutes.
- Preheat the oven to 350°F (175°C) and bake the loaves for 30-33 minutes until golden brown.
- Cool the loaves in the pans for a few minutes, then transfer to a wire rack to cool completely before slicing.