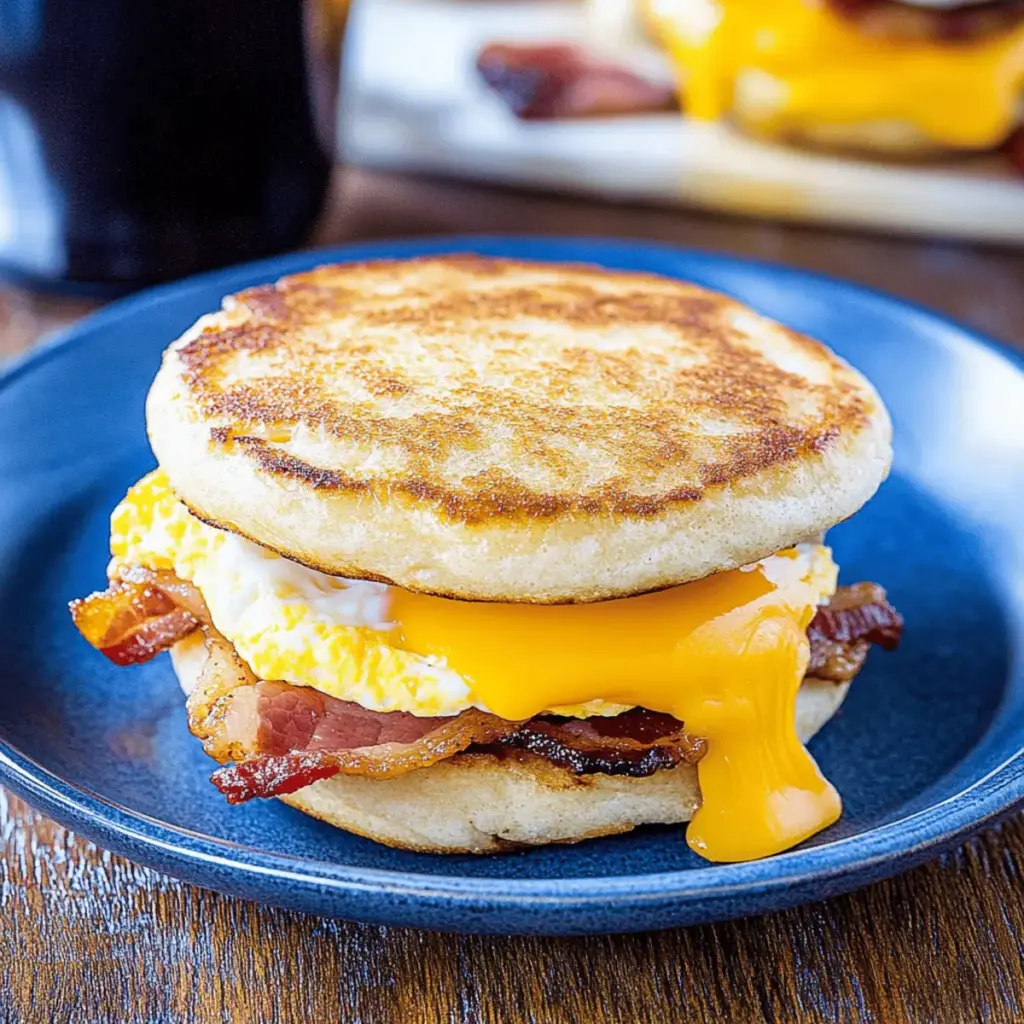
As I stood in the kitchen, I could feel the excitement bubbling up, knowing that a warm, satisfying breakfast was just moments away. With my craving for something hearty yet gluten-free, I whipped up these delightful Gluten Free Breakfast Sandwiches. They come together in a flash—just thirty minutes, making them perfect for busy mornings or a leisurely weekend brunch. Picture crispy bacon nestled alongside fluffy baked eggs and melty cheddar cheese, all layered between soft, homemade English muffins. Not only do these sandwiches cater to the gluten-sensitive, but they also ensure everyone around the table enjoys a delicious and fulfilling meal. Why settle for fast food when you can treat yourself and your loved ones to these mouthwatering creations? What will you add to make them your own?
Why Choose Gluten Free Breakfast Sandwiches?
Quick and Easy: In just 30 minutes, you can whip up a hearty breakfast that satisfies, making these sandwiches perfect for busy mornings or weekend brunches.
Customizable Options: Tailor the flavor to your taste by swapping bacon for turkey bacon or adding veggies like spinach—there’s no wrong way to make it yours!
Family-Friendly: Delight the whole family with this gluten-free option that doesn’t compromise on taste. Just like my Homemade Cowboy Breakfast sandwiches, these are sure to be a hit!
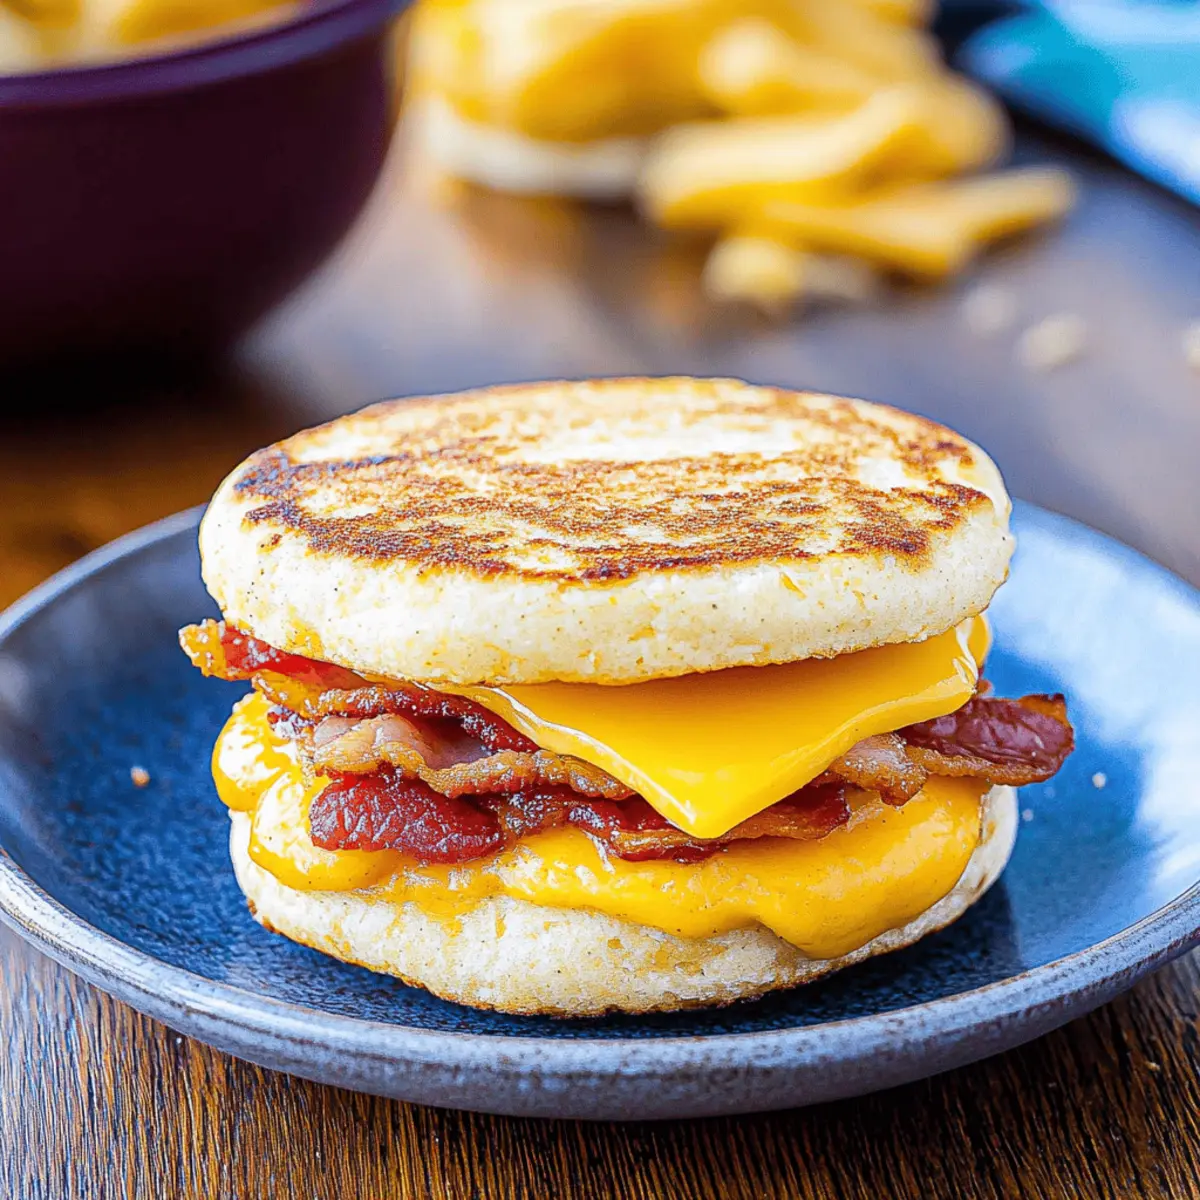
Satisfying Texture: Enjoy the combination of crispy bacon and creamy cheese with perfectly baked eggs—all sandwiched between soft, homemade English muffins, creating a delightful breakfast experience.
Healthy and Guilt-Free: With the option to substitute ingredients, you can create a delicious meal that fits your dietary needs, just like my Healthy Greek Turkey Meatballs.
Versatile Enjoyment: Serve these sandwiches with fresh fruit, crispy hash browns, or a green salad for a complete breakfast. You won’t regret swapping traditions for this easy and flavorful twist!
Gluten Free Breakfast Sandwich Ingredients
For the Sandwich
- Nonstick Cooking Spray – Prevents sticking during baking; use any cooking spray or oil you have on hand.
- 4 Large Eggs – The main protein source; provides structure and richness; substitute with an egg alternative if vegan.
- Salt and Pepper to Taste – Enhances flavor; adjust based on your personal preference.
- 4 Gluten-Free English Muffins – The base of the sandwich; ensure they are gluten-free; can substitute with gluten-free bagels or biscuits if desired.
- 8 Slices of Bacon or Ham – Adds savory flavor and protein; feel free to use turkey bacon for a lighter option.
- 4 Slices of Cheddar Cheese – Melts beautifully to add creaminess; substitute with dairy-free cheese to make it lactose-free.
Step‑by‑Step Instructions for Gluten Free Breakfast Sandwiches
Step 1: Preheat Oven
Begin by preheating your oven to 350°F (175°C). While it heats up, grab a muffin pan or several ramekins and generously spray each with nonstick cooking spray. This will prevent the eggs from sticking, ensuring easy removal later. Once the oven reaches the desired temperature, you’ll be ready to bake those eggs to perfection.
Step 2: Bake Eggs
Crack one egg into each prepared muffin well or ramekin, seasoning them with a pinch of salt and pepper. Carefully place the muffin pan or ramekins in the oven and bake for 14-18 minutes until the whites are set and the yolks reach your preferred doneness. If using ramekins, check for doneness at around 8-12 minutes. The eggs should look firm yet soft, ready to become a star ingredient in your gluten-free breakfast sandwiches.
Step 3: Prepare Muffins
While the eggs are baking, slice the gluten-free English muffins in half and place them cut-side up on a baking sheet. Pop the sheet into the oven and broil for 2-3 minutes, keeping a close eye to prevent burning. You want them crispy and golden brown—this step ensures a delightful texture in your breakfast sandwiches.
Step 4: Assemble Sandwiches
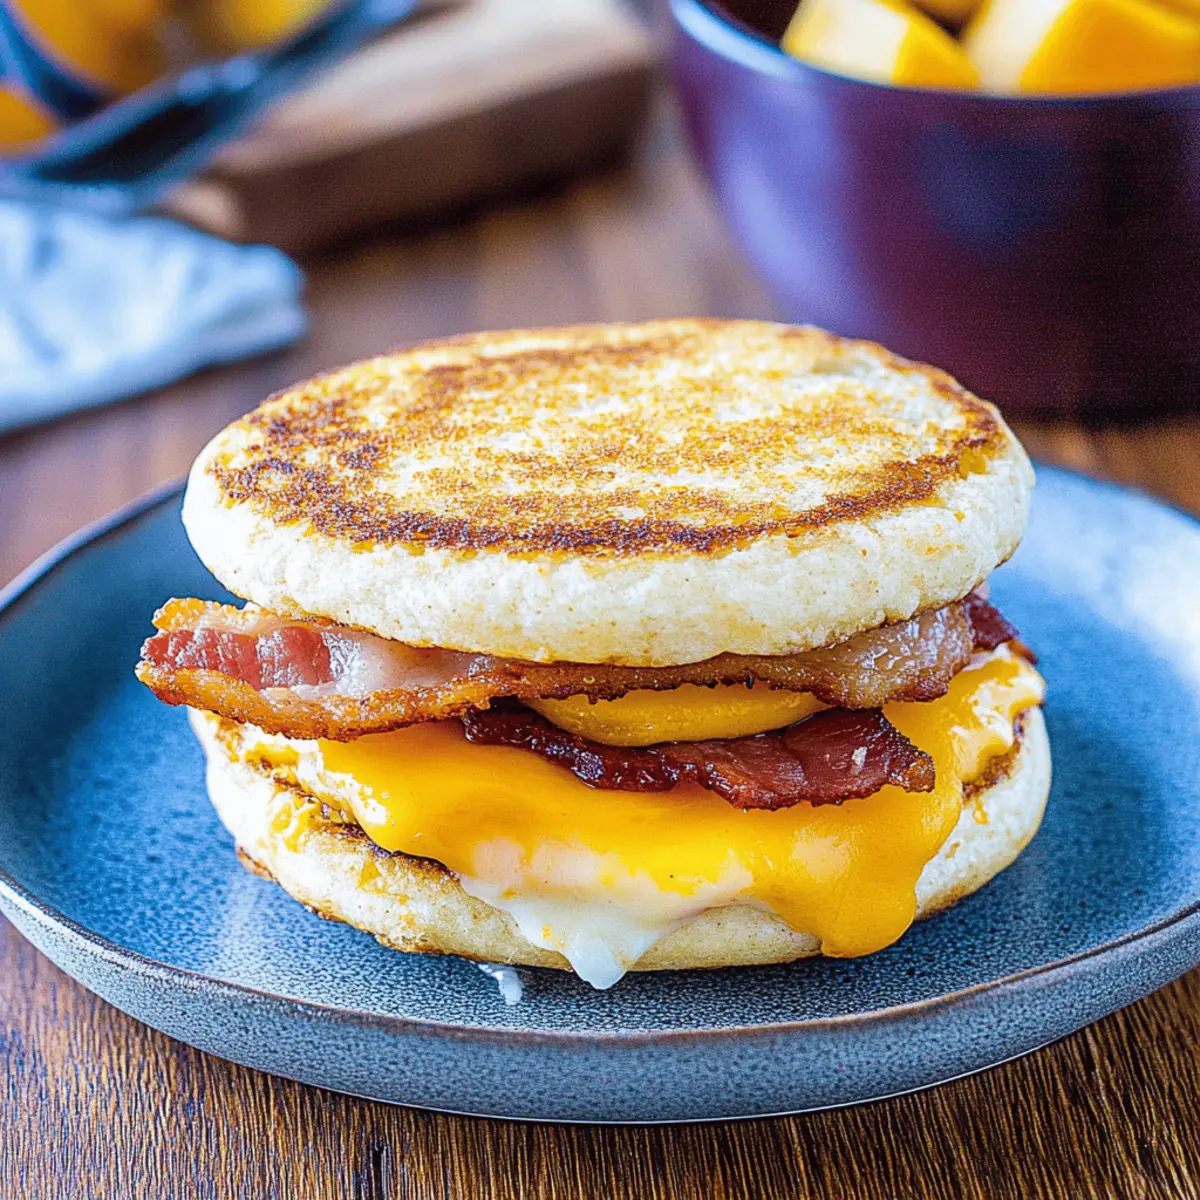
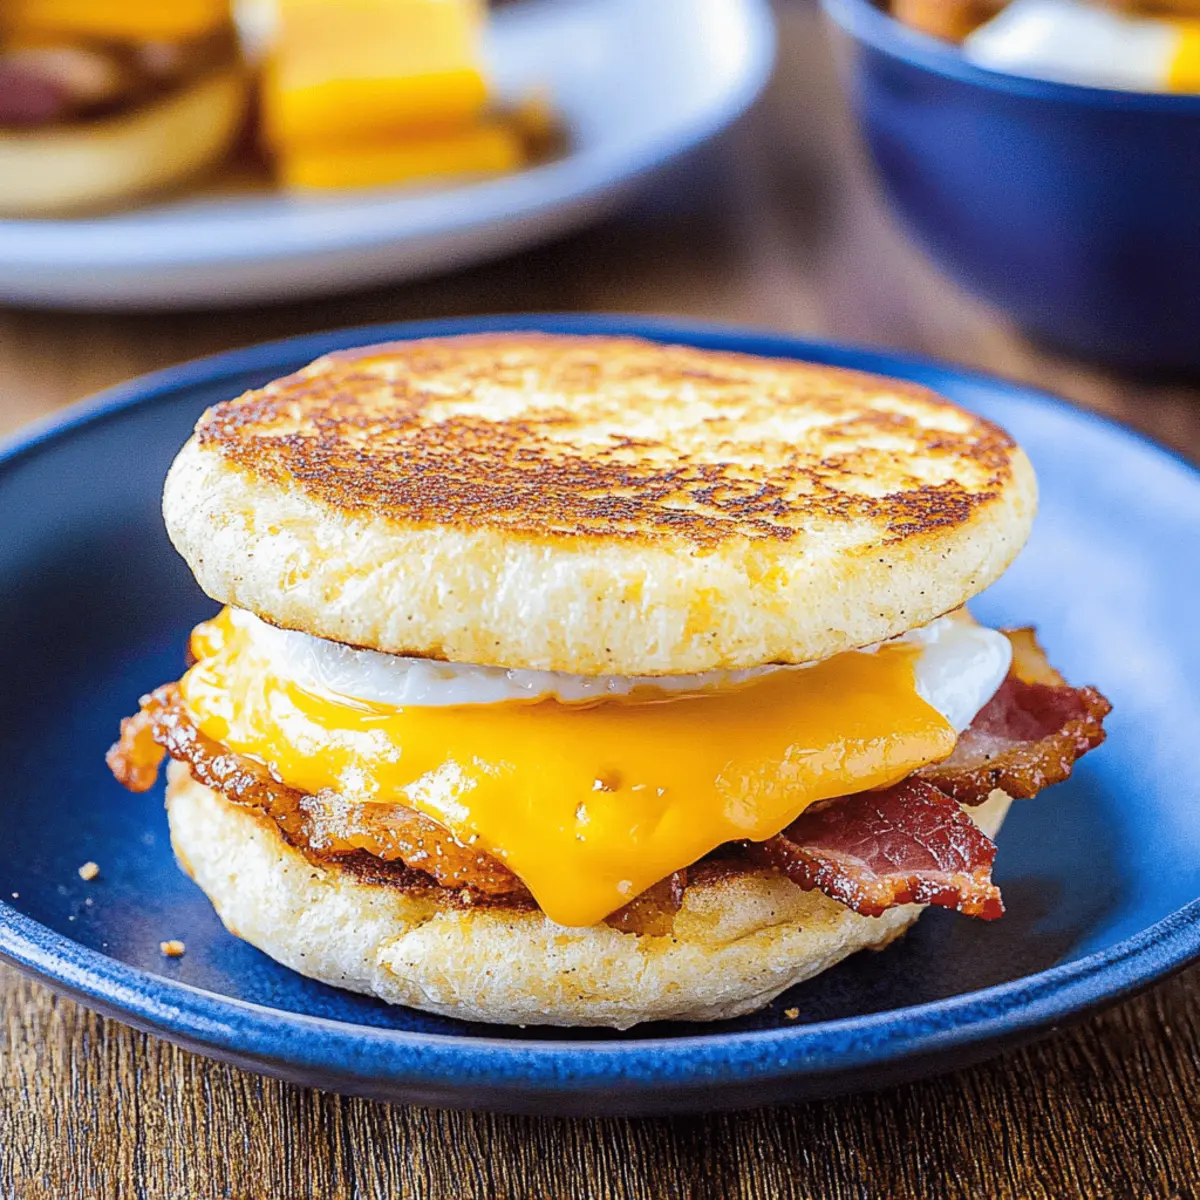
Once the eggs are done, it’s time to build your gluten free breakfast sandwiches! Start by placing a baked egg on each muffin bottom. Then, layer in crispy bacon or ham, followed by a slice of cheddar cheese on top. The warm ingredients will help the cheese melt beautifully, creating that creamy and delicious effect we crave in a breakfast sandwich.
Step 5: Final Melt
To achieve that melty goodness, broil the assembled sandwiches in the oven for an additional 1 minute or until the cheese is bubbly and just starting to brown. Watch them closely during this final step—melted cheese brings the whole gluten free breakfast sandwich together, making it utterly irresistible.
Step 6: Serve and Enjoy
Carefully remove the sandwiches from the oven, adding the muffin tops to finish each sandwich. Serve warm, and enjoy this wonderful creation that is both satisfying and gluten-free. These sandwiches are perfect for busy mornings or leisurely brunches, bringing smiles around the breakfast table!
What to Serve with Gluten Free Breakfast Sandwiches
Imagine indulging in a hearty breakfast while savoring complementary flavors that elevate your gluten-free breakfast sandwiches to new heights.
-
Fresh Fruit Salad: A colorful medley of seasonal fruits adds a refreshing contrast, balancing the richness of the sandwiches beautifully. Each bite of juicy melon, berries, and citrus brightens your morning.
-
Crispy Hash Browns: Golden-brown and irresistibly crunchy, hash browns bring a satisfying texture that pairs perfectly with the soft, fluffy sandwiches. The savory, crispy edges complement the creamy cheese and savory bacon wonderfully.
-
Avocado Toast: Creamy avocado spread over crunchy gluten-free toast creates a smooth, buttery counterpart to your sandwiches. Add a sprinkle of sea salt for extra flavor and a taste sensation that will keep you coming back for more.
-
Green Salad: A light salad with mixed greens and a citrus vinaigrette can balance out the richness of the sandwich. The fresh, crisp vegetables provide a bite of crunch and are a perfect way to add a nutritious touch to your meal.
-
Smoothies: A fruity smoothie packed with spinach or kale blends well with the savory flavor of the sandwiches. The creamy texture and refreshing taste awaken your senses, making breakfast feel special.
-
Iced Coffee or Tea: For a refreshing drink, pair your sandwich with a glass of iced coffee or herbal tea. The caffeine kick compliments the hearty meal perfectly while keeping things light and energizing.
Expert Tips for Gluten Free Breakfast Sandwiches
-
Egg Timing: Adjust baking time depending on how runny you like your yolk. Soft yolks generally take 14-16 minutes in a muffin pan for a perfect runny texture.
-
Muffin Choice: Ensure your gluten-free English muffins are fresh for the best texture. Stale bread can lead to a soggier sandwich.
-
Broiling Attention: Keep a close eye on the sandwiches while broiling; they can go from perfect to burnt in seconds, detracting from your delicious gluten free breakfast sandwiches.
-
Layering Flavors: Don’t shy away from adding fresh herbs or spices, like oregano or paprika, when seasoning your eggs for an extra dash of flavor.
-
Cheese Swap: Experiment with different cheeses or even vegan options for diverse flavor profiles; sharp cheeses contrast beautifully with the savory elements.
-
Add Veggies: Toss in spinach, tomatoes, or avocados for added nutrients and a delightful twist, making your gluten free breakfast sandwiches even more satisfying.
How to Store and Freeze Gluten Free Breakfast Sandwiches
Fridge: Store any leftover sandwiches in an airtight container for up to 3 days. Reheat in the oven or microwave for a quick breakfast.
Freezer: Freeze assembled sandwiches wrapped in parchment paper for up to 3 months. Thaw overnight in the fridge before reheating.
Reheating: For the best texture, reheat in the oven at 350°F (175°C) for about 15 minutes, or until heated through. Enjoy your gluten-free breakfast sandwiches warm!
Make-Ahead Tip: Prepare components separately, storing them in the fridge to assemble and bake fresh sandwiches whenever you crave a hearty breakfast.
Make Ahead Options
These Gluten Free Breakfast Sandwiches are perfect for meal prep enthusiasts! You can bake the eggs and assemble the sandwiches up to 24 hours in advance. Simply bake the eggs as directed, then allow them to cool before refrigerating in an airtight container. For the best quality, store the assembled sandwiches without the muffin tops to prevent sogginess. When you’re ready to serve, simply broil the sandwiches for 1-2 minutes until they’re warmed through and the cheese is melted and bubbly. This way, you’ll enjoy a delicious breakfast without the morning rush, keeping your family satisfied with minimal effort each busy day!
Gluten Free Breakfast Sandwich Variations
Feel free to get creative and personalize your gluten-free breakfast sandwiches to satisfy your cravings!
-
Turkey Bacon: Swap traditional bacon for turkey bacon for a leaner option that still gives you that savory crunch.
-
Cheese Swap: Try using Swiss or pepper jack cheese instead! These alternatives can add a flavorful twist and a bit of zesty kick.
-
Veggie Boost: Add fresh spinach, tomatoes, or avocados for a vibrant and healthy touch, boosting the nutrients and flavor of your sandwiches.
-
Sausage Option: Substitute bacon or ham with sausage patties for a hearty sandwich that delivers on taste and fulfillment.
-
Avocado Slices: Include slices of ripe avocado for a creamy element and healthy fats, creating a richer mouthfeel amid the other ingredients.
-
Spicy Kick: Incorporate a few jalapeños or a drizzle of hot sauce for those who love a bit more heat in their breakfast!
-
Herb Infusion: Mix fresh herbs like chives or parsley into your scrambled eggs for a fresh flavor boost that brightens the whole dish.
-
Bagel Base: Switch out English muffins for gluten-free bagels or even biscuits for a fun twist on the traditional breakfast sandwich.
The possibilities are endless! Just like you can enjoy a delicious alternative with my Easy and Fluffy Breakfast Rolls, these variations will keep your breakfast routine lovely and fresh. Why not explore a flavor adventure with your next sandwich?
Gluten Free Breakfast Sandwiches Recipe FAQs
How do I select ripe ingredients for my Gluten Free Breakfast Sandwiches?
Absolutely! For maximal flavor and freshness, choose eggs that are large and free-range if possible for the best taste and nutrition. Opt for gluten-free English muffins that are soft to the touch and free from dark spots. If you’re considering adding any veggies, like spinach or tomatoes, make sure they are vibrant and firm, indicating ripeness.
How should I store my leftover Gluten Free Breakfast Sandwiches?
To keep your sandwiches fresh, store any leftovers in an airtight container in the fridge for up to 3 days. If you’re planning to enjoy them later, I recommend wrapping them individually in parchment paper, which helps maintain texture when reheating.
Advertisement
Can I freeze Gluten Free Breakfast Sandwiches?
Yes! You can freeze these delightful sandwiches for up to 3 months. Just wrap the assembled sandwiches tightly in parchment paper, then place them in a freezer bag to prevent freezer burn. When you’re ready to enjoy one, simply thaw it in the fridge overnight and reheat in the oven at 350°F (175°C) for about 15 minutes for the best results.
What if my eggs aren’t cooking evenly in the muffin pan?
Very! If you notice your eggs are cooking unevenly, make sure to mix them gently with a fork before baking. An even distribution helps them set more uniformly. It’s also essential to check oven calibration; if your oven runs hot or cold, adjusting the cooking time may help achieve that perfect baked egg.
Are there dietary considerations for my Gluten Free Breakfast Sandwiches?
Absolutely! These sandwiches can easily cater to various dietary restrictions. If you’re concerned about allergies, opt for dairy-free cheese alternatives for those who are lactose intolerant. If looking for a lighter option, consider swapping the bacon for turkey bacon or even reducing the number of eggs. Always check the labels of your gluten-free products to ensure they meet your dietary needs.
Can I make substitutions in this Gluten Free Breakfast Sandwich recipe?
Certainly! I often make variations based on my family’s taste preferences. Use gluten-free bagels or biscuits instead of muffins for a different texture, and feel free to experiment with other cheeses like Swiss or pepper jack. You can also add fresh veggies such as roasted peppers or zucchini for added nutrition and flavor, making it healthier and more satisfying!

Gluten Free Breakfast Sandwiches That'll Start Your Day Right
Ingredients
Equipment
Method
- Preheat your oven to 350°F (175°C) and spray a muffin pan or ramekins with nonstick cooking spray.
- Crack one egg into each muffin well, seasoning with a pinch of salt and pepper, and bake for 14-18 minutes.
- Slice the English muffins in half and broil cut-side up on a baking sheet for 2-3 minutes until crispy.
- Assemble the sandwiches with a baked egg, bacon or ham, and cheddar cheese on each muffin bottom.
- Broil the assembled sandwiches for 1 minute until the cheese is bubbly and slightly browned.
- Remove from oven and add the muffin tops to finish each sandwich. Serve warm.