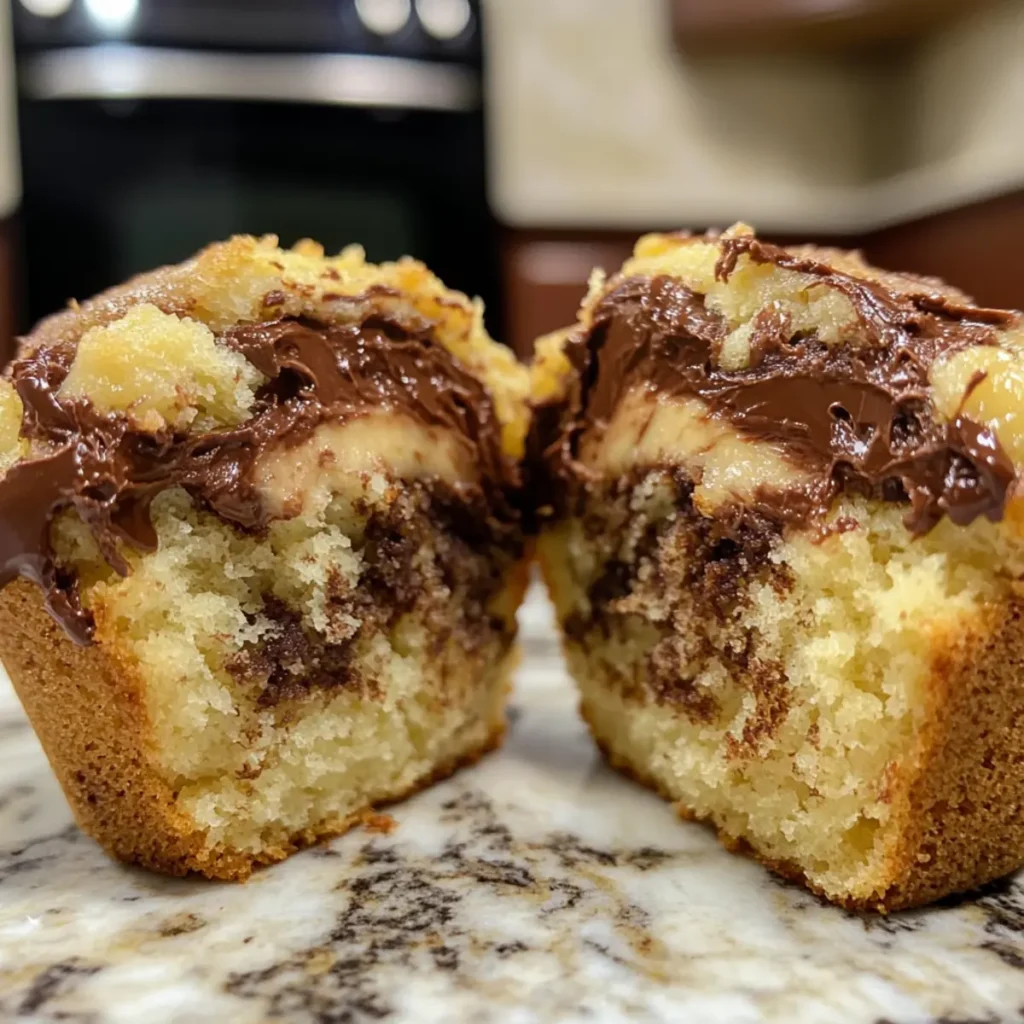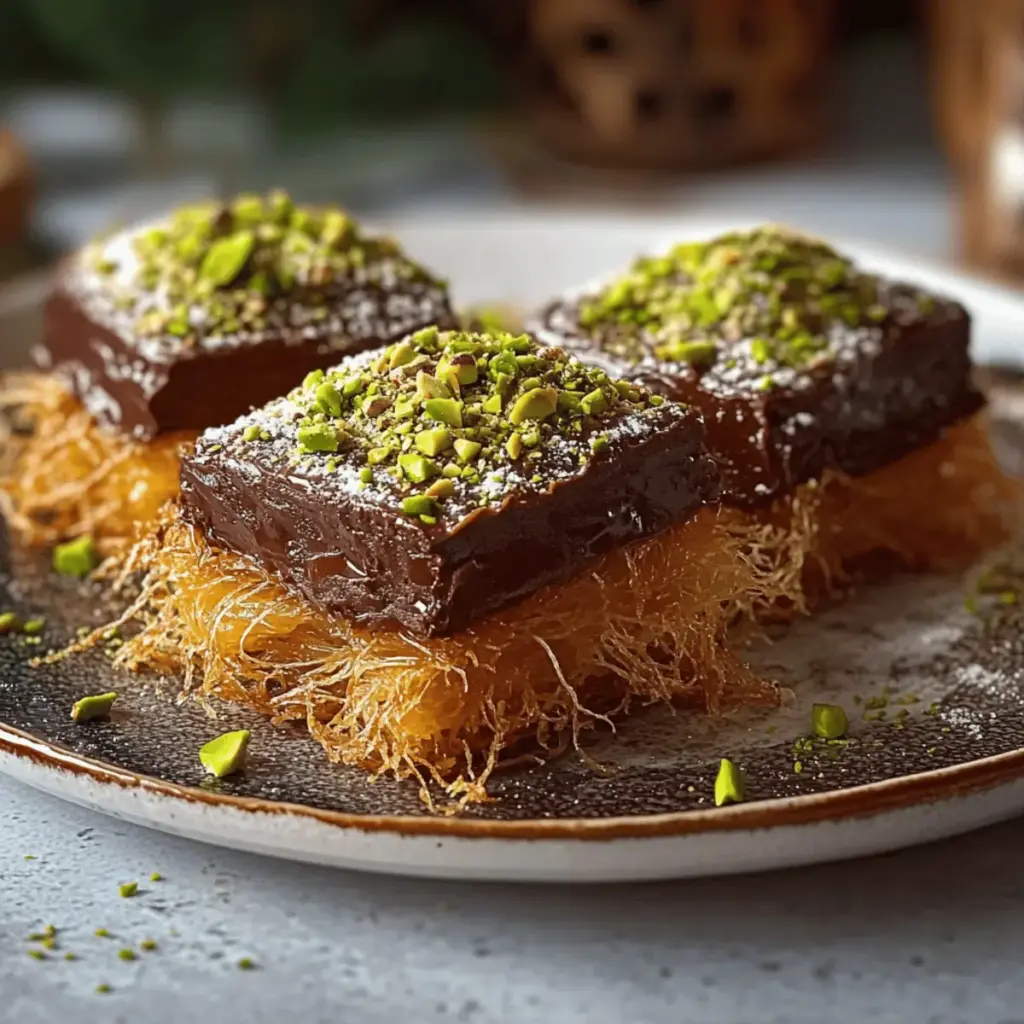
As I took my first bite of Dubai chocolate kataifi, I felt like I had stumbled upon a hidden treasure tucked away in the vibrant streets of Dubai. This crispy chocolate pastry is the perfect marriage of flaky kataifi with a gooey, indulgent chocolate center—a delightful fusion that satisfies every sweet craving. Not only is this recipe a showstopper for any gathering, but it’s also easily customizable; you can switch up the chocolate type or add your favorite nuts to tailor it to your taste. Whether you’re hosting a dinner party or simply searching for a comforting treat after a long day, this crowd-pleaser will bring warmth and joy to any occasion. Can you already picture sharing this delight with your family and friends? Let’s dive into crafting this extraordinary dessert together!
Why is Dubai Chocolate Kataifi so special?
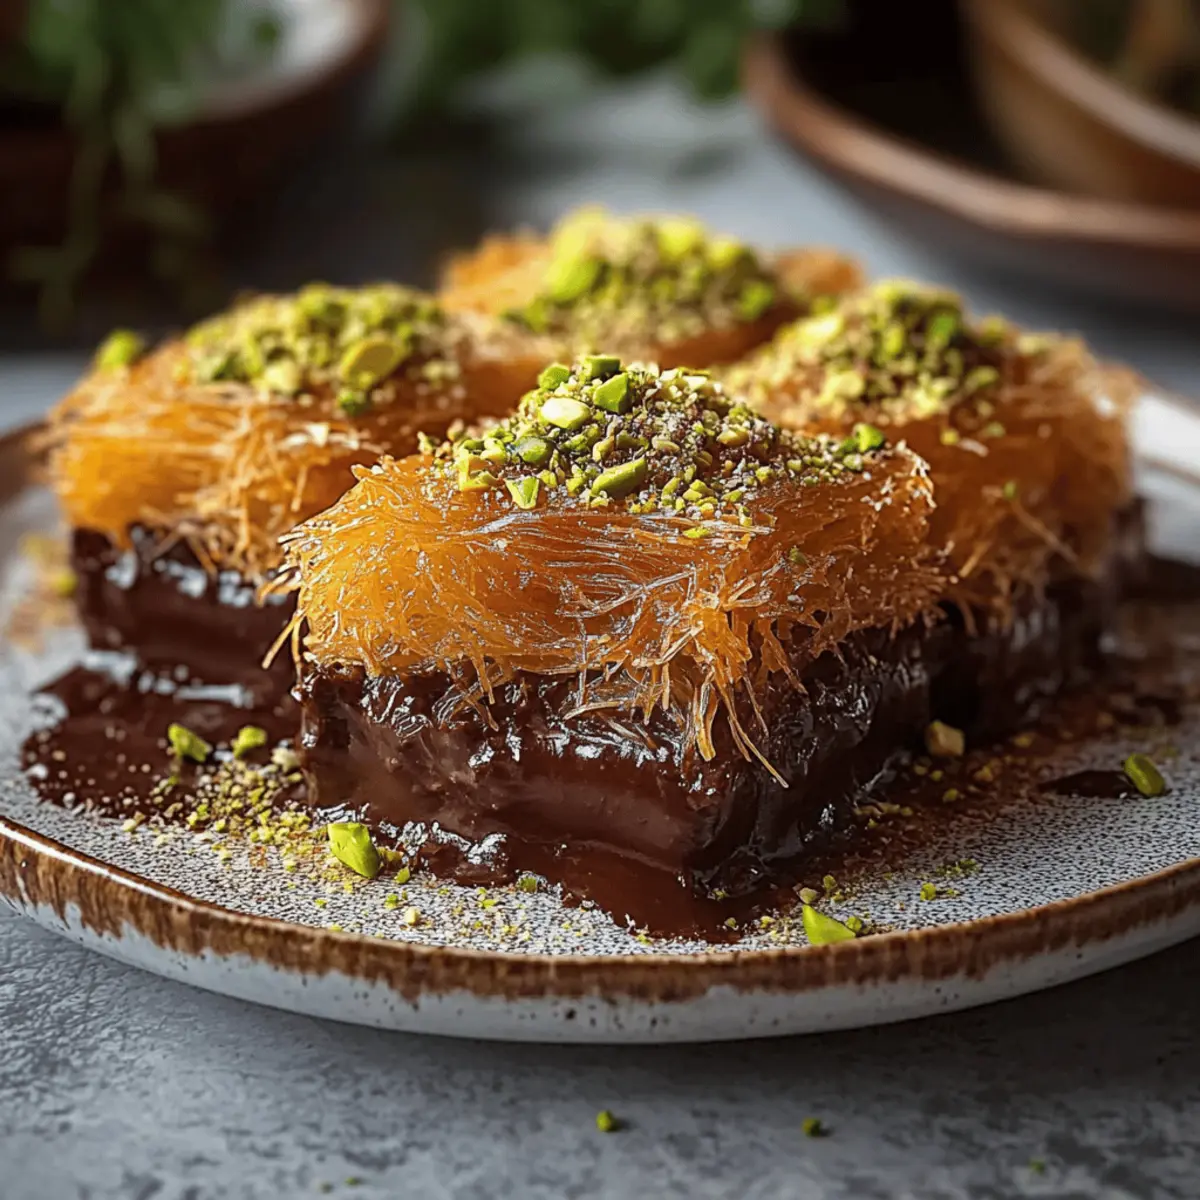
Unique Ingredients: The combination of crispy kataifi pastry and gooey chocolate creates a fascinating texture that’s like no other dessert. Customizable Delight: Feel free to swap chocolates and nuts to make it your own! Simple Steps: With just a few easy steps, you can craft this impressive dish without being a pro in the kitchen. Crowd-Pleaser: This visually stunning dessert is sure to wow your guests, making it the star of any gathering. Plus, pair it with a scoop of ice cream or cookies-and-cream mousse cake for a winning combination!
Dubai Chocolate Kataifi Ingredients
• A delightful combination of flavors awaits!
For the Kataifi Base
- Kataifi Pastry – This is the base of the dessert, providing the signature crispy, flaky texture. Note: Ensure it’s thawed if frozen.
- Unsalted Butter – Adds richness and helps the kataifi crisp up. Substitution: Use vegan butter for a dairy-free option.
For the Chocolate Filling
- Chocolate – The star filling that provides indulgent sweetness. Varieties: Dark, milk, or a mix can be used.
- Nuts (Pistachios or Walnuts) – Adds crunch and enhances flavor. Optional: Use seeds for a nut-free version.
- Orange Zest – Adds a hint of brightness and freshness. Optional: Skip if uninterested in citrus notes.
For the Glaze
- Honey or Simple Syrup – Provides sweetness and a glazed finish. Alternative: Maple syrup for a different sweetness.
- Coconut Flakes – A finishing touch for texture and flavor. Optional: Omit for a simpler finish.
For the Spice
- Cinnamon or Cardamom – Adds warm undertones in flavor. Optional: Use as desired for added spice.
Step‑by‑Step Instructions for Dubai Chocolate Kataifi
Step 1: Prep the Kataifi
Begin by gently separating the kataifi pastry strands in a large bowl. Use your fingers to fluff them up, ensuring they don’t clump together. This will help the pastry bake evenly and achieve that desirable crispiness. Keep the kataifi covered with a towel to prevent it from drying out while you prepare the other ingredients.
Step 2: Mix with Butter
Melt the unsalted butter in a microwave or on the stovetop until completely liquid. Pour the melted butter over the prepared kataifi strands, using a spatula or your hands to toss and coat the pastry evenly. Ensure each strand gets a nice buttery layer – this is what makes your Dubai chocolate kataifi deliciously crispy once baked.
Step 3: First Layer in the Baking Dish
Preheat your oven to 350°F (175°C) while you prepare the base. Grease a 9×13-inch baking dish with a little extra butter or cooking spray. Press half of the buttery kataifi mixture into the bottom of the baking dish. Use your fingers or a flat spatula to create an even layer, making sure it’s packed tightly to provide a sturdy foundation for your dessert.
Step 4: Add the Chocolate Layer
Now it’s time to layer in the chocolate! Sprinkle your chosen chocolate evenly across the kataifi base, allowing it to cover the entire surface. If you desire a nutty crunch, add chopped pistachios or walnuts, and sprinkle in orange zest for a burst of flavor. This rich chocolate layer will ooze with gooey goodness as it bakes.
Step 5: Second Kataifi Layer
Spread the remaining kataifi mixture over the chocolate layer, carefully pressing it down to ensure stability. Make sure it’s evenly distributed to create a harmonious balance between the crispy pastry and the melted chocolate filling. This final layer will form a beautiful golden crust as your Dubai chocolate kataifi bakes.
Step 6: Bake
Place the assembled dish in your preheated oven and bake for 25–30 minutes. Keep an eye on it, and when the top is a gorgeous golden brown and the kitchen is filled with a tantalizing aroma, it’s time to take it out. Allowing it to bake until just crisped ensures that each bite will have that delightful crunch.
Step 7: Drizzle the Glaze
As soon as your Dubai chocolate kataifi comes out of the oven, drizzle honey or simple syrup generously over the top. The heat from the pastry will allow the glaze to soak in, adding sweetness and a glossy finish. Let the kataifi absorb the glaze for a few minutes for the optimal taste.
Step 8: Cool and Cut
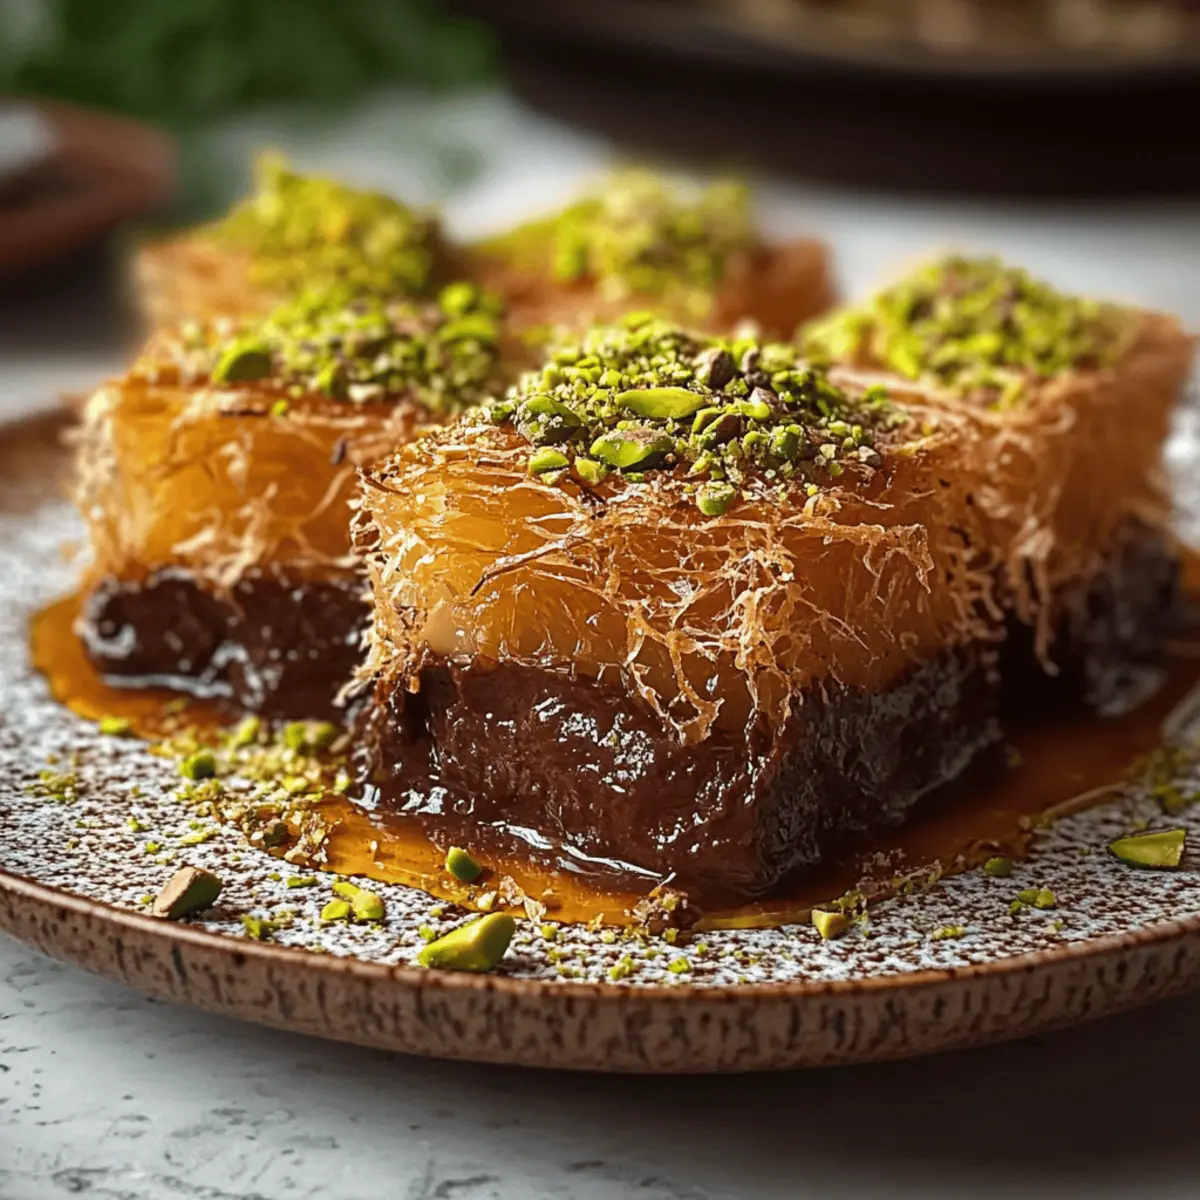
Allow your kataifi to cool for about 20 minutes at room temperature. This will help it set before you cut it into bars or squares for serving. Once it’s slightly firm and cooled, use a sharp knife to slice through the crispy top, exposing the molten chocolate center within for a delightful treat!
How to Store and Freeze Dubai Chocolate Kataifi
Room Temperature: Store leftover Dubai chocolate kataifi in an airtight container at room temperature for up to 3 days to maintain its delightful crispiness.
Fridge: If you need to store for longer, you can refrigerate it for up to a week, but be aware that this may soften the kataifi pastry slightly.
Freezer: For long-term storage, freeze the kataifi before baking. Wrap it tightly in plastic wrap and then in foil; it can be kept in the freezer for up to 2 months.
Reheating: To enjoy the frozen kataifi, bake it straight from the freezer at 350°F (175°C) for about 30-35 minutes. Drizzle with honey or syrup after baking for best flavor!
What to Serve with Dubai Chocolate Kataifi
Indulging in a piece of crispy Dubai chocolate kataifi is like taking a sweet journey to the heart of Middle Eastern dessert culture, and pairing it just right can elevate the experience.
-
Creamy Vanilla Ice Cream: The coolness of vanilla ice cream beautifully contrasts the warm, gooey chocolate, making each bite a harmonious blend of temperatures.
-
Strong Arabic Coffee: A robust, rich coffee enhances the sweetness of the kataifi, adding a delightful balance of flavors and aromas to your dessert experience.
-
Fresh Mint Tea: This refreshing drink not only cleanses the palate but also complements the nutty and chocolatey flavors of the kataifi perfectly.
-
Saffron Pistachio Milkshake: A luxurious and fragrant delight, this milkshake brings a unique twist with flavors that harmonize beautifully with the dessert.
-
Quinoa Tabouli Salad: The freshness of parsley and tomatoes in this light salad provides a vibrant contrast, balancing the richness of the kataifi while adding texture.
-
Date and Walnut Cookies: These little treats echo the Middle Eastern theme and offer a chewy, naturally sweet complement to the crispy dessert.
-
Rosewater Lemonade: The floral notes from rosewater and the tanginess of lemon create vibrant pairings, enhancing the flavors of the chocolate and spices.
-
Spiced Chai Latte: The warming spices in chai perfectly complement the cinnamon or cardamom you may use in your kataifi, creating a cozy duo for your taste buds.
-
Chocolate Dipped Strawberries: For an extra chocolatey treat, these fresh berries provide a pop of freshness and a delightful indulgence alongside your kataifi.
With these pairings, every mouthful of your Dubai chocolate kataifi promises to be a delight that brings smiles to everyone at the table!
Expert Tips for Dubai Chocolate Kataifi
-
Keep It Covered: Always keep kataifi dough covered to prevent it from drying out while preparing. This ensures a perfect crispy texture in your Dubai chocolate kataifi.
-
Butter Distribution: Ensure that the melted butter is evenly distributed among the kataifi strands. This coating is vital for achieving that delicious crispness once baked.
-
Uniform Layers: Pack down the kataifi base and the top layer gently but firmly. Uneven layers can lead to excess crumble and affect your dessert’s structure!
-
Baking Watch: Keep an eye on your kataifi as it bakes; the perfect golden brown takes about 25-30 minutes. Overbaking can dry it out.
-
Cooling Time: Allow the dessert to cool before slicing. This step helps set the melty chocolate center properly, making for clean, beautiful squares of your Dubai chocolate kataifi.
-
Flavor Experimentation: Try different chocolates or add-ins like flavored nuts for a unique twist. Enjoy customizing your dessert to fit your tastes!
Make Ahead Options
These Dubai Chocolate Kataifi are perfect for meal prep enthusiasts! You can prepare the kataifi layers up to 24 hours in advance by following the first three steps—separating, buttering, and layering half of the kataifi mixture in your baking dish. Cover the dish tightly with plastic wrap or foil and refrigerate until you’re ready to bake. On the day of serving, just add the chocolate layer and the remaining kataifi before baking to golden perfection. This method not only saves you time on busy weeknights but ensures the kataifi stays just as delicious and crispy. After baking, remember to glaze it while warm for maximum flavor!
Dubai Chocolate Kataifi: Endless Variations
Feel free to embrace your culinary creativity and customize this delicious dessert to suit your palate!
-
Nut-Free: Swap out the nuts for sunflower or pumpkin seeds to enjoy a crunchy texture without allergens.
While these seeds offer a delightful crunch, they also allow everyone to savor this indulgence worry-free. -
Vegan Delight: Use vegan butter and dark chocolate to fully embrace a plant-based version of this dish.
This simple change not only makes it dairy-free but retains that rich, comforting flavor we all love. -
Flavored Chocolate: Experiment with flavored chocolates, like mint, orange, or caramel, for a zesty twist.
These variations can elevate your kataifi to an unexpected level, making each bite a burst of surprise! -
Choco-Nut Fusion: Mix different types of chocolate, like dark with white, for a multitude of flavors.
This combination creates a playful contrast and surprises the taste buds with each mouthful. -
Coconut Lovers: Add a sprinkle of toasted coconut flakes inside the layers for an extra texture surprise.
The nutty flavor pairs beautifully with chocolate while enhancing that tropical vibe in your dessert. -
Added Spice: Incorporate a pinch of cayenne pepper or chili powder for a delightful heat kick.
The flavor adventure of sweet and spicy is sure to captivate your guests and make for unforgettable bites! -
Fruit-Filled: Layer in some fresh berries or dried fruits between the chocolate and kataifi for a fruity twist.
This addition not only brightens the dessert visually but also introduces refreshing notes that balance the richness. -
Mini Kataifi Bites: Create bite-sized versions using muffin tins instead of a larger baking dish for fun finger food.
These mini delights are perfect for parties; just imagine the joy when guests pop these treats in their mouths!
Enhance your dessert journey by exploring these variations and making them uniquely yours. Explore delightful pairings with coffee or a warm scoop of vanilla ice cream alongside your Dubai Chocolate Kataifi. And if you’re interested in other delightful options, consider trying Chewy Hot Chocolate Cookies for another irresistible treat!
Dubai Chocolate Kataifi Recipe FAQs
How do I choose the right kataifi pastry?
Absolutely! When selecting kataifi pastry, look for strands that are moist and not clumped together. If you see any dark spots or dryness, it may be an indication that it’s past its prime. I recommend buying it fresh from a specialty store or checking the frozen section of your grocery store. Thaw it completely before use for the best results!
Advertisement
What is the best way to store leftover Dubai chocolate kataifi?
For optimal freshness, store your leftover Dubai chocolate kataifi in an airtight container at room temperature. It should stay crispy for up to 3 days. If you need to keep it longer, consider refrigerating it in an airtight container; however, it might lose some of its signature crispiness.
Can I freeze Dubai chocolate kataifi?
Yes, you can freeze this delicious dessert! To freeze, wrap the unbaked kataifi tightly in plastic wrap and then in aluminum foil. This method will keep it fresh for up to 2 months. When you’re ready to bake, remove it from the freezer and bake it straight from frozen at 350°F (175°C) for approximately 30-35 minutes, ensuring that it’s golden and crispy.
What if my kataifi isn’t crispy after baking?
If your kataifi isn’t coming out crispy, it could be due to excess moisture or not enough butter mixed thoroughly. Make sure that each strand is coated evenly with melted butter, which is essential for achieving that delightful crunch. Also, ensure that you’re not overpacking the kataifi layers as this can trap moisture and lead to a soggy texture.
Are there any dietary restrictions I should consider?
Certainly! If you or any guests have nut allergies, feel free to replace the nuts with seeds for a nut-free version. Additionally, for a dairy-free option, you can substitute the unsalted butter with a vegan alternative. Always double-check the chocolate label as some chocolates may contain dairy or allergens.
How long does it take for the kataifi to cool before serving?
After baking your Dubai chocolate kataifi, let it cool for about 20 minutes. This cooling time allows it to set properly, making it easier to cut into beautiful squares while keeping that delicious melty chocolate center intact. Patience is key for the perfect presentation!

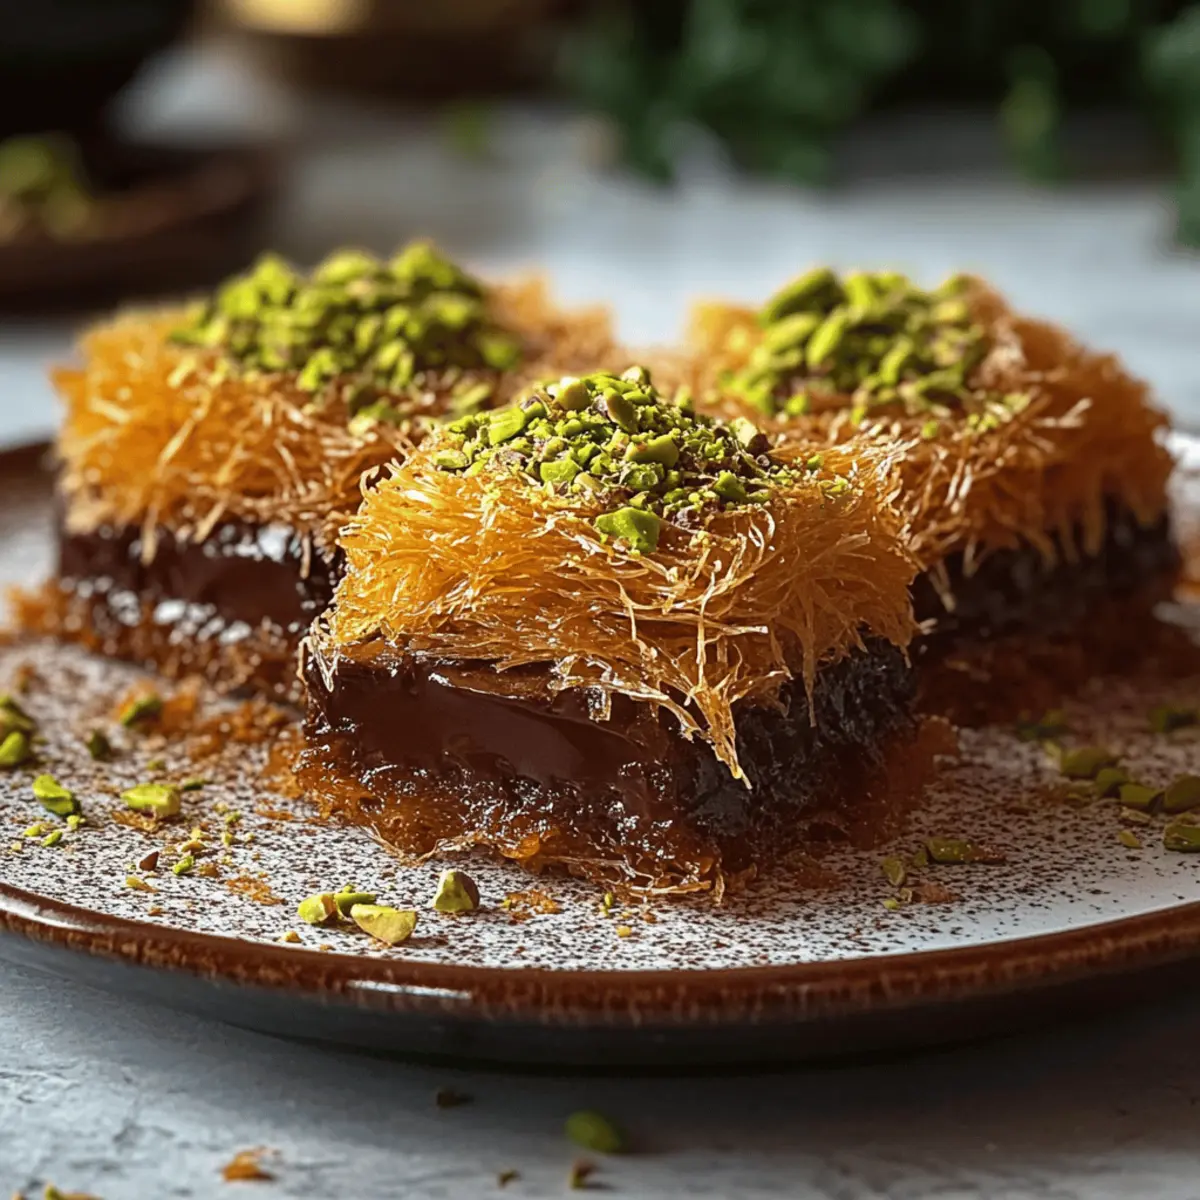
Crispy Dubai Chocolate Kataifi: A Decadent Dessert Delight
Ingredients
Equipment
Method
- Begin by gently separating the kataifi pastry strands in a large bowl. Keep covered with a towel to prevent drying out.
- Melt the unsalted butter until completely liquid. Toss the butter over the kataifi strands to coat evenly.
- Preheat oven to 350°F (175°C) and grease the baking dish. Press half of the kataifi mixture into the bottom of the dish.
- Sprinkle the chosen chocolate over the kataifi base, adding nuts and orange zest if desired.
- Spread the remaining kataifi mixture over the chocolate layer, pressing it down for even distribution.
- Bake for 25–30 minutes until golden brown and fragrant. Allow to cool slightly after baking.
- Drizzle honey or syrup over the top immediately after removing from the oven.
- Let cool for 20 minutes before slicing into bars or squares for serving.