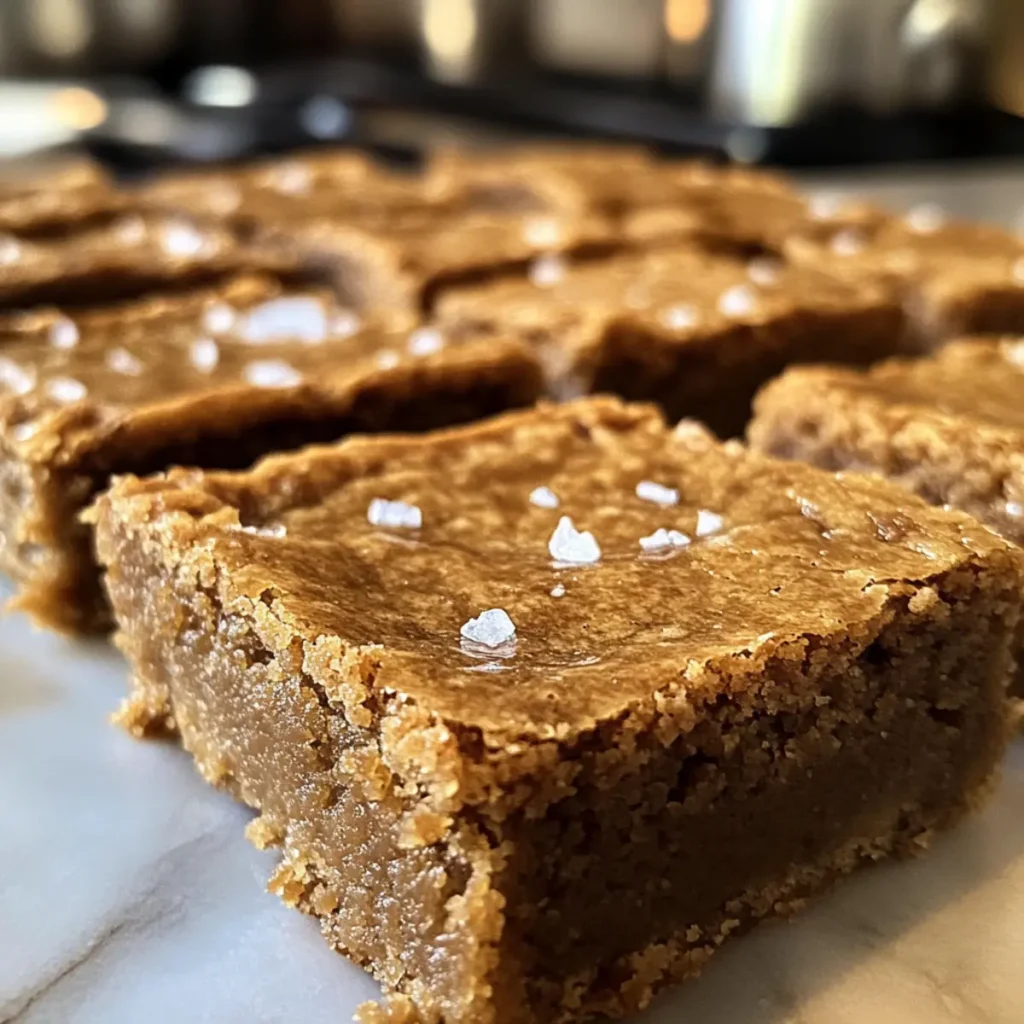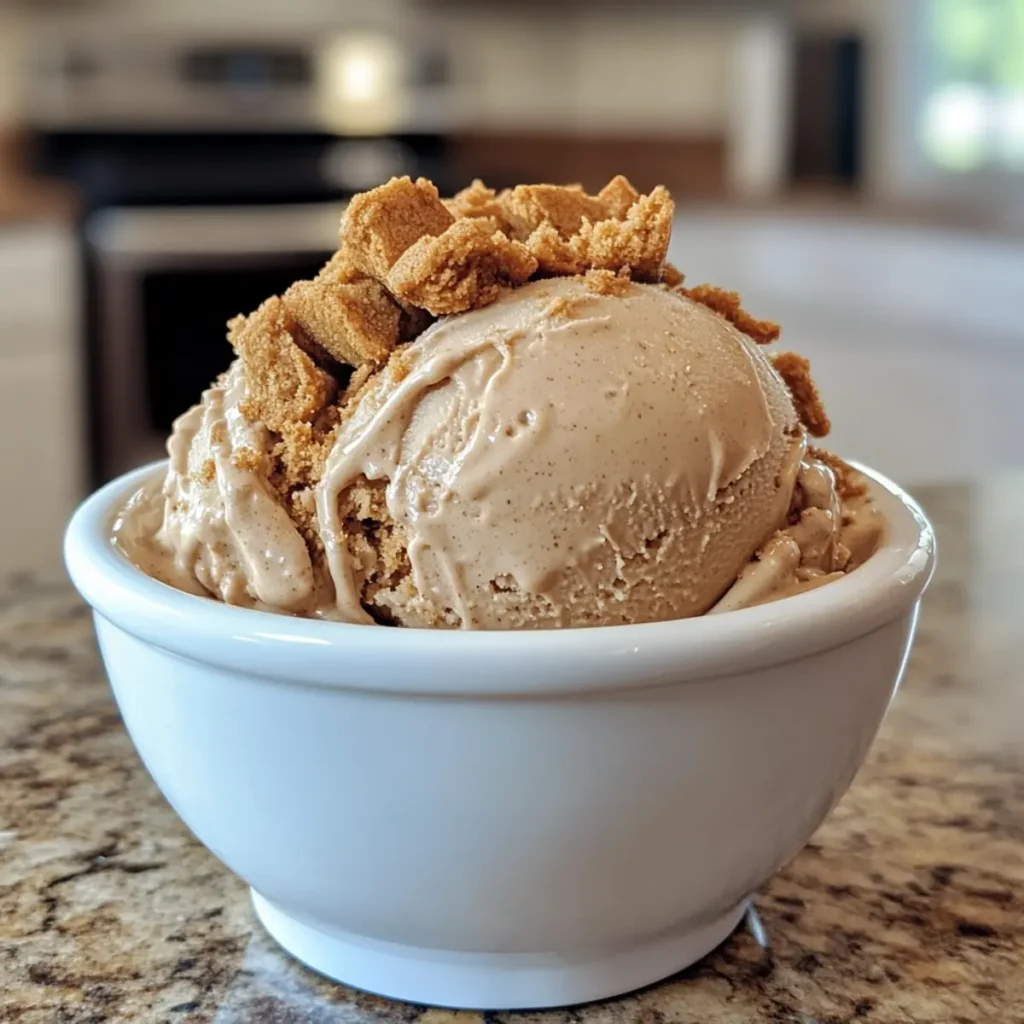
As I rummaged through my pantry one lazy afternoon, I stumbled upon a jar of creamy cookie butter that had been sitting quietly, waiting for its moment to shine. This discovery inspired me to whip up a batch of Rich and Creamy Homemade Cookie Butter Ice Cream, a treat that’s bound to evoke cozy memories of indulgent desserts. With its velvety custard base and crunchy Biscoff cookie surprises mixed in, it’s a delightful dessert ready to elevate any occasion. Not only is this recipe a crowd-pleaser, but it’s also easily customizable, making it perfect for those who prefer dairy-free alternatives. Imagine serving this creamy creation alongside friends or enjoying a quiet scoop on your porch—what could be better? Keep scrolling to dive into this delightful and irresistible recipe!

Why is Cookie Butter Ice Cream a Must-Try?
Decadent Delight: This creamy cookie butter ice cream is infused with a warm, spiced flavor that transports you to dessert heaven with every bite.
Customization Galore: Easily tweak the recipe for a dairy-free delight with coconut milk or experiment by swapping cookie butter for Nutella!
Quick and Easy to Make: With a few simple steps, you’ll be savoring this luscious treat in no time—perfect for those craving a homemade experience over fast food.
Serving Versatility: Impress guests by serving it alongside dessert waffles or sprinkle with more crushed Biscoff cookies for an extra crunch.
Make-Ahead Magic: Prepare it ahead of time, store it in an airtight container, and enjoy for up to 2 months—deliciousness always on hand!
If you love creating swoon-worthy desserts, this cookie butter ice cream is bound to be your new favorite—check out my other delightful recipes like Danish Butter Cookies and Gooey Butter Cookies for more sweet inspiration!
Cookie Butter Ice Cream Ingredients
For the Base
- 2 cups heavy cream – This adds a rich and creamy texture that makes every scoop divine.
- 1 cup whole milk – Balances the richness, allowing the ice cream to freeze to the perfect consistency.
- 0.75 cup granulated sugar – Sweetens the mixture while enhancing the flavors of the ice cream.
- 5 egg yolks – Essential for creating a velvety custard base that provides body and creaminess.
- 0.75 cup Biscoff cookie butter spread, warmed – Infuses the ice cream with that deep, spiced flavor reminiscent of speculoos cookies; feel free to substitute with other smooth cookie butters.
- 1 tsp vanilla extract – Adds depth and complexity to the overall flavor profile.
- 0.25 tsp cinnamon – Gives a warm spice that complements the cookie butter perfectly.
- 0.25 tsp salt – Helps to balance the sweetness and intensifies the flavors.
For Crunch
- 8 Biscoff cookies, crushed (for fold-in) – These provide delightful crunch and texture, creating contrast in every bite.
This Cookie Butter Ice Cream is a fabulous blend of flavors and textures, perfect for any dessert lover looking for a unique and creamy treat.
Step‑by‑Step Instructions for Cookie Butter Ice Cream
Step 1: Make the Custard Base
In a medium saucepan, heat 2 cups of heavy cream and 1 cup of whole milk over medium heat until steaming, but not boiling, about 5 minutes. Stir occasionally to prevent scorching. Once steaming, remove from heat and let it cool slightly while you prepare the egg mixture in the next step.
Step 2: Whisk the Egg Yolks
In a separate bowl, whisk together 5 egg yolks and 0.75 cup of granulated sugar until the mixture is glossy and pale, about 2-3 minutes. This step is crucial for creating that velvety custard in your Cookie Butter Ice Cream. Slowly pour the warm cream mixture into the egg yolks, whisking constantly to temper the yolks and prevent them from scrambling.
Step 3: Cook the Custard
Return the combined mixture back to the saucepan and cook over medium-low heat, stirring constantly with a wooden spoon. Keep cooking until the custard thickens and coats the back of the spoon, reaching about 175°F on a kitchen thermometer. This step usually takes around 7-10 minutes, so keep a close eye to prevent curdling.
Step 4: Infuse Flavor
Remove the saucepan from the heat and whisk in 0.75 cup of warmed Biscoff cookie butter until fully incorporated and smooth. Follow with 1 teaspoon of vanilla extract, 0.25 teaspoon of cinnamon, and 0.25 teaspoon of salt. This fragrant mixture will become the base for your luscious Cookie Butter Ice Cream.
Step 5: Chill the Mixture
Pour the custard through a fine-mesh strainer into a clean bowl to remove any curdled bits, ensuring a silky texture. Cover the bowl with plastic wrap, pressing it directly onto the surface to prevent a skin from forming, and chill in the refrigerator for at least 4 hours or until completely cold.
Step 6: Churn the Ice Cream
Once the custard is thoroughly chilled, pour it into your ice cream maker. Churn according to the manufacturer’s instructions until it reaches a soft-serve consistency, usually about 20-25 minutes. This is where your Cookie Butter Ice Cream really comes to life!
Step 7: Fold in the Cookies
Gently fold in the 8 crushed Biscoff cookies until evenly distributed throughout the custard. These cookie bits will add delightful crunch to your finished ice cream. Stir carefully to maintain the creamy texture of your Cookie Butter Ice Cream.
Step 8: Freeze for Firmness
Transfer the ice cream mixture to a freezer-safe container, smoothing the top with a spatula. Seal with an airtight lid and freeze for at least 4 hours, or until firm. This final freeze will create that perfect scoopable texture, ensuring your Cookie Butter Ice Cream is a hit!

Make Ahead Options
This Homemade Cookie Butter Ice Cream is perfect for busy home cooks looking to save time on desserts! You can prepare the custard base and chill it up to 24 hours in advance, ensuring a rich flavor without the stress of last-minute cooking. Simply follow the initial steps, whisking together the cream, egg yolks, and cookie butter, then straining and refrigerating the mixture. Be sure to cover it with plastic wrap pressed directly against the surface to prevent a skin from forming. When you’re ready to serve, simply churn the chilled custard in your ice cream maker, fold in the Biscoff cookies, and freeze for a few hours until firm. Enjoy delicious, homemade ice cream without the hassle on busy weeknights!
What to Serve with Homemade Cookie Butter Ice Cream
Indulging in a scoop of this creamy dessert sets the stage for a complete feast of delightful pairings.
- Warm Waffles: The fluffy texture of freshly made waffles pairs beautifully, soaking up the creamy ice cream’s richness while adding a comforting crunch.
- Chocolate Sauce: Drizzling warm chocolate sauce over each bowl adds a decadent touch, elevating the dessert to a luxurious experience—perfect for special occasions or quiet nights in.
- Salted Caramel: The sweet and salty elements of salted caramel amplify the spiced and sweet notes of the cookie butter, making each bite an irresistible treat.
- Biscoff Cookie Crumbles: Sprinkling more crushed Biscoff cookies on top offers a delightful crunch that mirrors the ice cream’s texture; it’s a match made in dessert heaven!
- Fresh Berries: Juicy strawberries or raspberries bring a bright, tart contrast to the ice cream’s sweetness, adding freshness and color to your dessert presentation.
- Whipped Cream: A dollop of homemade whipped cream serves to enhance the creamy goodness, creating a fluffy topping that makes every scoop even more delightful.
- Coffee or Espresso: Serving your ice cream alongside a strong cup of coffee provides a delightful contrast, enhancing the spiced flavors of the cookie butter while mimicking a café-style experience.
- Fruit Tart: A slice of fruit tart brings creaminess and sweetness to the table, making the perfect companion for the cookie butter ice cream’s rich flavors.
How to Store and Freeze Cookie Butter Ice Cream
Fridge: Store any leftover ice cream in an airtight container for up to 3 days. Note that it may lose some creaminess and become firmer due to refrigeration.
Freezer: For long-term storage, keep the cookie butter ice cream in a freezer-safe container for up to 2 months. Ensure it’s tightly sealed to avoid freezer burn.
Reheating: Let the ice cream sit at room temperature for about 5-10 minutes before serving, making it easier to scoop. Enjoy the delightful flavors of your homemade Cookie Butter Ice Cream!
Expert Tips for Cookie Butter Ice Cream
-
Gentle Heating: Maintain a low cooking temperature when preparing the custard base to prevent egg yolks from scrambling. This ensures a smooth, creamy Cookie Butter Ice Cream.
-
Complete Chill: Always chill the custard mixture completely before churning. This step is crucial for achieving the ideal scooping texture.
-
Extra Crunch: For more cookie flavor, consider adding additional crushed Biscoff cookies right before the final freeze. This will amplify the delightful contrasts in your ice cream.
-
Quality Matters: Use a high-quality ice cream maker for the best results; if you don’t have one, freeze the custard in a shallow dish, stirring every 30 minutes for the first few hours to prevent ice crystals.
-
Substitution Options: Feel free to experiment with other flavored spreads such as Nutella, ensuring that the final texture remains creamy while presenting fresh flavors.
Cookie Butter Ice Cream Variations
Customize your cookie butter ice cream adventure with these delightful twists that will tempt your taste buds!
- Dairy-Free: Swap heavy cream and whole milk for full-fat coconut milk and coconut cream to create a decadent, dairy-free version.
- Nutty Twist: Try substituting the Biscoff cookie butter with Nutella for a rich, chocolatey flavor that complements every scoop.
- Spicy Kick: Add a pinch of cayenne or nutmeg to the custard mixture for a surprise warm heat that dances on your palate.
- More Crunch: Fold in crushed graham crackers or waffle cone pieces instead of or in addition to Biscoff cookies for different textures and flavors.
- Fruit Fusion: Stir in a swirl of fruit puree, like raspberry or strawberry, just before freezing for a fruity surprise that complements the sweetness.
- Seasonal Spice: In the fall, mix in pumpkin puree along with the vanilla and cinnamon to make a seasonal treat that’s perfect for cozy nights.
- Caramel Drizzle: Swirl some caramel sauce into the ice cream before the final freeze for a gooey, indulgent touch.
- No-Churn Option: If you don’t have an ice cream maker, pour the mixture into a shallow container and freeze. Stir every 30 minutes for the first few hours for a creamy result without churning.
No matter which variation you choose, you’re bound to create a memorable treat that satisfies your cravings. Looking for more dessert ideas? Check out my delicious Peanut Butter Cookies for a nutty delight, or whip up some Gooey Butter Cookies to impress your guests!

Cookie Butter Ice Cream Recipe FAQs
How do I select the right ripeness for my ingredients?
When preparing your ingredients for cookie butter ice cream, ensure that your egg yolks are fresh, as they contribute to the custard’s creaminess. For cookie butter, feel free to use a recently opened jar to ensure it’s smooth and easily incorporated; avoid any that have excess oil separation at the top.
Advertisement
What’s the best way to store leftover Cookie Butter Ice Cream?
Absolutely! Store any leftover ice cream in an airtight container in the fridge for up to 3 days. However, for the best texture, I recommend keeping it in the freezer, tightly sealed in a freezer-safe container, where it can last up to 2 months without losing much quality. This way, it’s ready for whenever you need a sweet treat!
Can I freeze Cookie Butter Ice Cream? If so, how?
Yes! To freeze your cookie butter ice cream, transfer it to a freezer-safe container, smoothing the top with a spatula. Seal it with an airtight lid and freeze for at least 4 hours or until it’s firm. For easy scooping later, let it sit at room temperature for about 5-10 minutes before serving.
What can I do if my ice cream is hard right out of the freezer?
Very! If your ice cream is too hard, it’s likely because it was left in the freezer for a while without enough time to soften. Simply take it out and let it sit at room temperature for 5 to 10 minutes until it reaches a scoopable texture. Alternatively, you can break it with a sturdy spoon to help it soften more evenly before serving!
Is this recipe suitable for someone with dairy allergies?
If you or your guests are dairy-sensitive, no worries! You can easily substitute the heavy cream and whole milk with full-fat coconut milk and coconut cream, which will give you a delightful coconut flavor without sacrificing creaminess. Just be sure to choose a cookie butter spread that is also dairy-free for a completely allergen-friendly treat.
What if I don’t have an ice cream maker?
No problem at all! If you lack an ice cream maker, you can still create this luscious dessert. Pour the chilled custard into a shallow dish and place it in the freezer. Every 30 minutes, stir it well with a whisk or fork for the first few hours to prevent ice crystals from forming. Repeat this until it’s frozen to your desired consistency, usually around 3 to 4 hours total, and enjoy your homemade cookie butter ice cream!
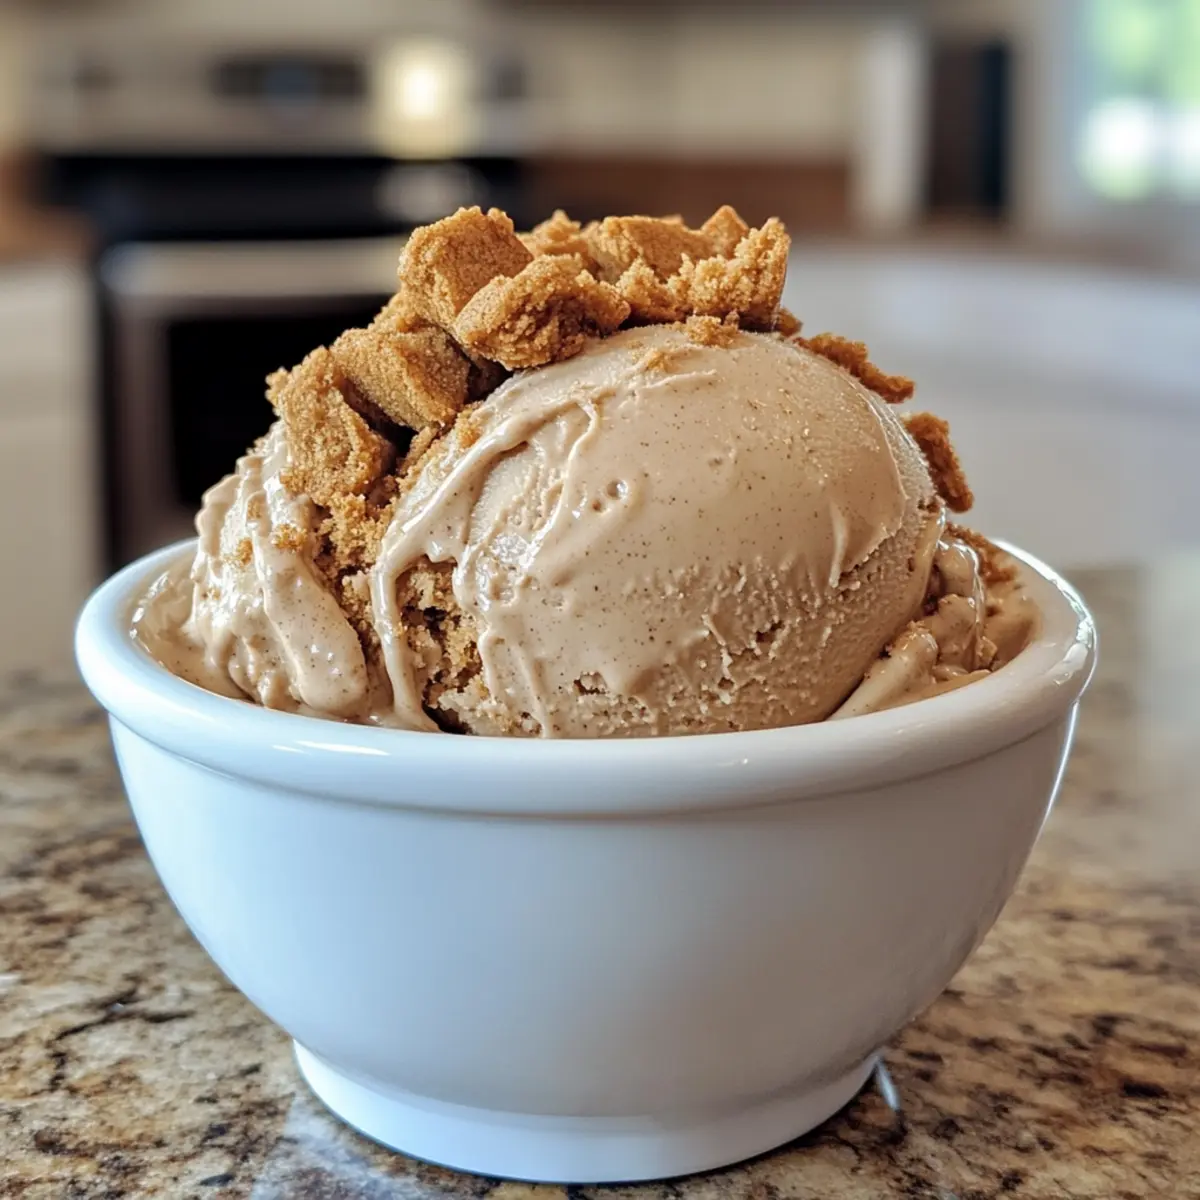
Creamy Cookie Butter Ice Cream for Pure Dessert Bliss
Ingredients
Equipment
Method
- In a medium saucepan, heat heavy cream and whole milk over medium heat until steaming, about 5 minutes.
- In a separate bowl, whisk together egg yolks and granulated sugar until glossy, about 2-3 minutes.
- Slowly pour the warm cream mixture into the egg yolks while whisking to temper them.
- Return to the saucepan and cook over medium-low heat until the custard thickens and coats the back of a spoon, about 7-10 minutes.
- Remove from heat and whisk in warmed Biscoff cookie butter, vanilla extract, cinnamon, and salt.
- Strain the custard through a fine-mesh strainer into a clean bowl and cover with plastic wrap.
- Chill in the refrigerator for at least 4 hours or until completely cold.
- Pour the chilled custard into your ice cream maker and churn according to the manufacturer's instructions.
- Gently fold in the crushed Biscoff cookies until evenly distributed.
- Transfer to a freezer-safe container, smooth the top, seal, and freeze for at least 4 hours until firm.