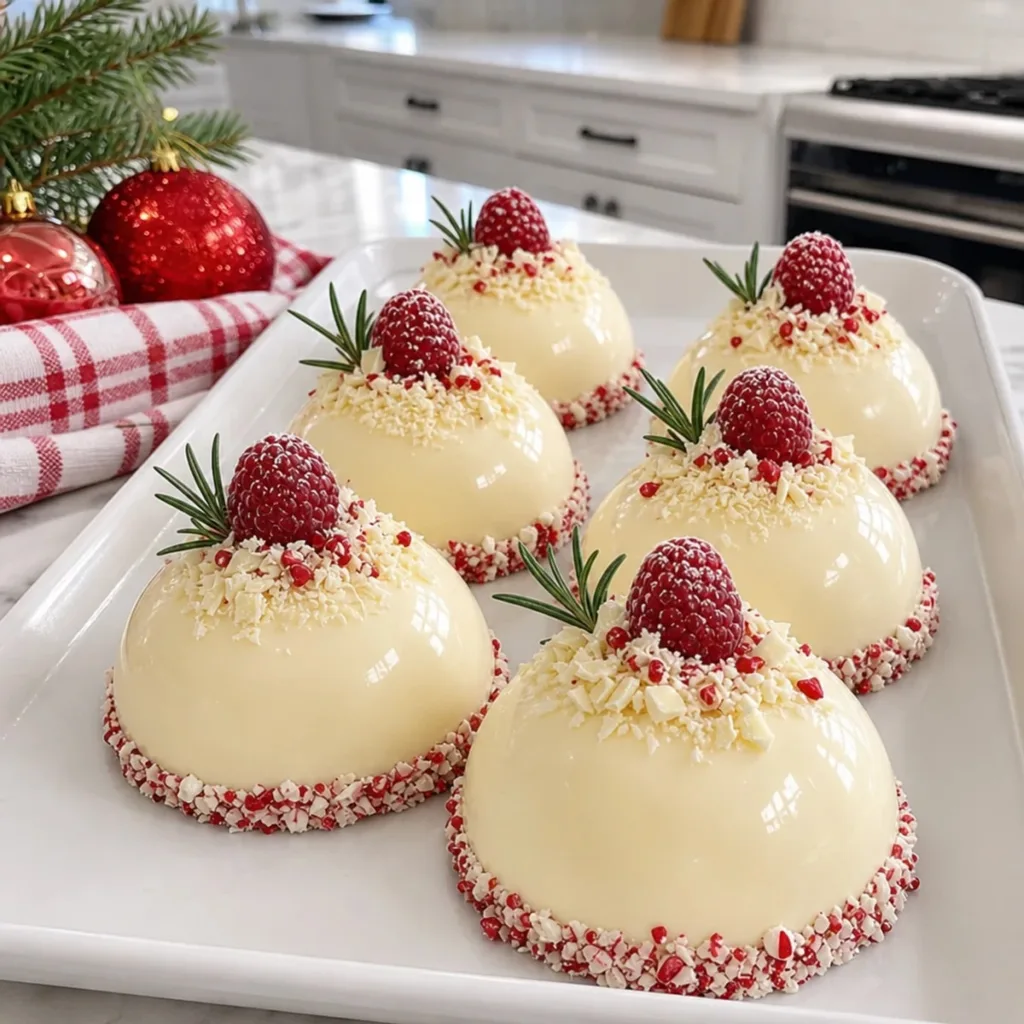
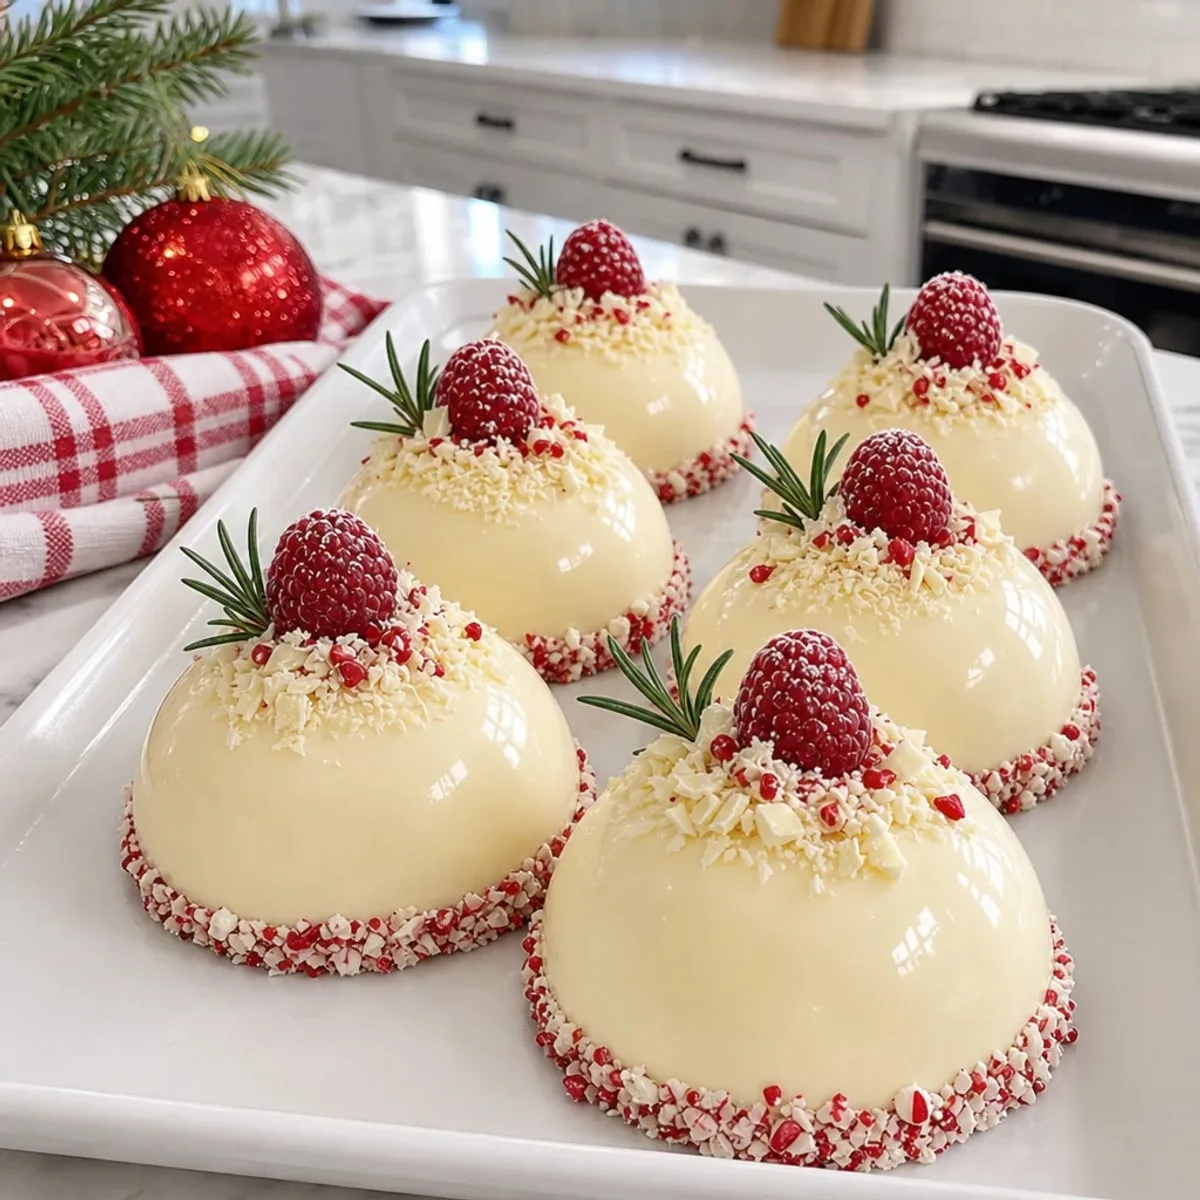
A sprinkle of magic dust transforms the ordinary into the extraordinary—just like these Christmas White Chocolate Mousse Domes! These delectable little orbs are not only a festive centerpiece but also a delightful way to impress your friends and family. With their light, airy texture and a crumbly cookie base, these domes offer a stunning contrast that pleases both the eyes and the palate. Plus, the best part? They’re a breeze to make, allowing you to focus on enjoying the holiday cheer rather than being tied to the kitchen. The combination of creamy white chocolate and a hint of peppermint is a celebration of flavors that will elevate your dessert table. Curious about how to whip up this holiday showstopper? Let’s dive into the recipe and unlock the sweetness!
Why are these mousse domes perfect for Christmas?
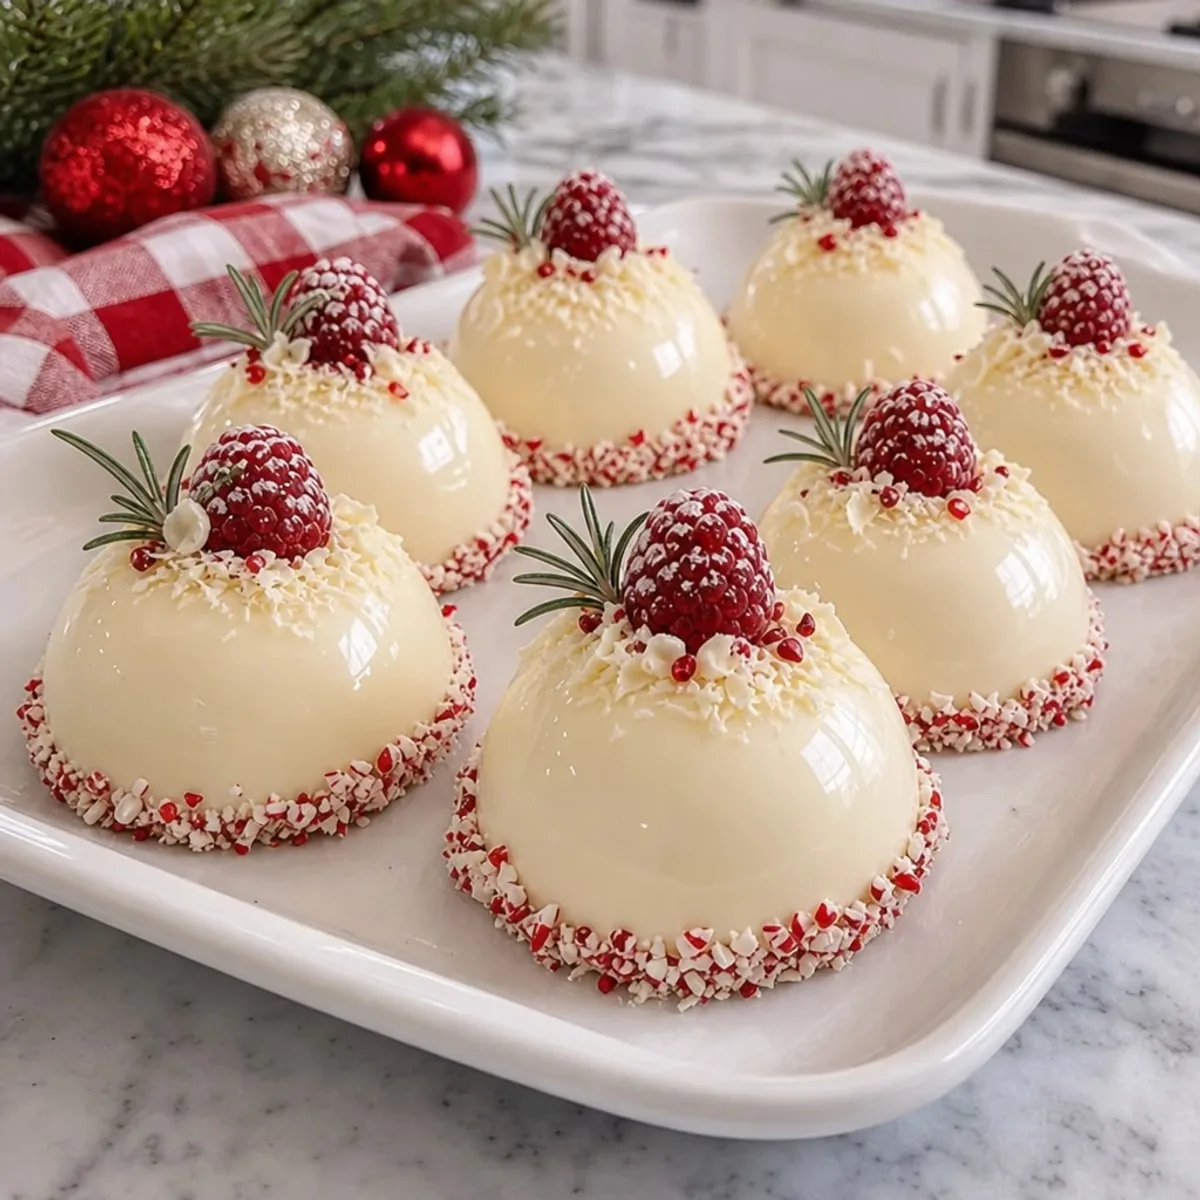
Irresistible Charm: These Christmas White Chocolate Mousse Domes are not only visually stunning with their glossy finish but also a delight to explore with each creamy bite.
Quick & Easy: With just 40 minutes of prep, you can create these enchanting treats without spending hours in the kitchen.
Festive Flavors: The combination of white chocolate and peppermint adds a seasonal twist that elevates any holiday gathering.
Crowd-Pleasing Appeal: Perfect for parties, these domes impress guests while being easy to serve — simply pop them out of the mold and enjoy!
Versatile Base: Whether using vanilla wafers or graham crackers, the cookie base can be adapted to suit your taste, making these mousse domes a delightful surprise for everyone at your table.
Christmas White Chocolate Mousse Domes Ingredients
For the Mousse
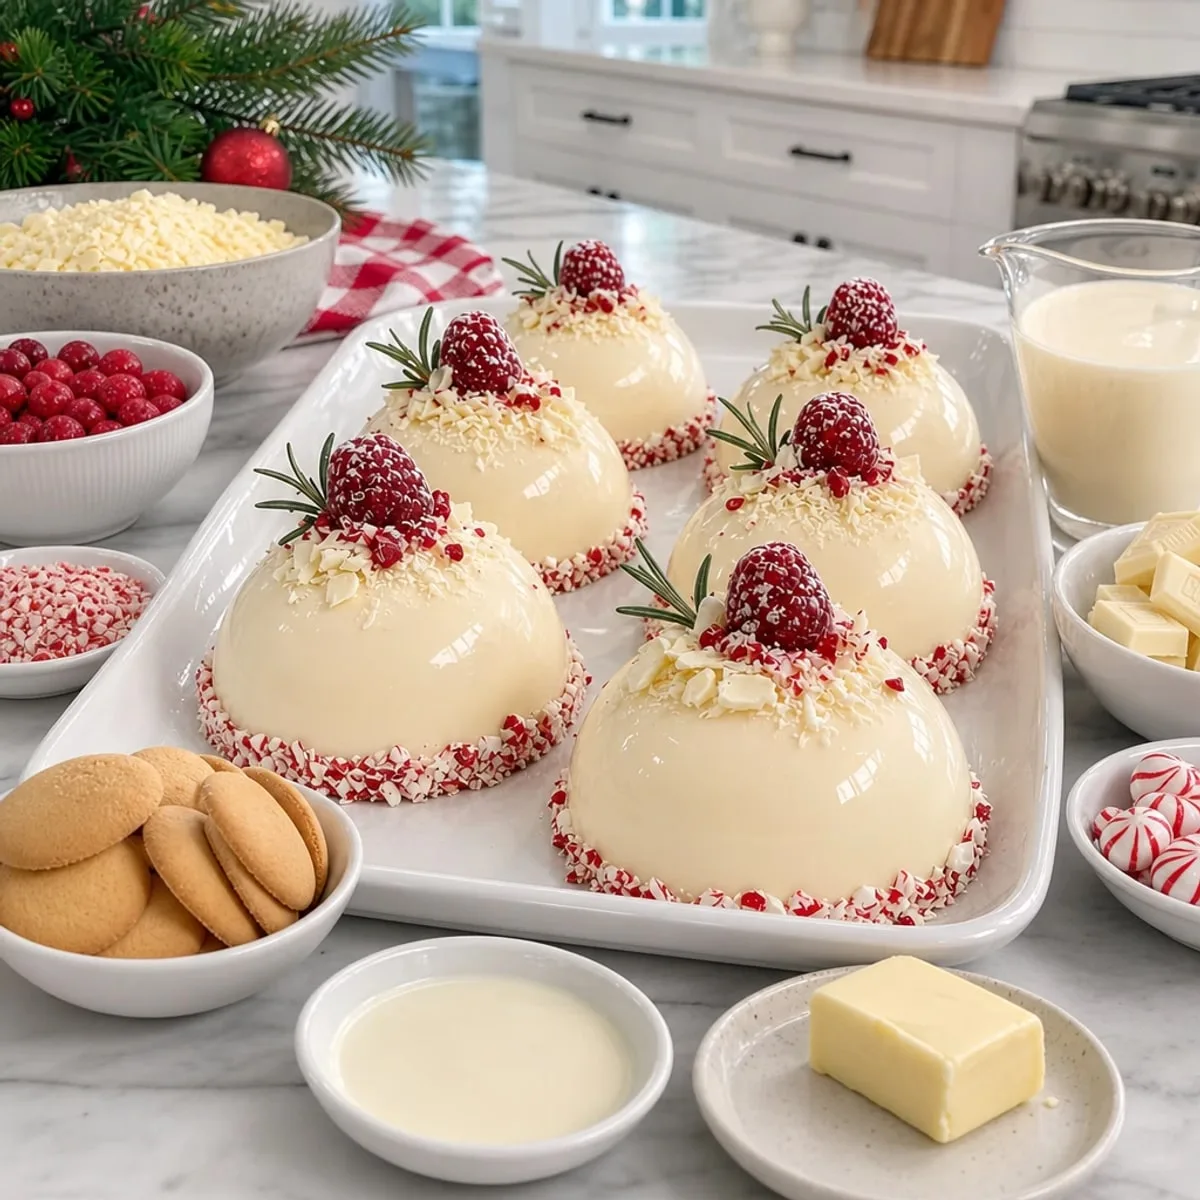
• 12 ounces white chocolate – finely chopping ensures smooth melting for a luxurious texture.
• 2 cups heavy whipping cream – divided for rich mousse and fluffy whipped cream consistency.
• 2 tablespoons whole milk – adds creaminess to the mousse blend.
• 2 teaspoons unflavored gelatin powder – stabilizes the mousse for perfect domes.
• 3 tablespoons cold water – helps bloom the gelatin for smooth incorporation.
• 1 teaspoon vanilla extract – enhances the flavor profile, making every bite delightful.
• 1 pinch salt – balances sweetness and elevates flavor notes.
For the Cookie Base
• 1 and 1/2 cups crushed vanilla wafer cookies (or graham crackers) – provide a deliciously sweet, crumbly crust.
• 5 tablespoons unsalted butter – melted to bind the cookie crumbs together seamlessly.
• 1 tablespoon granulated sugar – a touch of sweetness that complements the crust.
For the Toppings
• 1/2 cup white chocolate curls or shaved white chocolate – adds an elegant finish and extra flavor.
• 1/4 cup crushed peppermint candies or candy canes – brings a festive crunch and a pop of color.
• 2 tablespoons white chocolate (melted for decoration) – drizzled to enhance the visual appeal of the domes.
• 2 tablespoons red and green festive sprinkles – adds cheerful decoration, making each dome a holiday delight.
Step-by-Step Instructions for Christmas White Chocolate Mousse Domes
Step 1: Prepare the Mold
Place a silicone dome mold with 10 cavities on a flat baking tray to ensure stability while filling. This will make it easier to handle as you add the mousse and create your delightful Christmas White Chocolate Mousse Domes.
Step 2: Bloom the Gelatin
Sprinkle the unflavored gelatin powder evenly over 3 tablespoons of cold water in a small bowl. Allow the gelatin to bloom for 5 to 10 minutes until it thickens and absorbs the water, ensuring a smooth incorporation into the mousse.
Step 3: Melt the White Chocolate
In a medium heatproof mixing bowl, add the finely chopped white chocolate. In a small saucepan, pour in ½ cup of heavy whipping cream and 2 tablespoons of whole milk, heating over medium-low until steaming, but do not let it boil.
Step 4: Combine Gelatin with Cream
Remove the saucepan from heat and add the bloomed gelatin to the warm cream mixture. Stir gently until the gelatin dissolves completely, creating a smooth blend perfect for your mousse.
Step 5: Incorporate the Chocolate
Pour the warm cream-gelatin mixture over the chopped white chocolate. Let it stand for 2 minutes to allow the chocolate to melt, and then stir slowly until fully melted and smooth, creating a luscious base for the mousse.
Step 6: Mix in Flavorings
Add 1 teaspoon of vanilla extract and a pinch of salt to the melted white chocolate mixture. Stir until all ingredients are well combined, and let the mixture cool to room temperature until slightly thickened but still pourable.
Step 7: Whip the Cream
In a chilled mixing bowl, pour in the remaining 1½ cups of cold heavy whipping cream. Beat with an electric mixer on medium speed until soft peaks form, then continue beating until medium peaks form and the cream holds its shape, ensuring a light, airy mousse.
Step 8: Fold in Whipped Cream
Gently add one-third of the whipped cream to the cooled white chocolate mixture. Fold carefully with a silicone spatula until incorporated, then add the remaining whipped cream in two separate additions, folding gently each time to maintain the mousse’s lightness.
Step 9: Fill the Molds
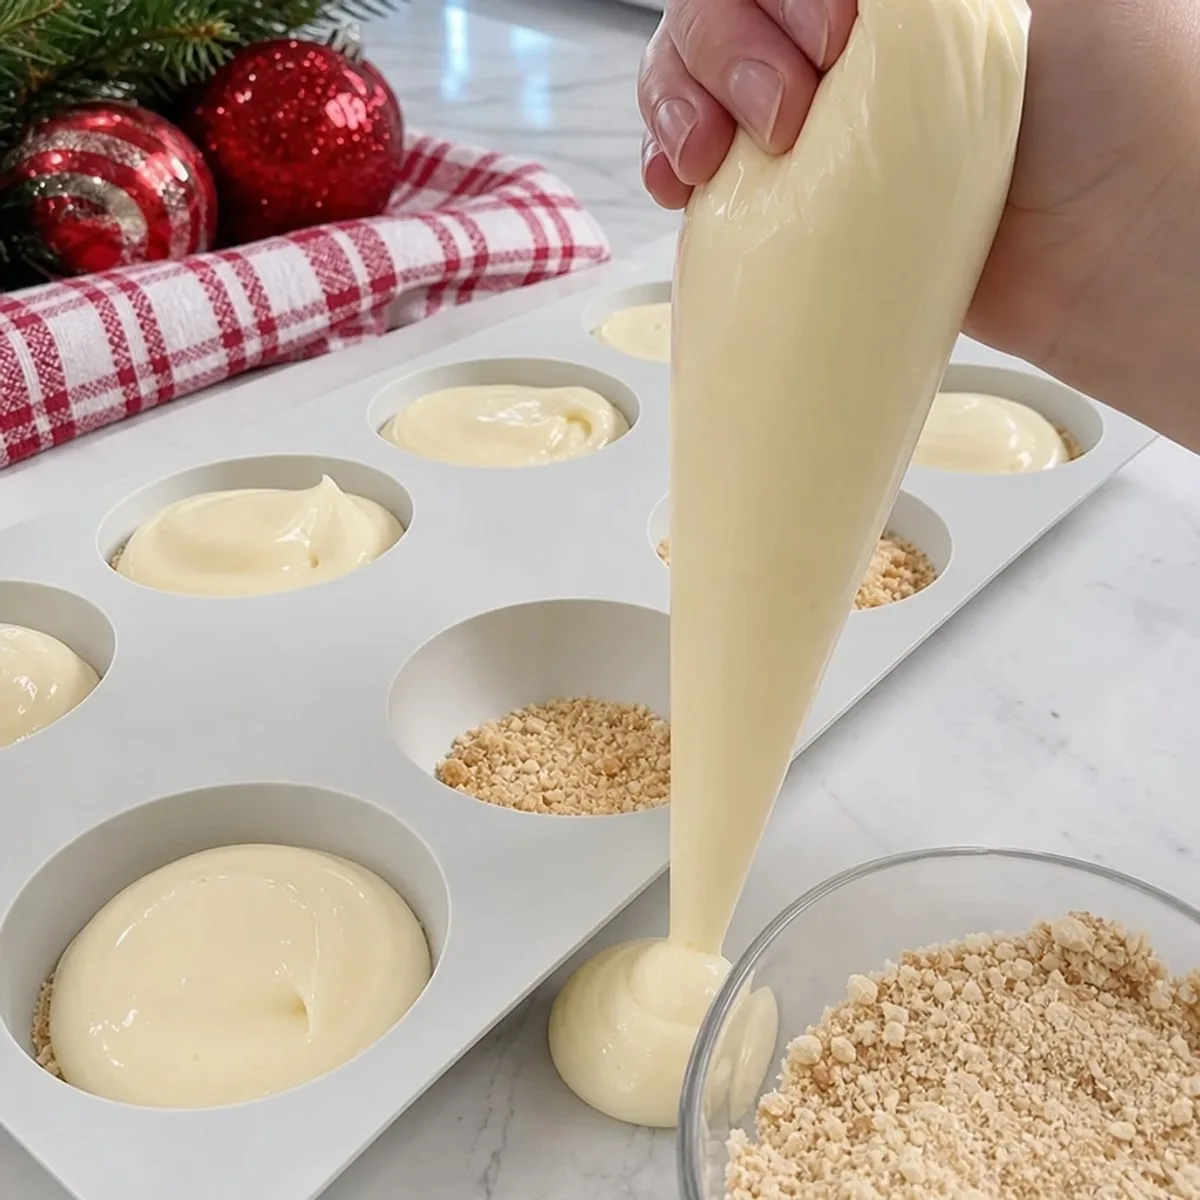
Transfer the mousse into a large piping bag or spoon it directly. Fill each of the silicone dome cavities almost to the top, leaving enough room for the cookie base, and gently tap the tray against the countertop to release trapped air bubbles.
Step 10: Prepare the Cookie Base
In a medium mixing bowl, combine the crushed vanilla wafer cookies or graham crackers with 5 tablespoons of melted unsalted butter and 1 tablespoon of granulated sugar. Stir until the mixture resembles damp sand and is evenly coated.
Step 11: Assemble the Domes
Spoon the cookie mixture evenly over the mousse in each dome cavity. Press the mixture gently with the back of a spoon to create a compact, flat base, ensuring a sturdy foundation for your Christmas White Chocolate Mousse Domes.
Step 12: Freeze the Mousse Domes
Cover the silicone mold loosely with plastic wrap and transfer the tray to the freezer. Freeze the mousse domes for at least 6 hours, or preferably overnight, until they are completely firm and ready to be unmolded.
Step 13: Unmold and Chill
Remove the frozen mold from the freezer and carefully peel the silicone away from each mousse dome without squeezing or pulling. Place the unmolded domes, cookie side down, on a white serving tray and transfer it to the refrigerator to thaw for about 2 hours until creamy.
Step 14: Decorate the Domes
Using a small piping bag or spoon, drizzle melted white chocolate over the tops of each mousse dome. Sprinkle with white chocolate curls and crushed peppermint for a festive touch, and add red and green sprinkles while the chocolate is still tacky.
Step 15: Set and Serve
Return the decorated mousse domes to the refrigerator for 15 minutes to allow the decorations to set. Keep them chilled until ready to serve for a stunning holiday dessert that will impress everyone at your festive gathering.
Expert Tips for Christmas White Chocolate Mousse Domes
Melt Gradually: Ensure the white chocolate melts slowly for a smooth texture. Turning up the heat can cause it to seize, ruining your mousse.
Perfect Whipping: Beat the cream just until medium peaks form. Overbeating will lead to a grainy texture, so stop as soon as it holds shape for your mousse.
Gentle Folding: Use a silicone spatula for folding the whipped cream into the chocolate mixture. Avoid vigorous stirring to keep the mousse airy and fluffy.
Room Temperature Finish: Let the chocolate mixture cool to room temperature before adding whipped cream. This ensures it won’t melt the cream and maintains the structure of your Christmas White Chocolate Mousse Domes.
Air Release: After filling the molds, tapping the tray against the countertop helps release air bubbles. This is crucial for achieving that perfect dome shape without imperfections.
Christmas White Chocolate Mousse Domes Variations
Feel free to take these festive flavors and give them your own delightful twist!
Dairy-Free: Replace heavy cream and milk with coconut cream for a rich, tropical flavor without dairy.
Sugar-Free: Use sugar substitutes like erythritol or stevia in the mousse and cookie base for a guilt-free indulgence.
Flavor Variations: Swap vanilla for orange or almond extract in the mousse to add a different aromatic layer of flavor.
Nutty Crunch: Incorporate finely chopped nuts, like pistachios or hazelnuts, into the cookie base for a wonderful textural contrast.
Additional Layer: Add a layer of raspberry or cranberry sauce between the mousse and cookie base for a vibrant burst of flavor.
Spicy Kick: Mix a pinch of cinnamon or nutmeg into the mousse for a warm, holiday spice that compliments the white chocolate beautifully.
Fruity Twist: Fold in pureed berries, like strawberries or raspberries, into the mousse to brighten up the flavor and color.
Peppermint Twist: Use peppermint extract instead of vanilla for an intense peppermint flavor, making these domes even more festive.
Consider transforming the cookie base with options like Graham Crackers or adding a layer of Fruit Salad to complete your holiday celebration! Enjoy making this recipe your own!
How to Store and Freeze Christmas White Chocolate Mousse Domes
Fridge: Store the mousse domes in an airtight container in the refrigerator for up to 3 days. This keeps them fresh and ready for your holiday gatherings.
Freezer: For longer storage, place the unmolded mousse domes in a single layer in the freezer, where they can last up to 1 month. Ensure they are well covered to avoid freezer burn.
Thawing: When ready to serve, transfer the frozen domes to the refrigerator for about 2 hours to thaw gently. This helps maintain the creamy texture of the Christmas White Chocolate Mousse Domes.
Serving: Once thawed, drizzle any remaining melted white chocolate and add festive toppings before serving to impress your guests!
What to Serve with Christmas White Chocolate Mousse Domes?
Indulging in delightful desserts like these mousse domes is even better when paired with complementary dishes that elevate your festive feast.
Rich Chocolate Fondue: The warm, creamy chocolate contrasts beautifully, allowing guests to dip fresh fruits or sweet treats for a decadent experience.
Sparkling Cranberry Mocktail: A tart and fizzy drink that enhances the sweetness of the mousse while adding a festive touch to your table.
Gingerbread Cookies: With their spicy sweetness, these classic cookies are a charming addition, providing a delightful crunch alongside the smooth mousse.
Vanilla Ice Cream: A scoop of creamy vanilla adds classic richness and a refreshing temperature contrast against the chilled mousse domes.
Festive Fruit Salad: Bright and vibrant, a fruit salad featuring pomegranate and citrus complements the domes’ sweetness while adding freshness to each bite.
Dark Roast Coffee: The bold flavor of coffee can balance the sweet, rich mousse, creating a perfect pairing that coffee lovers will appreciate.
Peppermint Hot Chocolate: This cozy drink echoes the peppermint notes in the mousse, connecting your dessert with a holiday favorite.
Cheese Platter: A selection of creamy brie and sharp cheddar can create a delightful flavor contrast, making your dessert course even more memorable.
Meal Prep for Christmas White Chocolate Mousse Domes
These Christmas White Chocolate Mousse Domes are perfect for busy home cooks looking to save time during the holiday hustle! You can prepare the mousse filling and cookie base up to 24 hours in advance—simply keep the mousse covered in the refrigerator to maintain its airy texture. Once you've filled the silicone molds, freeze the domes for at least 6 hours or overnight for best results. When you're ready to serve, unmold the frozen domes and let them thaw in the refrigerator for about 2 hours. Just remember, avoid refreezing after thawing to preserve their delectable quality, ensuring they remain as delightful as when first made!
Advertisement
Christmas White Chocolate Mousse Domes Recipe FAQs
How do I choose the best white chocolate for my mousse?
Absolutely! When selecting white chocolate, look for high-quality bars with a high cocoa butter content for the best flavor and smooth texture. Avoid those labeled “white chocolate-flavored” as they often contain waxes and lower-quality ingredients that won't melt well.
What’s the proper storage method for leftover mousse domes?
For the best taste and freshness, store any leftover Christmas White Chocolate Mousse Domes in an airtight container in the refrigerator for up to 3 days. This will keep them delicious and maintain their creamy, smooth texture.
Can I freeze the Christmas White Chocolate Mousse Domes?
Yes, you can! To freeze, place the unmolded mousse domes in a single layer on a baking tray and put them in the freezer. After they are completely frozen, transfer them to an airtight container or freezer bag, where they can last up to 1 month. Make sure they are well covered to prevent freezer burn.
What should I do if my mousse is too runny?
If your mousse is too runny, it could be due to not allowing the white chocolate mixture to cool enough before adding the whipped cream. Ensure the chocolate mixture hits room temperature and thickens slightly, or consider chilling the mousse in the refrigerator for about 30 minutes to help it set further before serving.
Is there a substitute for gelatin if I need a vegetarian option?
You can absolutely use agar-agar as a substitute for gelatin for a vegetarian-friendly version! To replace 2 teaspoons of gelatin, use about 1 teaspoon of agar-agar powder mixed with 3 tablespoons of water. Bring it to a boil and then let it cool slightly before incorporating it into the cream mixture.
How can I adjust the recipe for allergies or dietary restrictions?
For those with dietary allergies, consider using dairy-free cream and chocolate substitutes to create a vegan version of these Christmas White Chocolate Mousse Domes. Almond or coconut milk can be a great alternative for the cream, and make sure to use vegan gelatin or agar-agar instead of traditional gelatin.
Christmas White Chocolate Mousse Domes for Festive Feasts
Ingredients
Equipment
Method
- Prepare the silicone dome mold on a flat baking tray.
- Bloom the gelatin in cold water for 5 to 10 minutes.
- Melt the white chocolate with heated heavy cream and milk.
- Combine bloomed gelatin with the warm cream mixture.
- Incorporate the melted white chocolate with cream-gelatin mixture.
- Add vanilla extract and salt, then cool to room temperature.
- Whip the remaining heavy cream until it holds medium peaks.
- Fold the whipped cream into the chocolate mixture gently.
- Fill the mold cavities with the mousse and tap to release air.
- Prepare the cookie base and press it over the mousse.
- Freeze the molds for at least 6 hours or overnight.
- Unmold the frozen mousse domes and chill in the refrigerator.
- Decorate with melted white chocolate, curls, and sprinkles.
- Return the decorated domes to chill before serving.