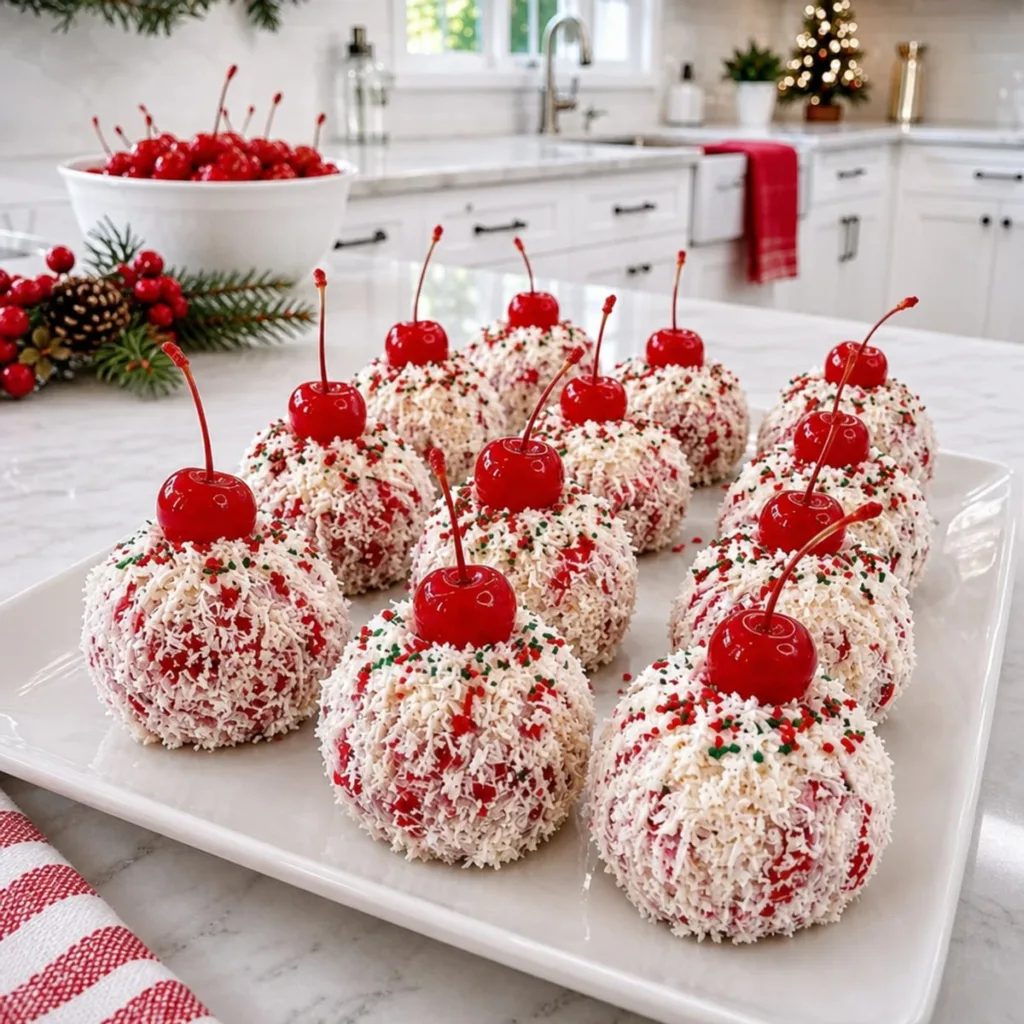
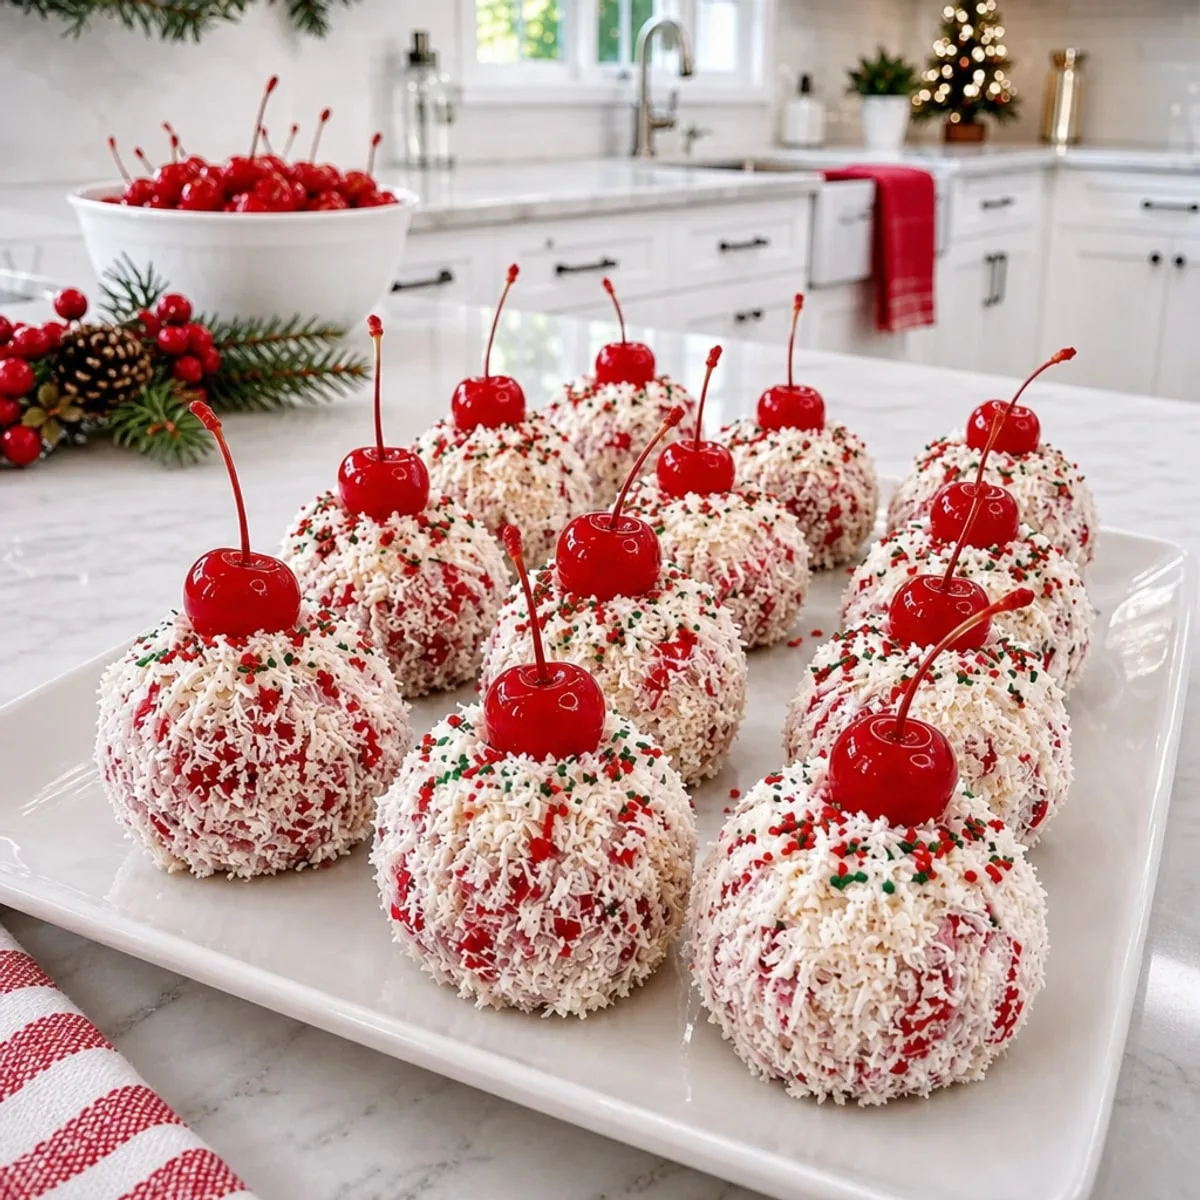
As I flip through my cherished recipe book, a delightful memory floods back—the taste of my grandma's festive no-bake sweets, especially her Christmas Cherry Balls. These little gems are a joy to make and devour, perfectly combining crushed vanilla wafer cookies, creamy goodness, and playful pops of cherry flavor. What I love most about this recipe is how effortlessly it comes together, making it an ideal crowd-pleaser that you can whip up in no time! Plus, each bite offers a nostalgic taste of the holidays, bringing a bit of warmth to chilly winter nights. So, ready to dive into this sweet treat that's as festive as it is delicious? Let’s get rolling!
Why are Christmas Cherry Balls the perfect treat?
Irresistible Combination: The mix of vanilla wafers, cream cheese, and maraschino cherries creates a delightful flavor explosion that dances on your palate.
No-Bake Convenience: With no oven required, this recipe is hassle-free, making it the perfect solution for busy holiday schedules.
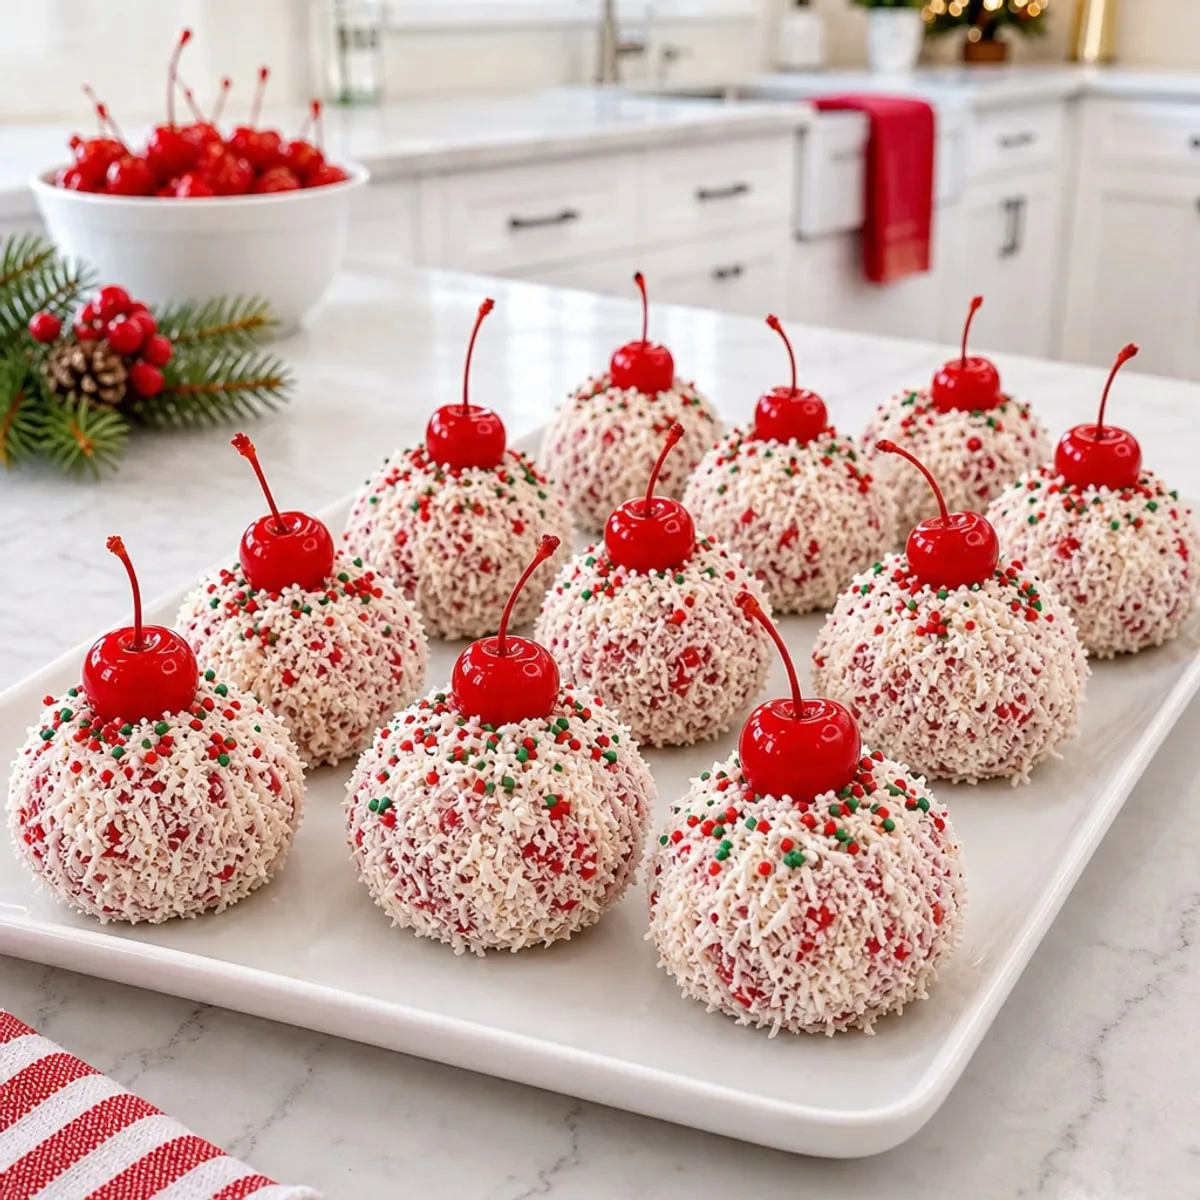
Festive Presentation: Dressed in coconut and sprinkles, these treats not only taste good but also look stunning on any holiday table.
Crowd-Pleaser: Ideal for gatherings, each bite offers a nostalgic sweetness that everyone will love.
Quick Prep: Ready in under two hours, you’ll have a delicious holiday treat without spending all day in the kitchen.
Dive into the joy of holiday baking with these no-bake treats that will surely become a family favorite!
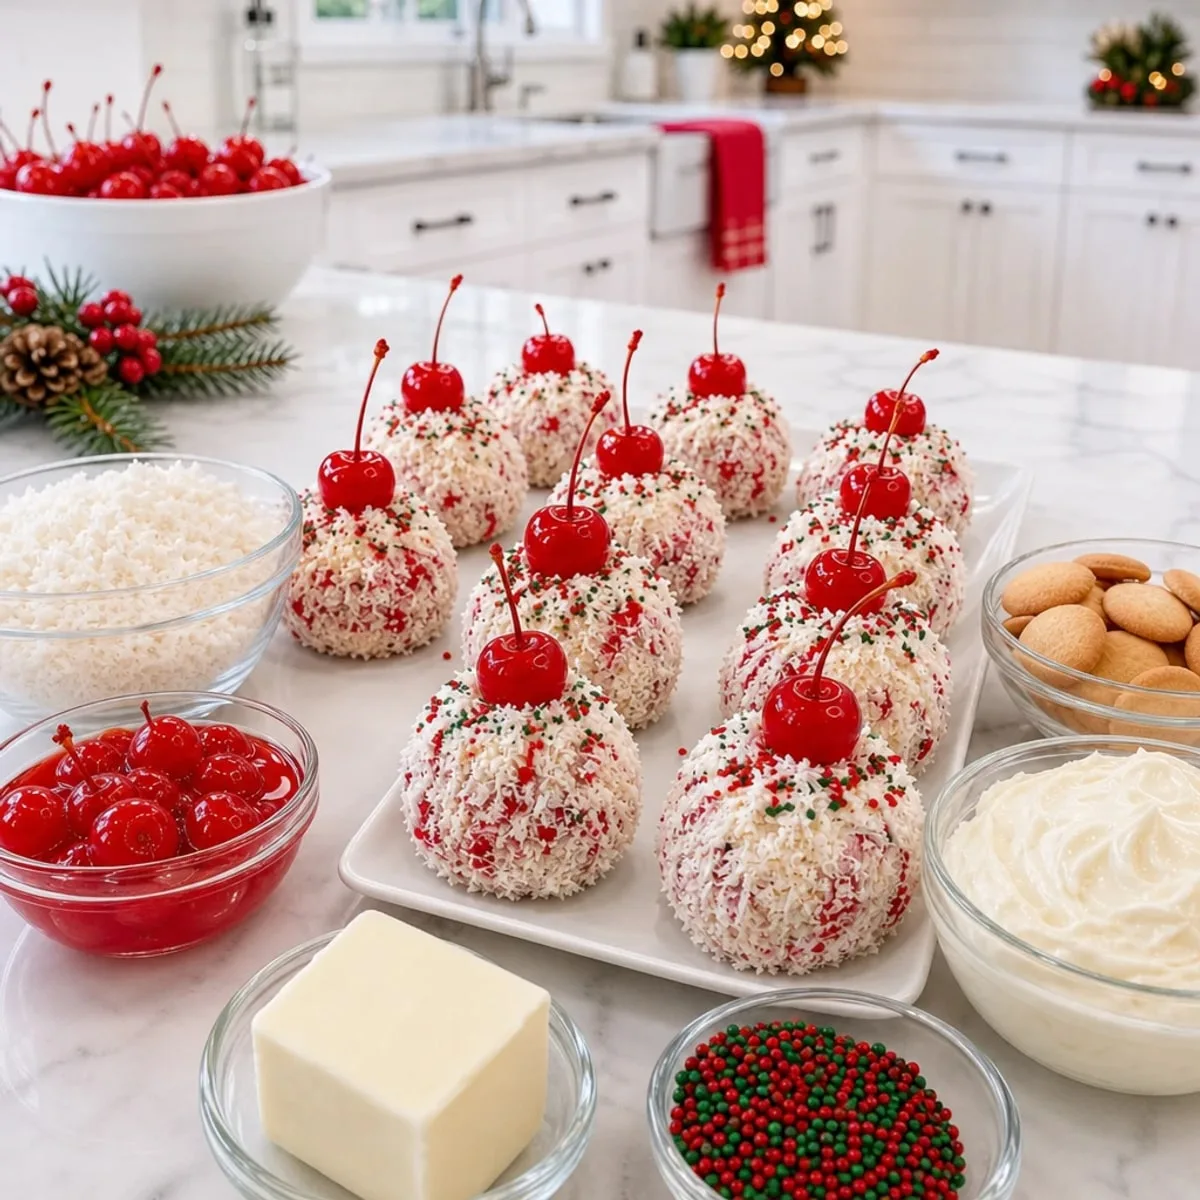
Christmas Cherry Balls Ingredients
Here’s what you’ll need to make these delightful treats!
For the Base
• Finely crushed vanilla wafer cookies – This forms the backbone of your Christmas Cherry Balls, providing a sweet, cookie-like flavor.
• Sweetened shredded coconut – Adds a delightful texture and a hint of tropical sweetness!
For the Creamy Filling
• Powdered sugar – Sweetens the mixture while ensuring a smooth texture.
• Unsalted butter – Softened butter creates a rich, creamy base.
• Cream cheese – A key ingredient for creaminess and a bit of tang!
• Finely chopped maraschino cherries – These provide bright splashes of flavor and color.
• Maraschino cherry juice – Enhances the cherry flavor without overpowering the mixture.
• Vanilla extract – A must for that warm, comforting aroma!
• Almond extract – Just a touch adds a unique depth to the flavor profile.
For the Coating
• Sweetened shredded coconut – Use this for a delightful outer layer that adds sweetness and a cheery look.
• Red and green Christmas sprinkles – Perfect for that festive touch, making your treats pop!
For Decoration
• Whole maraschino cherries with stems – These make for a beautiful final garnish, adding an elegant touch.
Now that you have all your ingredients ready, let’s create some magical Christmas Cherry Balls!
Step-by-Step Instructions for Christmas Cherry Balls
Step 1: Prepare the Cherries
Begin by thoroughly draining the maraschino cherries and patting them dry with paper towels to remove excess moisture. Finely chop a sufficient amount to measure one-third cup, ensuring they are well-drained and dried. This will enhance the flavor and texture of your Christmas Cherry Balls.
Step 2: Mix the Creamy Base
In a large mixing bowl, combine the softened unsalted butter and cream cheese. Use an electric mixer to beat them together on medium speed until the mixture is smooth and creamy, about 3 minutes. The creamy texture is crucial for the delightful filling of your Christmas Cherry Balls.
Step 3: Incorporate Sweetness
Next, add the powdered sugar to the creamy mixture. Continue to beat until it becomes fluffy and well-combined, approximately 2 minutes. This step is essential for creating that sweet base which balances the tartness of the cherries in your Christmas Cherry Balls.
Step 4: Add Flavorings
Mix in the vanilla extract and almond extract, blending thoroughly for about 1 minute. Then, pour in the maraschino cherry juice and stir until the mixture is evenly combined. The flavors from these extracts will deepen the taste profile of your Christmas Cherry Balls.
Step 5: Fold in the Goodies
Gently fold in the finely chopped maraschino cherries, ensuring they're distributed evenly throughout the creamy base. Then, add the crushed vanilla wafer cookies and 1 cup of sweetened shredded coconut. Mix until a thick dough forms that holds together well when pressed.
Step 6: Chill the Mixture
Cover the mixture with plastic wrap and refrigerate for about 30 minutes, or until it firms up enough to shape easily. This chilling step is vital for making rolling the Christmas Cherry Balls easier and ensures they maintain their shape.
Step 7: Prepare to Coat
While the mixture chills, line a rectangular baking pan with parchment paper for easy removal later. In a shallow bowl, place the remaining sweetened shredded coconut and mix in red and green Christmas sprinkles. This festive coating will add a cheerful visual appeal to your Christmas Cherry Balls.
Step 8: Shape the Balls
Once chilled, scoop about 2 tablespoons of the mixture to form each ball. Roll the mixture between your palms to create smooth, round shapes. The colder dough will make forming the Christmas Cherry Balls much more manageable, resulting in a nice finish.
Step 9: Coat and Decorate
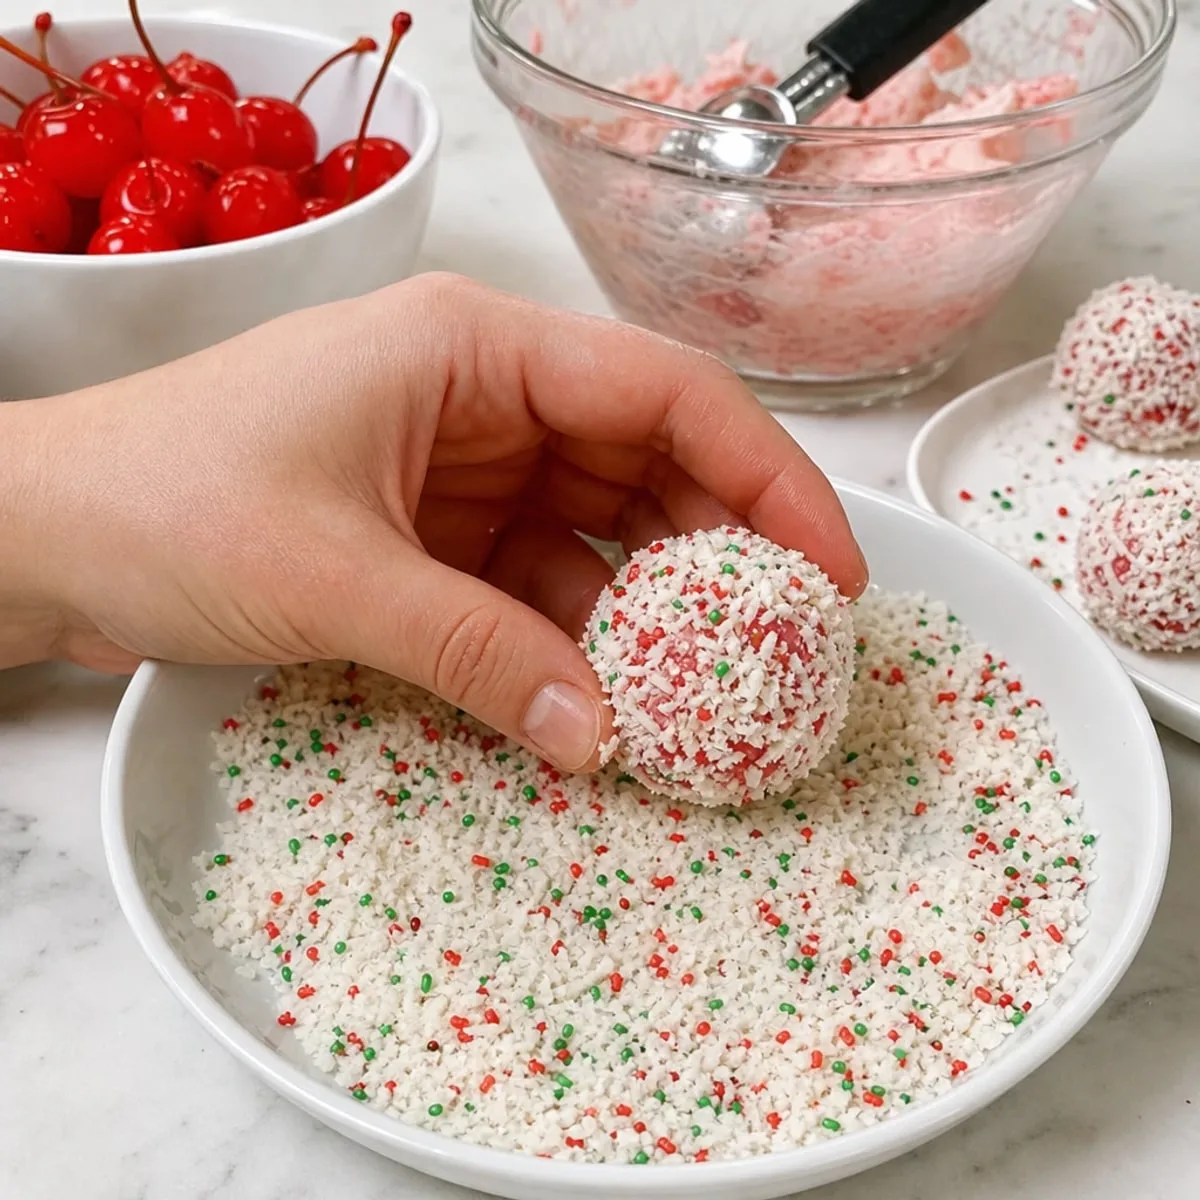
Roll each ball in the coconut and sprinkle mixture until completely covered. This coating adds both sweetness and a festive touch. To finish, gently press a whole maraschino cherry with its stem into the top of each ball, giving your Christmas Cherry Balls a beautiful garnish.
Step 10: Final Chill
Place the coated cherry balls in the prepared baking pan and refrigerate for at least 1 hour to ensure they firm up nicely. This final chilling step allows all the flavors to meld together, creating a delightful treat that’s perfect for sharing during the holidays.
Step 11: Serve and Store
Once ready, keep the Christmas Cherry Balls whole until serving. Store them in an airtight container in the refrigerator for up to 4 days. For the best creamy texture and flavor, serve them chilled, making sure your guests enjoy every festive bite!
Christmas Cherry Balls: Fun Variations
Feel free to customize your Christmas Cherry Balls and make them uniquely yours with these delightful twists!
- Nutty: Add crushed walnuts or pecans for a crunchy texture. These add a warm, earthy flavor that enhances the overall experience.
- Coconut-Free: Swap out shredded coconut for crushed graham crackers for a different texture and flavor profile. This twist gives an elegant yet simple vibe.
- Chocolate-Dipped: Dip half the balls in melted dark chocolate for a rich contrast to the sweet cherry filling. This decadent addition will impress your guests!
- Spicy Kick: Incorporate a pinch of cayenne pepper into the mixture for a surprising hint of heat. This variation beautifully balances the sweetness and adds an exciting layer.
- Zesty Citrus: Add a teaspoon of orange or lemon zest to the mixture for a refreshing, bright flavor. This citrus twist enhances the holiday feel in every bite.
- Vegan: Use coconut cream and vegan butter instead of cream cheese and butter for a plant-based version. These adjustments keep the creamy texture while catering to all diets.
- Colorful Sprinkles: Experiment with different sprinkle colors to match the occasion, making them perfect for birthdays or themed parties. These visual variations keep your treats festive!
Feel inspired to create your own charm with these Christmas Cherry Balls, and if you're looking for more fun ideas, check out these creative dessert variations for your next gathering!
What to Serve with Christmas Cherry Balls?
Elevate your holiday gathering with these delightful pairings that enhance the creamy sweetness of your festive treats.
- Creamy Mashed Potatoes: The buttery richness and creamy texture make a comforting contrast to the sweet cherry balls.
- Roasted Brussels Sprouts: Their earthy flavor and slight bitterness balance the sweetness, adding a touch of sophistication to your spread.
- Hot Cocoa Bar: A warm mug of cocoa, with optional marshmallows or whipped cream, perfectly complements the festive spirit of your dessert.
These treats shine alongside savory mains and warm beverages, harmonizing the flavors on your holiday table.
- Sparkling Cider: This bubbly beverage adds a refreshing twist, enhancing the festive vibe while cutting through the richness of the treats.
- Cheese Platter: A selection of creamy brie and sharp cheddar offers a delightful contrast and invites guests to create their own flavor experiences.
- Holiday Fruit Salad: A medley of fresh, seasonal fruits adds brightness and freshness, balancing out the sweet and creamy cherry balls.
- Gingerbread Cookies: The spiced flavors of gingerbread provide a nostalgic touch, seamlessly tying together your festive dessert table.
Meal Prep Tips for Christmas Cherry Balls
These Christmas Cherry Balls are a dream for meal prep, helping you save precious time during the busy holiday season! You can prepare the creamy mixture up to 24 hours in advance by following the first five steps and refrigerating it for easy shaping later. Make sure to cover the bowl tightly to prevent drying out. When you're ready to roll, simply scoop, shape, and coat your chilled balls in coconut and sprinkles, then refrigerate for at least 1 hour to firm them up. These delightful treats can be stored in an airtight container in the refrigerator for up to 4 days. They’ll remain just as delicious and festive, making your holiday gatherings a breeze!
How to Store and Freeze Christmas Cherry Balls
Fridge: Store your Christmas Cherry Balls in an airtight container in the refrigerator for up to 4 days. This keeps them fresh and maintains their creamy texture.
Freezer: For longer storage, freeze the balls in a single layer on a baking sheet until firm, then transfer to a freezer-safe container. They can be frozen for up to 2 months.
Thawing: To enjoy frozen treats, move the Christmas Cherry Balls to the fridge for several hours or overnight to thaw before serving.
Serving: Serve chilled for the best creamy texture. Enjoy the festive flavors anytime!
Expert Tips for Christmas Cherry Balls
Chill Thoroughly: Make sure to refrigerate the mixture for at least 30 minutes; this makes rolling easier and ensures the Christmas Cherry Balls hold their shape.
Keep it Dry: Thoroughly drain and dry maraschino cherries before chopping. Excess moisture can make the filling too wet and affect the texture.
Mix Gradually: When adding powdered sugar, do so gradually to prevent a messy kitchen. This ensures a smooth, fluffy base for your Christmas Cherry Balls.
Roll Evenly: Aim for uniform sizes when forming the balls to ensure even coating and consistent presentation.
Advertisement
Coating Choices: Feel free to mix in different types of sprinkles or nuts for variety. This can add a personal touch to your festive treats!
Christmas Cherry Balls Recipe FAQs
How can I tell if my maraschino cherries are fresh enough?
Absolutely! Look for cherries that are bright in color without dark spots or signs of mushiness. They should be plump and firm to the touch. Make sure to drain them thoroughly to avoid excess moisture in your mixture, which can affect the texture of your Christmas Cherry Balls.
What’s the best way to store Christmas Cherry Balls?
You can store your Christmas Cherry Balls in an airtight container in the refrigerator for up to 4 days. This will help keep their creamy texture and delightful flavor intact. If you're making them ahead, refrigerate them until right before serving; the colder they are, the better they taste!
Can I freeze Christmas Cherry Balls?
Yes, indeed! To freeze, first place the formed balls in a single layer on a baking sheet and freeze until firm, about 1-2 hours. Then transfer them to a freezer-safe container, separating layers with parchment paper, and they’ll last for up to 2 months. When you're ready to enjoy, simply thaw them in the refrigerator for several hours or overnight.
Why are my Christmas Cherry Balls too soft?
If your mixture is too soft, you may need to chill it longer. Ensure that your butter and cream cheese are adequately softened—if too warm, they might create a runny mixture. During preparation, if you find it’s lacking in firmness, incorporate more crushed vanilla wafers or shredded coconut to thicken the mixture. Chilling is key!
Are Christmas Cherry Balls suitable for those with nut allergies?
Yes! This recipe doesn’t contain nuts, making it a safe choice for nut allergy concerns. However, always check the ingredient labels for cross-contamination, especially in pre-packaged items like sprinkles. If you'd like to customize your mixture, consider using nut-free sprinkles for decoration.
Christmas Cherry Balls: Festive No-Bake Delights
Ingredients
Equipment
Method
- Begin by thoroughly draining the maraschino cherries and patting them dry with paper towels. Finely chop a sufficient amount to measure one-third cup.
- In a large mixing bowl, combine softened unsalted butter and cream cheese. Beat on medium speed until smooth and creamy, about 3 minutes.
- Add the powdered sugar and continue to beat until fluffy and well-combined, approximately 2 minutes.
- Mix in the vanilla extract and almond extract, blending for about 1 minute. Then, pour in the maraschino cherry juice and stir until evenly combined.
- Gently fold in the finely chopped maraschino cherries, crushed vanilla wafer cookies and 1 cup of sweetened shredded coconut until a thick dough forms.
- Cover the mixture with plastic wrap and refrigerate for about 30 minutes to firm up.
- Line a baking pan with parchment paper. In a shallow bowl, mix the remaining sweetened shredded coconut with red and green sprinkles.
- Scoop about 2 tablespoons of the mixture to form each ball, rolling them between your palms.
- Roll each ball in the coconut and sprinkle mixture until covered. Gently press a whole maraschino cherry upright into the top of each ball.
- Refrigerate the coated cherry balls for at least 1 hour to firm up before serving.
- Keep the Christmas Cherry Balls whole until serving. Store them in an airtight container in the refrigerator for up to 4 days.