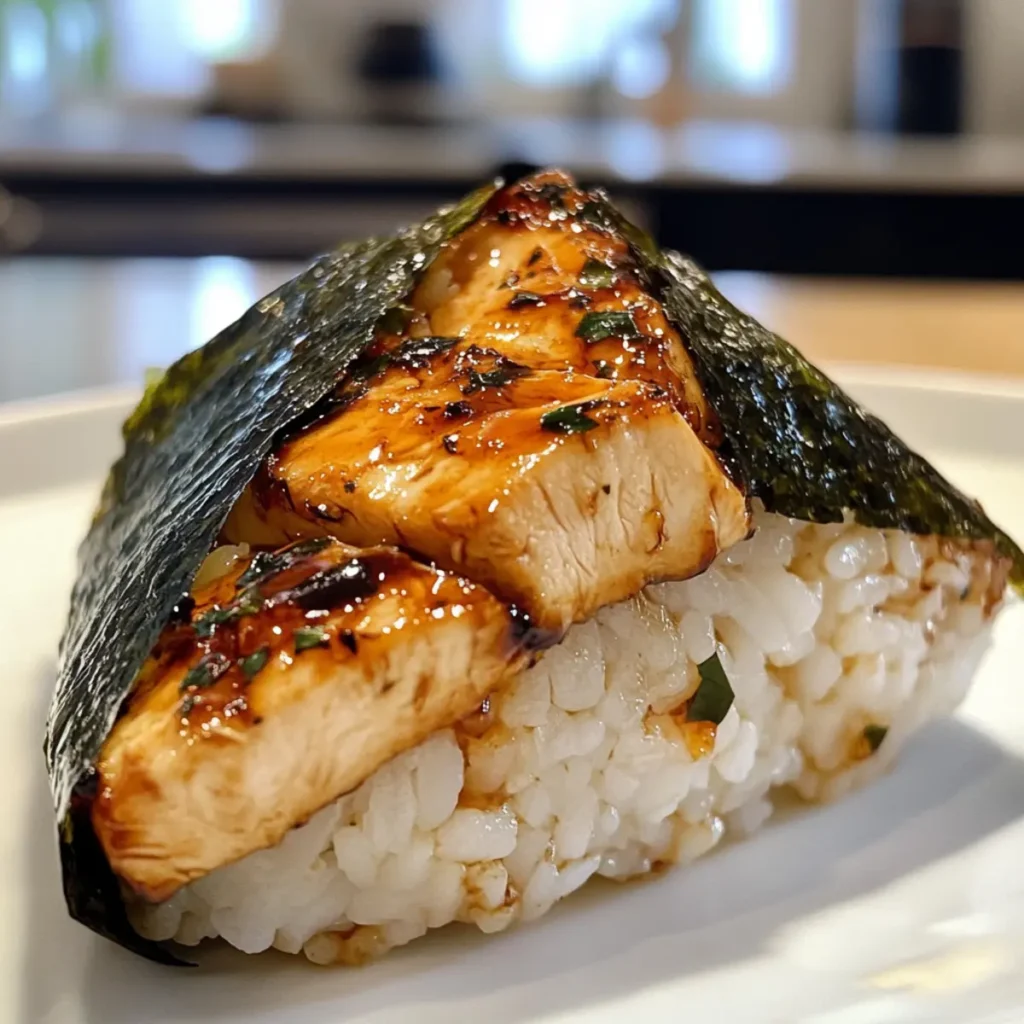
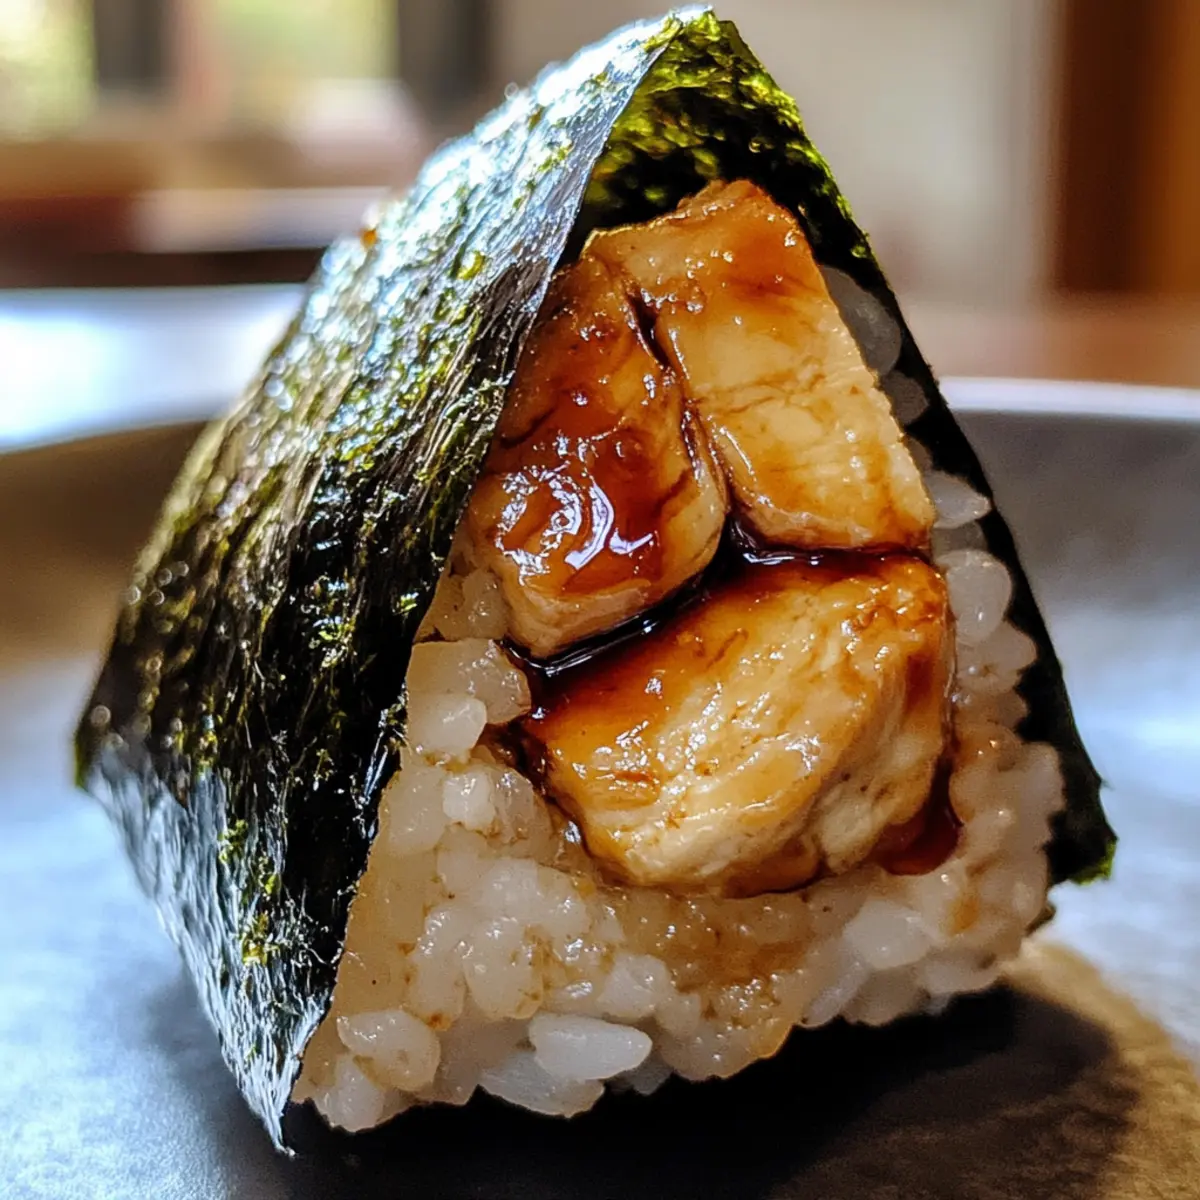
As I stirred the fragrant teriyaki sauce, I couldn’t help but smile at the possibilities that my Savory Chicken Onigiri would bring. This delightful dish is not just a meal; it’s a portable snack bursting with flavor and personality. With just a few simple ingredients, you can create a gluten-free delight that’s easily customizable to suit any taste. Imagine rice balls filled with tender marinated chicken, perfect for lunches on the go or an afternoon snack. Whip them up quickly and impress friends and family with this tasty twist on traditional Japanese cuisine. Are you ready to make these delicious bites that will leave everyone asking for seconds?
Why is Chicken Onigiri a Must-Try?
Flavor-Packed: Each bite of these Savory Chicken Onigiri is a delightful combination of marinated chicken and flavorful sushi rice, creating a satisfying snack experience.
Endless Customization: You can easily swap fillings to cater to your taste—try tofu for a vegetarian option or even spicy tuna for a seafood twist!
Quick and Easy: Perfect for busy days, this recipe is simple to prepare, allowing you to whip up a delicious meal in no time.
Portable Perfection: Ideal for lunchboxes or picnics, these gluten-free snacks are easy to grab and enjoy on the go—no mess, just flavor!
Cultural Experience: Enjoy a taste of Japan with this modern twist on a traditional dish, making it fun and accessible for everyone!
Pair these onigiri with a side of Chicken Ranch Macaroni for a complete meal that’s sure to please.
Chicken Onigiri Ingredients
For the Rice
• Sushi Rice – Use short-grain sushi rice for that perfect sticky texture essential for onigiri.
• Fine Salt – A little boost for the rice’s flavor; don’t skip it!
• Furikake (optional) – This adds an umami finish and extra flavor to the rice.
For the Filling
• Boneless Skinless Chicken – The star protein of your Chicken Onigiri; marinate for tender, juicy bites.
• Soy Sauce – Provides that essential umami flavor to your chicken.
• Sake – Enhances the flavor of the chicken beautifully.
• Baking Soda – A tenderizing agent that ensures your chicken is wonderfully soft.
• Cornstarch – Helps create a lovely glaze as the chicken cooks.
• Mirin – Sweet rice wine that adds depth to the teriyaki flavor profile.
• Brown Sugar – Sweetens the teriyaki sauce, balancing flavors perfectly.
• Oil – Keep it handy for cooking chicken and preventing it from sticking.
• Minced Garlic – Adds a delicious aromatic touch; don’t hold back!
For Assembly
• Nori – This seaweed wrap not only enhances flavor but also makes your onigiri portable.
Indulging in these Chicken Onigiri is a satisfying culinary adventure, one bite at a time.
Step‑by‑Step Instructions for Savory Teriyaki Chicken Onigiri
Step 1: Prepare the Sushi Rice
Begin by rinsing 4 cups of short-grain sushi rice under cold water until the water runs clear. Cook the rice in a rice cooker with 15% more water than usual for perfect stickiness. Once cooked, transfer the warm rice to a large bowl. Sprinkle with ½ teaspoon of fine salt and, if desired, 2 tablespoons of furikake. Gently fold the rice to mix flavors while ensuring it stays warm.
Step 2: Marinate the Chicken
Dice ½ pound of boneless skinless chicken into bite-sized pieces. In a mixing bowl, combine 2 tablespoons soy sauce, 1 tablespoon sake, ½ teaspoon baking soda, and 1 tablespoon cornstarch. Add the diced chicken, ensuring it’s well coated, and let it marinate for 30 minutes. This step is crucial for infusing flavor and achieving tenderness in your Chicken Onigiri.
Step 3: Prepare Teriyaki Sauce
In a small bowl, whisk together 2 tablespoons soy sauce, 2 tablespoons mirin, and 1 tablespoon brown sugar until well combined. Set this teriyaki sauce aside for later. The mix should be slightly thick and glossy, promising a delicious coating for your chicken, contributing to the savory notes of your Savory Chicken Onigiri.
Step 4: Cook the Chicken
Heat 1 tablespoon of oil in a large skillet over medium-high heat. Once the oil shimmers, add the marinated chicken. Cook the chicken for 2 to 3 minutes, stirring frequently, until it turns golden brown. The pieces should be cooked through and no longer pink. This step seals in the flavors, making the chicken perfectly succulent for your onigiri.
Step 5: Add Garlic and Sauce
Reduce the heat to medium and add 2 cloves of minced garlic to the skillet, sautéing for about 30 seconds until fragrant. Pour in the prepared teriyaki sauce, stirring the chicken to coat completely. Let the mixture simmer for 2 to 3 minutes, allowing the sauce to thicken slightly. This glaze will enrich the flavor profile of your Chicken Onigiri.
Step 6: Shape Onigiri
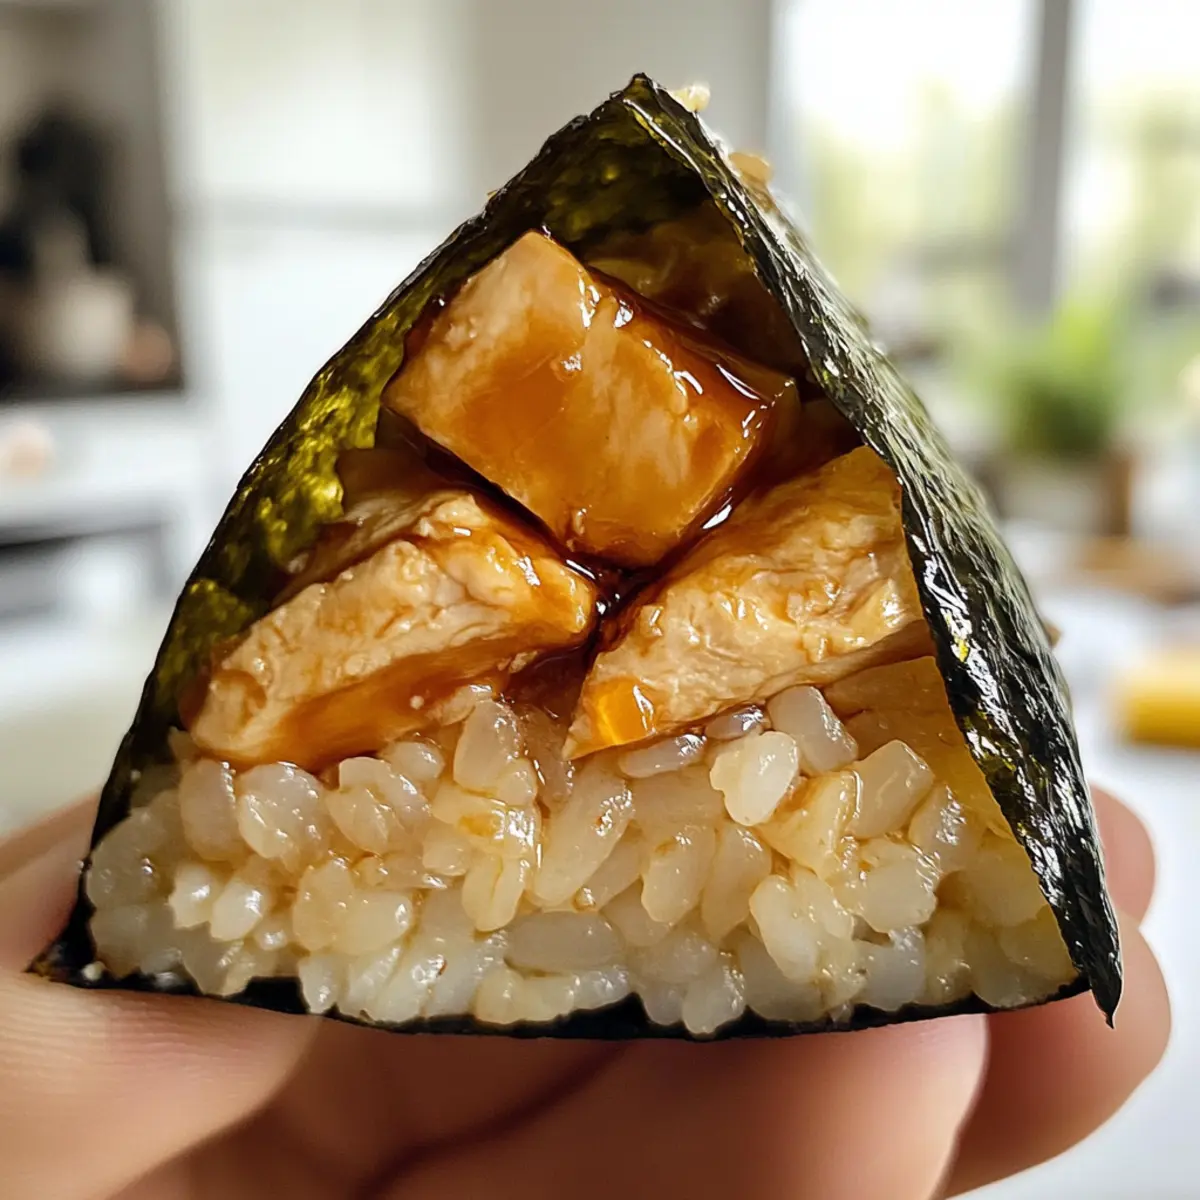
Wet your hands with water to prevent sticking, then take about ⅓ cup of sushi rice and mold it into a rounded shape. Create a small well in the center and spoon in 1 tablespoon of the cooked chicken mixture. Cover the filling with more sushi rice, pressing gently to form a triangular shape. This technique ensures that each Chicken Onigiri is filled and compact.
Step 7: Wrap and Serve
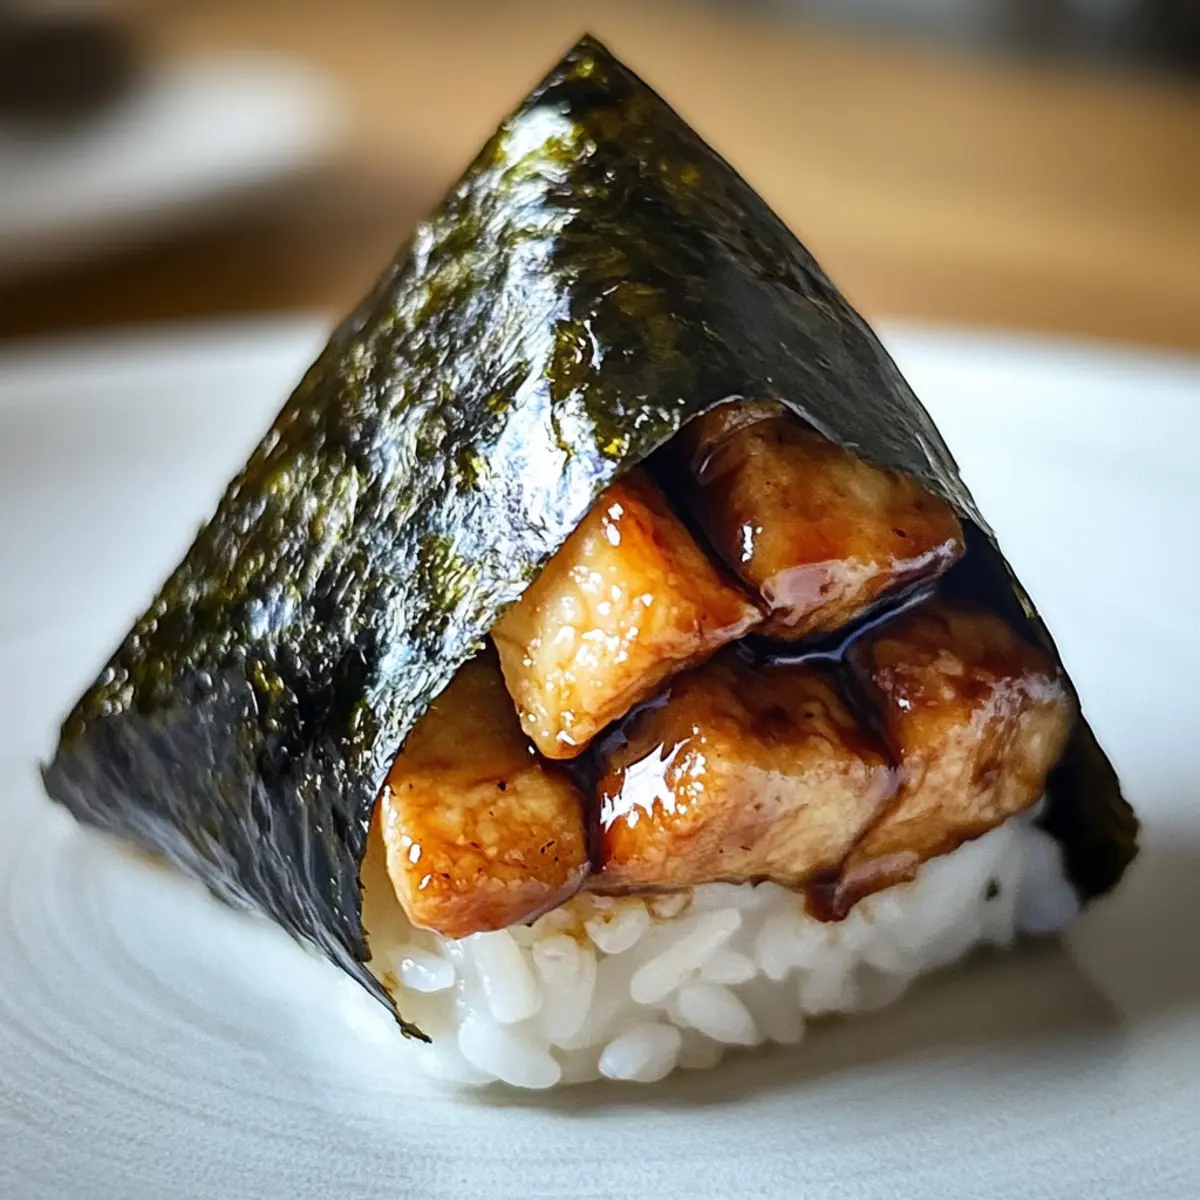
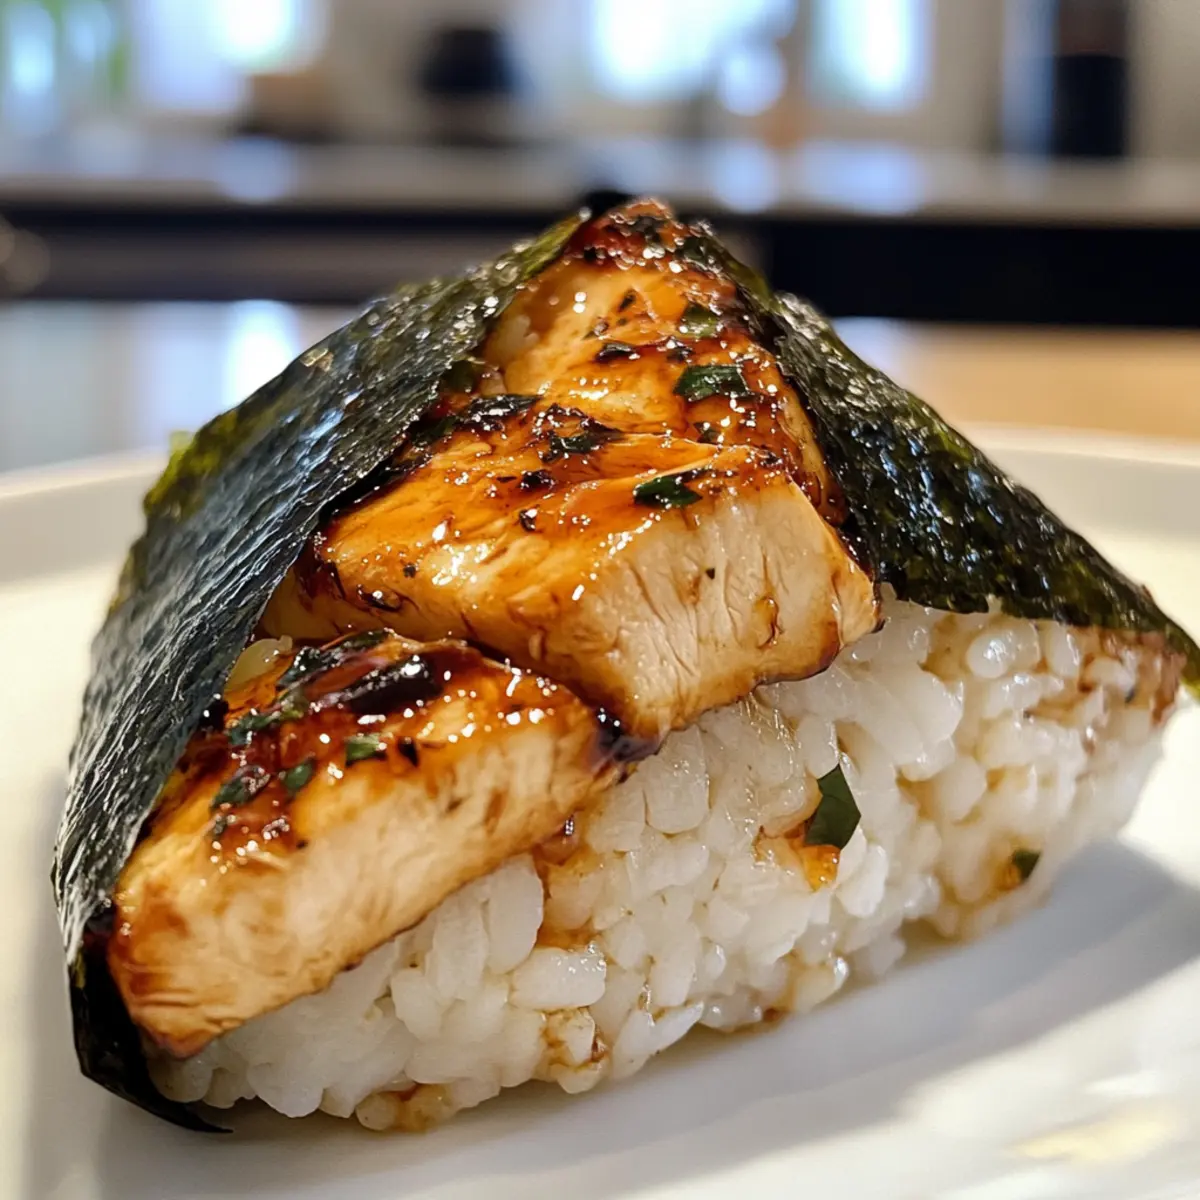
To finish, wrap each formed onigiri with a strip of nori, which adds flavor and makes them easy to handle. Let the onigiri rest for a few minutes to firm up before serving. This step not only enhances its portability but also allows the flavors to meld beautifully. Your delightful Savory Chicken Onigiri is now ready to be enjoyed!
What to Serve with Savory Chicken Onigiri
Creating a delightful meal experience is all about pairing, and these onigiri are the perfect centerpiece for a spread of delicious accompaniments.
- Refreshing Cucumber Salad: Crisp, cool cucumber salad with a light sesame dressing adds a refreshing crunch that contrasts beautifully with the rich teriyaki flavors.
- Miso Soup: A warm bowl of miso soup brings comforting umami, harmonizing perfectly with the savory notes of the chicken onigiri.
- Edamame Beans: Steamed and lightly salted edamame provides a delightful texture and protein boost, making it a simple yet satisfying side.
- Pickled Vegetables: Tangy pickles enhance your meal with a burst of flavor, balancing the richness of the chicken and providing a palate-cleansing bite.
- Teriyaki Brussels Sprouts: Roasted brussels sprouts drizzled with a sweet teriyaki glaze echo the savory chicken while providing a hearty vegetable option.
- Fruit Skewers: Light and sweet fruit skewers, perhaps with pineapple and melon, add a refreshing brightness that complements the meal beautifully.
- Green Tea: Pair with a chilled cup of green tea for a refreshing, subtle flavor that ties the whole meal together.
- Mochi Ice Cream: Serve a dessert of mochi ice cream for a sweet, chewy finish that contrasts with the savory chicken onigiri.
Chicken Onigiri Variations & Substitutions
Feel free to get creative with your Chicken Onigiri—there’s no limit to how you can customize them!
-
Vegetarian Option: Substitute marinated chicken with diced, pan-fried tofu for a delicious meatless twist. This alternative is not only tasty but also packed with protein.
-
Seafood Surprise: Experiment by filling your onigiri with cooked shrimp or spicy tuna for a fresh, ocean-inspired take. The seafood adds a new layer of flavor that pairs nicely with teriyaki sauce.
-
Crunchy Texture: Mix in toasted sesame seeds with your sushi rice for an added crunch and nutty flavor that will elevate your onigiri experience.
-
Extra Spice: For those who love heat, drizzle in some sriracha or a touch of chili oil before sealing your onigiri. It’s an easy way to kick up the flavor profile!
-
Herb-Infused Rice: Amp up the flavor by infusing your sushi rice with finely grated ginger or wasabi. Adding fresh herbs makes each bite delightfully aromatic.
-
Health-Conscious Wrap: Instead of traditional nori, try wrapping your onigiri in lettuce leaves for a lighter, fresh alternative. This is perfect for those watching their carbs.
-
Sauce Variations: Going beyond teriyaki, consider using a hoisin glaze or even a tangy sweet-and-sour sauce for a different flavor adventure.
-
Grilled Option: For smoky richness, grill your chicken pieces instead of pan-searing. This adds a delightful char that enhances the overall taste of your Chicken Onigiri.
While you’re enjoying making these onigiri, why not pair them with a side of Garlic Butter Chicken to round off your meal? The combination is sure to impress!
Make Ahead Options
These Savory Chicken Onigiri are perfect for busy home cooks looking to save time during the week! You can prepare the sushi rice and marinate the chicken up to 24 hours in advance. Simply cook the rice, season it with salt and optional furikake, then let it cool before storing it in an airtight container in the refrigerator. As for the chicken, marinate it and store it in the same container for optimal flavor retention. When you’re ready to serve, cook the marinated chicken, shape the onigiri with the prepared rice, wrap them in nori, and they’ll be just as delicious as if made fresh! Meal prep made easy!
How to Store and Freeze Chicken Onigiri
- Fridge: Store your Chicken Onigiri in an airtight container for up to 2 days. Wrap each onigiri individually in plastic wrap to maintain freshness.
- Freezer: For long-term storage, wrap tightly in plastic wrap and then in foil, or place in a zip-top bag. Frozen onigiri can last up to 1 month.
- Reheating: Thaw overnight in the fridge before reheating. To bring back the delightful texture, steam or microwave on low power until warmed through.
Expert Tips for Savory Chicken Onigiri
- Perfect Rice: Ensure you use short-grain sushi rice for optimal stickiness; regular rice won’t achieve the desired texture for your Chicken Onigiri.
- Marination Matters: Allow the chicken to marinate for at least 30 minutes to enhance flavor and tenderness; don’t rush this step!
- Wet Hands: Keep your hands damp while shaping the onigiri to avoid the rice sticking, making the shaping easier and cleaner.
- Rest Time: After shaping, let the onigiri sit for a few minutes before serving to help them hold their form and intensify the flavors.
- Creative Filling: Experiment with different fillings like tofu or shrimp for a refreshing twist on your Chicken Onigiri—there’s no wrong way to savor these treats!
Savory Teriyaki Chicken Onigiri Recipe FAQs
How do I select the best sushi rice for onigiri?
Absolutely! For the best results, use short-grain sushi rice, which is essential for that perfect sticky texture that holds the onigiri together. Look for rice labeled specifically for sushi; it has the right amount of starch. Rinsing the rice under cold water until the water runs clear will also help achieve that ideal consistency.
What’s the best way to store leftover onigiri?
Very! Store your leftover Chicken Onigiri in an airtight container in the fridge for up to 2 days. To keep them fresher, wrap each onigiri individually in plastic wrap before placing them in the container. This prevents them from drying out or absorbing odors from the fridge.
Advertisement
Can I freeze Chicken Onigiri? How?
Absolutely! To freeze your Chicken Onigiri, wrap each one tightly in plastic wrap, then in foil, or place them in a zip-top freezer bag. This keeps them fresh for up to 1 month. When you’re ready to enjoy them again, thaw overnight in the fridge and gently steam or microwave on low power until warmed through.
What if my chicken is dry after cooking?
Don’t worry! If your Chicken Onigiri comes out dry, it could be due to overcooking or not marinating long enough. To prevent this next time, ensure your chicken is well-marinated for at least 30 minutes, which adds flavor and moisture. Additionally, watch the cooking time closely; chicken should be golden brown but still juicy!
Is this recipe suitable for gluten-free diets?
Yes, indeed! To ensure your Chicken Onigiri is gluten-free, simply use gluten-free soy sauce as a substitute when marinating the chicken and in the teriyaki sauce. This way, you can enjoy the delicious flavors without any worries about gluten sensitivities.
Can I use different fillings for the onigiri?
The more the merrier! You can definitely swap the chicken for marinated tofu for a vegetarian option. Other filling ideas include cooked shrimp or spicy tuna. Just remember to keep the filling moist so that it complements the sushi rice perfectly. Enjoy experimenting with flavors and fillings that suit your taste!
Savory Chicken Onigiri: Your New Favorite Portable Snack
Ingredients
Equipment
Method
- Rinse sushi rice under cold water until clear. Cook in rice cooker with 15% more water.
- Transfer rice to a bowl, sprinkle with salt and furikake, and fold gently.
- Dice chicken, mix with soy sauce, sake, baking soda, and cornstarch. Marinate for 30 minutes.
- Whisk together soy sauce, mirin, and brown sugar for teriyaki sauce. Set aside.
- Heat oil in skillet, add marinated chicken, and cook until golden brown (2-3 minutes).
- Add garlic and teriyaki sauce to chicken, simmer until sauce thickens (2-3 minutes).
- Wet hands, take ⅓ cup of rice, mold into a shape, fill with chicken, cover with rice.
- Wrap onigiri with nori and let them rest before serving.