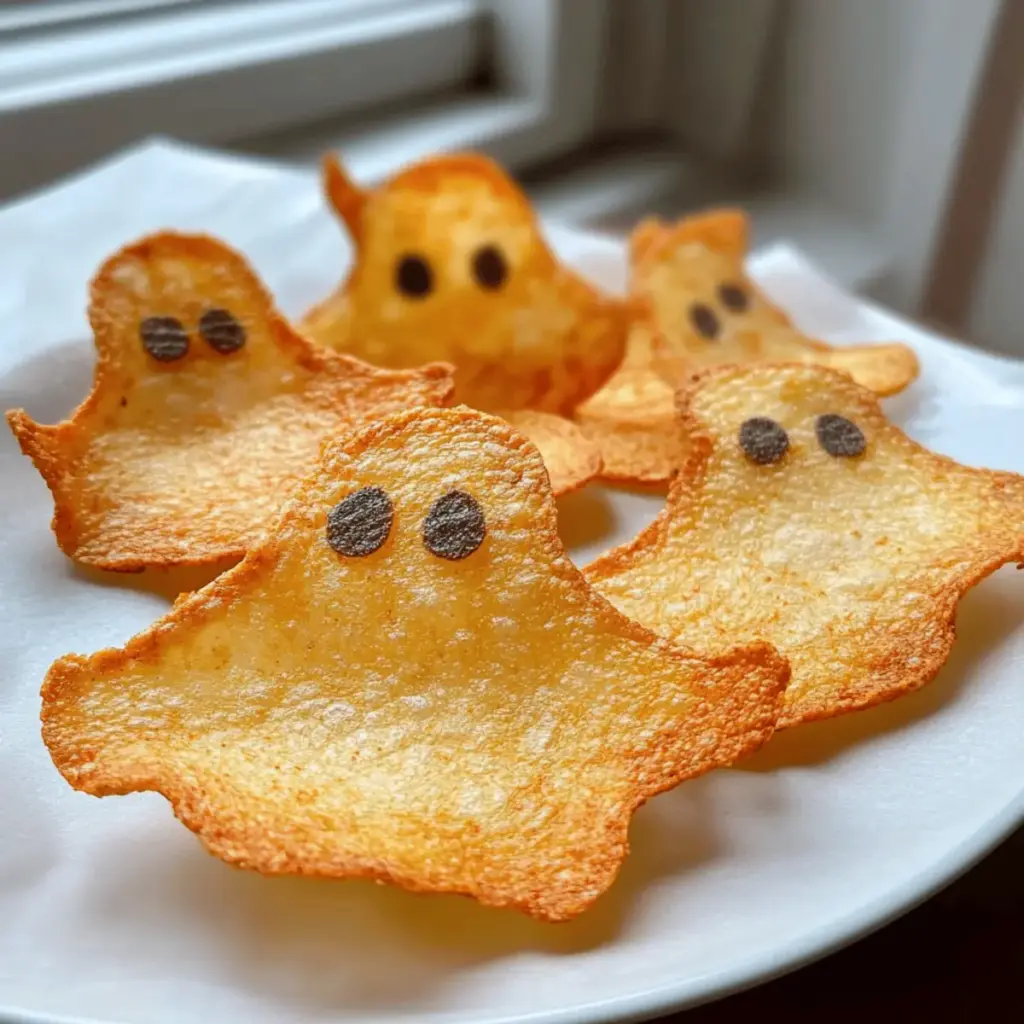
As the autumn leaves swirl around outside, I’m reminded of the magical thrill of Halloween. One of my favorite low-key traditions is whipping up a batch of these 20-Minute Spooky Baked Halloween Ghost Chips. Crafted from wholesome sweet potatoes, these delightfully crispy snacks are not just gluten-free and paleo; they bring an irresistible fun factor to any gathering. In no time at all, you can treat your friends and family to a playful, yet healthy alternative to store-bought snacks that everyone will love. With just a handful of ingredients, the prep is a breeze, making these ghostly chips perfect for impromptu parties or cozy movie nights. So, are you ready to transform snack time into a whimsical adventure? Let’s dive into this frightfully delicious recipe!
Why Will You Love These Ghost Chips?
Crispy Texture: The light and airy nature of these chips ensures a satisfying crunch that rivals traditional snacks.
Quick and Easy: Made in just 20 minutes, you can whip these up last minute for an unexpected gathering or a cozy night in, bringing effortless fun to your festivities.
Wholesome Ingredients: Crafted from sweet potatoes and simple spices, these chips are gluten-free and paleo, catering to healthier snacking routines without sacrificing flavor.
Versatile Pairing: Serve them with your favorite dips like guacamole or salsa for a spooky twist that elevates both flavor and fun at your Halloween party. If you’re looking for more delicious ideas, check out my Baked Feta Pasta for another healthier option!
Family-Friendly Fun: Kids and adults alike will love both the taste and the playful ghost shapes, making these chips a hit at any gathering.
Get ready to delight everyone with this charmingly spooky snack!
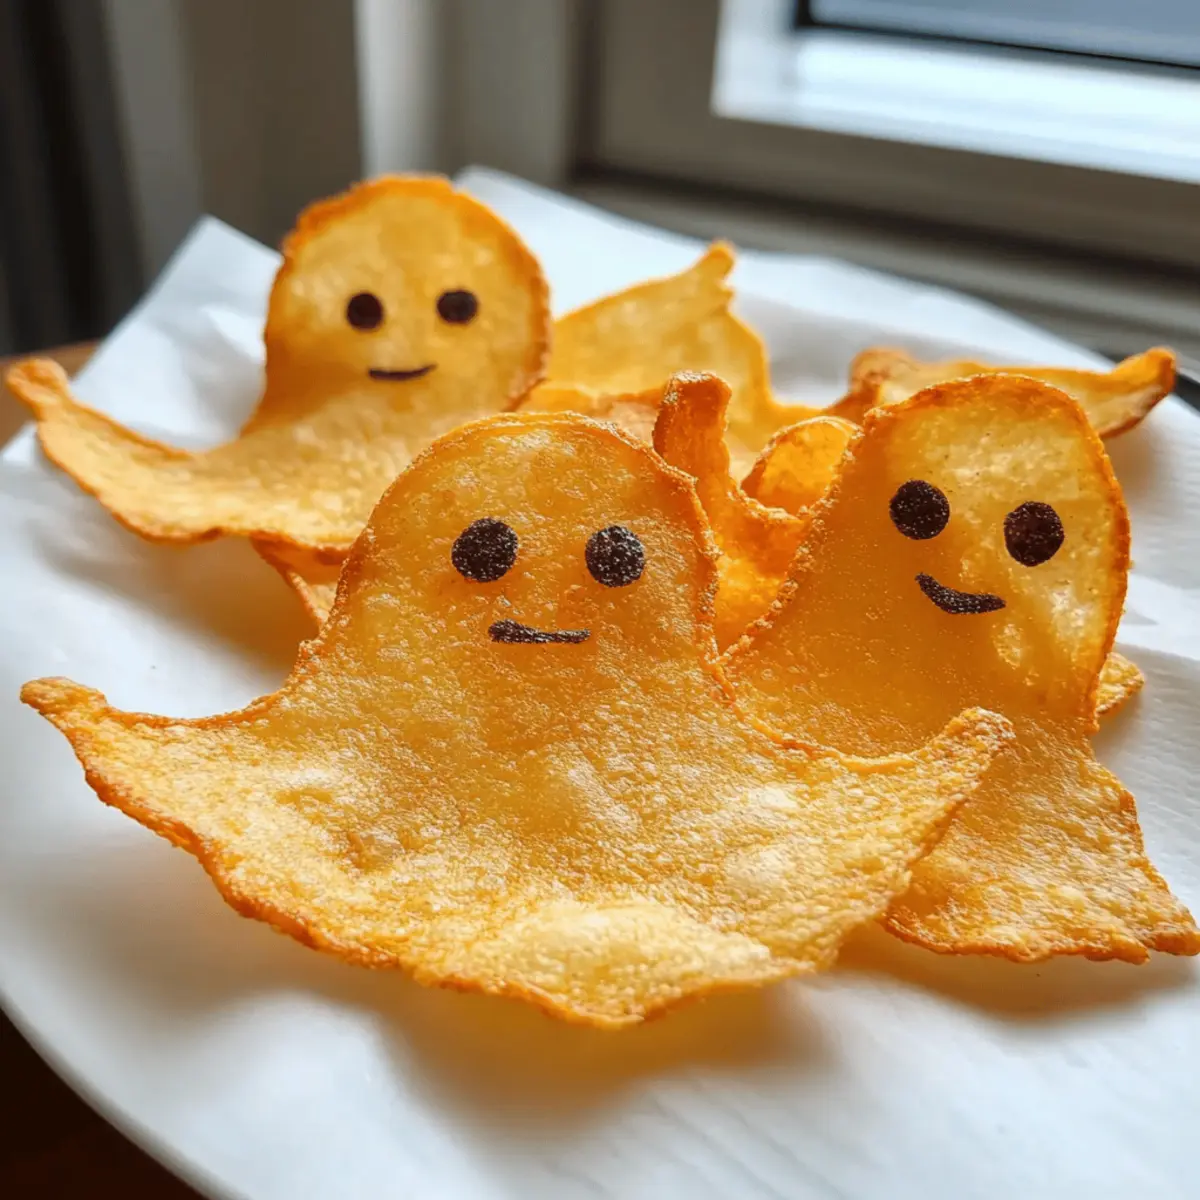
Baked Halloween Ghost Chips
• Perfectly festive and gluten-free!
For the Chips
- White Sweet Potatoes – The main ingredient that creates a deliciously crispy chip; you can substitute with orange sweet potatoes for a different flavor.
- Olive Oil – Adds essential moisture and aids in crispiness; avocado oil can be used for a unique twist.
- Garlic Powder – Gives the chips a savory depth; fresh minced garlic works well in half the amount.
- Onion Powder – Provides mild sweetness; consider onion salt as a substitute while adjusting salt levels.
- Salt – Enhances the overall flavor profile, making each chip delectable.
- Black Pepper – Adds a hint of heat; cayenne pepper can amplify the spice for a more zesty snack.
For Serving
- Dips (optional) – Pair with guacamole or salsa for a delicious, spooky snack experience; don’t forget, these baked Halloween ghost chips shine on their own, too!
Step‑by‑Step Instructions for Baked Halloween Ghost Chips
Step 1: Preheat the Oven
Start by preheating your oven to 375°F (190°C), which is crucial for achieving those wonderfully crispy baked Halloween ghost chips. While the oven warms up, gather your equipment, including a baking sheet and parchment paper to set the stage for your ghostly treats.
Step 2: Slice the Sweet Potatoes
Next, take your white sweet potatoes and slice them into thin rounds, aiming for about 1/8-inch thickness. A mandoline will provide the most uniform cuts, ensuring even baking. This step is essential to create that perfect texture—each slice should be thin enough to become crispy but not so thin that it burns.
Step 3: Cut Out Ghost Shapes
Using a ghost-shaped cookie cutter, carefully cut out your ghost shapes from the potato rounds. Remember to save the scraps; you can roast them later for a delicious snack. This whimsical form adds a playful charm to your Halloween gathering, making each chip delightful and fun!
Step 4: Season the Ghosts
In a large bowl, toss your ghost shapes with olive oil, garlic powder, onion powder, salt, and black pepper until they are lightly coated. Ensure that each chip gets an even distribution of the seasoning, which helps infuse the flavors throughout your baked Halloween ghost chips. This is where the magic of flavor begins!
Step 5: Arrange on Baking Sheet
Lay the seasoned ghost shapes in a single layer on a parchment-lined baking sheet, ensuring they do not overlap. This arrangement allows for even airflow and crispiness, making certain your ghost chips will come out perfectly golden. Visualize those delightful snacks lining your tray, ready for baking!
Step 6: Bake for Crunchiness
Pop the baking sheet into the preheated oven and bake the ghost chips for 10 minutes. After that, flip them over and return them to the oven for an additional 10-15 minutes. Keep an eye on them towards the end; they should turn a lovely golden color and become irresistibly crispy.
Step 7: Cool for Optimal Crispiness
Once baked, remove the baking sheet from the oven and allow the ghost chips to cool completely on the sheet. This step is vital; cooling ensures they reach that crunchy texture everyone loves. As they cool, the flavors will deepen, making your baked Halloween ghost chips even more enjoyable to munch on!
Expert Tips for Baked Halloween Ghost Chips
-
Uniform Slices: Use a mandoline to ensure even slices for consistent cooking; uneven cuts may lead to some chips being burnt while others are undercooked.
-
Flavor Infusion: Drizzle the seasoning on the oil first before tossing with the sweet potato; this helps distribute the flavors evenly across your baked Halloween ghost chips.
-
Gentle Handling: When flipping the chips halfway through baking, use a thin spatula to avoid breaking your delicate ghost shapes.
-
Parchment Perks: Always line your baking sheet with parchment paper for optimal crispiness and to prevent any sticking—it’s a game-changer!
-
Cool Completely: Let the ghost chips cool entirely on the baking sheet; this ensures they harden up perfectly instead of getting soggy during storage.
What to Serve with 20-Minute Spooky Baked Ghost Chips
As you gather around for Halloween festivities, elevate your snacking experience with delightful pairings that will charm your guests.
-
Creamy Guacamole: This rich dip brings a luscious contrast to the crispy chips, with flavors of avocado and lime that dance delightfully together.
-
Spicy Salsa: The zesty kick and freshness of the salsa enliven each ghost chip, creating a mouthwatering combination that’s perfect for sharing.
-
Savory Hummus: Smooth and creamy, hummus adds a savory touch, complementing the sweet potato flavor while providing a delightful, healthful option for dipping.
-
Roasted Pumpkin Seeds: These crunchy, nutty morsels provide a festive feel, adding an autumnal crunch that pairs beautifully with the lightness of the ghost chips.
-
Apple Slices with Nut Butter: The refreshing sweetness of crisp apples, paired with nut butter, offers a delightful contrast, perfect for balancing savory snacking.
-
Crisp Salad: A refreshing green salad topped with seasonal veggies provides a lovely textural contrast while keeping the meal light and wholesome.
-
Sparkling Water with Lime: For a refreshing drink, serve sparkling water with a splash of lime juice. The bubbles add excitement to your gathering while keeping things light!
-
Warm Apple Cider: Elevate the cozy factor with a warm cup of spiced apple cider—a comforting holiday drink that echoes the fall season beautifully.
Variations & Substitutions for Baked Halloween Ghost Chips
Get ready to unleash your creativity with these playful twists on the original recipe!
-
Parsnips: Swap sweet potatoes for parsnips for a slightly sweeter, earthier flavor that’s just as fun!
-
Avocado Oil: Use avocado oil instead of olive oil for a rich, buttery flavor while keeping it healthy.
-
Fresh Garlic: Replace garlic powder with fresh minced garlic for a bolder, more aromatic taste; just use half the amount for balance.
-
Onion Salt: If you’re out of onion powder, onion salt works well—just be mindful of adjusting the added salt!
-
Smoked Paprika: Want to add some zest? Sprinkle smoked paprika over the chips before baking for a deliciously smoky flavor.
-
Cinnamon Sprinkle: For a unique twist, consider sprinkling a light dusting of cinnamon instead of pepper, creating a subtly sweet version everyone will adore.
-
Pumpkin Spice: Embrace the fall season by adding a pinch of pumpkin spice to your seasoning mix for an aromatic, festive touch.
-
Cayenne Pepper: Feeling bold? Spice things up with cayenne pepper instead of black pepper for a little heat that elevates your spooky snack!
These variations and substitutions offer exciting twists that celebrate the essence of Halloween while keeping things fun and delicious. And if you’re in the mood for more festive recipes, don’t forget to check out my Baked Brie Honey for a delightful treat, or my cheesy Chicken Stuffed Baked Potatoes for an ultimate comfort food option!
Make Ahead Options
These 20-Minute Spooky Baked Halloween Ghost Chips are perfect for meal prep, allowing you to enjoy festive snacking without the last-minute rush! You can slice the sweet potatoes and cut out the ghost shapes up to 24 hours in advance. Simply store them in an airtight container, separated by parchment paper to prevent sticking. For an extra flavor boost, toss your ghost-shaped slices with olive oil and seasonings, and refrigerate them until you’re ready to bake. When you’re ready to enjoy, just arrange them on a baking sheet and bake as directed—this will ensure they remain just as delicious and crispy as if made fresh!
Storage Tips for Baked Halloween Ghost Chips
Room Temperature: Store leftover ghost chips in a well-ventilated container for up to 3 days. This helps maintain their crispy texture.
Fridge: If you’d like to keep them longer, store in the fridge for up to a week; however, they may lose some crispness. Reheat before serving.
Freezer: For long-term storage, freeze the baked Halloween ghost chips in an airtight container for up to 2 months. Reheat from frozen at 300°F for about 10 minutes until crispy again.
Reheating: To revive stale chips, place them in a preheated oven at 300°F for 5-10 minutes. This will restore their delightful crunch!
Advertisement
Baked Halloween Ghost Chips Recipe FAQs
What type of sweet potatoes should I use for the chips?
Absolutely! While white sweet potatoes are the main ingredient for these chips, you can easily substitute them with orange sweet potatoes for a slightly sweeter flavor. Both options yield deliciously crispy ghost chips!
How should I store leftover ghost chips?
For the best results, allow the baked Halloween ghost chips to cool completely before transferring them to a well-ventilated container. They can be stored at room temperature for up to 3 days. If you’d like to keep them longer, you can refrigerate them for up to a week, but be aware they may lose some crispiness, so remember to reheat before serving!
Can I freeze these ghost chips for later use?
Yes! If you want to store the baked Halloween ghost chips for an extended period, you can freeze them. Place the cooled chips in an airtight container or a zip-top freezer bag, ensuring to remove as much air as possible. They can be frozen for up to 2 months. When you’re ready to enjoy them again, simply reheat them from frozen in a preheated oven at 300°F for about 10 minutes until crisp.
What should I do if my ghost chips aren’t crispy after baking?
If your ghost chips turn out a bit soft, there are a couple of tricks you can try. First, ensure that the sweet potato slices were cut uniformly to promote even cooking. You can also try placing the baking sheet back in the oven for another 5-10 minutes, keeping a close eye to avoid burning. Lastly, let them cool completely on the baking sheet after baking; this helps them firm up even more!
Are there any dietary considerations I should be aware of?
These baked Halloween ghost chips are gluten-free and paleo-friendly! However, if you’re serving them to guests with allergies or dietary restrictions, double-check that the olive oil and spices you choose are safe for their needs. For pets, avoid sharing chips with dogs or cats, as the seasoning may not be suitable for them. Always prioritize their safety while snacking!

Crispy Baked Halloween Ghost Chips for a Spooky Snack Delight
Ingredients
Equipment
Method
- Preheat your oven to 375°F (190°C). Gather a baking sheet and parchment paper.
- Slice the sweet potatoes into thin rounds, about 1/8-inch thickness.
- Cut out ghost shapes with a cookie cutter from the potato rounds.
- Toss ghost shapes with olive oil, garlic powder, onion powder, salt, and black pepper in a large bowl.
- Lay the seasoned ghost shapes in a single layer on a parchment-lined baking sheet.
- Bake for 10 minutes, then flip and bake for another 10-15 minutes until golden.
- Allow the chips to cool completely on the sheet before serving.