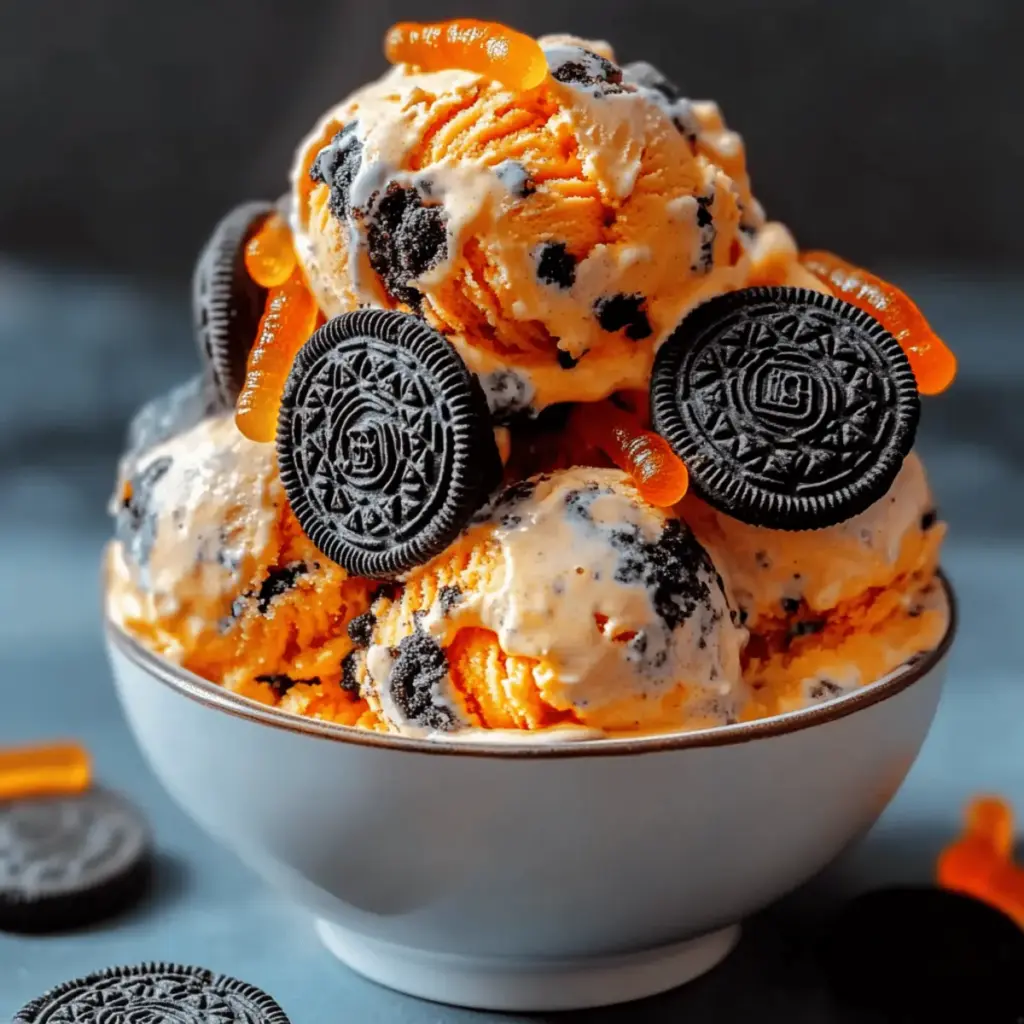
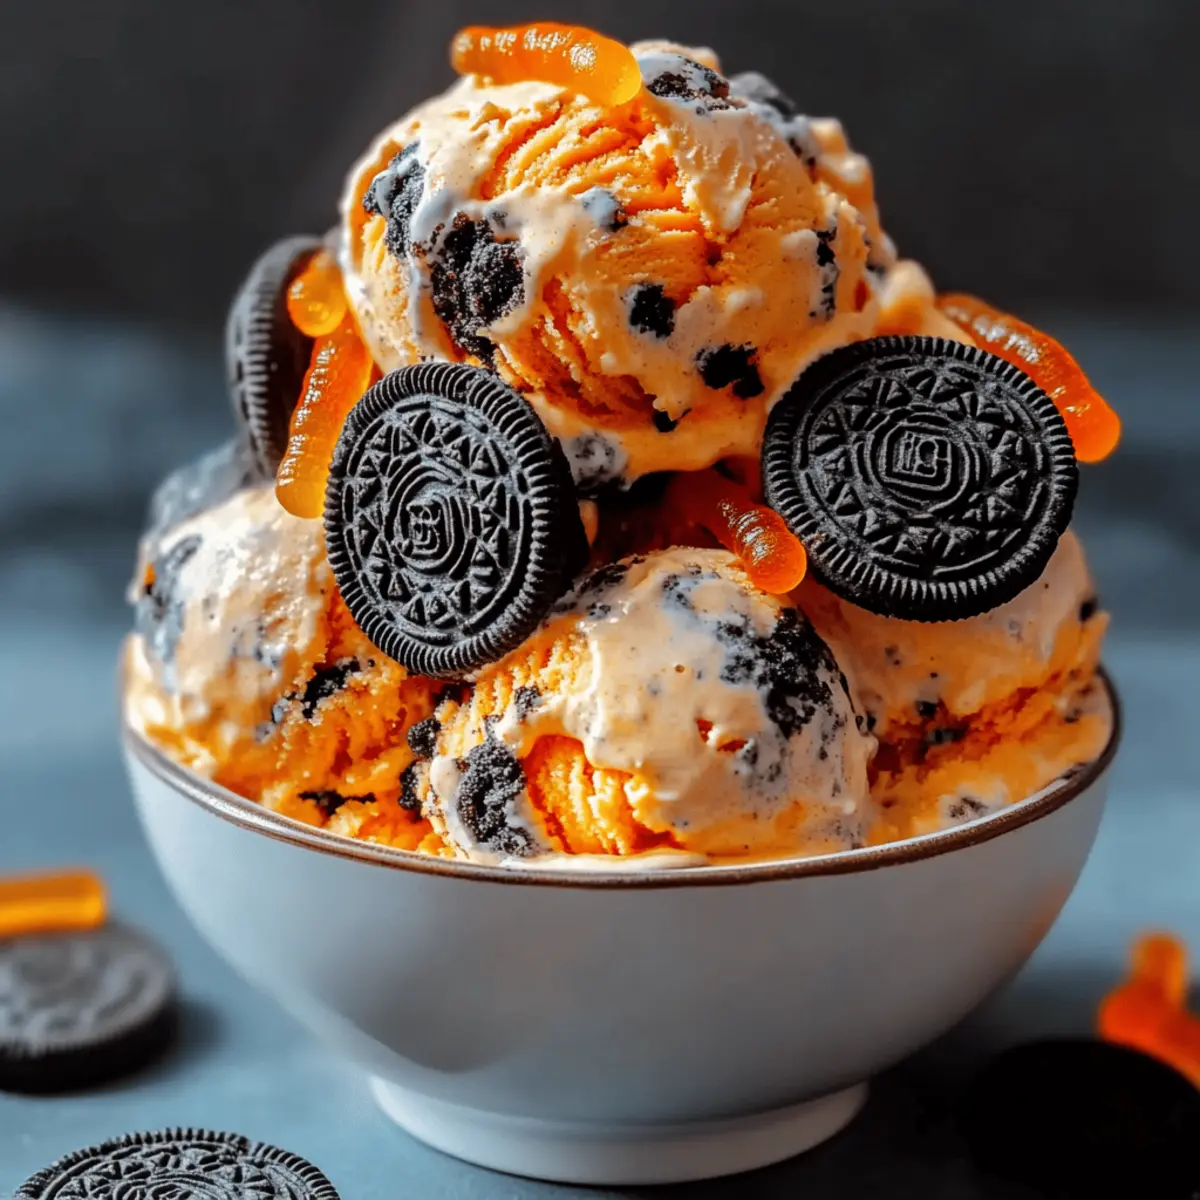
As I dipped my spoon into a bowl of vibrant orange sweetness, I couldn’t help but smile at the unexpected delight before me: No-Churn Halloween Ice Cream. This whimsical treat captures that unmistakable cookies-and-cream flavor and turns it into a spooky dessert perfect for Halloween. Best of all, it requires no ice cream machine, making it a breeze to whip up for last-minute celebrations. With creamy, dreamy bites and surprising crunches from Oreo bits, it’s a refreshing twist on traditional ice cream that will thrill both kids and adults alike. So, whether you’re hosting a Halloween party or simply looking for a fun way to celebrate the season, this ice cream is bound to impress. Ready to create some hauntingly good memories with a scoop of festive fun? Let’s dive in!
Why Make Halloween Ice Cream?
Irresistible Fun: This No-Churn Halloween Ice Cream is a captivating treat that adds a splash of color and excitement to any spooky gathering.
Easy to Make: Perfect for both novice and seasoned chefs, it requires no ice cream machine and minimal effort—whip, mix, freeze, and enjoy!
Kid-Friendly Appeal: Kids will love the vibrant orange color and gummy worm garnish, making it a hit at Halloween parties or gatherings.
Creamy Texture: With a balance of rich creaminess and crunchy Oreo bits, each bite feels indulgent and satisfying, just like traditional ice cream.
Versatile Treat: Feeling creative? Switch up the cookies or mix in festive toppings for a personalized touch. Serve it alongside a warm dessert like Air Fryer Apple Fritters for an unforgettable experience!
Halloween Ice Cream Ingredients
For the Ice Cream Base
- Heavy Whipping Cream – Adds richness and volume to the ice cream; ensure it’s very cold for the best texture.
- Sweetened Condensed Milk – Serves as the sweetener, providing that creamy goodness; no substitutions recommended.
- Vanilla Extract – Enhances the flavor; feel free to swap with other extracts for a unique twist.
- Orange Gel Food Coloring – Gives this Halloween ice cream its vibrant hue; use gel for a bold color and avoid liquid, which can dilute.
For the Crunch
- Crushed Oreo Cookies – Infuses the classic cookies-and-cream flavor; substitute with chocolate cookies if desired for a different taste.
For the Topping
- Gummy Worms – Add a playful, spooky touch as a garnish; optional and can be replaced with candy eyeballs or fun Halloween sprinkles.
Step‑by‑Step Instructions for Halloween Ice Cream
Step 1: Whip the Cream
In a large mixing bowl, pour in the chilled heavy whipping cream and beat it with an electric mixer on high speed. Continue whipping until stiff peaks form, which should take about 3–5 minutes. The cream is ready when it holds its shape and looks fluffy. This vital step sets the creamy base for your delightful Halloween Ice Cream.
Step 2: Prepare the Base
In a separate bowl, whisk together the sweetened condensed milk, vanilla extract, and a few drops of orange gel food coloring. Mix until everything is thoroughly combined and has an even, vibrant orange hue. This flavorful mixture will complement the whipped cream perfectly, creating a festive and creamy cake that captures the Halloween spirit.
Step 3: Combine Mixtures
Gently add the whipped cream to the orange mixture in the second bowl. Use a spatula to fold the whipped cream in carefully; do this until just combined to avoid deflating the fluffy texture you’ve created. This luminous blend will become the heart of your Halloween Ice Cream, ensuring every bite is light and airy with a rich flavor.
Step 4: Add Cookies
Fold in the crushed Oreo cookies, stirring gently to distribute the chocolaty bites throughout the ice cream mixture. Reserve some crushed Oreos for topping later, if desired. This adds that iconic cookies-and-cream crunch that makes this Halloween Ice Cream so delightful. You want the cookies evenly dotted throughout the mixture for the best texture.
Step 5: Freeze
Pour the entire mixture into a loaf pan and smooth the top with your spatula. Cover the pan tightly with plastic wrap or a lid, then place it in the freezer. Leave it to freeze for at least 6 hours or, preferably, overnight until solid. This will give your Halloween Ice Cream the perfect consistency, ready for scooping.
Step 6: Serve
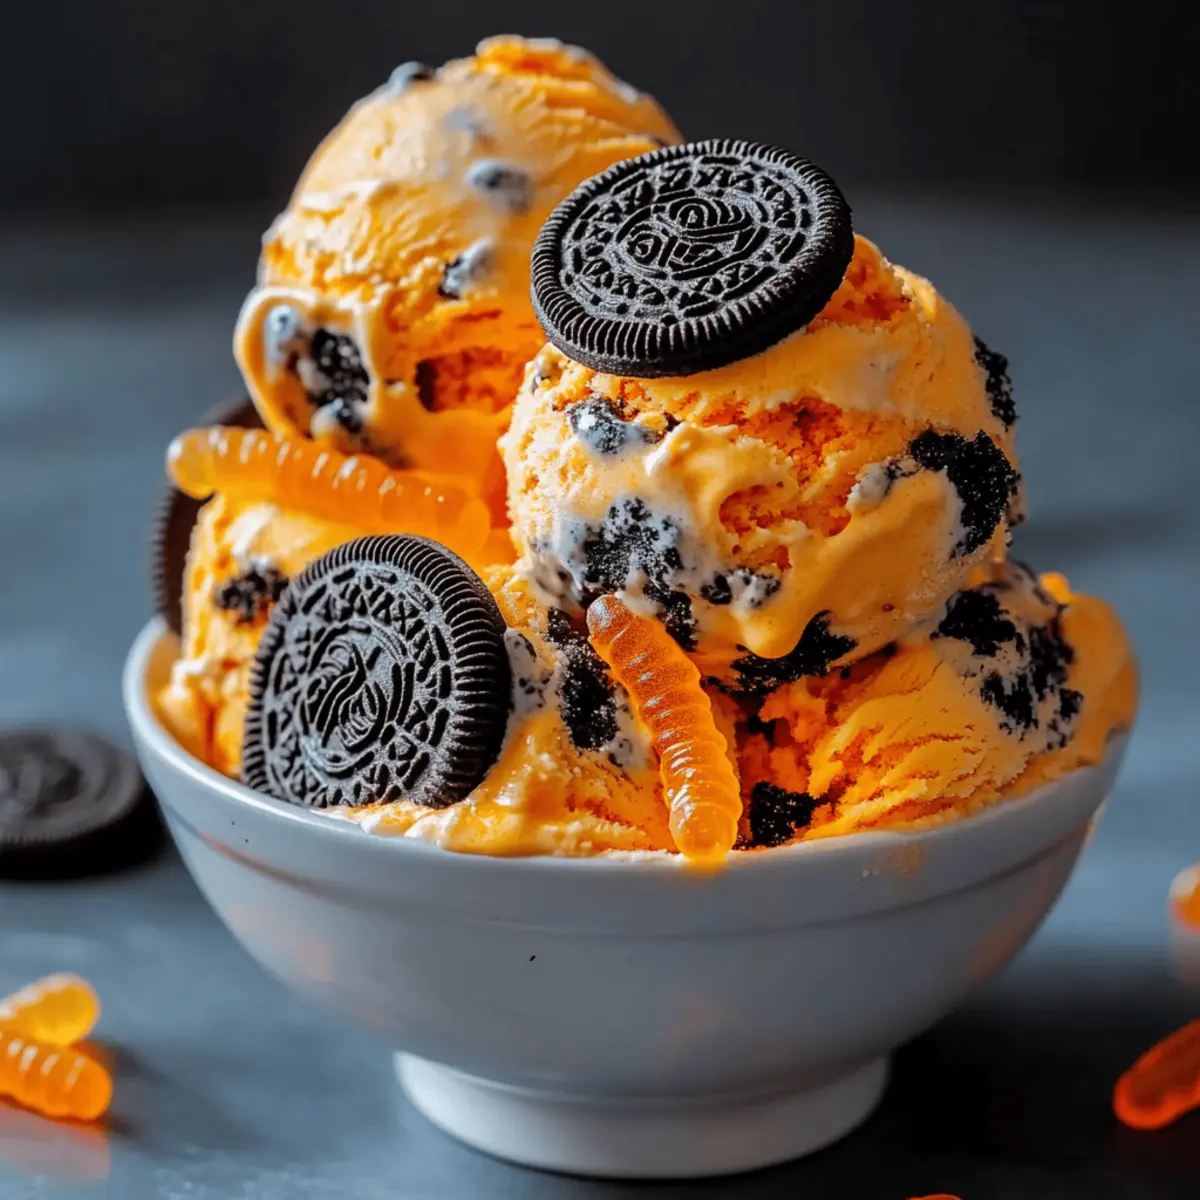
Once frozen and solid, remove the Halloween Ice Cream from the freezer. Scoop your creamy, rich treat into bowls or cones, using a warm scoop to make it easier. Garnish each serving with gummy worms or any fun Halloween-themed toppings you’ve chosen. This playful presentation adds to the festive spirit and makes your Halloween Ice Cream a showstopper!
Expert Tips for Halloween Ice Cream
-
Chill Your Tools: Ensure your mixing bowl and beaters are cold before whipping the cream. This helps achieve the best volume and texture for your Halloween Ice Cream.
-
Fold Gently: When combining the whipped cream with the orange mixture, fold carefully. Overmixing can deflate the volume, making the ice cream less airy and creamy.
-
Choose Quality Gel Color: Use high-quality gel food coloring for the most vibrant orange hue. Liquid color can water down the mixture, affecting both texture and taste.
-
Time to Freeze: Freeze the mixture in a shallow dish if you’re short on time. It will set faster than in a deep container, ensuring you can enjoy your Halloween Ice Cream sooner.
-
Personalize Your Treat: Don’t be afraid to switch up the cookie base or mix in seasonal candy bits. This allows for a unique spin on the classic cookies-and-cream flavor.
Halloween Ice Cream Variations & Substitutions
Feel free to unleash your creativity and personalize this Halloween Ice Cream recipe with these delightful twists and swaps!
- Dairy-Free: Use coconut cream instead of heavy whipping cream and a dairy-free condensed milk for a vegan-friendly version.
- Chocolate Twist: Substitute half of the crushed Oreos with chocolate sandwich cookies for an extra chocolaty flavor.
- Seasonal Spices: Add a dash of pumpkin spice or cinnamon to the orange base for a warm, autumnal flavor.
- Nutty Crunch: Mix in chopped nuts like pecans or almonds for an added crunch and elevated texture in every bite.
- Fruity Flare: Swirl in some pureed pumpkin or mashed bananas for a fruity spin that compliments the cookies-and-cream nicely!
- Spicy Kick: For those who dare, add a pinch of cayenne pepper or chili powder to the orange mixture for a playful kick.
- Gourmet Garnish: Instead of gummy worms, top with crushed candy corn or Halloween-themed sprinkles for a different visual appeal.
- Flavor Boost: Incorporate a tablespoon of espresso powder into the base for a mocha-inspired cookies-and-cream flavor that’s perfect for coffee lovers.
Experimenting with these variations not only makes every batch unique, but it also opens the door to endless flavor possibilities! For a more festive experience, consider serving your Halloween Ice Cream alongside a warm dessert, like Air Fryer Apple Fritters, for a delightful contrast in temperatures and tastes.
What to Serve with No-Churn Halloween Ice Cream?
A scoop of vivid orange sweetness is not just a delightful dessert, but an opportunity to create a memorable Halloween feast.
-
Air Fryer Apple Fritters: The warm, spiced flavors and crispy texture create a delightful contrast to the cold, creamy ice cream. Perfect for a hot-and-cold dessert experience!
-
Pumpkin Spice Cheesecake: Rich and indulgent, this cheesecake complements the playful whimsy of the ice cream while tying in seasonal flavors.
-
Chocolate Chip Cookies: Classic and comforting, soft cookies paired with the ice cream bring nostalgia and satisfy sweet cravings for all ages.
-
Candy Corn Parfaits: Layered with whipped cream and candy corn, these festive treats echo the playful spirit of Halloween and make for a delightful visual presentation alongside the ice cream.
-
Warm Brownies: Rich and fudgy brownies provide a decadent touch. The contrast of warm gooeyness with cold ice cream creates a luxurious dessert moment.
-
Fresh Fruit Salad: A refreshing side with vibrant seasonal fruits like apples and pears offers a light, healthy balance to the indulgence of the Halloween Ice Cream.
-
Hot Apple Cider: Serve a warm drink to enhance the Halloween vibe. The spiced apple flavors beautifully complement the sweet creaminess of the ice cream.
-
Gingerbread Cookies: The bold spices of gingerbread create a fragrant pairing that adds an extra layer of festive cheer to your dessert spread.
Make Ahead Options
These No-Churn Halloween Ice Cream treats are perfect for busy weeknights and Halloween parties! You can prepare the ice cream mixture up to 24 hours in advance by whipping the cream and mixing it with the condensed milk, vanilla, and orange food coloring, then folding in the crushed Oreo cookies. Simply transfer the mixture into a loaf pan, cover it tightly, and store in the freezer until you’re ready to serve. To maintain the quality, ensure it’s well-covered to prevent ice crystals. When it’s time to delight your guests, just scoop the frozen treat into bowls or cones and garnish with gummy worms for a fun, spooky touch!
Storage Tips for Halloween Ice Cream
- Freezer: Store the Halloween Ice Cream in an airtight container for optimal freshness. It will keep well in the freezer for up to 2 weeks, maintaining its creamy texture and flavor.
- Thawing: When ready to serve, allow the ice cream to sit at room temperature for about 5-10 minutes before scooping. This will make it easier to dish out without compromising the delightful texture.
- Reusing Containers: If you have leftover Halloween Ice Cream, consider using a resealable freezer bag to save space and ensure an airtight seal. Just remember to remove as much air as possible before sealing.
- Topping Storage: Any leftover gummy worms or toppings can be stored separately in a cool, dry place to maintain their freshness until you serve again.
Halloween Ice Cream Recipe FAQs
What type of heavy whipping cream should I use for the Halloween Ice Cream?
Absolutely, I recommend using pure heavy whipping cream with a fat content of at least 36%. This ensures a rich, creamy texture that whips beautifully. It’s crucial to keep the heavy cream very cold before whipping for optimum volume—usually around 35°F (2°C) is best!
How long can I store the Halloween Ice Cream in the freezer?
You can store your Halloween Ice Cream in an airtight container in the freezer for up to 2 weeks. To maintain its creamy texture, make sure to seal it tightly. If you notice any ice crystals forming, it’s a sign it’s time to enjoy it before the flavor starts to fade.
Advertisement
Can I freeze Halloween Ice Cream for longer than 2 weeks?
Absolutely! While the ideal timeframe for flavor and texture is within 2 weeks, you can freeze it for up to 3 months. However, to ensure the best experience, I suggest consuming it within that shorter timeframe. When you’re ready to enjoy, just let it sit at room temperature for about 10 minutes before scooping.
What should I do if my whipped cream isn’t forming stiff peaks?
If you find that your whipped cream isn’t achieving the stiff peaks you desire, there are a few things to check. First, ensure the heavy cream is thoroughly chilled, as warmer cream will not whip well. Also, double-check that you’re using a clean bowl and beaters—any fat or residue can prevent peaks from forming. If the whipped cream still isn’t reaching the desired consistency, try adding a tablespoon of powdered sugar or cornstarch to help stabilize it.
Can I make this recipe vegan or dairy-free?
Yes! To create a vegan version of this Halloween Ice Cream, you can substitute heavy whipping cream with full-fat coconut cream or a dairy-free heavy cream alternative. Additionally, use sweetened condensed coconut milk or a homemade version by simmering coconut milk with sugar to achieve that creamy texture. If you adjust these ingredients, be sure to taste and tweak the sweetness to your preference.
What other toppings can I use besides gummy worms?
The more the merrier! If gummy worms aren’t your thing, feel free to decorate your Halloween Ice Cream with a variety of fun toppings. Alternatives include candy eyeballs, crushed candy corn, or Halloween-themed sprinkles. For an extra layer of flavor, consider drizzling some chocolate or caramel sauce over the top before serving!
Halloween Ice Cream That Will Delight Your Spooky Season
Ingredients
Equipment
Method
- In a large mixing bowl, pour in the chilled heavy whipping cream and beat with an electric mixer on high speed until stiff peaks form, about 3-5 minutes.
- In a separate bowl, whisk together the sweetened condensed milk, vanilla extract, and a few drops of orange gel food coloring until combined.
- Gently add the whipped cream to the orange mixture, folding carefully until just combined.
- Fold in the crushed Oreo cookies, stirring gently to distribute evenly throughout the mixture.
- Pour the mixture into a loaf pan and smooth the top. Cover tightly and freeze for at least 6 hours or overnight.
- Once frozen, scoop into bowls or cones and garnish with gummy worms or other Halloween-themed toppings.