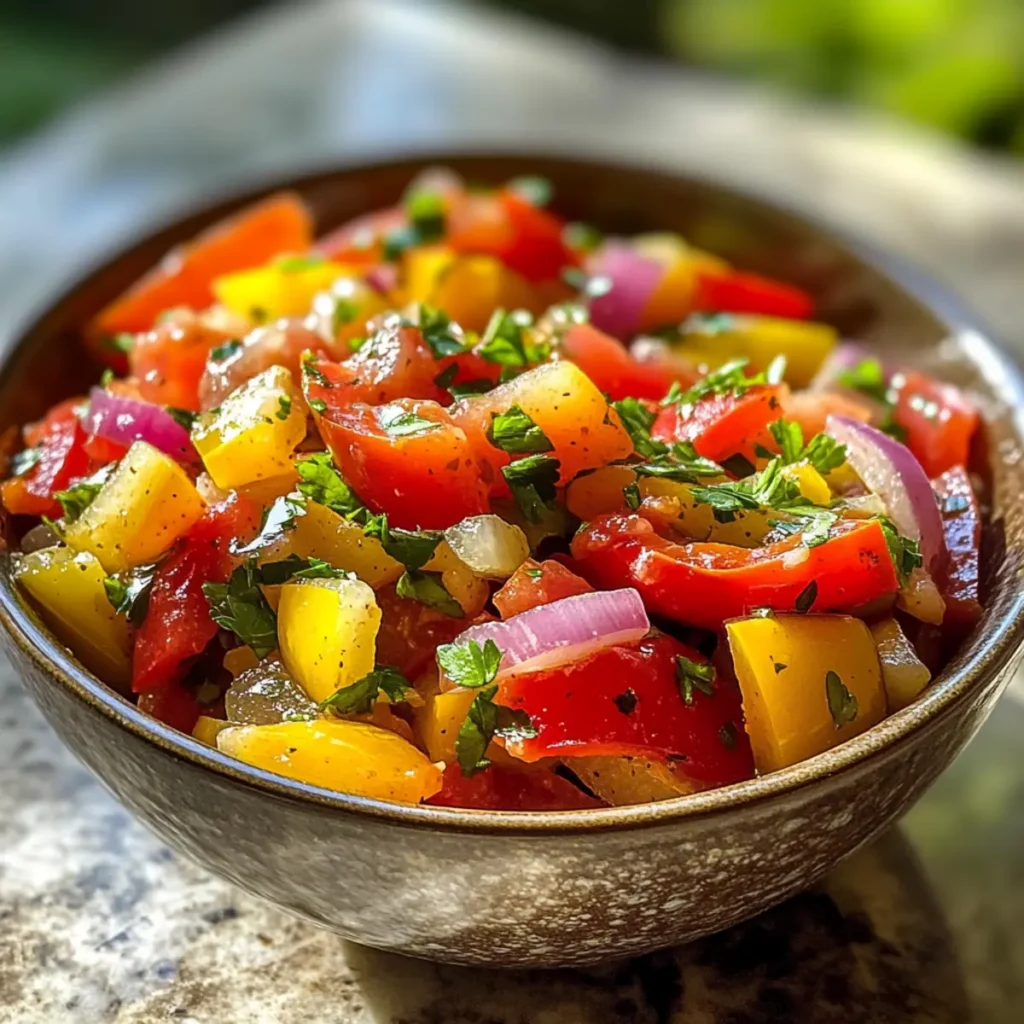
As I rummaged through my pantry last week, I stumbled upon a jar of pepperoncini that had been waiting for its moment in the spotlight. That’s when inspiration struck—what better way to capture that tangy flavor than by whipping up a Quick and Zesty Pepperoncini Relish? In just 10 minutes, this relish transforms ordinary meals into extraordinary experiences, adding a zippy crunch to hot dogs, burgers, and sandwiches. It’s the perfect answer for busy days when you crave something homemade but don’t have hours to spend in the kitchen. With its vibrant colors and fresh flavors, you’ll find it’s not just low-calorie but also a delightful way to impress guests or simply elevate your weeknight dinners. Are you ready to bring a burst of zest to your table?
Why is Pepperoncini Relish a Must-Try?
Uniquely Tangy: This relish is a vibrant explosion of flavor that perfectly balances tanginess and mild heat, livening up any dish.
Quick Preparation: Whip it up in just 10 minutes, making it an ideal option for busy weeknights or unexpected gatherings.
Versatile Use: From topping hot dogs and burgers to spicing up sandwiches or enjoying with crackers, its uses are endless!
Health-Conscious Choice: At only 19 calories per serving, it’s a guilt-free condiment that adds zing without the heaviness of traditional toppings.
Culinary Creativity: Feel free to experiment with the suggested variations, such as adding chopped dill pickles for an unexpected twist.
Pepperoncini Relish Ingredients
For the Relish
- Mezzetta Golden Greek Peperoncini – Provides a tangy flavor base. Ensure to remove stems before use.
- Mezzetta Sliced Tamed Jalapeno Peppers – Adds mild heat without overwhelming spice levels. Substitute with more peperoncini for less heat.
- Red Bell Pepper – Adds sweetness and color. Substitute with yellow bell pepper or omit if not available.
- Yellow Bell Pepper – Contributes sweetness and crunch. Can be replaced with more red bell pepper.
- White Onion – For a sharp flavor that complements the sweetness of the peppers. Yellow onion can be used for a milder taste.
- Fresh Garlic – Enhances flavor depth. Skip if garlic-free is needed or replace with garlic powder.
- Peperoncini Juice – Provides liquid and additional tanginess. Vinegar can be used as a substitute.
- Fresh Lemon Juice – Brightens the flavor. Use less from store-bought juice due to higher acidity.
- Red Pepper Flakes – Adds extra heat. Adjust according to heat preference or omit entirely.
- Fresh Parsley – For freshness and color. Substitute with cilantro if desired.
- Extra Virgin Olive Oil – Adds richness. Any neutral oil can work as a substitute.
- Salt and Black Pepper – Enhances flavor. Adjust according to personal taste.
This Pepperoncini Relish is not just a condiment; it’s your new culinary best friend, ready to elevate any meal with a touch of zing!
Step‑by‑Step Instructions for Pepperoncini Relish
Step 1: Prepare the Ingredients
Begin by gathering all your ingredients for the Pepperoncini Relish. Rinse and remove stems from the Mezzetta Golden Greek Peperoncini and Sliced Tamed Jalapeno Peppers. Dice the red and yellow bell peppers, white onion, and garlic. Use a cutting board and a sharp knife for precision, aiming for uniform pieces for even flavor distribution.
Step 2: Chop the Peppers and Onion
In a food processor, combine the prepared peperoncini, jalapenos, red and yellow bell peppers, white onion, and garlic. Pulse the mixture until everything is finely chopped, about 15-20 seconds, ensuring no large pieces remain. This step creates a vibrant and zesty base that will bring a burst of flavor to your relish.
Step 3: Combine Ingredients in a Saucepan
Transfer the chopped pepper mixture to a medium saucepan. Stir in the peperoncini juice, fresh lemon juice, and red pepper flakes. Set the saucepan over medium heat and allow it to warm for about 3-5 minutes, stirring occasionally until the vegetables soften but remain slightly crunchy. This gentle cooking enhances the flavors without losing texture.
Step 4: Cool and Drain the Mixture
Once the vegetables are soft, remove the saucepan from heat. Carefully drain any excess liquid to prevent your relish from becoming too watery. Let the mixture cool to room temperature, allowing the flavors to meld beautifully. This cooling step is crucial to achieving a perfect Pepperoncini Relish consistency.
Step 5: Finish the Relish
Once cooled, stir in the freshly chopped parsley, extra virgin olive oil, salt, and black pepper to taste. Mix until well combined and ensure the relish is vibrant and fragrant. This final touch adds richness and depth, making your Pepperoncini Relish even more delightful.
Step 6: Serve or Store the Relish
Transfer your finished Pepperoncini Relish to a serving bowl or store it in an airtight container. It can be stored in the fridge for up to two weeks, making it a handy condiment for easy weekday meals. Enjoy it with hot dogs, burgers, or as a zesty dip with crackers!
Storage Tips for Pepperoncini Relish
Fridge: Store your Pepperoncini Relish in an airtight container in the refrigerator for up to 2 weeks, ensuring it stays fresh and flavorful.
Freezer: For longer storage, transfer the relish into a freezer-safe container, where it can last for up to 3 months. Just thaw in the fridge before serving.
Reheating: If you prefer it warm, gently reheat the relish on the stovetop over low heat, stirring occasionally to combine flavors without breaking down the texture.
Serving Suggestion: Enjoy as a zesty topping or dip, enhancing your meals with its vibrant flavors, even after storing!
Pepperoncini Relish Variations & Substitutions
Feel free to get creative with your Pepperoncini Relish! There are plenty of delightful tweaks to explore that can enhance or adapt this flavorful condiment.
- Dairy-Free: Omit any potential creamy toppings for a completely vegan-friendly relish.
- Heat Level: Increase or decrease the amount of red pepper flakes according to your spice tolerance; make it milder or a fiery kick!
- Flavor Boost: Toss in some chopped dill pickles for a sweet and tangy twist that adds a whole new layer to your relish.
- Vegetable Swap: Swap out the red bell pepper for roasted garlic, or even zucchini for a crunchy, yet subtly sweet alternative.
- Herb Variations: Use fresh cilantro in place of parsley for a different flavor profile that pairs wonderfully with grilled meats.
- Extra Crunch: Mix in a handful of chopped celery or cucumbers for an added crunch that brightens each bite.
- Citrus Zing: A splash of lime juice in lieu of lemon juice can give your relish a refreshing twist, brightening up the overall flavors.
- Umami Kick: A tablespoon of soy sauce or Worcestershire sauce can deepen the flavor, making it more savory and rich.
By experimenting with these variations, you’ll customize your Pepperoncini Relish into a unique delight that matches your taste perfectly. And if you’re interested in discovering more flavor-packed condiments, consider checking out my Spicy Cilantro Lime Dressing or a classic Homemade Ketchup recipe! Happy cooking!
Expert Tips for Pepperoncini Relish
-
Use a Food Processor: This tool not only saves time but ensures uniform chopping for consistent flavor throughout the relish.
-
Control the Texture: Avoid boiling the mixture; simmer gently to maintain a crunchy texture that enhances the Pepperoncini Relish experience.
-
Taste as You Go: Adjust flavors like salt and pepper during preparation to ensure a perfectly balanced relish that suits your palate.
-
Cool Properly: Let the relish cool completely before storing; this helps preserve flavors and texture, contributing to a delightful condiment.
-
Experiment with Ingredients: Feel free to try different peppers or add herbs; creativity can lead to unique variations of the classic Pepperoncini Relish!
What to Serve with Quick and Zesty Pepperoncini Relish
Serving the perfect meal means finding the right companions for this vibrant and tangy relish that brightens up any dish.
-
Creamy Mashed Potatoes: The buttery richness complements the tangy crunch, creating a delightful contrast. These potatoes make for a comforting base where the relish can shine bright.
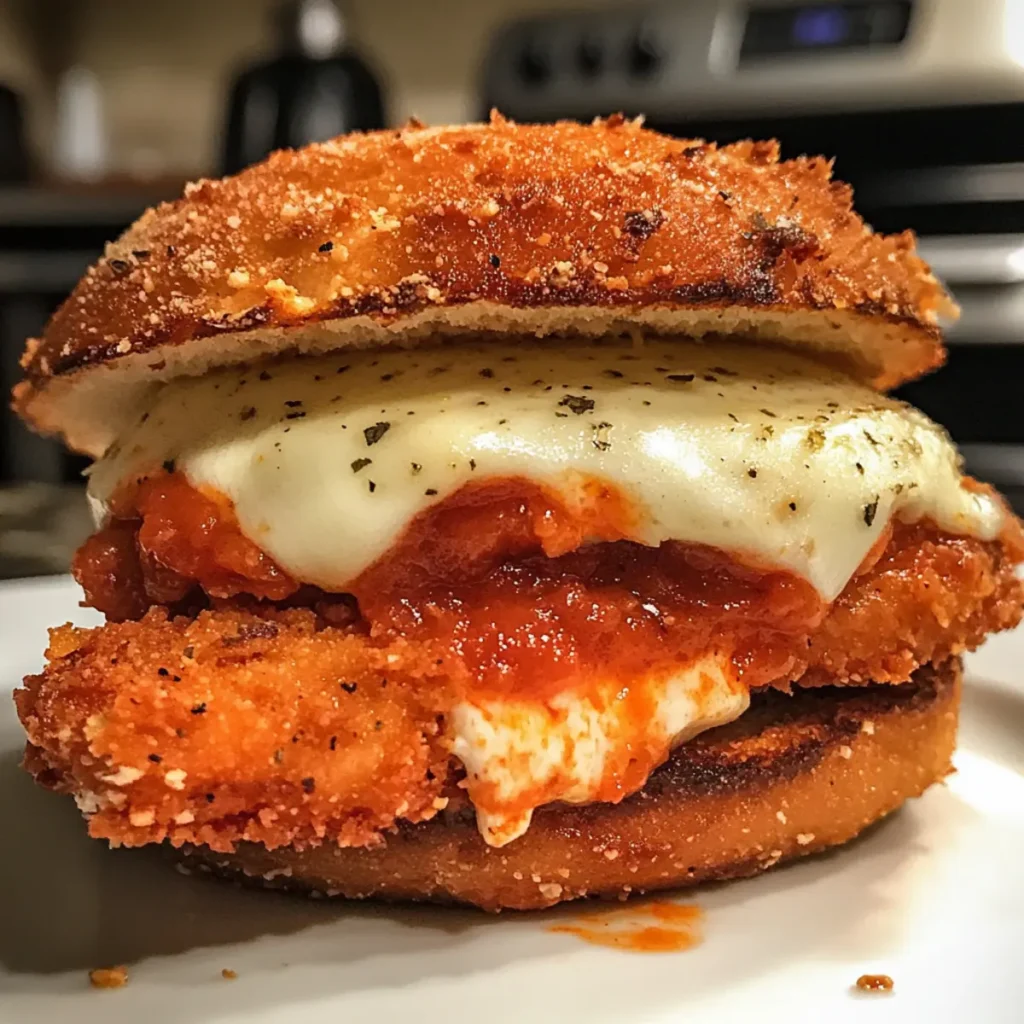
-
Grilled Chicken Sandwiches: The zing of the relish elevates juicy grilled chicken, giving every bite a refreshing kick. It brings grilled flavors to life while keeping the meal light.
-
Charcuterie Board: Pair the relish with meats and cheeses for a balance of textures. This condiment adds a zesty pop among savory elements, perfect for entertaining guests.
-
Veggie Crudité: Crisp, fresh vegetables dipped in this flavorful relish add a zesty freshness. A delightful, low-calorie choice that enhances the natural flavors of the veggies.
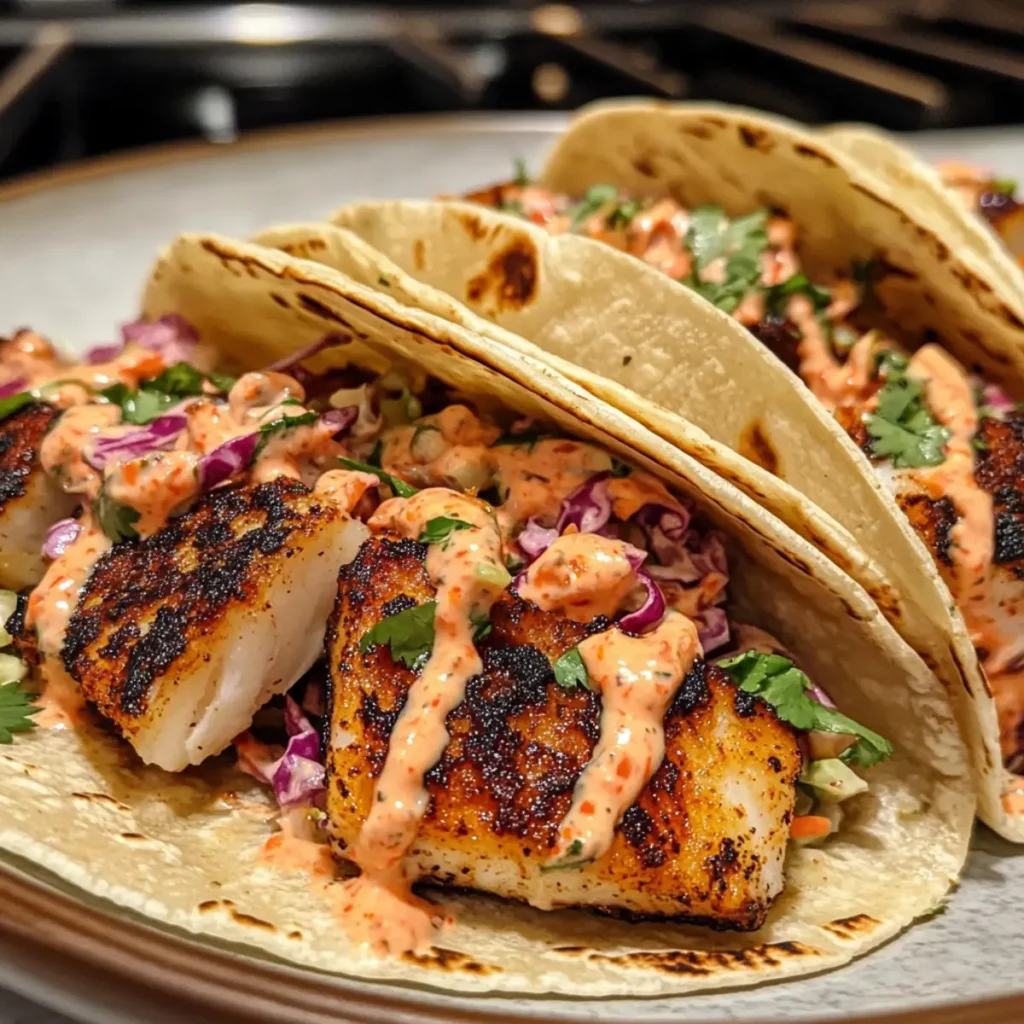
-
Fish Tacos: Topping soft tortillas with grilled fish and pepperoncini relish introduces a tangy and spicy twist to every bite. The bright relish brings ocean-inspired meals to a new level.
-
Sparkling Water with Lime: The effervescence of sparkling water complements the relish’s tanginess while refreshing your palate. As a drink, it perfectly balances the zest of your meal.
-
Crispy Tortilla Chips: Scoop up this relish for a crunchy snack that’s full of flavor. Perfect alongside your favorite dip, the spicy crunch makes every bite exciting!
-
Ice Cream Sundae: For a surprising dessert twist, try a scoop of vanilla ice cream topped with a small amount of relish. The sweet and tangy combination is an unforgettable flavor experience!
Make Ahead Options
These Quick and Zesty Pepperoncini Relish are fantastic for meal prep, allowing you to save time on busy weeknights! You can prepare the chopped vegetable mixture up to 24 hours in advance—just refrigerate it in an airtight container to keep those vibrant flavors intact. When you’re ready to enjoy the relish, simply heat the mix with the peperoncini juice and lemon juice for 3-5 minutes, then let it cool and stir in the olive oil, parsley, salt, and pepper. This way, your relish will be just as delicious and fresh, ready to elevate any meal with ease!
Pepperoncini Relish Recipe FAQs
How do I ensure my peppers are ripe enough for the relish?
Absolutely! Look for peppers that are firm and shiny, without any dark spots or wrinkles. The better quality your peppers, the more vibrant and flavorful your relish will be. Choose peppers with a nice, bright color; for instance, red and yellow bell peppers should be rich in hue and free from blemishes.
What’s the best way to store leftover Pepperoncini Relish?
I recommend keeping your Pepperoncini Relish in an airtight container in the refrigerator. It will stay fresh for about 1 to 2 weeks. Just remember to remove any excess liquid that accumulates to keep the texture perfect!
Advertisement
Can I freeze Pepperoncini Relish for later use?
Yes, you can definitely freeze it! To do this, transfer the relish into a freezer-safe container, leaving some space at the top as it will expand. It will keep well for about 3 months. Thaw it in the fridge overnight when you’re ready to enjoy it again, and gently stir before serving.
What should I do if my relish turned out too watery?
If you find your relish has excess liquid, no worries! Simply let it sit in a colander or sieve for about 10 minutes to drain off some of the liquid. You can also gently heat the relish in a saucepan over low heat, stirring occasionally, until it thickens up to your desired consistency.
Are there any dietary considerations I should keep in mind?
Very! This Pepperoncini Relish is vegetarian and low-calorie, making it suitable for many diets. Just be cautious if you have specific allergies, especially to peppers or onions. If you’re serving it to guests, it’s always a good idea to ask about allergies beforehand!
How can I spice up my Pepperoncini Relish for more heat?
If you’re looking to add extra zing, you can mix in more red pepper flakes or even add a touch of diced serrano peppers for that extra kick. Adjust it according to your preference, and remember: the more the merrier when it comes to flavor!

Zesty Pepperoncini Relish: 10-Minute Flavor Booster
Ingredients
Equipment
Method
- Begin by gathering all your ingredients for the Pepperoncini Relish. Rinse and remove stems from the Mezzetta Golden Greek Peperoncini and Sliced Tamed Jalapeno Peppers. Dice the red and yellow bell peppers, white onion, and garlic.
- In a food processor, combine the prepared peperoncini, jalapenos, red and yellow bell peppers, white onion, and garlic. Pulse the mixture until everything is finely chopped, about 15-20 seconds.
- Transfer the chopped pepper mixture to a medium saucepan. Stir in the peperoncini juice, fresh lemon juice, and red pepper flakes. Set the saucepan over medium heat and warm for about 3-5 minutes, stirring occasionally until the vegetables soften.
- Once the vegetables are soft, remove the saucepan from heat. Carefully drain any excess liquid to prevent your relish from becoming too watery. Let the mixture cool to room temperature.
- Once cooled, stir in the freshly chopped parsley, extra virgin olive oil, salt, and black pepper to taste. Mix until well combined.
- Transfer your finished Pepperoncini Relish to a serving bowl or store it in an airtight container. It can be stored in the fridge for up to two weeks.