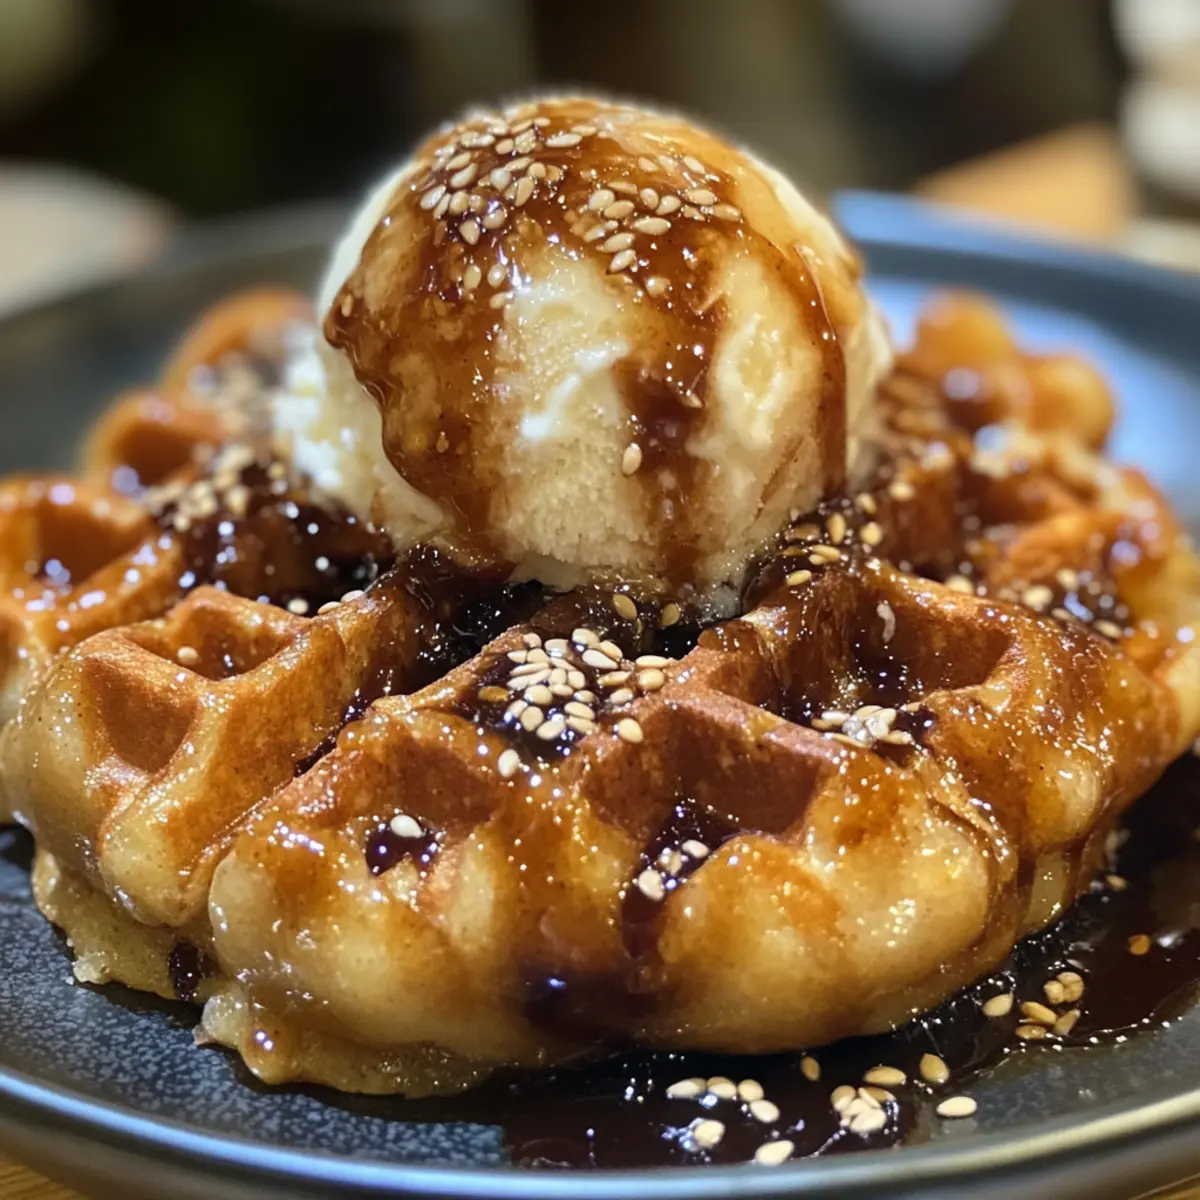
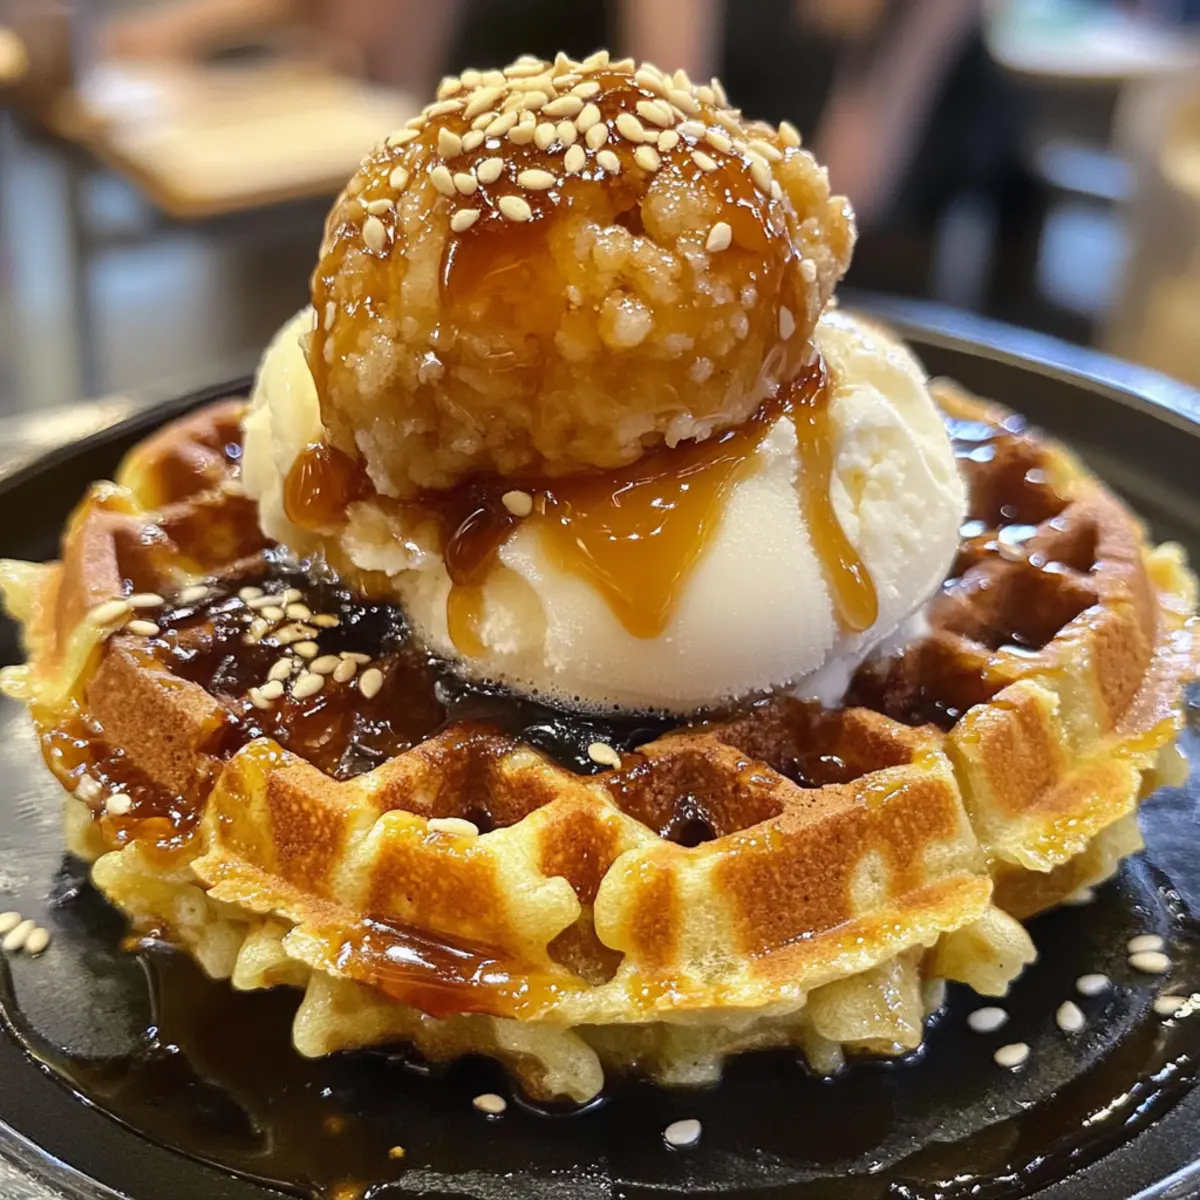
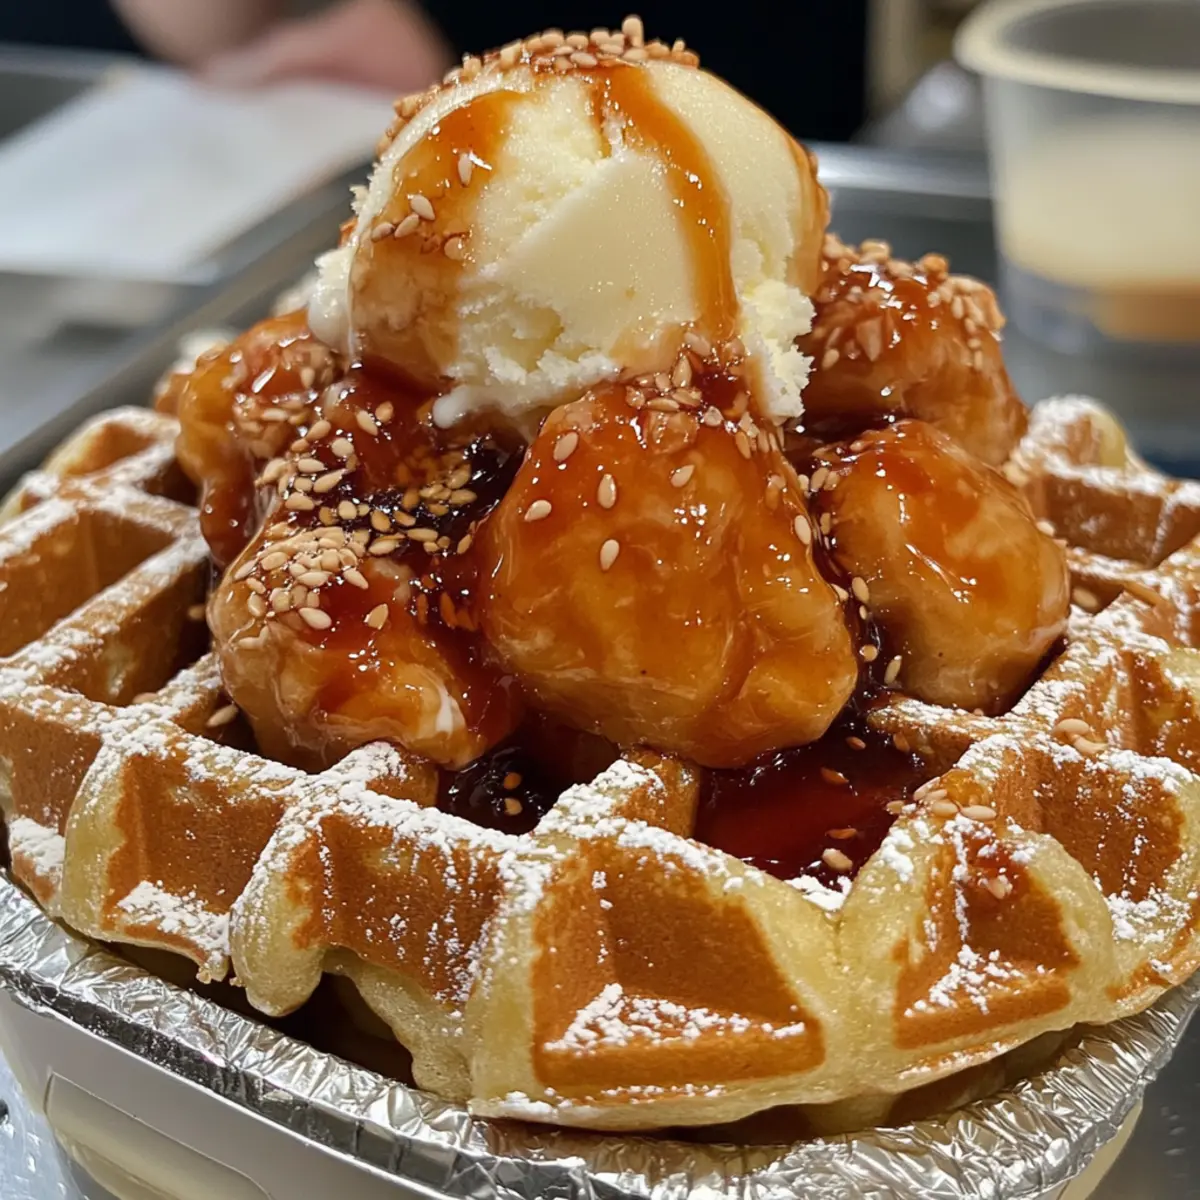
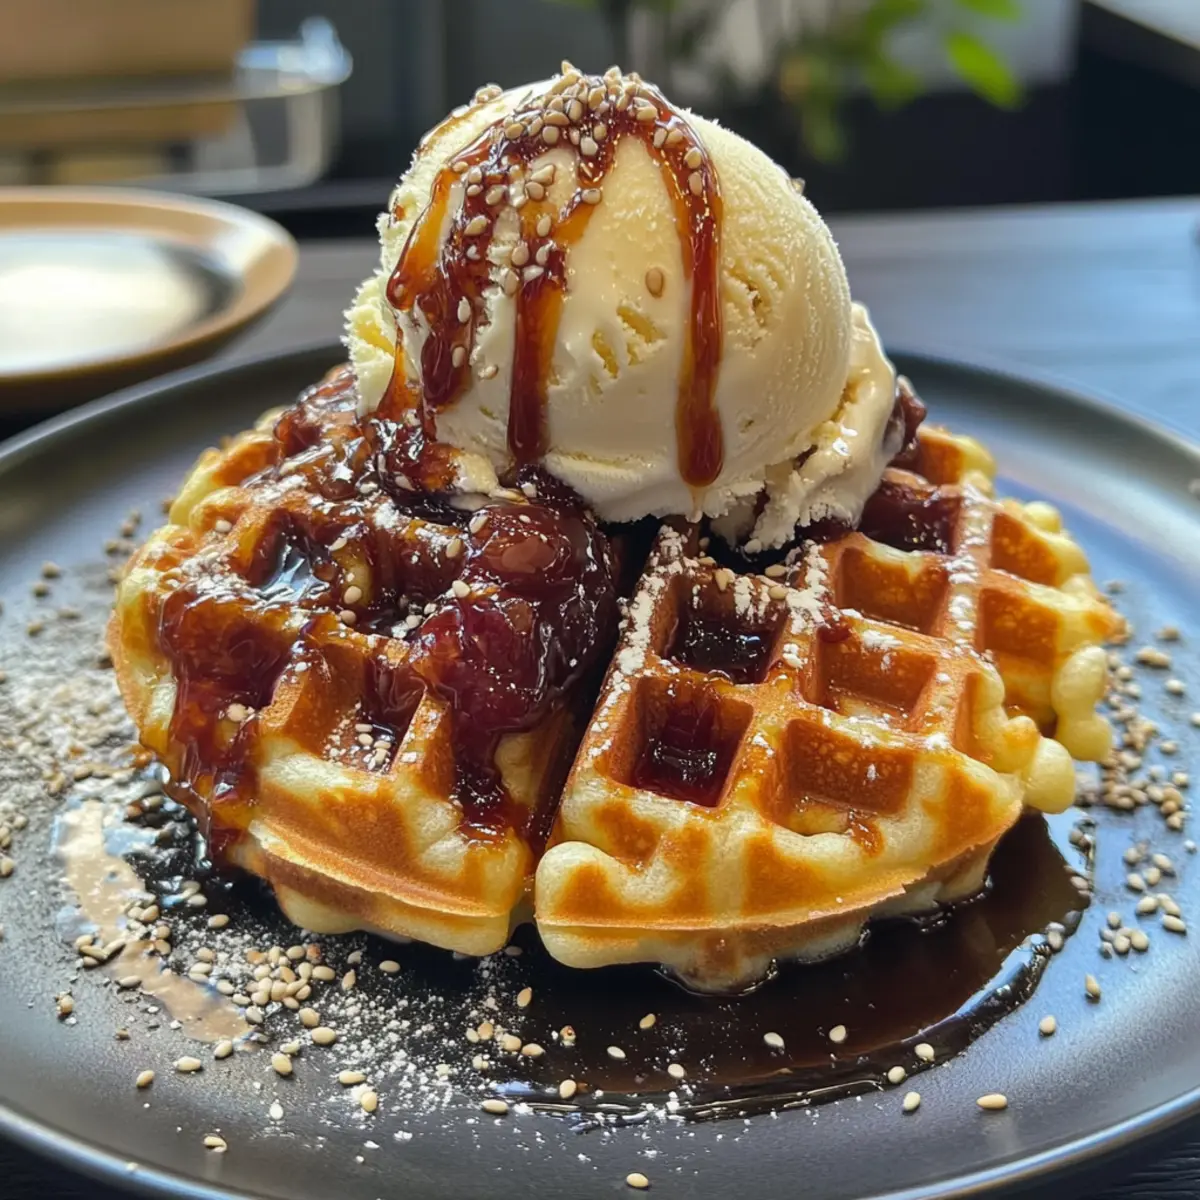
While scrolling through my favorite food blogs, I stumbled upon a delightful treat that perfectly marries the crispiness of a waffle with the chewy goodness of mochi. Enter the Mochi Waffle—often referred to as a “moffle”—a uniquely Japanese creation that can easily transition from a comforting breakfast to a sophisticated dessert, or even a savory snack! The beauty of this dish lies in its versatility; you can customize each batch with an array of toppings, making it a canvas for both sweet and savory delights. Plus, with a quick prep time that’s perfect for those busy mornings or last-minute dessert cravings, this recipe will soon become a staple in your kitchen. Curious about how to make your very own crispy, chewy moffle? Let’s dive in!
Why Will You Love Moffles?
Unique Fusion: A delightful blend of crispy and chewy, the Mochi Waffle (or moffle) is a snack that stands out from ordinary waffles.
Quick and Easy: With just a few ingredients and a simple cooking process, you can whip up these tasty treats in no time.
Versatile Customization: Enjoy them sweet with ice cream or savory with cheese and daikon—perfect for any time of day!
Crowd-Pleasing Appeal: Impress your family or guests with this unique fusion food that caters to both dessert lovers and savory enthusiasts alike.
Cultural Delight: Experience a taste of Japan with every bite, creating a little culinary adventure from the comfort of your kitchen. Check out my guide to homemade mochi for additional inspiration!
Mochi Waffle Ingredients
• Get ready to create the perfect moffle!
For the Moffle Base
- Mochi Rice Cake – This is the heart of your moffle, delivering that delightful chewy texture; feel free to use store-bought or homemade.
- Glutinous Rice Flour – Optional if making your own mochi from scratch; it gives structure and chewiness.
- Water – Essential for hydrating the rice flour and forming a dough-like consistency.
- Sugar – Adds just the right touch of sweetness; you can adjust the amount to your taste or leave it out entirely.
For Sweet Toppings
- Ice Cream (any flavor) – A deliciously rich topping that complements the chewy moffle; consider Japanese flavors like matcha or black sesame for a twist.
- Anko (Sweet Azuki Bean Paste) – A traditional sweet topping that works harmoniously with the waffle’s texture for that authentic Japanese experience.
For Savory Toppings
- Grated Daikon – A fresh, crunchy topping that balances the moffle’s richness, perfect for those savory occasions.
- Soy Sauce – A splash enhances umami flavors; choose low-sodium or gluten-free options if desired.
- Shiso Leaf – Adds a fragrant, herbal note; feel free to swap it out for basil or mint if needed.
- Roasted Sesame Seeds – Sprinkling these on top adds a lovely nutty crunch—an optional but delightful garnish!
With all these ingredients, you’re about to embark on a culinary adventure to create delightful Mochi Waffles that are sure to impress!
Step‑by‑Step Instructions for Mochi Waffle
Step 1: Preheat the Waffle Iron
Begin by preheating your waffle iron to high heat, usually around 400°F (204°C). This is essential for achieving that golden-brown, crispy exterior you desire in your Mochi Waffle. While it heats up, you can prepare the mochi by removing it from its packaging if using store-bought.
Step 2: Prepare the Mochi
If you’re making mochi from scratch, mix glutinous rice flour and water to create a pliable dough, adding sugar for sweetness. For store-bought mochi, cut it into manageable pieces, roughly the size of your waffle iron grids. Make sure your pieces are not too thick, so they fit well and cook evenly for that chewy texture.
Step 3: Cook the Mochi
Place the mochi pieces on the preheated waffle iron and close the lid. Cook for 1.5 minutes or until you see the edges slightly puffing. After this initial cook, flip the mochi over and let it cook for an additional 2 minutes. This will ensure both sides get perfectly crispy, while the inside remains delightfully chewy.
Step 4: Remove and Serve
Once your Mochi Waffle is beautifully golden and crispy, carefully remove it from the waffle iron using a spatula. Place it on a plate and immediately add your choice of toppings. Whether you prefer sweet ice cream or savory components like daikon and soy sauce, the warm moffle will be the perfect canvas for your creativity.
Step 5: Enjoy Immediately
For the best texture experience, serve your Mochi Waffle right away. The contrast between the warm, crispy exterior and chewy interior is best enjoyed fresh. If you’re experimenting with flavors, now’s the time to perfect your serving ideas before they cool down!
Make Ahead Options
You can easily prepare components of the Mochi Waffle in advance, making it a great fit for busy weeknights! You can store uncooked mochi pieces in an airtight container in the refrigerator for up to 3 days. To ensure they maintain their delightful chewiness, lightly dust them with cornstarch or glutinous rice flour before storing, which helps prevent sticking. When you’re ready to enjoy your delicious moffle, simply preheat the waffle iron and cook the mochi as directed; they will turn out just as tasty as freshly made! This way, you can quickly have a gourmet snack or breakfast with minimal effort, perfect for those hectic mornings or last-minute dessert plans!
What to Serve with Crispy Chewy Mochi Waffle (Moffle)
Imagine savoring a crispy, chewy mochi waffle, perfectly paired with delightful toppings that elevate every bite into a full meal experience.
-
Coconut Custard: Creamy and slightly sweet, coconut custard provides a tropical twist that complements the moffle’s texture beautifully.
-
Miso Soup: A warm, umami-rich miso soup acts as a comforting side that balances the sweetness or savoriness of the moffle perfectly. It’s especially delightful when the moffle is dipped into the broth!
-
Soft Serve Ice Cream: Whether matcha or classic vanilla, the creamy texture of ice cream melts in the mouth, enhancing the moffle’s chewiness with a cool sweet contrast.
-
Grated Daikon Salad: This fresh, crunchy side is a great way to cut through the richness of a savory moffle, adding brightness and texture to your meal.
-
Vegetable Tempura: Crispy vegetable tempura provides a delightful crunch, creating a satisfying mix of textures when paired with your mochi waffle.
-
Hojicha or Matcha Latte: Smooth and aromatic, a hojicha or matcha latte enhances the overall Japanese theme while providing a soothing beverage to sip alongside your meal.
-
Sweet Red Bean Soup: This traditional dessert dish is a cozy pairing for a sweet moffle, allowing the hearty flavors of red bean to add comforting warmth.
-
Sesame Soy Dressing: Drizzling a homemade sesame soy dressing over a savory moffle creates a punchy, tangy complement that enhances umami flavors.
Expert Tips for Mochi Waffles
-
Serve Fresh: Enjoy your Mochi Waffle immediately after cooking for the best crispy and chewy texture. They harden quickly once cooled.
-
Avoid Overcooking: Keep an eye on the cooking time; overcooked moffles can become hard and lose their delightful chewiness.
-
Homemade vs. Store-Bought: If using homemade mochi, ensure it’s cooked through before removing from the waffle iron. Store-bought is usually ready to go!
-
Customize Toppings: Don’t hesitate to experiment with both sweet and savory toppings. A mix of flavors can create a culinary adventure with your mochi waffle.
-
Waffle Iron Settings: Adjust cooking times according to your waffle iron’s strength. A higher setting may be needed for a crispier finish, ensuring your Mochi Waffle is just right.
How to Store and Freeze Mochi Waffle
Room Temperature: Serve your Mochi Waffle immediately for the best taste and texture. If left out, consume within 1 hour to enjoy its crispy and chewy glory.
Fridge: For short-term storage, wrap cooled moffles in plastic wrap or place them in an airtight container. They can last up to 2 days in the refrigerator.
Freezer: To keep Mochi Waffles for longer, freeze them in a single layer on a baking sheet. Once frozen solid, transfer to a freezer bag for up to 2 months.
Reheating: When ready to enjoy, reheat your frozen moffles in a toaster or waffle iron until crispy again, or gently warm them in a bowl of miso soup for a delicious twist.
Mochi Waffle Variations
Explore the endless possibilities of flavor with your moffles, making each bite uniquely delicious!
-
Savory Toppings: Combine with cheese, crispy bacon, or a drizzle of soy sauce for a delightful umami kick. The balance of salty and savory will surprise your taste buds!
-
Sweet Toppings: Top with ice cream, whipped cream, or drizzles of honey for a satisfyingly sweet treat. Try using matcha or black sesame ice cream to enhance the Japanese flavor profile.
-
Dairy-Free: Use non-dairy ice cream or coconut whipped cream instead of traditional dairy options for a refreshing twist that everyone can enjoy.
-
Added Crunch: Sprinkle on roasted almonds or crunchy granola for additional texture and flavor. The extra crunch adds that satisfying bite to every mouthful!
-
Spicy Kick: For an adventurous twist, add pickled jalapeños or spicy miso as a topping to elevate the heat. A little spice can create a delightful contrast with the sweetness.
-
Herbal Twist: Substitute shiso leaves with mint or basil, adding a refreshing herbal note that raises both sweet and savory versions to new heights.
-
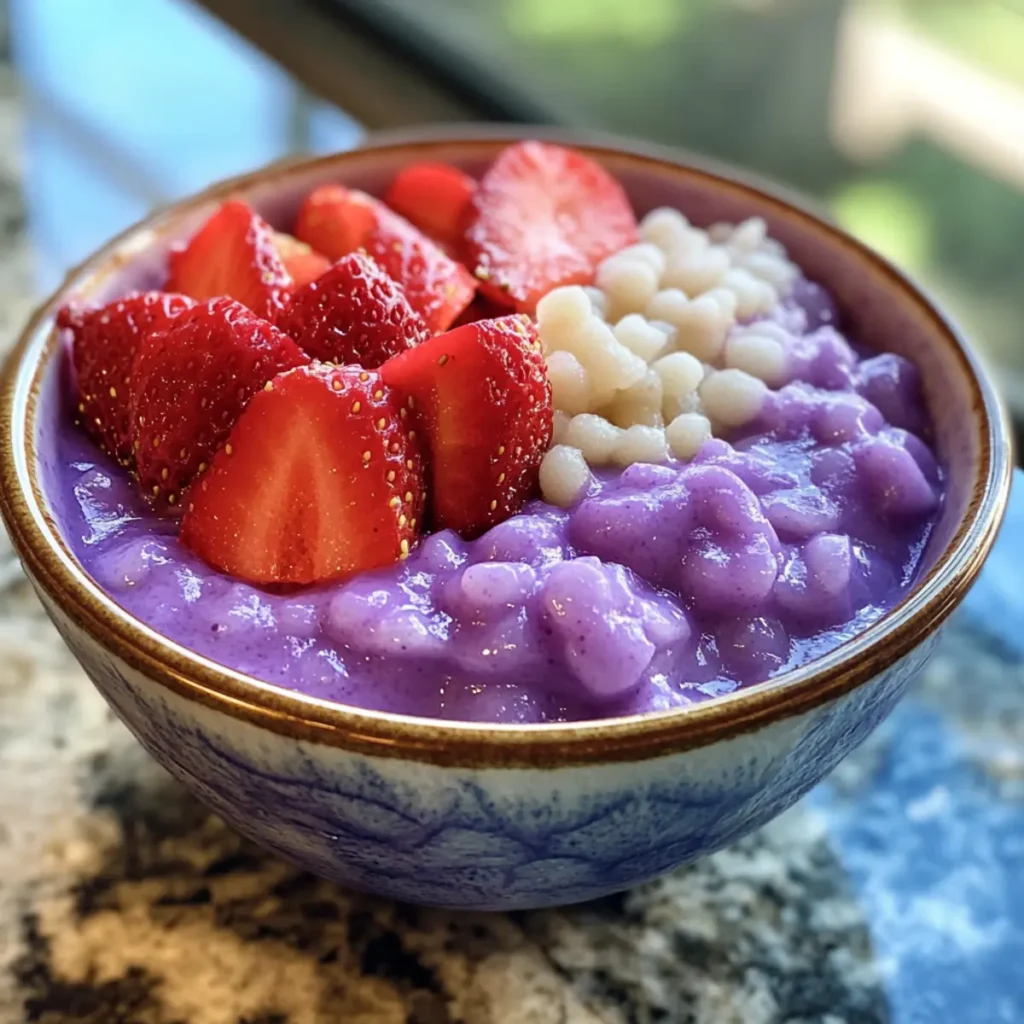
Fruit Toppings: Fresh fruit like strawberries, bananas, or even a drizzle of fruit compote provides a juicy contrast to the mochi’s chewiness while introducing a vibrant freshness.
-
Sweet & Salty Combo: Pair sweet toppings like anko with savory ones like cheese for a unique flavor explosion that beautifully balances rich and sweet in every bite.
For more inspiration, take a peek at my guide to homemade mochi, where you can discover different ways to explore this chewy delight!
Mochi Waffle Recipe FAQs
How do I choose the right mochi rice cake?
Absolutely! When selecting mochi rice cake, look for a soft and pliable texture without any dark spots or signs of freezer burn. If you can, opt for fresh mochi from an Asian grocery store or make your own using glutinous rice flour. Make sure to use pure mochi for a gluten-free version, and avoid any that feel overly hard or dry.
Advertisement
How should I store leftover mochi waffles?
Very! If you have leftover Mochi Waffles, wrap them in plastic wrap or place them in an airtight container to keep them fresh for up to 2 days in the fridge. However, note that the texture will change; they’ll lose their crispiness after a day. It’s best to enjoy them fresh for that delightful crispy-chewy experience!
Can I freeze mochi waffles?
Absolutely! To freeze your Mochi Waffles, first place them on a baking sheet in a single layer and freeze until solid, about 2 hours. After they’re frozen, transfer them to a freezer bag or airtight container. They’ll keep for up to 2 months. When you’re ready to indulge, reheat them in a toaster or waffle iron until crispy!
What should I do if my mochi waffle turns out hard?
Don’t worry; it happens to the best of us! If your Mochi Waffle turns out hard, it may have been overcooked or left out too long. To remedy this, try wrapping it in a damp paper towel and microwaving it for 10-15 seconds. This can help restore some of its chewiness. Giving your Waffle Iron the right temperature setting is key—high heat is essential, but keep a close watch on cooking time!
Are mochi waffles safe for pets?
Very! Mochi Waffles, when made from pure ingredients without artificial additives or ingredients harmful to pets, can be safe. Make sure to abstain from any toppings or seasonings that may be harmful to your furry friends. Always consult your vet about introducing new treats to your pet’s diet.
Can I substitute ingredients for dietary restrictions?
Absolutely! If you’re looking to modify your mochi waffle for dietary considerations, feel free to switch out ingredients: use gluten-free flour for the rice flour if you’re making your own mochi, or opt for dairy-free ice cream for a vegan version. The beauty of this recipe is its versatility, so don’t hesitate to get creative while keeping your dietary needs in mind!
Crispy Mochi Waffle Recipe: A Chewy Delight You’ll Love
Ingredients
Equipment
Method
- Preheat your waffle iron to high heat, around 400°F (204°C).
- Prepare the mochi by either mixing glutinous rice flour and water to create a dough or cutting store-bought mochi into manageable pieces.
- Place the mochi pieces on the preheated waffle iron and cook for 1.5 minutes. Flip and cook for an additional 2 minutes.
- Carefully remove the Mochi Waffle from the waffle iron and add your choice of toppings.
- Serve immediately for the best texture.