Introduction to Mini Egg Cheesecakes
Are you ready to indulge in a delightful treat that combines the creamy goodness of cheesecake with the fun of chocolate eggs? Mini Egg Cheesecakes are the perfect dessert for any occasion, whether it’s a festive gathering, a birthday party, or simply a sweet craving at home. These little bites of heaven are not only delicious but also easy to make, making them a favorite among both novice and experienced bakers.
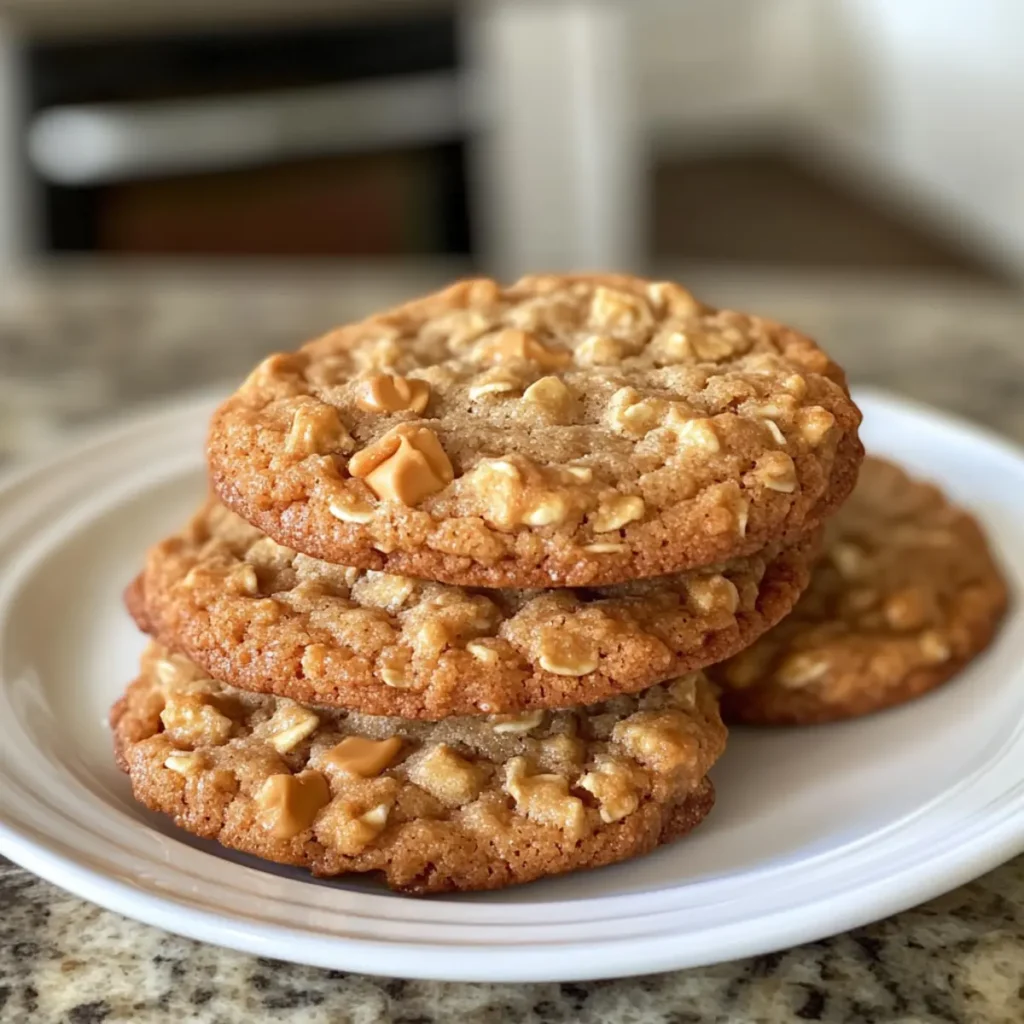
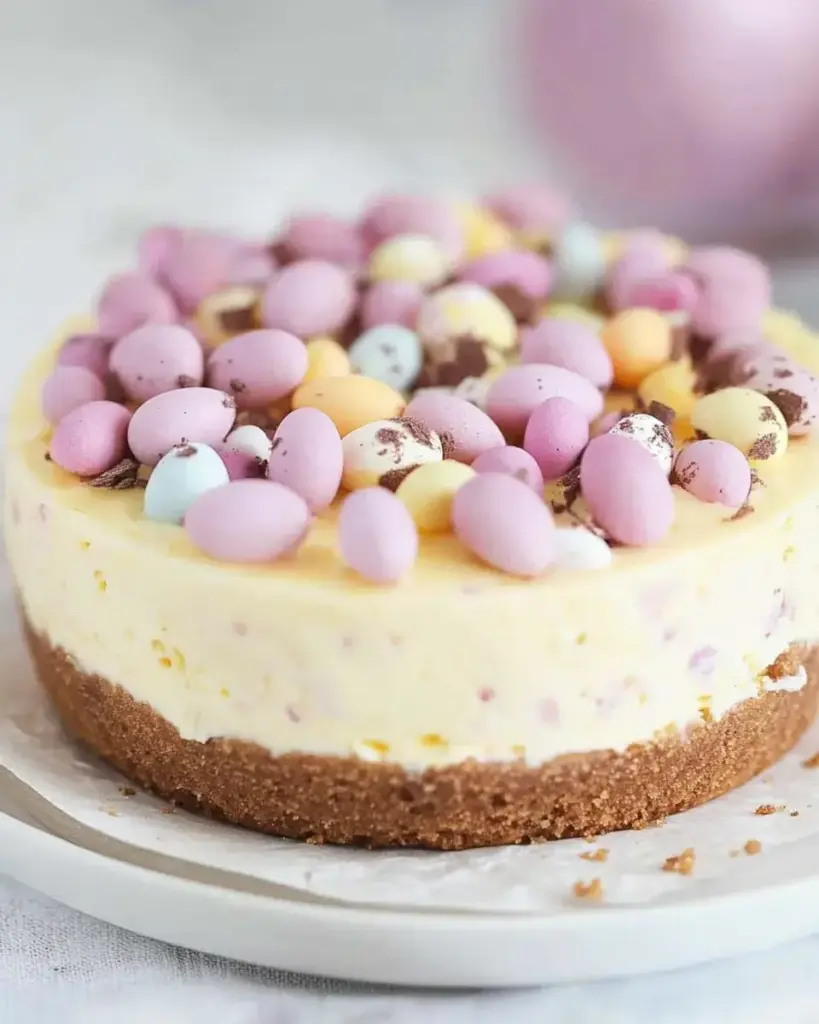
Imagine a buttery graham cracker crust, topped with a rich and creamy cheesecake filling, and sprinkled with chopped mini chocolate eggs. Each bite is a burst of flavor that will leave you wanting more. Plus, they are perfectly portioned, so you can enjoy a guilt-free dessert without overindulging.
In this article, we will guide you through the simple steps to create your own Mini Egg Cheesecakes. From gathering the ingredients to serving suggestions, we’ve got you covered. So, roll up your sleeves and get ready to impress your family and friends with this delightful dessert!
Ingredients for Mini Egg Cheesecakes
To create your delicious Mini Egg Cheesecakes, you will need a few simple ingredients. Each component plays a vital role in achieving that perfect balance of flavors and textures. Here’s what you’ll need:
- 1 ½ cups graham cracker crumbs
- ½ cup unsalted butter, melted
- 2 tablespoons granulated sugar
- 16 ounces cream cheese, softened
- ½ cup granulated sugar
- 2 large eggs
- 1 teaspoon vanilla extract
- 1 cup mini chocolate eggs, chopped (such as Cadbury Mini Eggs)
These ingredients come together to create a rich and creamy cheesecake that is perfectly complemented by the crunchy graham cracker crust. The mini chocolate eggs add a delightful surprise in every bite, making these cheesecakes a hit with both kids and adults alike.
Before you start baking, make sure to gather all your ingredients. This will help streamline the process and ensure you don’t miss anything important. Now that you have everything ready, let’s move on to the next step of preparing your Mini Egg Cheesecakes!
Step-by-Step Preparation of Mini Egg Cheesecakes
Now that you have all your ingredients ready, it’s time to dive into the fun part: preparing your Mini Egg Cheesecakes! Follow these simple steps to create a delicious dessert that everyone will love.
Step 1: Preparing the Crust for Mini Egg Cheesecakes
First, let’s make the crust. In a medium bowl, combine the graham cracker crumbs, melted butter, and 2 tablespoons of sugar. Mix everything together until it resembles wet sand. This mixture will form the base of your cheesecakes.
Next, take about 1 tablespoon of the crust mixture and press it firmly into the bottom of each muffin liner. Make sure it’s packed tightly to create a sturdy base. This step is crucial, as a good crust will hold the cheesecake filling perfectly. Once you’ve filled all the liners, you’re ready for the next step!
Step 2: Making the Cheesecake Filling for Mini Egg Cheesecakes
Now, let’s whip up that creamy filling! In a large mixing bowl, beat the softened cream cheese with ½ cup of sugar. Use an electric mixer for the best results. Mix until the mixture is smooth and creamy, with no lumps remaining.
Then, add the eggs one at a time, mixing well after each addition. This helps to incorporate air into the mixture, making it light and fluffy. Finally, stir in the vanilla extract for that extra burst of flavor. Your cheesecake filling should be rich and velvety at this point.
Step 3: Assembling the Mini Egg Cheesecakes
It’s time to bring everything together! Gently fold in the chopped mini chocolate eggs into the cheesecake filling. This will add a delightful surprise in every bite. Once combined, spoon the cheesecake mixture over the crusts in the muffin tin. Fill each liner about ¾ full, leaving a little space for the cheesecakes to rise.
Make sure to distribute the filling evenly among the liners. This ensures that each cheesecake has the same delicious flavor and texture. Now, they’re ready to go into the oven!
Step 4: Baking the Mini Egg Cheesecakes
Preheat your oven to 325°F (163°C) if you haven’t done so already. Place the muffin tin in the oven and bake for 18-20 minutes. You’ll know they’re done when the centers are set but still slightly jiggly. This is important, as overbaking can lead to dry cheesecakes.
Keep an eye on them as they bake. The aroma of the cheesecakes will fill your kitchen, making it hard to resist sneaking a taste!
Step 5: Cooling and Setting the Mini Egg Cheesecakes
Once baked, remove the cheesecakes from the oven and let them cool at room temperature for about 30 minutes. This cooling period helps them set properly. After that, transfer the muffin tin to the refrigerator and chill for at least 2 hours. This step is essential for achieving that perfect cheesecake texture.
After chilling, your Mini Egg Cheesecakes will be ready to serve! They’ll be firm, creamy, and oh-so-delicious. Now that you’ve mastered the preparation, let’s explore some fun variations you can try!
Variation of Mini Egg Cheesecakes
While the classic Mini Egg Cheesecakes are already a delightful treat, there are many ways to switch things up! Whether you want to explore different flavors or cater to dietary needs, these variations will keep your dessert game exciting. Let’s dive into some alternative flavors and gluten-free options for your Mini Egg Cheesecakes!
Alternative Flavors for Mini Egg Cheesecakes
If you’re feeling adventurous, consider trying out different flavors for your Mini Egg Cheesecakes. Here are a few ideas:
- Chocolate Mint: Add a few drops of peppermint extract to the cheesecake filling. This will give your cheesecakes a refreshing minty twist!
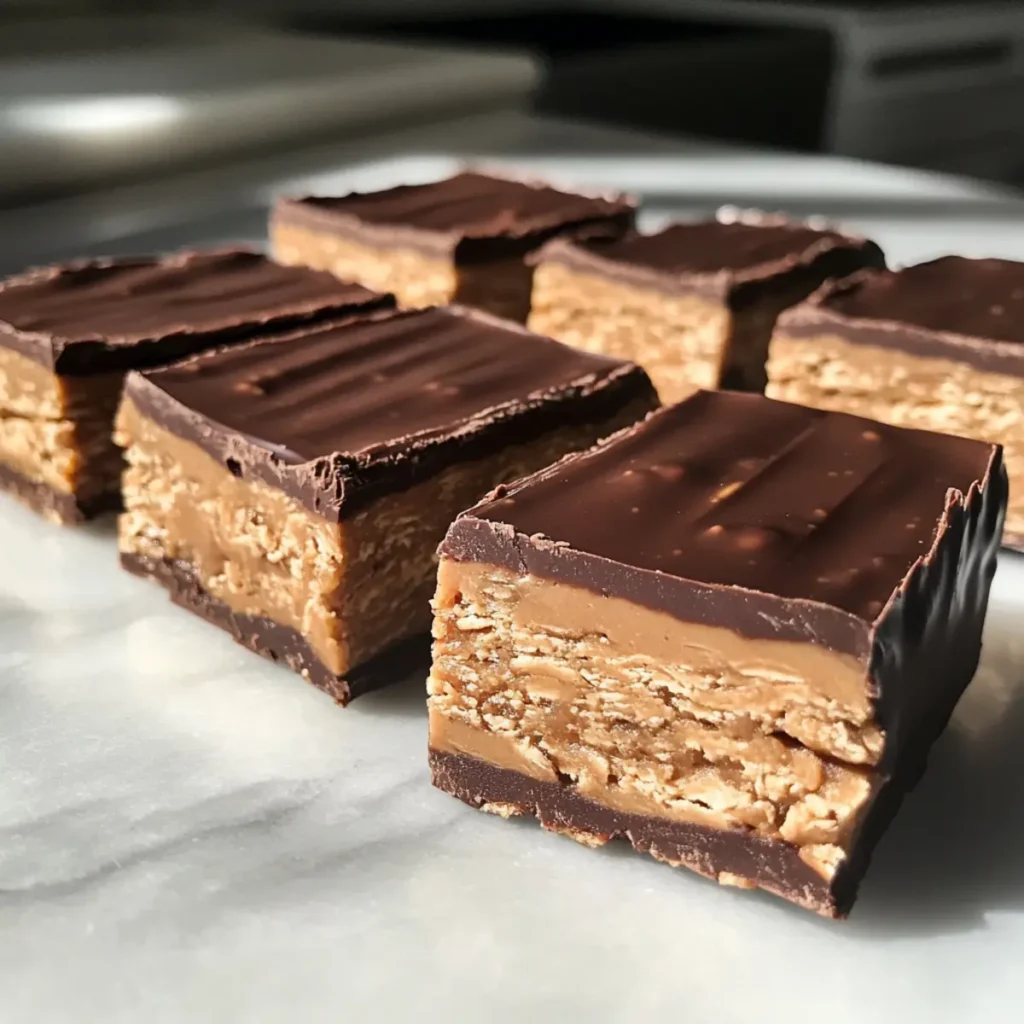
- Peanut Butter: Mix in ½ cup of creamy peanut butter with the cream cheese for a rich and nutty flavor. Top with crushed peanuts for added crunch.
- Fruit Flavors: Incorporate fruit purees like strawberry or raspberry into the filling. This adds a fruity sweetness that pairs beautifully with the chocolate eggs.
- Caramel Swirl: Drizzle caramel sauce into the cheesecake mixture before baking. Swirl it gently for a beautiful marbled effect.
These alternative flavors can make your Mini Egg Cheesecakes even more delightful. Feel free to experiment and find your favorite combination!
Gluten-Free Options for Mini Egg Cheesecakes
For those who need gluten-free options, you can easily adapt the recipe without sacrificing taste. Here’s how:
- Gluten-Free Graham Crackers: Use gluten-free graham crackers or almond flour to create the crust. Both options will provide a delicious base for your cheesecakes.
- Check Ingredients: Ensure that the mini chocolate eggs you choose are gluten-free. Many brands offer gluten-free candies, so read the labels carefully.
- Alternative Sweeteners: If you prefer, you can use gluten-free sweeteners like coconut sugar or honey in place of granulated sugar.
By making these simple substitutions, you can enjoy Mini Egg Cheesecakes that everyone can savor, regardless of dietary restrictions. Now that you have some variations in mind, let’s move on to cooking notes to ensure your cheesecakes turn out perfectly!
Cooking Note for Mini Egg Cheesecakes
When it comes to baking Mini Egg Cheesecakes, a few cooking notes can make a big difference in the final result. These tips will help you achieve the best texture and flavor, ensuring your cheesecakes are a hit every time!
First, always use room temperature ingredients. This means letting your cream cheese and eggs sit out for about 30 minutes before you start. Room temperature ingredients blend more easily, creating a smoother filling without lumps.
Next, be careful not to overmix your cheesecake filling. While you want everything to be well combined, overmixing can introduce too much air, leading to cracks in your cheesecakes as they bake. Mix just until combined for the best results.
Additionally, consider using a water bath for baking. This method helps maintain moisture in the oven, preventing the cheesecakes from drying out. To do this, place your muffin tin inside a larger baking dish filled with hot water. This extra step can lead to creamier, more decadent cheesecakes.
Lastly, remember that cooling is key! Allow your cheesecakes to cool gradually at room temperature before refrigerating. This helps them set properly and reduces the risk of cracks. Patience is essential, so resist the urge to rush this step!
By following these cooking notes, you’ll be well on your way to creating perfect Mini Egg Cheesecakes that are sure to impress. Now that you’re equipped with these tips, let’s explore some serving suggestions to make your dessert even more delightful!
Serving Suggestions for Mini Egg Cheesecakes
Now that your Mini Egg Cheesecakes are perfectly chilled and ready to enjoy, it’s time to think about how to serve them! Presentation can elevate your dessert experience, making it even more delightful for you and your guests. Here are some creative serving suggestions to consider:
- Garnish with Whipped Cream: A dollop of freshly whipped cream on top adds a light and airy touch. You can also sprinkle some mini chocolate eggs or chocolate shavings on the cream for an extra treat.
- Fruit Toppings: Fresh berries like strawberries, raspberries, or blueberries can add a pop of color and a burst of flavor. Arrange them on top or serve them on the side for a refreshing contrast to the rich cheesecake.
- Chocolate Drizzle: Drizzle some melted chocolate or caramel sauce over the cheesecakes before serving. This not only enhances the flavor but also makes for a beautiful presentation.
- Mini Egg Crust Crumble: For a fun twist, crush some extra mini chocolate eggs and sprinkle them on top of the cheesecakes. This adds a crunchy texture and reinforces the chocolate theme.
- Serve with Coffee or Tea: Pair your Mini Egg Cheesecakes with a warm cup of coffee or tea. The rich flavors of the cheesecake complement the warmth of the beverage, creating a cozy dessert experience.
These serving suggestions can make your Mini Egg Cheesecakes even more enjoyable. Whether you’re hosting a party or simply treating yourself, a little creativity goes a long way. Now that you have some ideas for serving, let’s move on to tips for perfecting your Mini Egg Cheesecakes!
Tips for Perfect Mini Egg Cheesecakes
Creating the perfect Mini Egg Cheesecakes is all about attention to detail. With a few helpful tips, you can ensure that your cheesecakes turn out creamy, delicious, and visually appealing. Here are some essential tips to keep in mind:
- Use Quality Ingredients: The flavor of your cheesecakes starts with the ingredients. Opt for high-quality cream cheese and fresh eggs. This will enhance the overall taste and texture of your dessert.
- Don’t Skip the Chilling: After baking, allow your cheesecakes to cool at room temperature before refrigerating. Chilling them for at least 2 hours is crucial for achieving that perfect creamy texture.
- Check for Doneness: Keep an eye on your cheesecakes while they bake. They should be set around the edges but still slightly jiggly in the center. This ensures they remain creamy and not overcooked.
- Experiment with Toppings: Don’t hesitate to get creative with toppings! Whether it’s fresh fruit, chocolate drizzle, or whipped cream, the right topping can elevate your cheesecakes to the next level.
- Store Properly: If you have leftovers, store your Mini Egg Cheesecakes in an airtight container in the refrigerator. They can last for up to 5 days, making them a great make-ahead dessert.
- Use a Mixer: For the best results, use an electric mixer to beat the cream cheese. This helps achieve a smooth and creamy filling without lumps, ensuring a delightful texture.
- Let Them Rest: After baking, let your cheesecakes rest in the oven with the door slightly ajar for about 10 minutes. This gradual cooling helps prevent cracks from forming on the surface.
By following these tips, you’ll be well on your way to mastering the art of Mini Egg Cheesecakes. Each bite will be a testament to your baking skills, and your friends and family will surely be impressed. Now that you’re equipped with these tips, let’s break down the time needed for making these delightful treats!
Breakdown of Time for Mini Egg Cheesecakes
Understanding the time required for each step in making Mini Egg Cheesecakes can help you plan your baking session effectively. Here’s a breakdown of the time you’ll need for preparation, cooking, and chilling. This way, you can enjoy the process without feeling rushed!
Prep Time for Mini Egg Cheesecakes
The prep time for Mini Egg Cheesecakes is approximately 20-25 minutes. This includes gathering your ingredients, preparing the crust, and mixing the cheesecake filling. Make sure to have everything ready before you start, as this will streamline the process and make it more enjoyable.
Cooking Time for Mini Egg Cheesecakes
Once your cheesecakes are assembled, the cooking time is about 18-20 minutes. Keep an eye on them as they bake. You want the centers to be set but still slightly jiggly. This ensures a creamy texture that everyone will love!
Total Time for Mini Egg Cheesecakes
In total, you should expect to spend around 2 hours and 45 minutes from start to finish. This includes the prep time, cooking time, and the essential chilling time of at least 2 hours. While the waiting can be tough, it’s well worth it for the delicious results!
With this time breakdown, you can easily plan your baking day. Now that you know how long it takes, let’s dive into the nutritional information for your delightful Mini Egg Cheesecakes!
Nutritional Information for Mini Egg Cheesecakes
Understanding the nutritional content of your Mini Egg Cheesecakes can help you enjoy them guilt-free. While they are a delicious treat, knowing what’s in them can assist you in making informed choices. Let’s break down the calories, protein content, and sodium levels in these delightful desserts.
Calories in Mini Egg Cheesecakes
210 calories. This makes them a satisfying yet manageable dessert option. The calorie count comes from the combination of the graham cracker crust, cream cheese, and the mini chocolate eggs. Enjoying one or two of these cheesecakes can fit nicely into a balanced diet, especially when shared with friends and family!
Protein Content in Mini Egg Cheesecakes
3 grams. The primary source of protein comes from the cream cheese and eggs used in the recipe. While this isn’t a high-protein dessert, it does provide a small boost, making it a more satisfying option compared to many other sweets.
Sodium Levels in Mini Egg Cheesecakes
150 milligrams. This level is relatively moderate, especially considering the overall flavor and richness of the dessert. If you’re watching your sodium intake, it’s good to be mindful of portion sizes, but these cheesecakes can still be enjoyed in moderation.
Overall, Mini Egg Cheesecakes are a delightful treat that can be enjoyed without too much worry about nutritional content. They offer a balance of flavors and textures, making them a perfect dessert for any occasion. Now that you have a better understanding of their nutritional information, let’s move on to some frequently asked questions about Mini Egg Cheesecakes!
FAQs about Mini Egg Cheesecakes
Can I make Mini Egg Cheesecakes ahead of time?
Absolutely! Mini Egg Cheesecakes are perfect for making ahead of time. You can prepare them a day or two in advance and store them in the refrigerator. This allows the flavors to meld beautifully, making them even more delicious when it’s time to serve. Just remember to cover them with plastic wrap or place them in an airtight container to keep them fresh.
Advertisement
How do I store Mini Egg Cheesecakes?
To store your Mini Egg Cheesecakes, place them in an airtight container in the refrigerator. They can last for up to 5 days. If you want to keep them longer, consider freezing them. To freeze, wrap each cheesecake individually in plastic wrap and then place them in a freezer-safe container. When you’re ready to enjoy them, simply thaw them in the refrigerator overnight.
Can I use different types of chocolate in Mini Egg Cheesecakes?
Yes, you can definitely use different types of chocolate in your Mini Egg Cheesecakes! While mini chocolate eggs are a fun addition, feel free to experiment with other chocolates. You can use dark chocolate, white chocolate, or even milk chocolate chips. Each type will bring its own unique flavor to the cheesecakes, allowing you to customize them to your liking.
What can I substitute for cream cheese in Mini Egg Cheesecakes?
If you’re looking for a substitute for cream cheese, there are a few options you can try. One popular alternative is mascarpone cheese, which has a similar creamy texture. You can also use Greek yogurt for a lighter option, though it may alter the flavor slightly. For a dairy-free version, consider using cashew cream or a vegan cream cheese alternative. Just keep in mind that these substitutes may change the overall taste and texture of your Mini Egg Cheesecakes.
Conclusion on Mini Egg Cheesecakes
In conclusion, Mini Egg Cheesecakes are a delightful dessert that brings joy to any occasion. Their creamy texture, combined with the crunch of the graham cracker crust and the surprise of mini chocolate eggs, creates a treat that is hard to resist. Whether you’re celebrating a special event or simply indulging in a sweet craving, these cheesecakes are sure to impress.
With the easy-to-follow recipe and the various tips and variations provided, you can customize your Mini Egg Cheesecakes to suit your taste. From adding different flavors to making gluten-free options, the possibilities are endless. Plus, the ability to prepare them ahead of time makes them a convenient choice for gatherings.
As you embark on your baking journey, remember to enjoy the process. Baking is not just about the end result; it’s also about the fun and creativity involved. So, gather your ingredients, invite some friends or family to join you, and create these delicious Mini Egg Cheesecakes together!
We hope this guide has inspired you to try making Mini Egg Cheesecakes. With their rich flavor and delightful presentation, they are bound to become a favorite in your dessert repertoire. Happy baking!
Mini Egg Cheesecakes are the perfect dessert treat!
Ingredients
Method
- Crush the digestive biscuits into fine crumbs and mix with the melted butter. Press the mixture firmly into a 7-inch springform or loose-bottomed tin. Chill in the fridge while preparing the filling.
- Chop 360g of Mini Eggs into halves or coarse pieces.
- In a bowl, whip the double cream until soft, floppy peaks form. Reserve 3 dessert spoons of the whipped cream in the fridge for topping later.
- In a large bowl, fold together the whipped cream, icing sugar, cream cheese, lemon juice, and chopped Mini Eggs until fully incorporated and smooth.
- Spoon the mixture onto the chilled biscuit base and smooth the top with a spoon or palette knife.
- Chill the cheesecake for at least 3 hours or overnight until set and firm.
- Once set, release the cheesecake from the tin by running a warm knife around the edges.
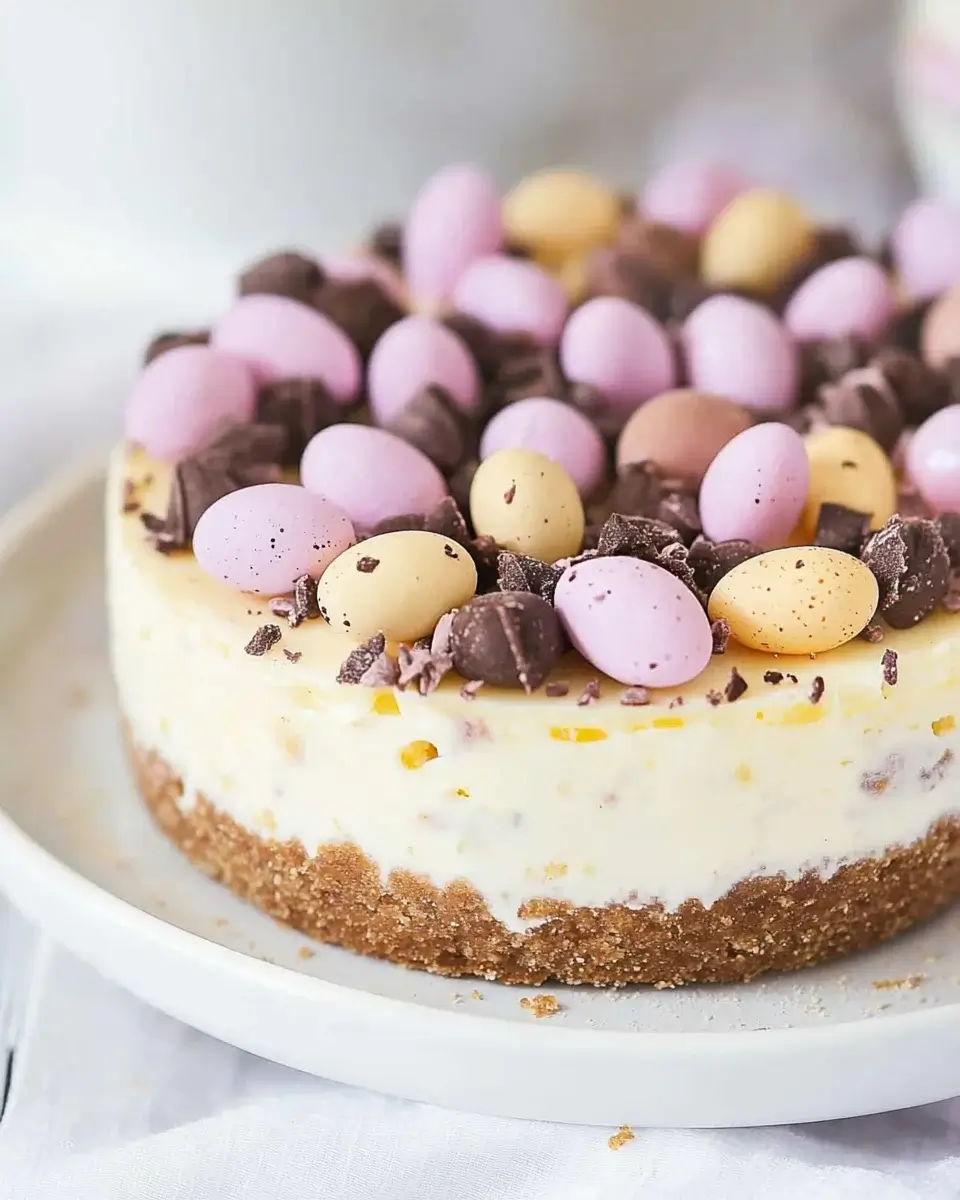
- Decorate the top with the reserved whipped cream and remaining 270g Mini Eggs—some whole, some halved—for a colorful, festive finish.
Notes
Use a sharp, warm knife to cleanly slice through the set cheesecake.
Swap Mini Eggs for other seasonal chocolates if desired.
Chilling overnight gives the best texture and flavor.