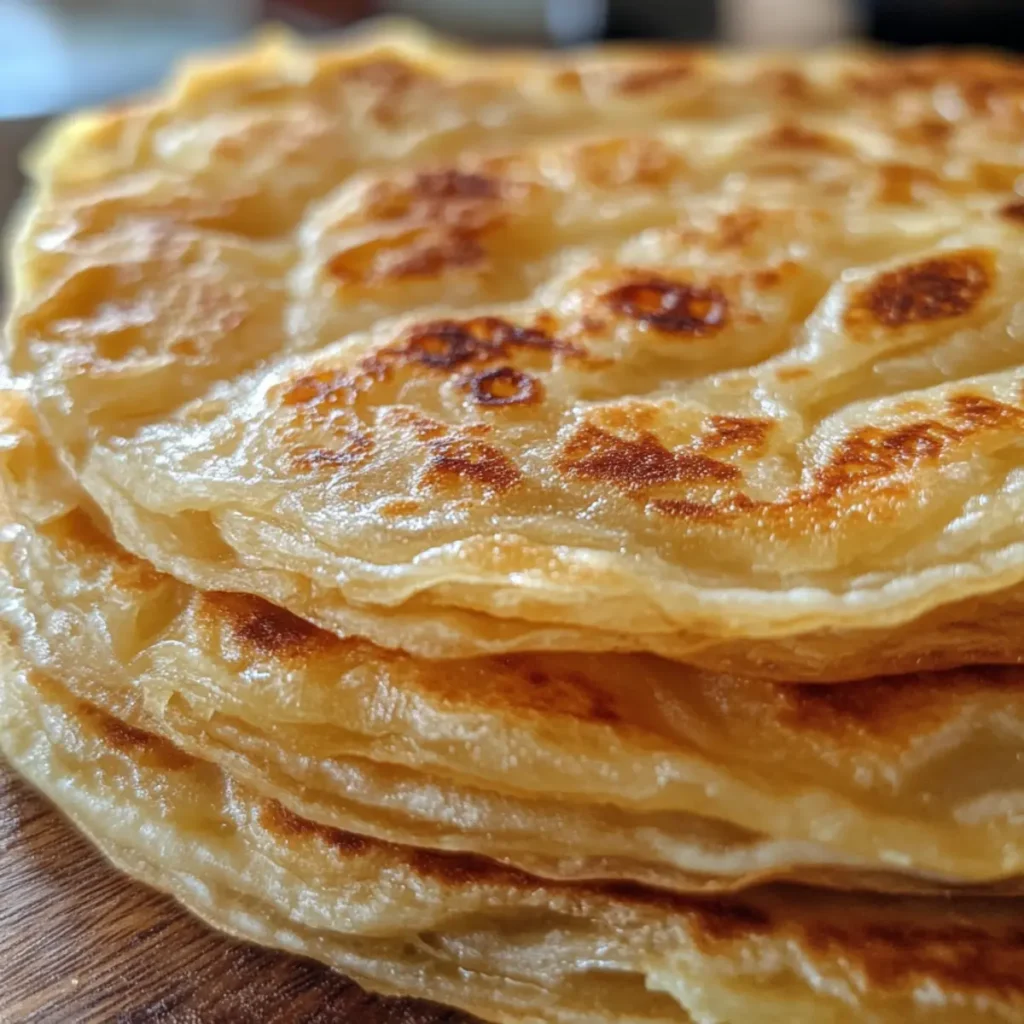
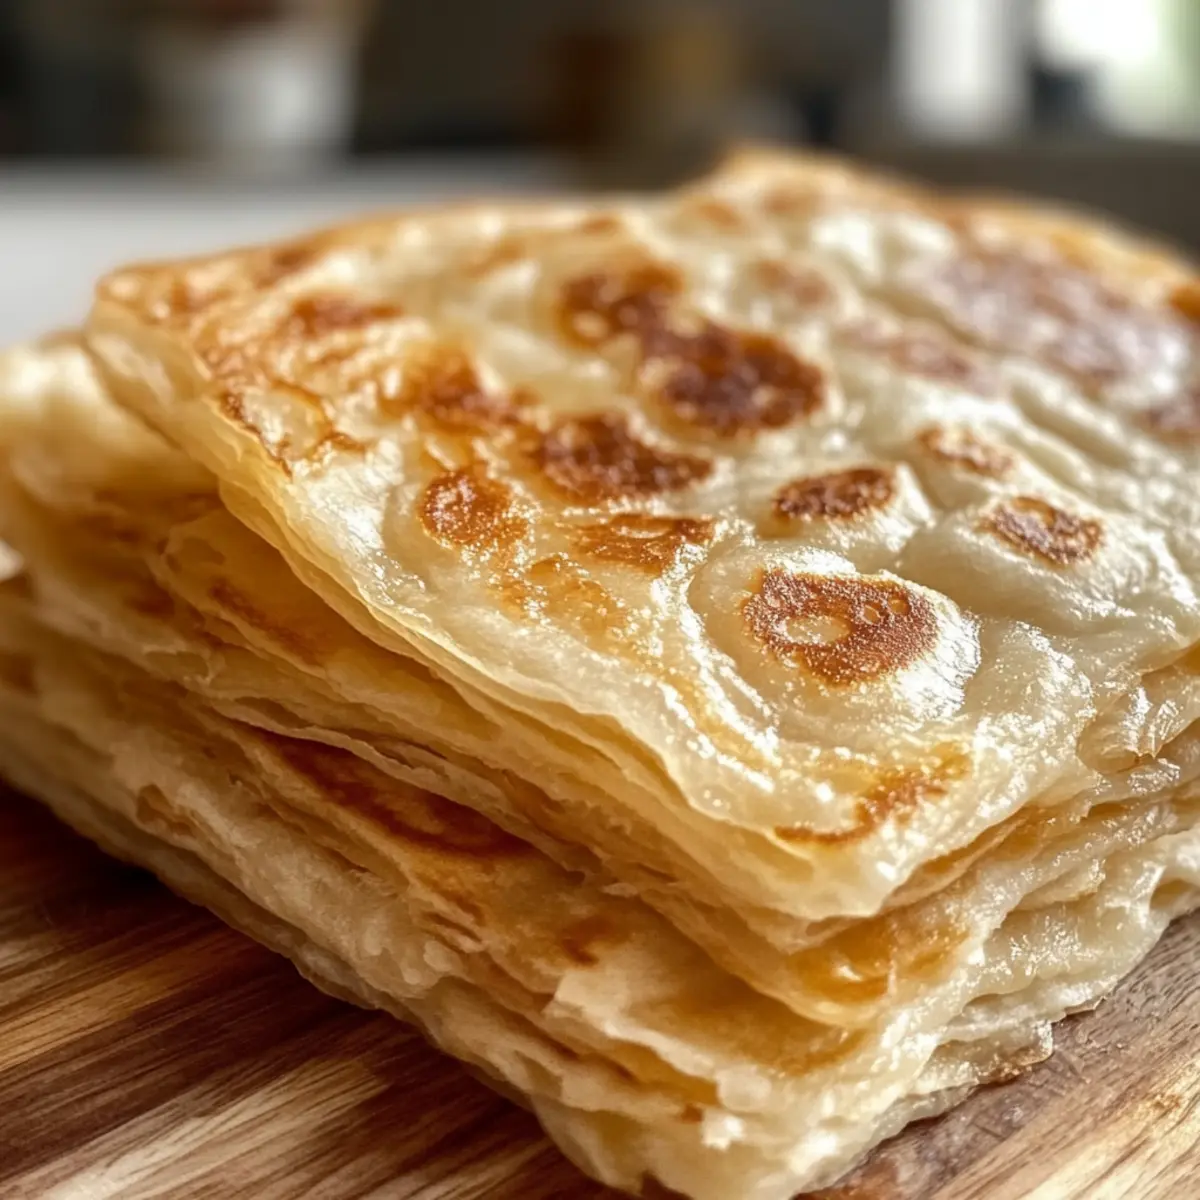
The kitchen buzzed with excitement as I flipped open my well-loved cookbook, unveiling the allure of Flaky Roti Canai. This South Asian delight isn’t just food; it’s a warm hug wrapped in layers of perfectly flaky flatbread, crispy on the outside yet tender on the inside. With just a few simple ingredients, this recipe is not only vegetarian-friendly but also a fantastic project to showcase your culinary skills. Whether served alongside a vibrant curry or simply enjoyed with a touch of honey, this layered masterpiece promises to bring warmth and joy to your meals at any time of the day. Ready to discover the art of making your own Flaky Roti Canai? Let’s dive in!
Why Is Flaky Roti Canai a Must-Try?
Simplicity: This delightful flatbread is impressively easy to make, needing only fundamental baking skills.
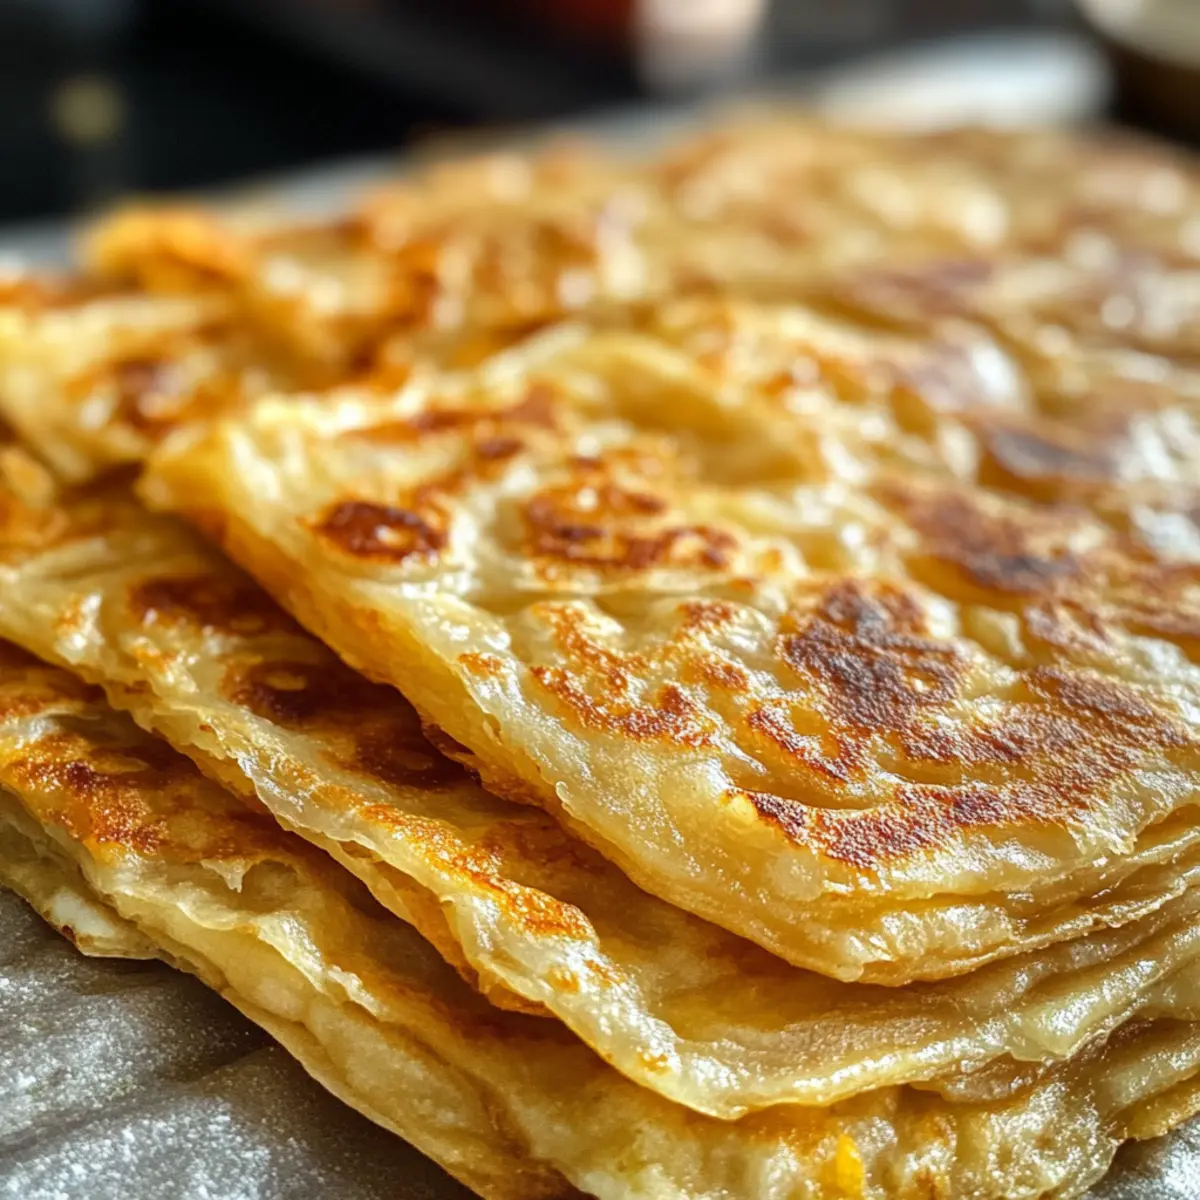
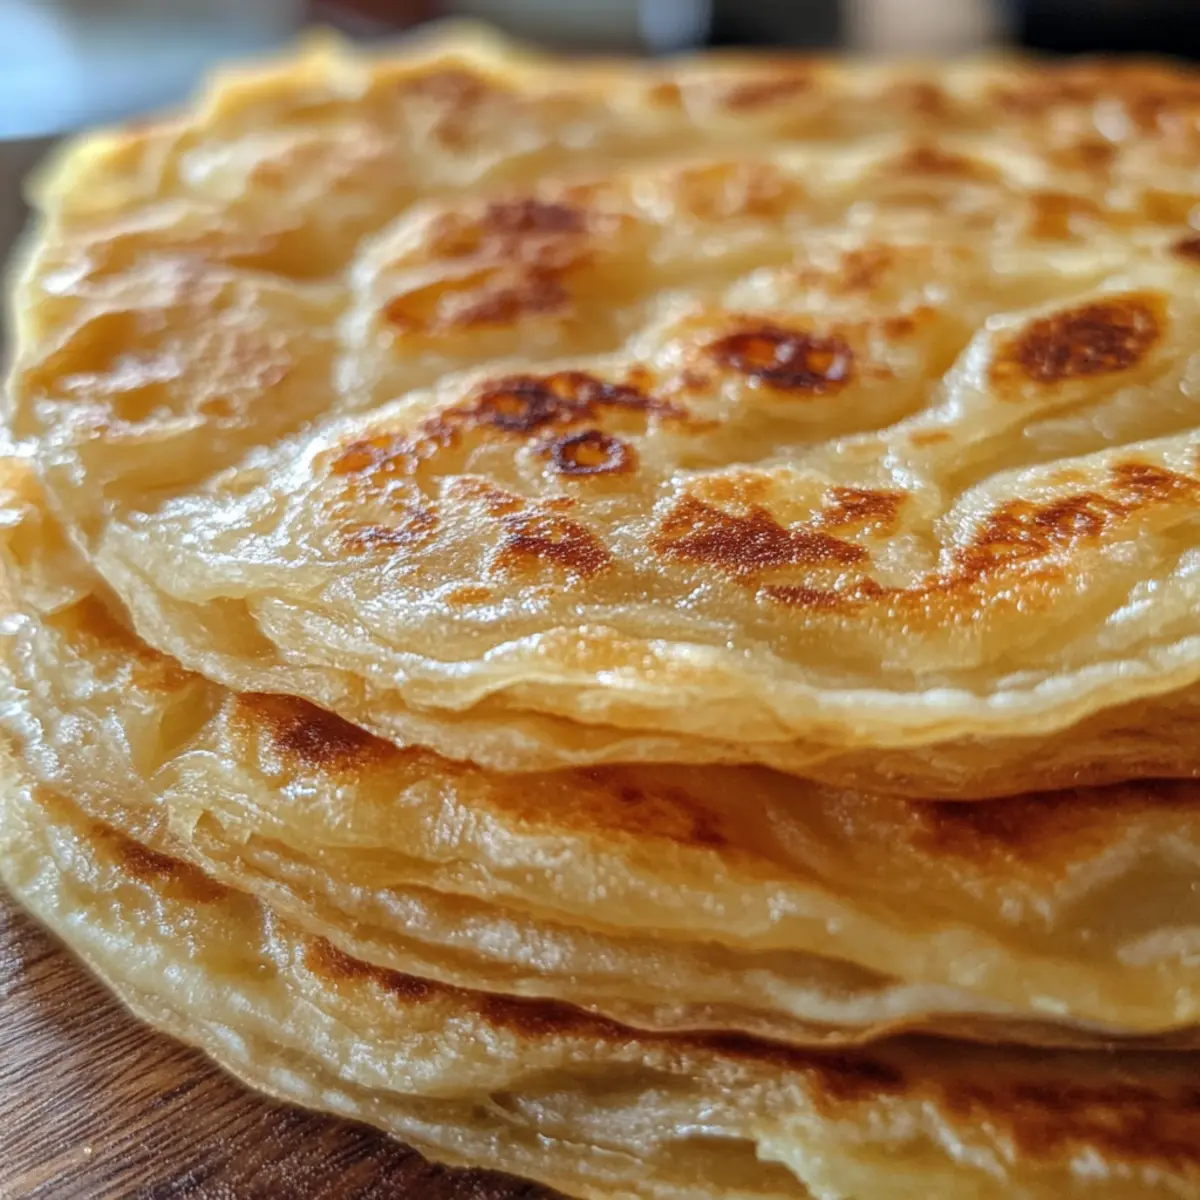
Layered Perfection: With its unique layering technique, each roti boasts a crispy exterior and a tender inside, making it an irresistible comfort food.
Versatile: Perfectly pairs with curries, or enjoy it solo with honey – the possibilities are endless!
Crowd-Pleaser: Whether you’re hosting a dinner party or enjoying a cozy meal at home, this dish is sure to impress.
Cultural Delight: Embrace a taste of South Asia with authentic flavors that connect you to culinary traditions from countries like India and Malaysia.
For an extra twist, try an Egg Roti Canai for a hearty breakfast treat!
Flaky Roti Canai Ingredients
For the Dough
• All-Purpose Flour – A staple for structure, creating the desired texture of the roti; about 4 cups (500g) is recommended.
• Sea Salt – Adds essential flavor to the dough.
• Boiling Water – Hydrates the flour for a soft, kneadable dough; use 180 mL.
• Room Temperature Water – Helps adjust dough consistency; also use 180 mL.
For Coating and Cooking
• Oil – Essential for coating the dough balls and achieving the flaky layers while cooking.
• Butter or Ghee (optional) – Enhances flavor and can complement the oil for richer taste.
Get ready to create your own Flaky Roti Canai that’s not just a flatbread, but a delicious experience!
Step‑by‑Step Instructions for Flaky Roti Canai
Step 1: Prepare Dough
In a large mixing bowl, combine 4 cups of all-purpose flour with 1 teaspoon of sea salt. Gradually pour in 180 mL of boiling water, stirring until clumps form. Continue by adding 180 mL of room temperature water until you achieve a scraggly dough. Cover the bowl with a damp cloth and let the dough rest for 30 to 60 minutes, allowing it to hydrate properly and soften.
Step 2: Knead Dough
Once the dough has rested, transfer it to a clean surface and knead for 1-2 minutes until it becomes smooth and elastic. Divide the dough into 8 equal portions and shape each piece into a ball. Coat each ball lightly with oil to prevent sticking, then place them back in the bowl, cover, and let rest for 2 hours or overnight in the fridge for the best flavor and texture.
Step 3: Shape Roti
After resting, take each dough ball and flatten it slightly before stretching it into a thin layer, ideally around 12 inches in diameter. Brush the surface with a little oil, then roll or fold the dough into a cylindrical shape and coil it into a spiral. Repeat this process for all dough balls, then cover them and let rest for 30 minutes on the countertop to relax the gluten before cooking.
Step 4: Cook Roti
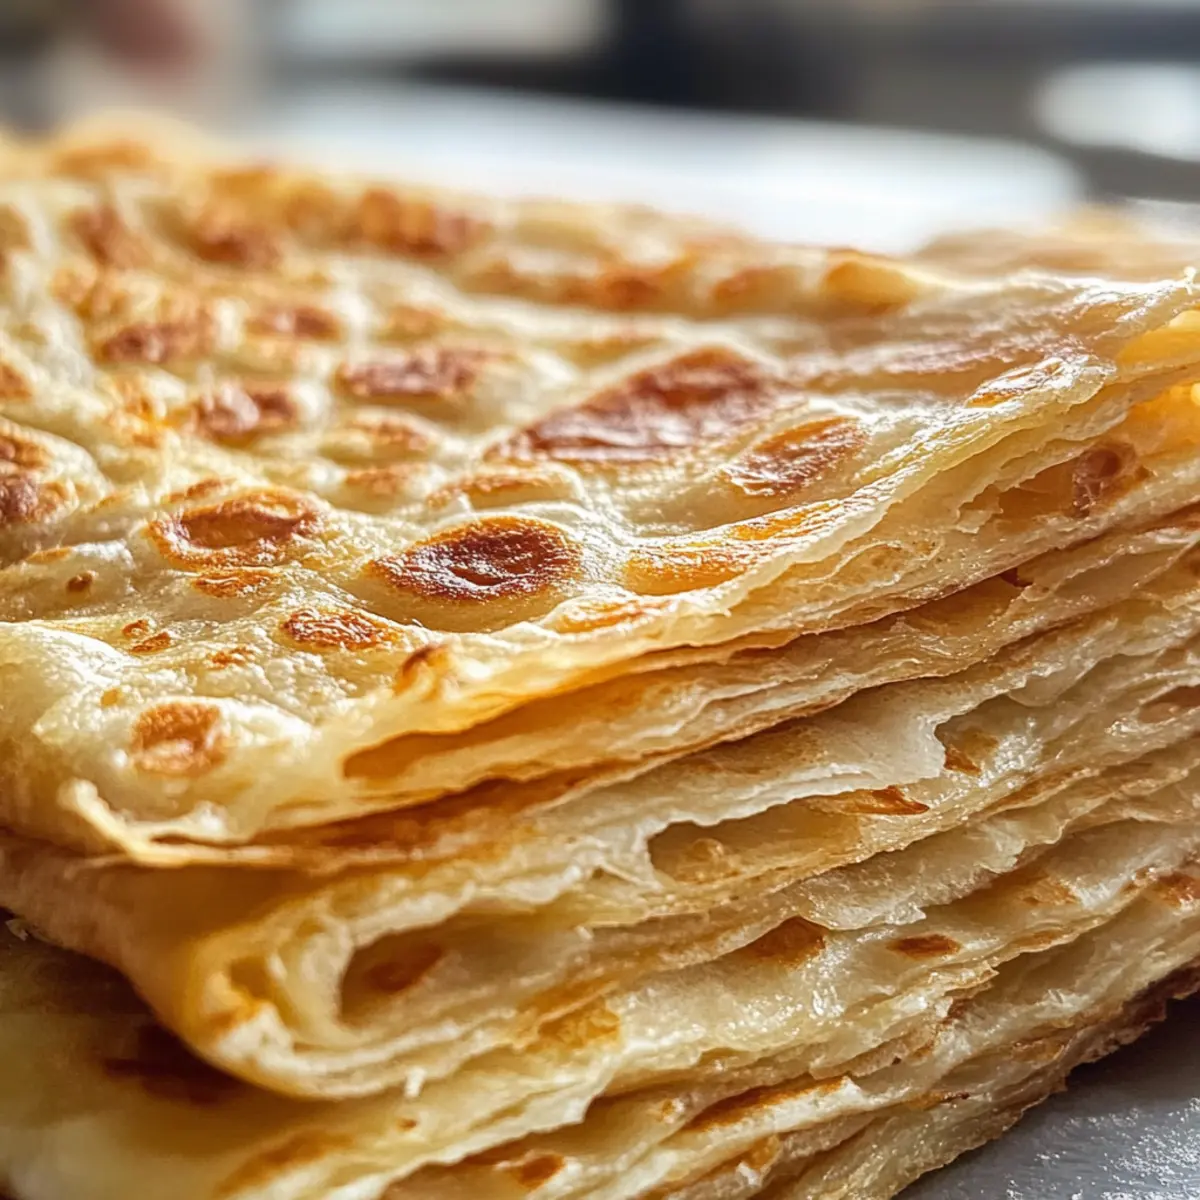
Heat a non-stick pan over medium heat and carefully flatten one coiled dough into a 6-7 inch circle. Cook for approximately 1-2 minutes until golden brown underneath, then flip and repeat until both sides are suitably cooked and flaky. Once done, transfer the cooked Roti Canai to a cooling rack and gently press down on it to separate the layers, enhancing the dish’s signature flakiness.
How to Store and Freeze Flaky Roti Canai
- Room Temperature: Store leftover Flaky Roti Canai in an airtight container. It will stay fresh for up to 2 days on the counter, perfect for snacking anytime!
- Fridge: For extended freshness, refrigerate the roti in an airtight container. It can last up to 4 days, but be sure to reheat before serving for the best texture.
- Freezer: Freeze individual roti separated by parchment paper in an airtight freezer bag. They can be kept for up to 2 months; simply reheat on a pan directly from frozen.
- Reheating: To enjoy your roti at its best, reheat in a non-stick pan over medium heat for a few minutes on each side until warmed through and crispy again!
What to Serve With Flaky Roti Canai
The delightful crunch and soft layers of Flaky Roti Canai create endless possibilities for a perfectly balanced meal that warms the heart.
-
Spicy Chicken Curry: The robust flavors and heat of this curry create a stunning contrast with the delicate layers of the roti.
-
Vegetable Dal: Creamy, savory lentils seep into the flaky layers, making for a comforting bite that’s both nutritious and satisfying.
-
Tangy Mango Chutney: A sweet and tangy side that brightens up each mouthful, adding a refreshing burst of flavor.
-
Cucumber Raita: Cooling and creamy, this yogurt dip complements the spices in your main dish, bringing balance to the meal.
-
Savory Stuffed Parathas: Try pairing these with your roti! The rich fillings enhance the experience, creating a feast of flavors.
-
Chai Tea: A warm, spiced tea that rounds out your meal beautifully, perfect for sipping between bites of roti.
-
Honey Drizzle: For those moments when you crave something sweet, a light drizzle of honey transforms your roti into a delightful dessert.
-
Almond Coconut Kheer: A luscious rice pudding with the richness of coconut and almonds offers a soothing finish to your meal.
Expert Tips for Flaky Roti Canai
- Measure Precisely: Use weight measurements for flour to maintain the right texture in your Flaky Roti Canai; precision is key!
- Knead Well: Don’t skip kneading! A good knead develops gluten, which is essential for achieving that delightful flakiness.
- Rest Time Matters: Allow the dough and shaped roti to rest adequately; this relaxes gluten, preventing tearing during stretching.
- Oil Generously: When forming and cooking, ensure to coat the layers with sufficient oil; it’s crucial for the characteristic flaky texture.
- Practice Stretching: The technique takes time; practice makes perfect! Stretch the dough gently to minimize tearing and maintain its integrity.
Flaky Roti Canai Variations & Substitutions
Feel free to let your culinary creativity shine as you customize your Flaky Roti Canai with these delightful twists!
-
Egg Roti: Cook an egg in the pan before placing the roti for a satisfying filling. This breakfast favorite transforms the dish into a protein-packed delight!
-
Sweet Roti: For a dessert twist, add sugar or condensed milk to the dough, creating a sweet treat that’s perfect with a drizzle of honey. The sweetness pairs wonderfully with a cup of chai!
-
Savory Fillings: Add spiced potatoes, sautéed vegetables, or minced meats for a hearty variation. Think of it as a flavorful pocket of goodness; these additions bring the Roti Canai to a new, savory level.
-
Whole Wheat Roti: Swap all-purpose flour for whole wheat for a nutritious alternative. This healthy variation retains the delightful flakiness while offering more fiber and a nuttier taste.
-
Herbed Roti: Incorporate fresh herbs like cilantro or parsley into the dough for an aromatic touch. This variation brings vibrant flavors that can elevate any meal.
-
Spicy Twist: Add chili flakes or finely diced green chilies to the dough for those who crave a little heat. It adds a lively kick that pairs beautifully with creamy curries.
-
Coconut Roti: Substitute a portion of the water with coconut milk for a subtly sweet, tropical flavor. Pairing this roti with mango chutney creates a delightful harmony of tastes.
-
Vegan Option: Replace butter or ghee with plant-based margarine or coconut oil for a fully vegan-friendly version. The taste remains rich and satisfying without any animal products.
Explore these variations to make your Flaky Roti Canai an even more delightful experience, and consider crafting a warm, comforting dessert option like Sweet Roti for after your savory feast!
Make Ahead Options
These Flaky Roti Canai are perfect for meal prep enthusiasts! You can prepare the dough up to 24 hours in advance; simply mix the ingredients and let the dough rest in the refrigerator overnight. For even better flavor, coat your divided dough balls with oil and store them in an airtight container for up to 3 days. When you’re ready to cook, take the dough out, shape, and rest it for about 30 minutes to allow for easy stretching. This way, you’ll have effortlessly flaky flatbreads at your fingertips, saving time and effort when hunger strikes! Enjoy your homemade roti just as deliciously as if it were freshly made!
Flaky Roti Canai Recipe FAQs
How do I select the best flour for Flaky Roti Canai?
Absolutely! For the best results, opt for all-purpose flour, which provides the right structure and texture for your roti. Look for flour with a protein content of around 10-12%. Avoid using self-rising flour as it won’t yield the same delightful flakiness.
What is the best way to store leftover Roti Canai?
I recommend storing leftover Flaky Roti Canai in an airtight container at room temperature for up to 2 days. If you’re planning to keep it longer, put it in the fridge where it’ll last up to 4 days. Just remember to reheat them on a pan for that freshly made texture!
Advertisement
Can I freeze Flaky Roti Canai, and if so, how?
Definitely! To freeze your Flaky Roti Canai, lay each roti flat with parchment paper between them to prevent sticking. Place the layered roti in an airtight freezer bag; they can be frozen for up to 3 months. When ready to enjoy, reheat directly from frozen on a pan over medium heat until warm and crispy – it’s like fresh!
What if my dough is too sticky or dry?
Very common! If your dough feels too sticky, you can dust it with a little extra flour while kneading until it reaches the right consistency. Alternatively, if it’s too dry, add a tiny bit of room temperature water, a teaspoon at a time, until it becomes manageable. The key is to aim for a soft, pliable dough!
Are there any dietary considerations for Flaky Roti Canai?
Certainly! While this recipe is vegetarian-friendly, if you have certain allergies, be cautious of gluten from the flour and any potential allergens in the oil or butter you choose to use. If you’re cooking for pets, keep in mind that some ingredients like salt or butter may not be suitable for them. Always double-check with your vet for pet-friendly options.
Can I use whole-wheat flour instead of all-purpose flour?
Absolutely! Whole-wheat flour can be used for a healthier version of Flaky Roti Canai, but keep in mind you might need to adjust the water slightly since whole-wheat flour absorbs more moisture. Start by replacing half of the all-purpose flour with whole wheat, and then gradually increase as you find your perfect balance.
Flaky Roti Canai: Master This Layered Delight at Home
Ingredients
Equipment
Method
- In a large mixing bowl, combine 4 cups of all-purpose flour with 1 teaspoon of sea salt. Gradually pour in 180 mL of boiling water, stirring until clumps form. Continue by adding 180 mL of room temperature water until you achieve a scraggly dough. Cover the bowl with a damp cloth and let the dough rest for 30 to 60 minutes.
- Transfer the rested dough to a clean surface and knead for 1-2 minutes until it becomes smooth and elastic. Divide the dough into 8 equal portions and shape each piece into a ball. Coat each ball lightly with oil to prevent sticking, then place them back in the bowl, cover, and let rest for 2 hours or overnight in the fridge.
- Take each dough ball and flatten it slightly before stretching it into a thin layer, ideally around 12 inches in diameter. Brush the surface with a little oil, then roll or fold the dough into a cylindrical shape and coil it into a spiral. Repeat this process for all dough balls, then cover them and let rest for 30 minutes on the countertop.
- Heat a non-stick pan over medium heat and carefully flatten one coiled dough into a 6-7 inch circle. Cook for approximately 1-2 minutes until golden brown underneath, then flip and repeat until both sides are suitably cooked and flaky. Transfer the cooked Roti Canai to a cooling rack and gently press down on it to separate the layers.