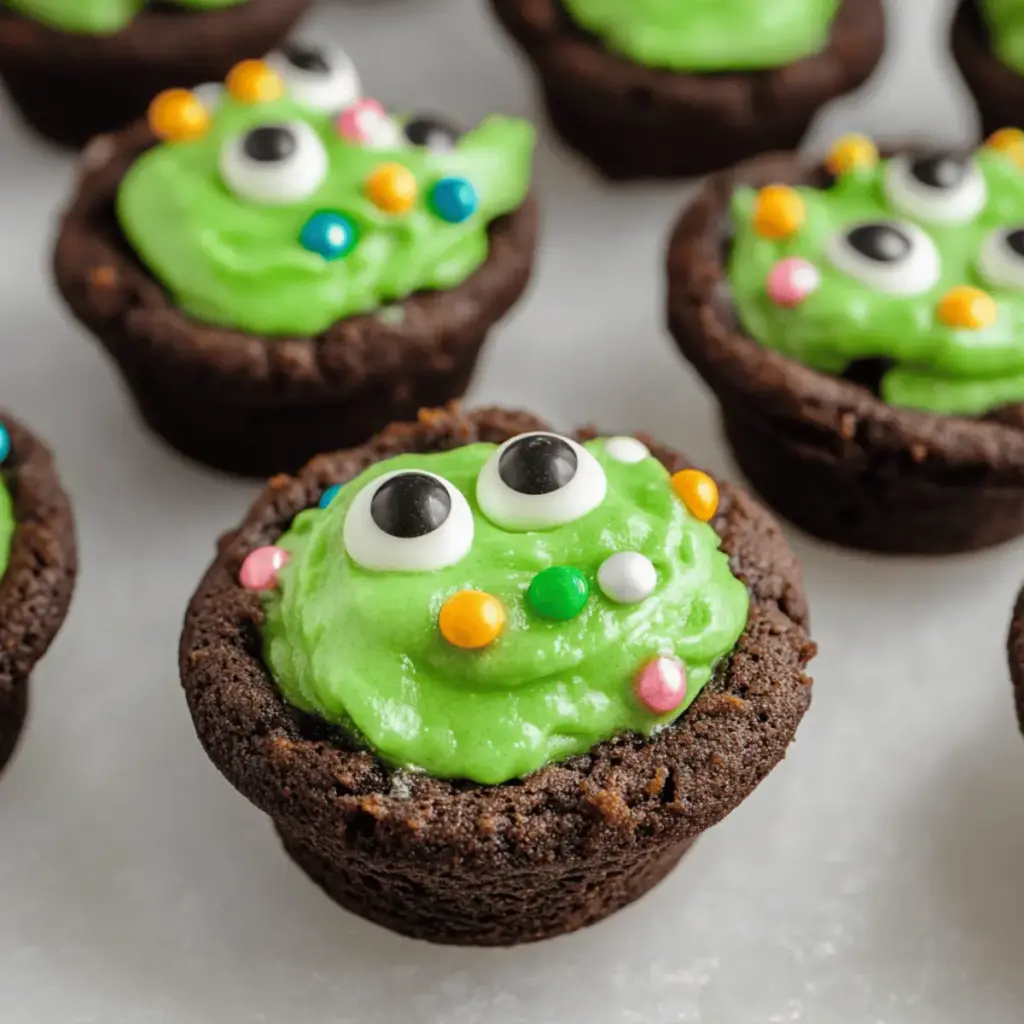
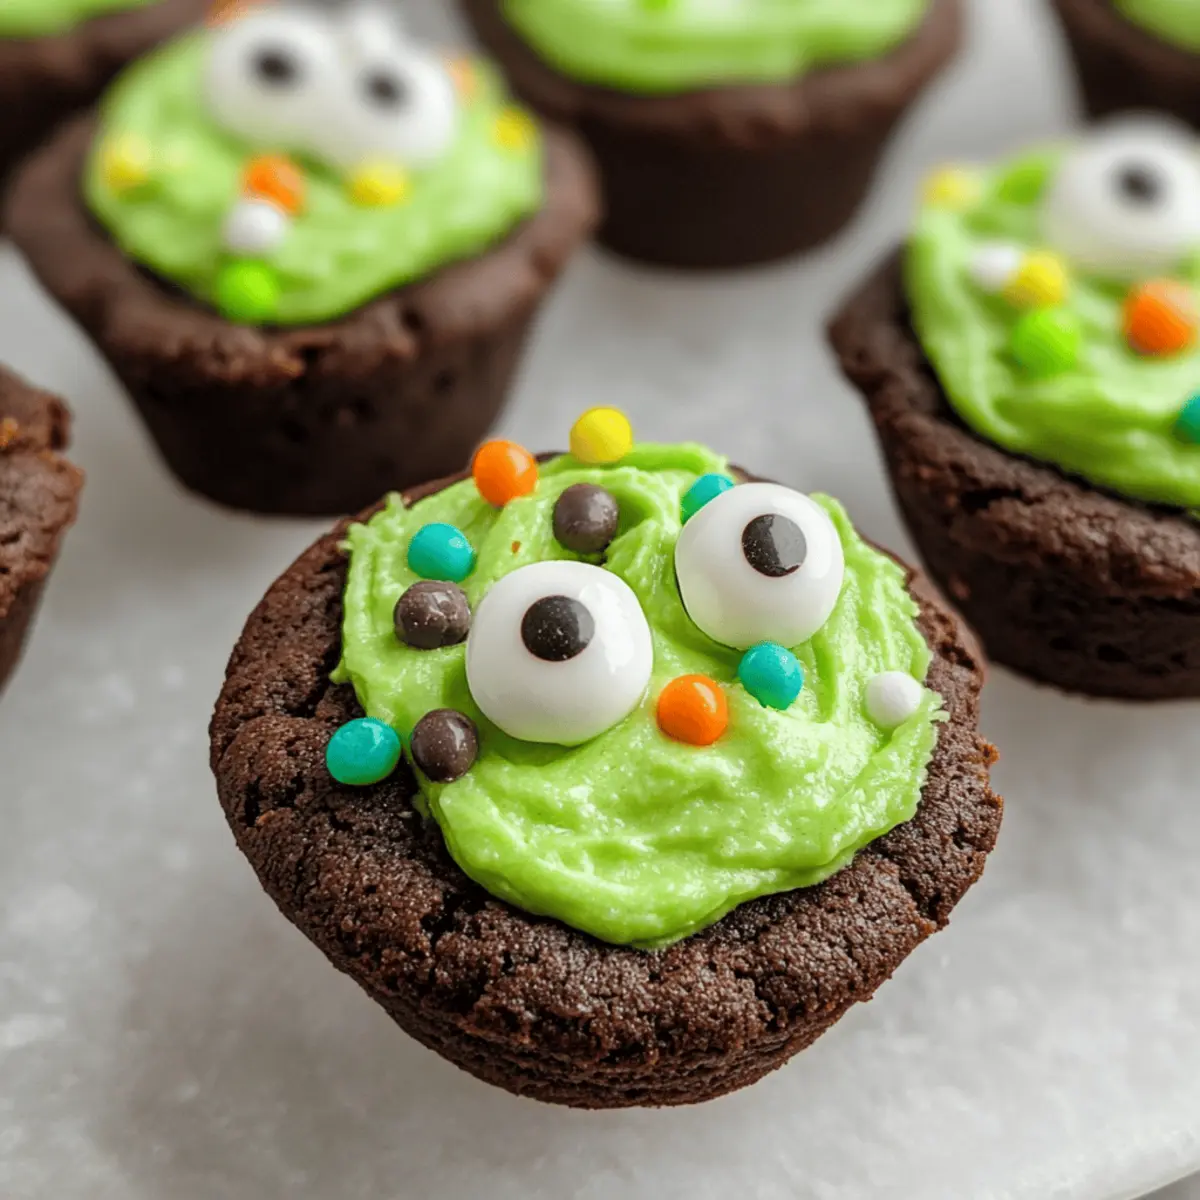
As Halloween approaches, the air fills with whispers of spooky treats just waiting to be made! That’s why I’m excited to share my Easy Cauldron Cookies, which are not only delightfully soft but also brim with fun and creativity. Picture mini chocolate cookie cups filled with vibrant green buttercream, resembling bubbling potions straight from a witch’s cauldron. These cookies are perfect for quick baking and offer a charming project to engage kids or impress guests at your spooky gathering. With just a few easy steps, you’ll create not only a delicious dessert but a whimsical centerpiece for any Halloween party. Curious to discover how to bring these enchanting treats to life? Let’s dive into the recipe!
Why Are Easy Cauldron Cookies So Fun?
Whimsical Appeal: These cookies capture the playful spirit of Halloween, perfect for festive gatherings.
Easy to Make: The simple steps paired with a cake mix make baking a breeze, even for novices.
Endless Customization: From brownie bases to cream cheese frosting, you can tailor them to suit your taste.
Kid-Friendly Activity: Involve the little ones in decorating with sprinkles and candy eyeballs for a fun family project.
Deliciously Decadent: Enjoy the rich chocolate flavor combined with a creamy, vibrant frosting that truly makes these treats stand out.
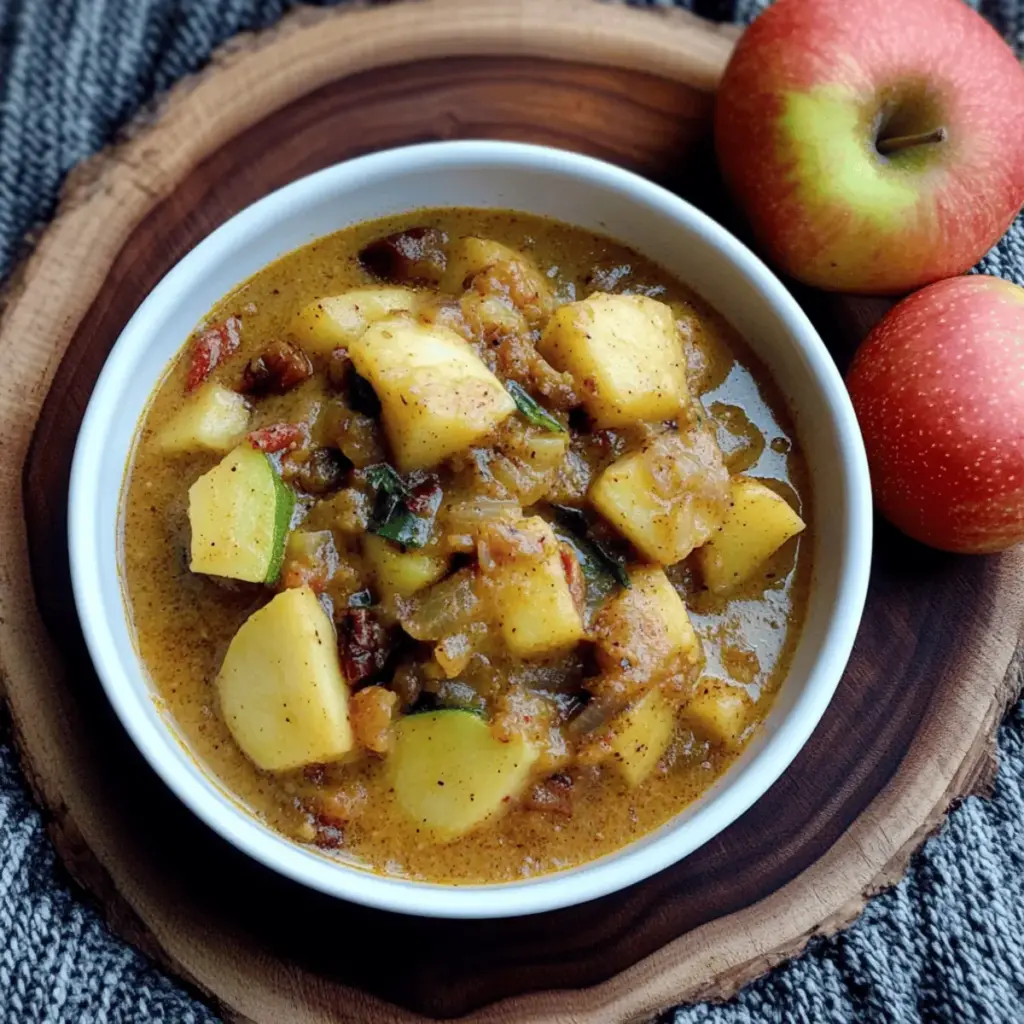
For more delightful cookie recipes, check out my Cheesecake Cookies Salted and Caramel Apple Cookies for additional inspiration!
Easy Cauldron Cookies Ingredients
For the Cookie Base
• Devil’s Food Cake Mix – Provides the rich chocolatey flavor, and can be substituted with any chocolate cake mix.
• Eggs – Essential for moisture and binding the ingredients together.
• Canola or Vegetable Oil – Ensures a tender cookie texture; consider coconut or olive oil for a unique twist.
• Black Food Coloring (optional) – Enhances the dark color of the cookies; feel free to omit for a lighter look.
For the Buttercream Filling
• Unsalted Butter – Adds richness to the buttercream; if you prefer, use salted butter for extra flavor.
• Powdered Sugar – Sweetens the buttercream and aids in achieving a smooth texture—avoid using granulated sugar.
• Vanilla Extract – Infuses aromatic flavor; pure vanilla offers a superior taste compared to artificial.
• Salt – Balances the sweetness, enhancing overall flavor.
• Milk – Adjusts the consistency of the buttercream; any milk (dairy or plant-based) works well.
• Green Food Coloring – Colors the buttercream to resemble a potion; use gel for a more vibrant shade.
For Decoration
• Green Sprinkles, Halloween Sprinkles, Candy Eyeballs, Pretzel Sticks – Add fun and visual appeal; choose decorations that embrace the Halloween theme.
Step‑by‑Step Instructions for Easy Cauldron Cookies
Step 1: Preheat the Oven and Prepare Pans
Begin by preheating your oven to 350°F (175°C). While the oven is warming up, grease three mini muffin pans with a light layer of baking spray or butter to prevent the cookies from sticking. This step is essential for ensuring easy removal later, so don’t skip it!
Step 2: Mix the Cookie Base
In a large mixing bowl, combine the Devil’s Food Cake Mix, eggs, canola or vegetable oil, and optional black food coloring. Use a spatula or wooden spoon to blend the ingredients together thoroughly until no dry mix remains and the batter is smooth. This rich chocolatey mixture will be the foundation for your Easy Cauldron Cookies!
Step 3: Fill the Muffin Pans
Using a tablespoon or cookie scoop, measure about 1/2 tablespoon of the cookie dough and place it into each greased muffin cup. Gently flatten each scoop to create an even surface for baking. Make sure the dough is distributed evenly among the three pans, as this will ensure uniformity in your cookie cups.
Step 4: Bake the Cookies
Place the filled muffin pans in your preheated oven and bake for 8 to 10 minutes. Keep an eye on them; the edges should be set while the centers may still appear slightly soft. This is the perfect moment to create indentations; lightly press the back of a measuring spoon into the center of each warm cookie to form a cup for the buttercream filling.
Step 5: Cool the Cookie Cups
Once baked, remove the muffin pans from the oven and allow the cookies to cool in the pans for about 5 minutes. Then, gently transfer them to a wire rack to cool completely. It’s important to let them cool fully to prevent the buttercream from melting when added.
Step 6: Prepare the Buttercream Filling
While the cookies are cooling, begin making the vibrant buttercream filling. In a large mixing bowl, beat the unsalted butter until creamy. Gradually add in the powdered sugar, vanilla extract, and a pinch of salt, mixing thoroughly until well combined and fluffy. This frosting will create that delightful “potion” look!
Step 7: Whip Up the Right Consistency
To achieve a smooth and spreadable buttercream, slowly add milk until you reach your desired consistency. Use an electric mixer for best results, ensuring no lumps remain. Once smooth, mix in the green food coloring until the buttercream resembles a bubbling potion, adjusting the color to your preference.
Step 8: Fill the Cookie Cups
With the cookie cups now fully cooled, prepare to decorate! Using a piping bag or a zip-top bag with a corner snipped off, pipe the vibrant green buttercream into each chocolate cookie cup. Go wild with your decoration, as it adds to the whimsical look of your Easy Cauldron Cookies!
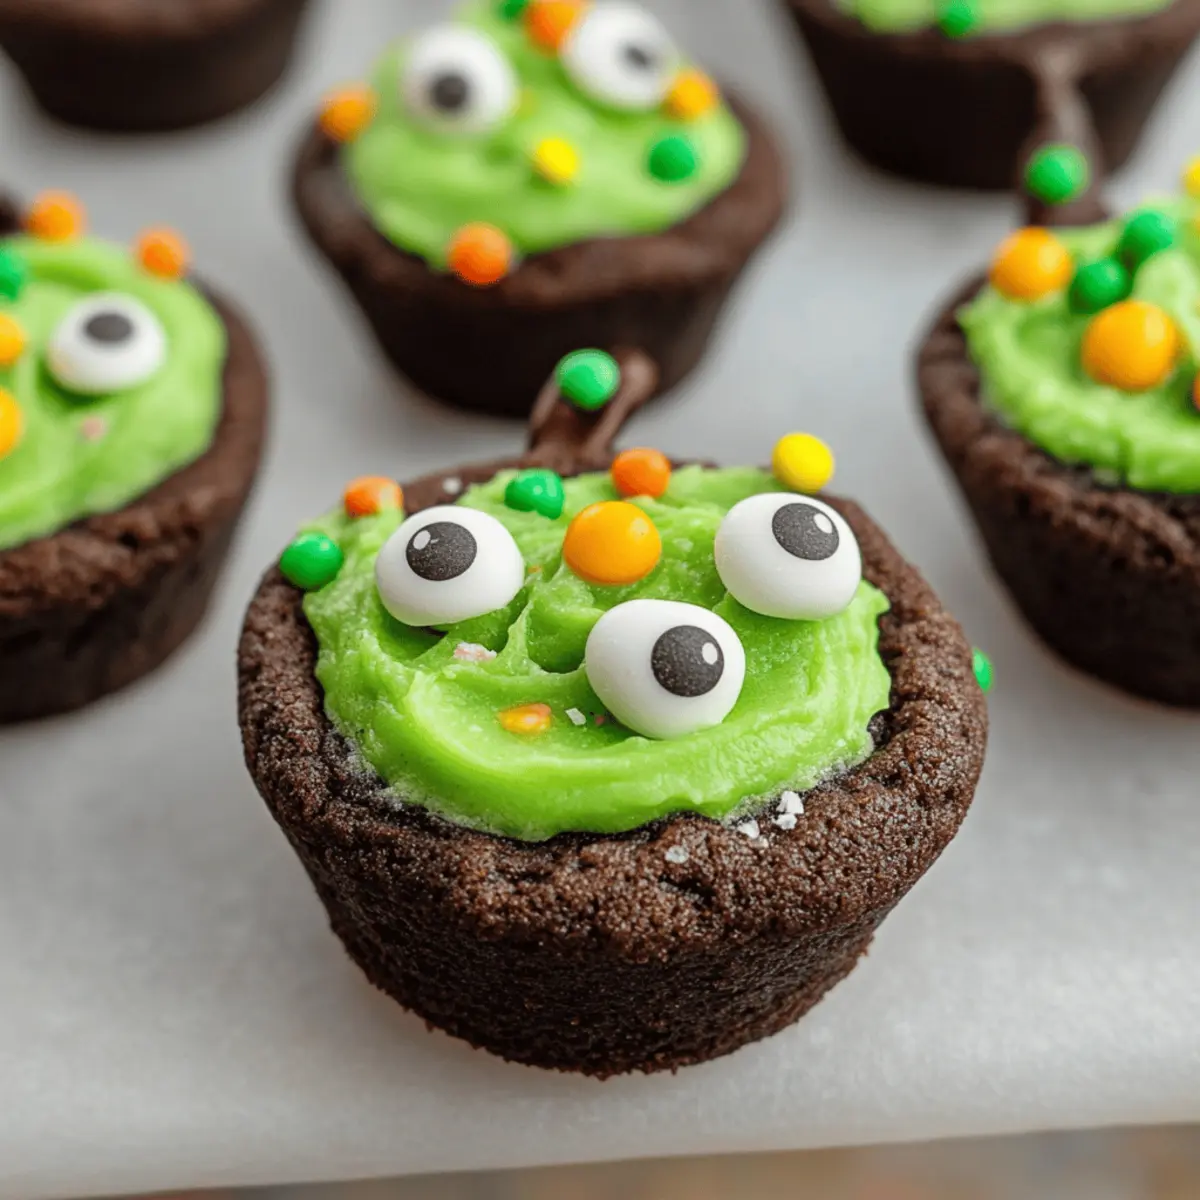
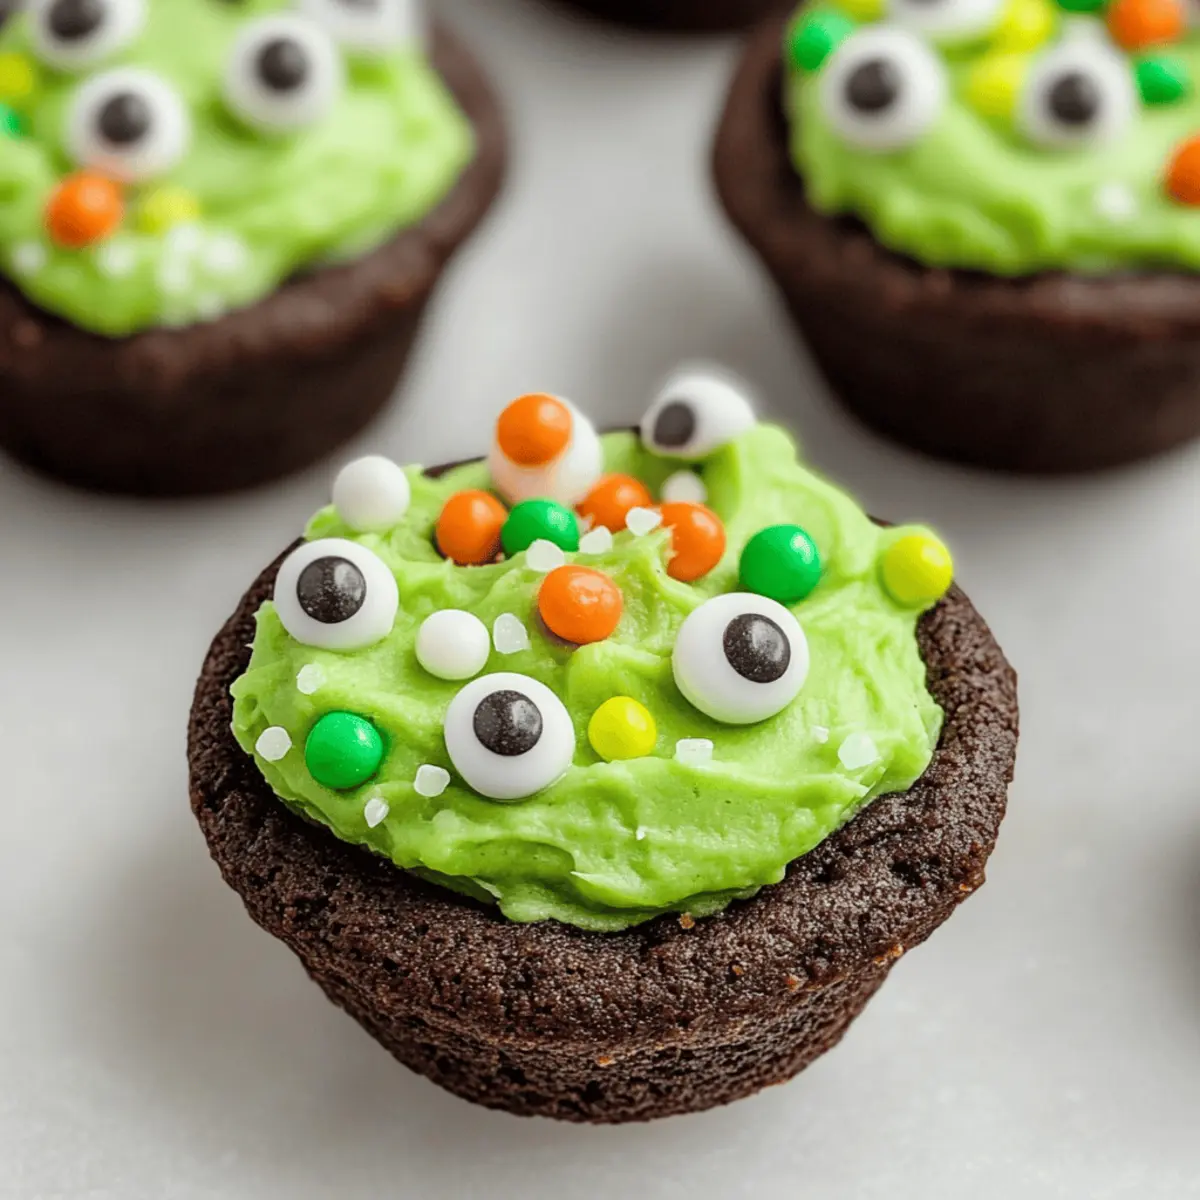
Step 9: Add Fun Decorations
Finally, it’s time to enhance the festive spirit! Sprinkle green or Halloween-themed sprinkles over the buttercream, and add candy eyeballs for an extra spooky touch. For added charm, insert pretzel sticks into the buttercream to mimic stirring sticks, transforming your cookies into delightful cauldrons ready to be served.
How to Store and Freeze Easy Cauldron Cookies
Room Temperature: Store decorated cookies in an airtight container at room temperature for up to 3 days. Make sure they are placed in a single layer to avoid smudging the frosting.
Fridge: If you’d like your cookies to last longer, place them in the fridge in an airtight container for up to 1 week. Just be aware that condensation may form when you take them out.
Freezer: To freeze undecorated cookie cups, place them in an airtight container or zip-top bag for up to 3 months. Thaw in the fridge before decorating for the perfect texture.
Reheating: If desired, warm decorated cookies briefly in the microwave (about 10 seconds) to soften the buttercream slightly before serving—just be careful not to overheat!
Make Ahead Options
These Easy Cauldron Cookies are perfect for meal prep, saving you time during busy Halloween festivities! You can prepare the cookie cups up to 24 hours in advance by baking them and allowing them to cool completely before storing them in an airtight container at room temperature. The buttercream filling can also be made ahead and refrigerated for up to 3 days—just make sure to bring it to room temperature and re-whip it before piping into the cooled cookie cups. When you’re ready to serve, simply fill the cookies with the buttercream and add your favorite decorations for a festive touch. Enjoy having these delightful treats ready to impress your guests with minimal last-minute effort!
Easy Cauldron Cookies Variations
Feel free to let your creativity shine by personalizing these delightful cookies to match your taste and occasion!
-
Brownie Base: Swap out the cookie base for brownie batter to create an irresistibly fudgy texture that chocolate lovers will adore. This twist gives the cookies a rich, indulgent flavor that’ll make them extra special.
-
Cream Cheese Frosting: Replace the buttercream with tangy cream cheese frosting for a delicious flavor contrast. The creaminess paired with a hint of tartness adds a delightful surprise to each bite.
-
Store-Bought Frosting: Short on time? Use store-bought frosting, simply color it as desired to match your Halloween theme. It’s a time-saver that still ensures a fun and festive treat!
-
Color Variations: Experiment with different colors for the frosting to fit various occasions. Imagine pastel shades for a spring celebration or bright red for a festive Christmas treat.
-
Nutty Crunch: Add crushed nuts like walnuts or almonds into the cookie dough for a delightful crunch. The added texture elevates the cookie experience, inviting a wonderful contrast to the soft cookie cup.
-
Spicy Kick: Incorporate a pinch of cayenne or cinnamon to the cookie batter for a surprising hint of warmth. This subtle heat will delight those who enjoy a twist on traditional sweetness.
-
Dairy-Free Delight: Use coconut or almond milk and a dairy-free butter alternative to create a rich, allergy-friendly frosting. Enjoyably creamy, they’ll ensure everyone can enjoy these festive treats!
-
Mini Cauldrons: Create bite-sized versions with a mini muffin tin for fun party treats. Perfect for kids and guests alike, they add charm to your treat table, inviting everyone to indulge!
If you’re looking for additional inspiration, don’t miss out on my Fudgy Chewy Cookies or the enchanting Chocolate Thumbprint Cookies for a deliciously spooky experience!
What to Serve with Easy Cauldron Cookies?
As you whip up a batch of these playful treats, consider crafting a full Halloween-themed spread to delight friends and family.
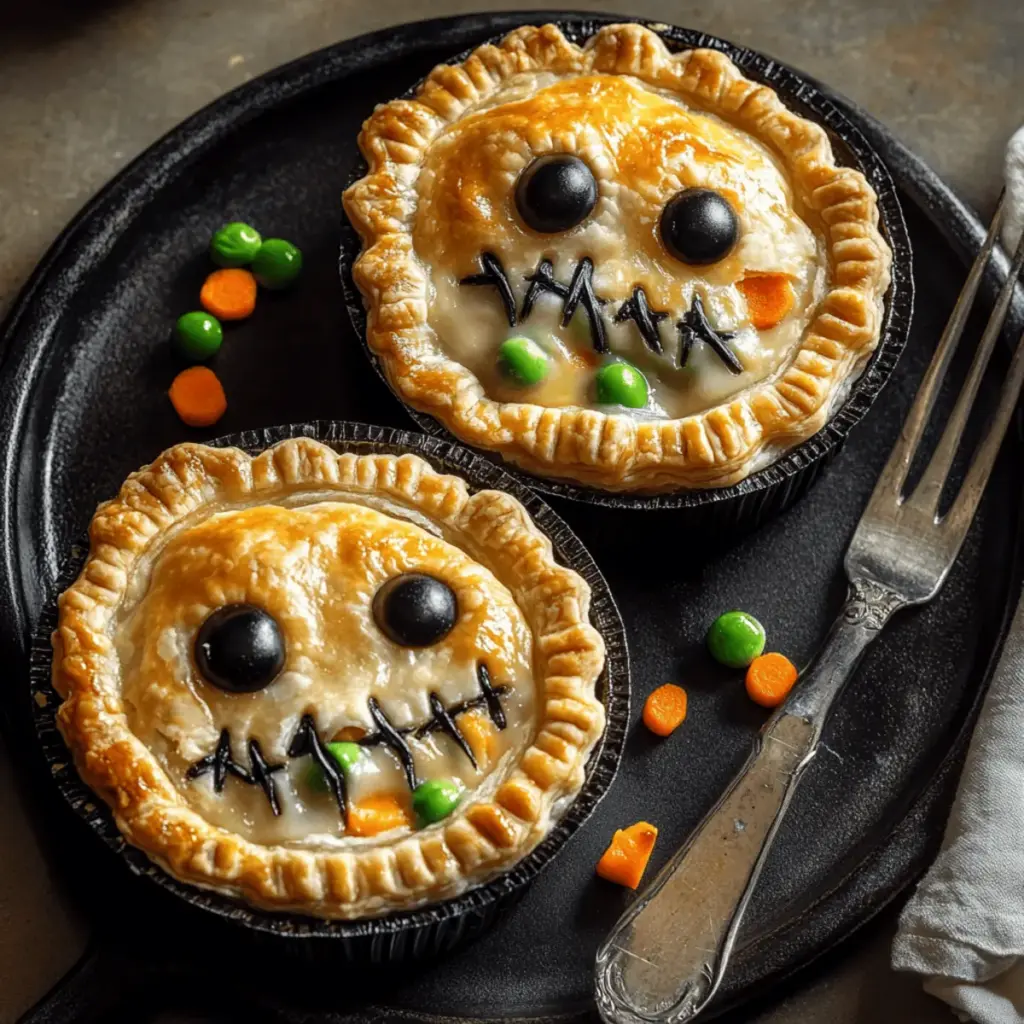
- Spooky Snacks: Fill a platter with jack-o’-lantern stuffed peppers or rice crispy treats shaped like ghosts for a festive touch.
- Witch’s Brew Punch: Pair with a fruity, green punch that echoes the bright buttercream, enhancing the cauldron theme.
- Ghoulish Fruit Skewers: Skewer melon balls, grapes, and strawberries—bright, fresh bites that add a refreshing contrast to the sweet cookies.
- Chocolate-Covered Pretzels: These salty snacks complement the sweets while offering a crunch that marries well with soft cookies.
- Pumpkin Soup: Serve a warm, creamy bowl of pumpkin soup for a cozy, earthy balance amid the sweets.
- Candy Apples: A timeless treat, their shiny exterior adds festive flair and a much-needed crunch alongside your cookies.
With these cheerful combinations, your dessert table will be a delightful Halloween spectacle that everyone will enjoy!
Expert Tips for Easy Cauldron Cookies
-
Cool Before Filling: Allow the cookies to cool completely to prevent the buttercream from melting. Warm cookies can ruin the look of your masterpiece!
-
Perfect Indentation: Use a measuring spoon to create a precise indentation on warm cookies, ensuring enough space for your delicious filling.
-
Mix Colors Wisely: When adding green food coloring, start with a drop and gradually increase for your desired shade. This way, you can avoid over-coloring.
-
Watch Baking Time: Keep a close eye on your cookies while baking; they should be soft in the center. Over-baking can lead to dry cookie cups.
-
Fun Decorations: Let creativity flow with decorating! Aim for a mix of sprinkles and candy eyeballs—this keeps the project enjoyable for kids.
-
Texture Alert: If using brownie batter, bake a bit longer for a fudgier texture. Experiment to find the perfect combination for your Easy Cauldron Cookies!
Easy Cauldron Cookies Recipe FAQs
What kind of cake mix can I use for Easy Cauldron Cookies?
Absolutely! While the recipe calls for Devil’s Food Cake Mix to provide a rich chocolate flavor, you can use any chocolate cake mix you prefer. Red velvet cake mix is also a fun alternative for an exciting twist, especially for Halloween!
Advertisement
How should I store the Easy Cauldron Cookies?
I recommend placing the decorated cookies in an airtight container at room temperature for up to 3 days. If you’re looking to extend their life, you can store them in the fridge for up to 1 week. Just be cautious of condensation forming when you take them out!
Can I freeze undecorated cookie cups?
Yes, you can! To freeze your cookie cups, place them in an airtight container or zip-top bag. They can last for up to 3 months. Just remember to thaw them in the fridge before you decorate; this helps maintain their texture and ensures the buttercream will be perfect when you’re ready to serve.
What if my cookies are too dry after baking?
Very! If your cookies end up too dry, it could be due to over-baking or the dough being too crumbly before baking. Keep an eye on them while baking; they should be soft in the center. You can also check that you’ve added enough moisture when mixing the batter—don’t hesitate to add a tiny bit more oil if it seems too dry!
Are there any dietary considerations I should be aware of?
It’s always wise to be cautious! If you’re making these cookies for someone with allergies, be sure to check for any allergens in the cake mix and buttercream ingredients. For a nut-sensitive environment, opt for a nut-free cake mix and stick to plant-based milks. If making for kids, use decorations that are free from choking hazards.
How can I customize the colors for different occasions?
The more the merrier! You can easily adjust the color of the buttercream by using different food gel colors. For a fall theme, consider orange or gold. Just start with a small amount and gradually mix in until you achieve your desired shade. This way, you can create a beautiful array of festive treats for any occasion!

Easy Cauldron Cookies for a Spooktacular Halloween Treat
Ingredients
Equipment
Method
- Preheat your oven to 350°F (175°C) and grease three mini muffin pans with baking spray or butter.
- In a large mixing bowl, combine the Devil’s Food Cake mix, eggs, canola or vegetable oil, and optional black food coloring. Mix until smooth.
- Measure about 1/2 tablespoon of cookie dough into each muffin cup and flatten gently.
- Bake for 8 to 10 minutes, then lightly press the back of a measuring spoon into each warm cookie to create indentations.
- Allow cookies to cool in the pans for about 5 minutes, then transfer to a wire rack to cool completely.
- Beat the unsalted butter until creamy in a mixing bowl. Gradually add powdered sugar, vanilla extract, and salt until combined and fluffy.
- Slowly add milk to achieve a smooth buttercream consistency, then mix in green food coloring until desired color is reached.
- Pipe the green buttercream into each cooled cookie cup, decorating to your liking.
- Sprinkle with green or Halloween sprinkles and add candy eyeballs and pretzel sticks for decoration.