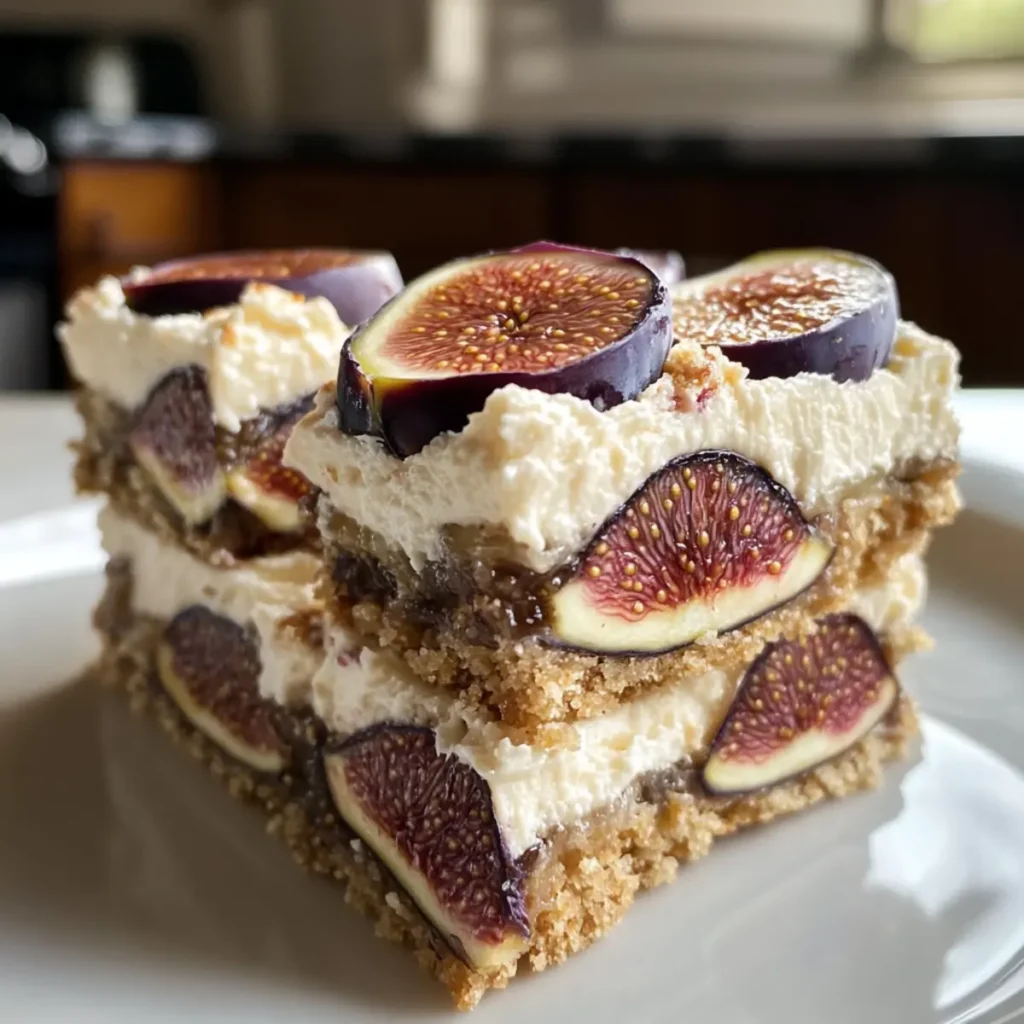
The aroma wafting from my oven, a combination of earthy figs and creamy cheese, takes me back to sunny afternoons spent sharing dessert with friends. These Easy Decadent Fig and Cream Cheese Bars are not just an indulgence; they’re a celebration of flavors that come together effortlessly. When you’re pressed for time yet desire something impressive to share, this recipe shines. With a creamy texture and a subtly sweet fig filling, these bars are perfect for any gathering, showcasing your culinary prowess without keeping you in the kitchen for hours. Plus, they can be made ahead, making them a stress-free treat for busy days. Are you ready to elevate your dessert game? Let’s dive into the scrumptious details!
Why are these bars a must-try?
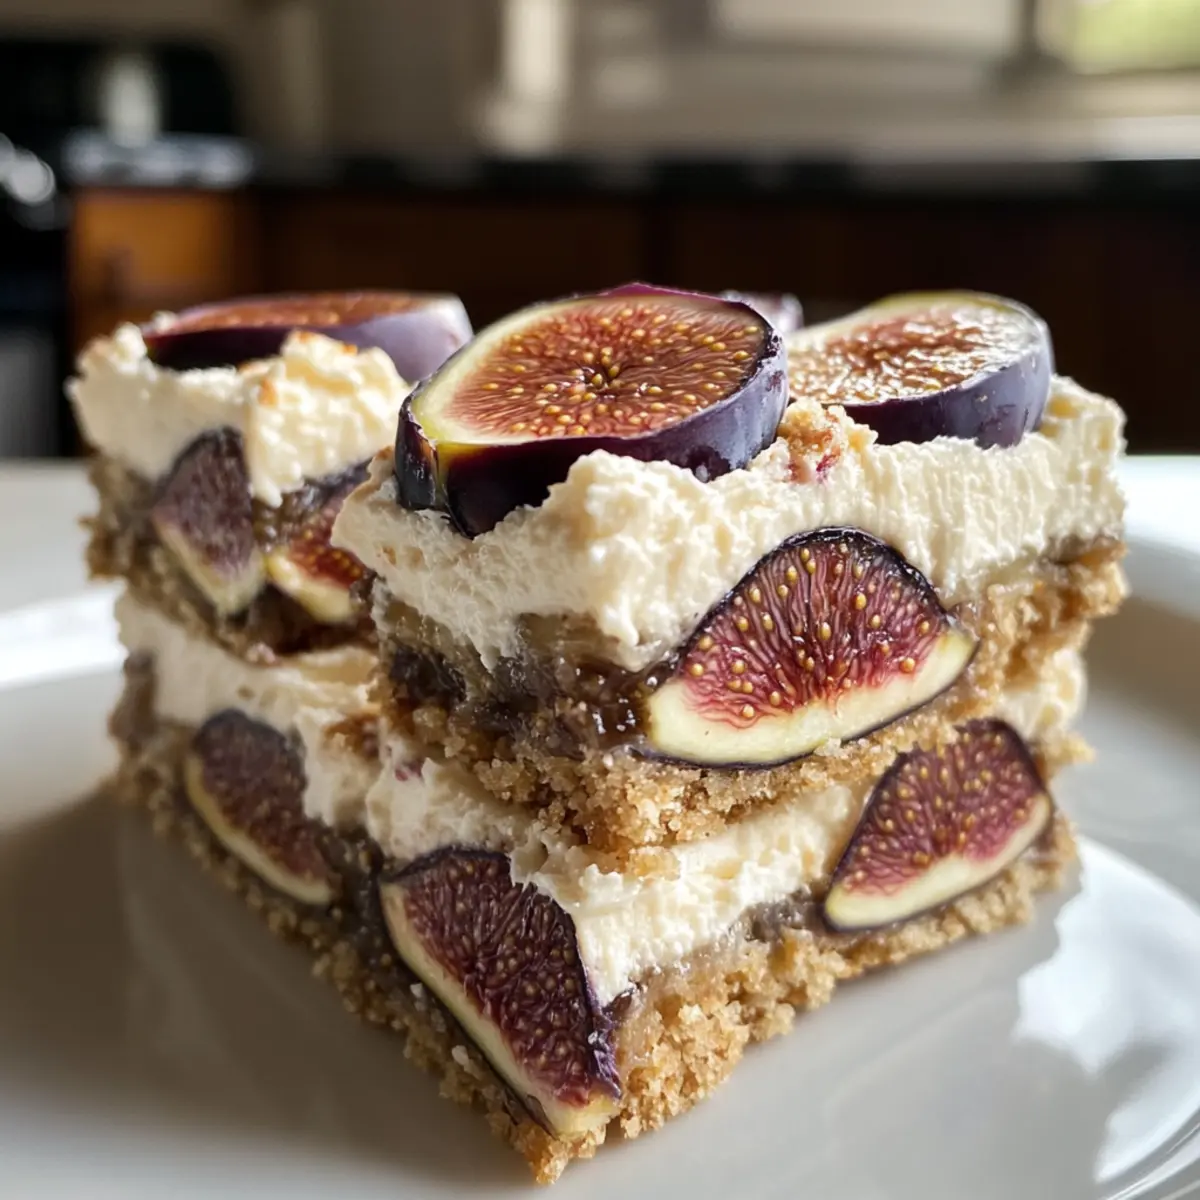
Creamy Delight: The rich cream cheese topping creates an indulgent texture that perfectly balances the sweetness of figs.
Quick to Make: With minimal prep and bake time, you can whip up these bars in no time, perfect for those busy weeknights!
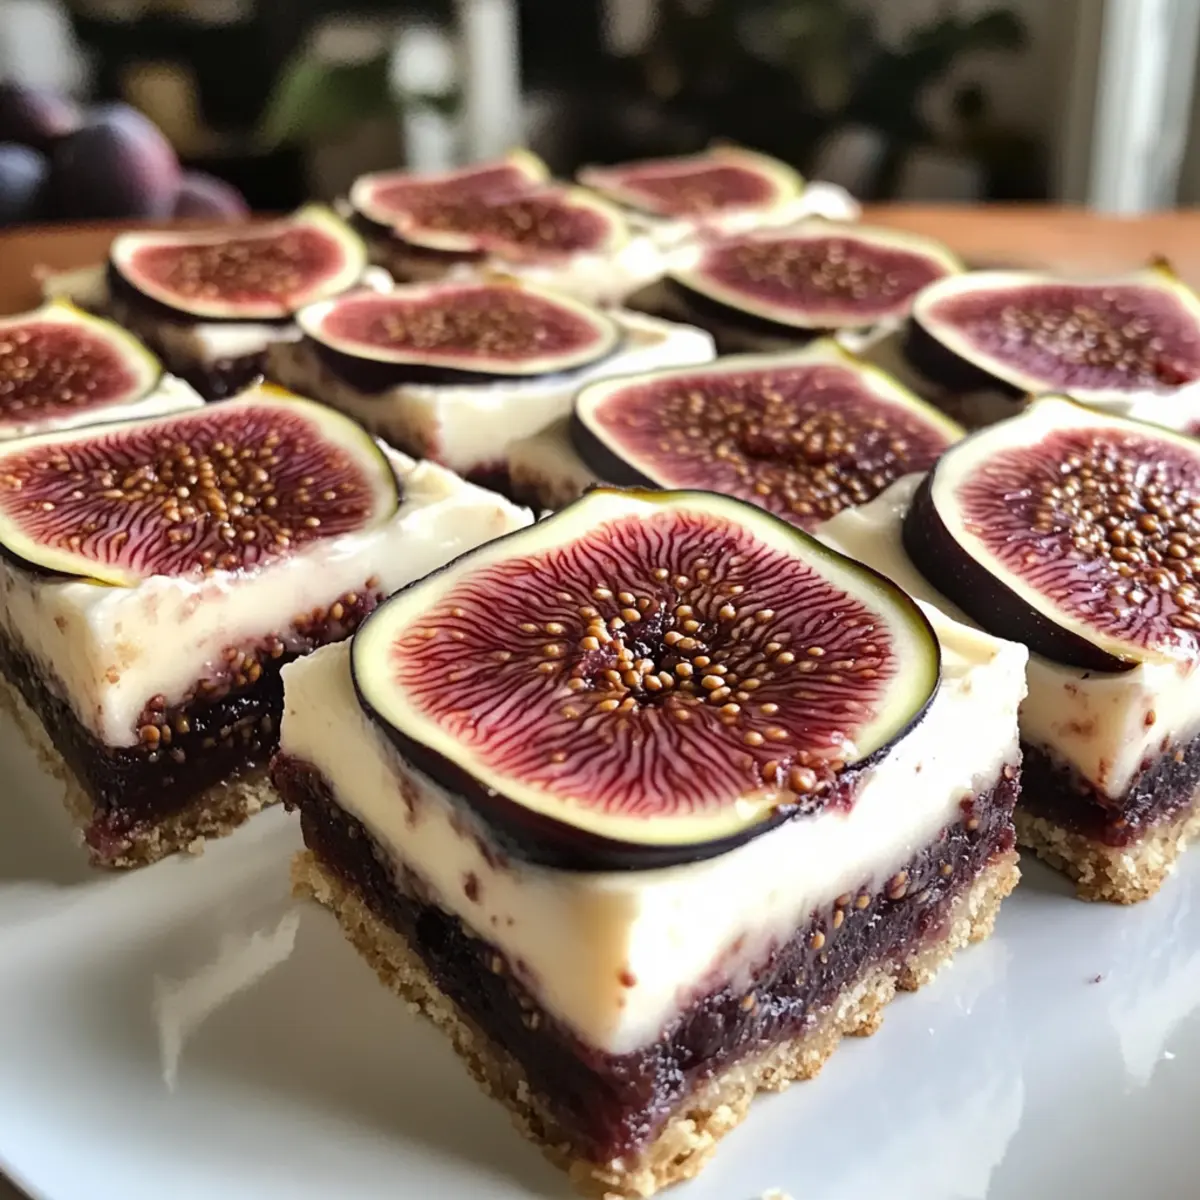
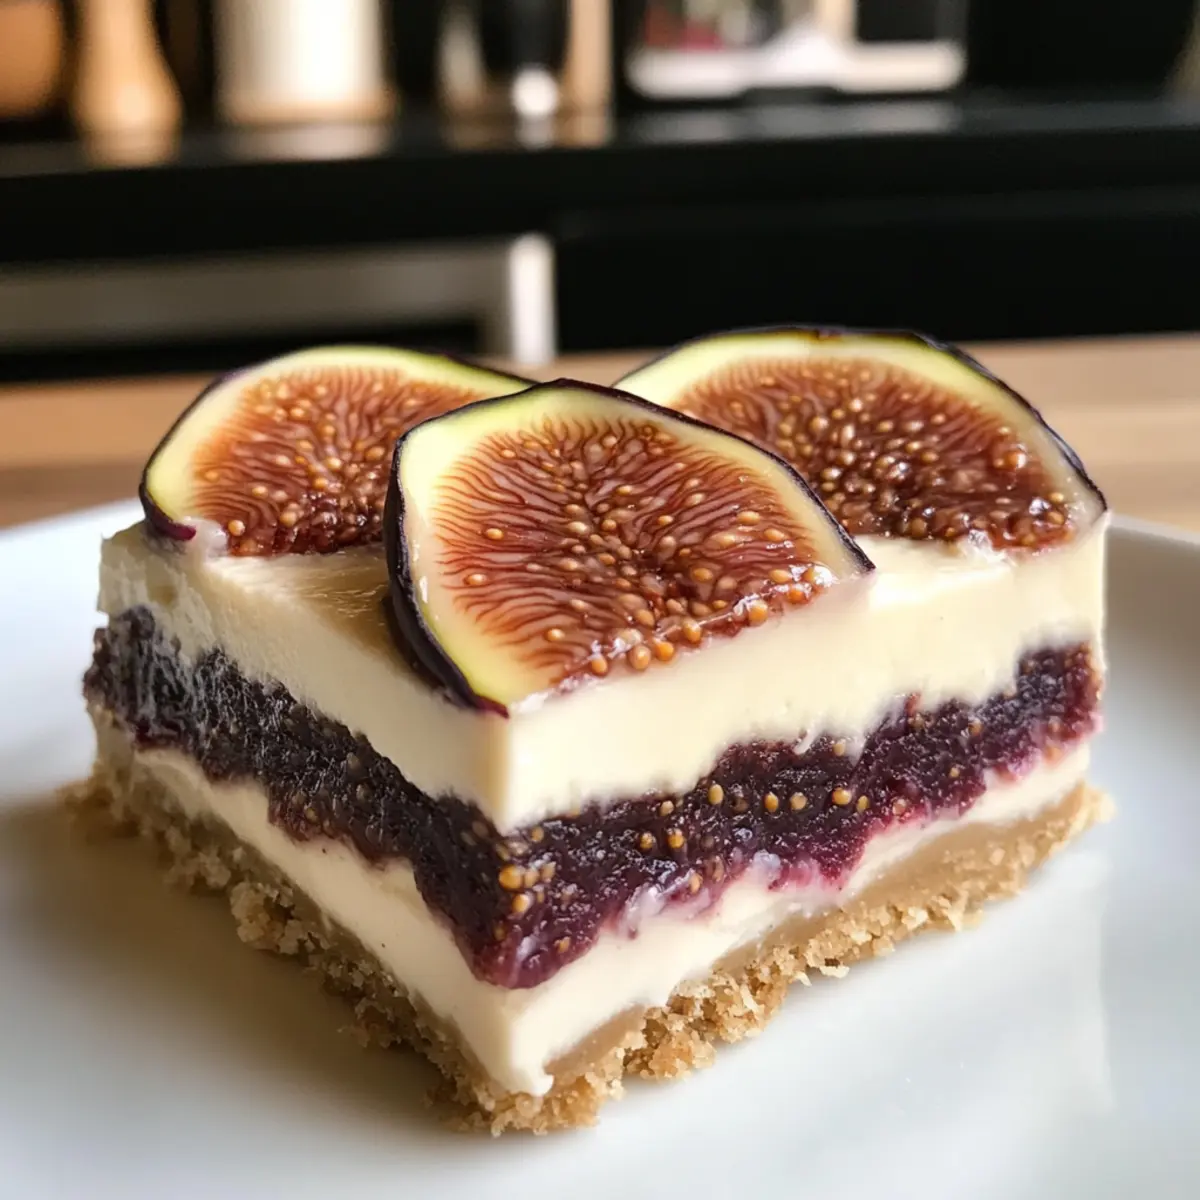
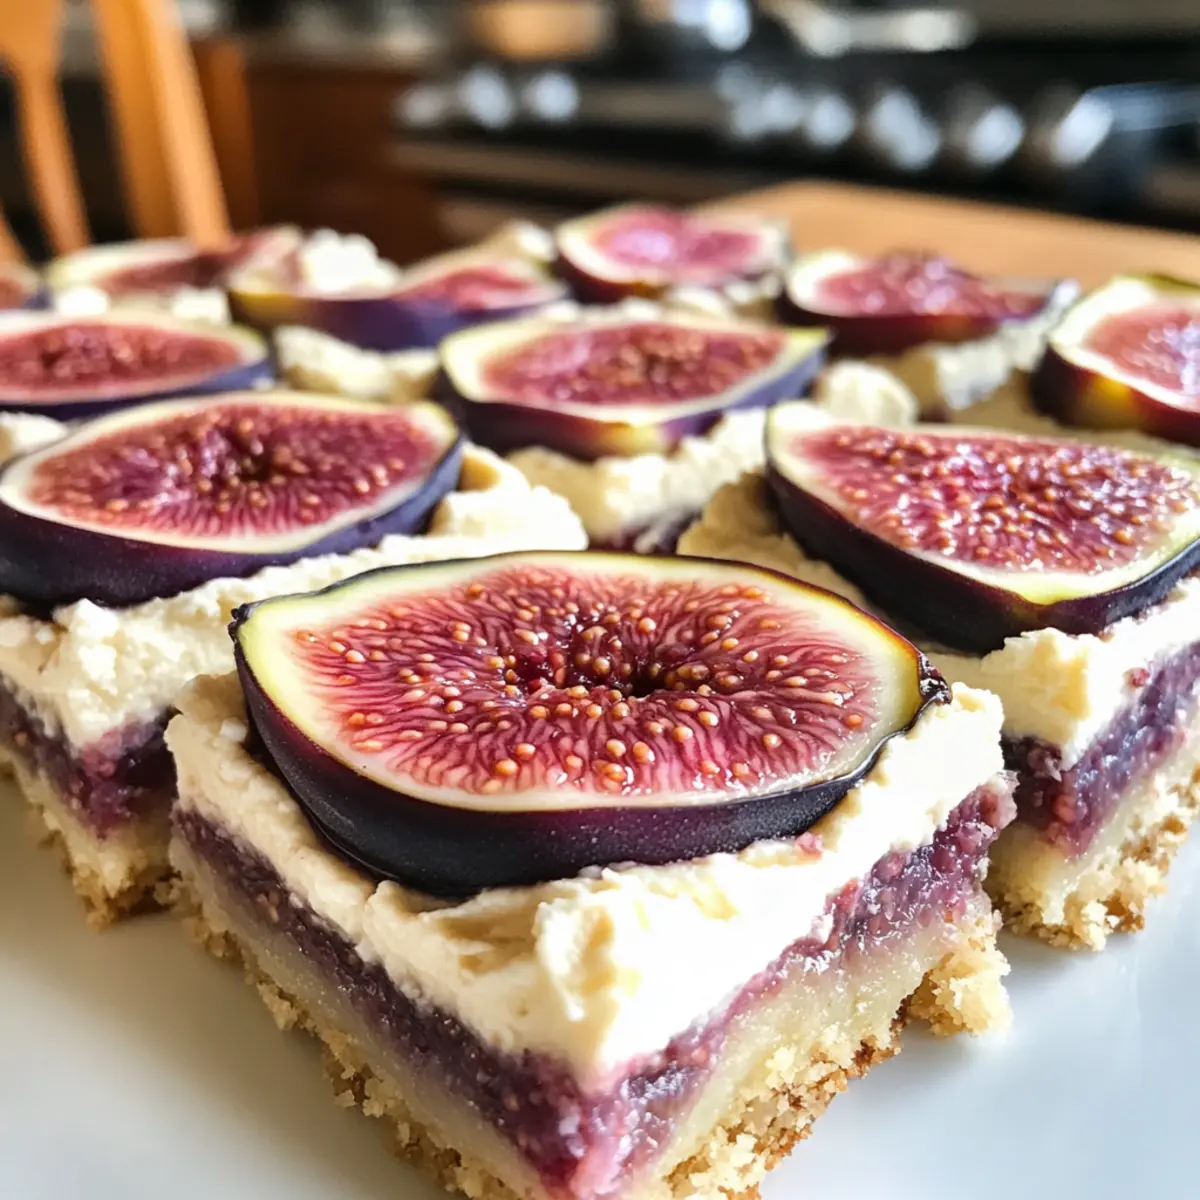
Impressive Presentation: Their beautiful layers not only taste amazing but also make for an eye-catching dessert when served.
Make-Ahead Magic: These bars can be prepared in advance, making them ideal for parties or potlucks. Just chill, slice, and serve!
Versatile Flavor Profiles: Swap dried figs with your favorite fruits for a personalized twist, like using apricots for a seasonal flair—your guests will love the variety!
Don’t forget to pair with a cup of tea or fresh berries to elevate your dessert experience further!
Decadent Fig and Cream Cheese Bars Ingredients
For the Crust
- All-Purpose Flour – Provides structure for the crust.
- Brown Sugar – Adds sweetness and moisture to the crust.
- Cold Unsalted Butter – Essential for a crumbly, rich base.
- Salt – Enhances the flavors of the other ingredients.
For the Fig Filling
- Dried Figs – The main flavor component; sweetens the filling.
- Water – Helps soften the dried figs for easier blending.
- Lemon Juice – Balances sweetness and adds brightness to the filling.
For the Cream Cheese Topping
- Cream Cheese – Provides a creamy, rich topping.
- Granulated Sugar – Sweetens the cream cheese filling.
- Vanilla Extract – Enhances the flavor of the cream cheese layer.
- Egg – Binds the cream cheese filling and helps it set.
These easy Decadent Fig and Cream Cheese Bars are sure to make a lasting impression at your next gathering!
Step‑by‑Step Instructions for Decadent Fig and Cream Cheese Bars
Step 1: Prepare the Crust
In a mixing bowl, combine all-purpose flour, brown sugar, and a pinch of salt. Cut in very cold unsalted butter using a pastry cutter until the mixture resembles coarse crumbs, with butter flecks visible. Prepare a greased 20×30 cm baking pan, and press the mixture firmly into the bottom to create an even crust. Bake in a preheated oven at 180°C (356°F) for about 12-15 minutes until lightly golden.
Step 2: Prepare the Fig Filling
While the crust bakes, clean and chop the dried figs into smaller pieces. In a small saucepan, simmer the chopped figs with enough water to cover them for about 5 minutes, or until they soften significantly. Once softened, remove from heat and blend the figs with lemon juice until smooth, achieving a thick purée, then spread this fig filling evenly over the baked crust.
Step 3: Make the Cream Cheese Topping
In a medium mixing bowl, beat together softened cream cheese, granulated sugar, vanilla extract, and one egg using an electric mixer. Mix until smooth and creamy without lumps, about 2-3 minutes. Carefully pour this luscious cream cheese mixture over the fig layer, gently spreading it evenly to ensure a harmonious blend of the creamy topping with the fig filling.
Step 4: Bake
Place the assembled Decadent Fig and Cream Cheese Bars back into the preheated oven. Bake for approximately 30 minutes or until the top is lightly golden brown and the edges are set while the center has a slight jiggle. Keep a close eye to avoid overbaking, as the cream cheese layer should remain creamy and not crack.
Step 5: Cool and Slice
Once baked, remove the bars from the oven and let them cool completely in the pan. After cooling at room temperature, transfer the pan to the refrigerator to chill for at least 4 hours; this allows the bars to set properly. Once chilled, use a sharp knife to slice into squares, dipping the knife in hot water for neat cuts.
Expert Tips for Decadent Fig and Cream Cheese Bars
-
Dough Handling: Avoid overworking the crust to keep it light and crumbly. Just mix until combined for the best texture.
-
Fig Soaking: Ensure dried figs are properly softened by simmering in water; this prevents a gritty filling and enhances the creamy texture.
-
Baking Precision: Watch the baking time closely; overbaking can lead to a cracked cream cheese layer. Look for a slight jiggle in the center when removing from the oven.
-
Serving Tidiness: For neat slices, dip your knife in hot water before cutting the cooled bars. This helps create clean edges.
-
Storage Solution: These Decadent Fig and Cream Cheese Bars store well in the fridge for up to 5 days, making them a great make-ahead dessert option!
What to Serve with Decadent Fig and Cream Cheese Bars
The perfect dessert deserves an equally delightful meal to accompany it, creating a memorable dining experience.
- Earl Grey Tea: The bergamot flavor in Earl Grey complements the creaminess of the bars, providing a sophisticated tea pairing.
- Fresh Berries: Juicy strawberries or blueberries add a refreshing contrast to the rich, creamy texture, enhancing each bite.
- Ice Cream Scoop: A scoop of vanilla bean ice cream makes for a heavenly combination, melting into the warm bars for extra decadence.
- Chilled Rosé Wine: This light and fruity wine complements the sweetness of the figs while adding a touch of elegance to your dessert spread.
- Nuts and Dried Fruits Platter: A mix of toasted nuts and dried fruits can provide a crunchy texture and an array of flavors, perfect for snacking.
- Greek Yogurt Dip: A dollop of tangy Greek yogurt creates a creamy, tart balance when paired with the sweet fig bars.
- Chocolate Drizzle: A light drizzle of melted dark chocolate adds a rich, indulgent twist that elevates the dessert experience.
- Sliced Pears: Lightly seasoned or caramelized pears introduce freshness and a hint of spice, contrasting beautifully with the bars.
- Coffee or Espresso: A rich cup of coffee enhances the dessert’s flavors, making every bite even more satisfying and cozy.
Storage Tips for Decadent Fig and Cream Cheese Bars
Room Temperature: Allow the bars to cool completely before storing at room temperature for a few hours, but they are best kept refrigerated.
Fridge: Store the bars in an airtight container in the refrigerator for up to 5 days. This helps maintain their creamy texture and flavors.
Freezer: These Decadent Fig and Cream Cheese Bars freeze beautifully. Cut into portions, wrap individually, and freeze for up to 3 months. Thaw in the refrigerator before enjoying.
Reheating: If you prefer them warm, gently heat in the microwave for 10-15 seconds. Enjoy the creamy goodness!
Make Ahead Options
These Easy Decadent Fig and Cream Cheese Bars are perfect for meal prep enthusiasts! You can prepare the crust and fig filling up to 24 hours in advance, allowing the flavors to meld beautifully. Simply bake the crust, then store it covered at room temperature. For the fig filling, blend and spread it over the cooled crust, then refrigerate everything until you’re ready to add the cream cheese topping. You can also mix the cream cheese layer up to 3 days ahead, ensuring to cover it tightly to maintain its creamy texture. When ready to serve, simply pour the cream cheese mixture on top and bake. You’ll enjoy a delightful dessert with minimal last-minute effort!
Decadent Fig and Cream Cheese Bars Variations
Explore the delightful ways to customize your Decadent Fig and Cream Cheese Bars, elevating your dessert to new heights of flavor and creativity!
-
Fruit Swap: Replace dried figs with apricots or dates for an exciting twist that brings a whole new flavor profile to this bar. Experimenting with dried fruits adds unexpected layers of taste and sweetness.
-
Gluten-Free: Use almond or coconut flour for a gluten-free crust that maintains the same delightful crumbly texture. Your gluten-sensitive friends will surely appreciate this thoughtful alternative!
-
Spice It Up: Add a pinch of cinnamon or nutmeg to the fig filling for a warm, cozy flavor with a fragrant aroma. This seasonal touch transforms your bars into a comforting favorite during chilly evenings.
-
Zesty Lemon: Incorporate lemon zest into the cream cheese mixture for a bright, tangy flavor that enhances the overall experience. This refreshing addition elevates the sweetness of the figs and creaminess of the cheese.
-
Choco Delight: Fold in some mini chocolate chips into the cream cheese topping for a chocolatey kick that complements the figs beautifully. Who can resist a bit of chocolate in a dessert?
-
Lighter Option: Substitute reduced-fat cream cheese for a lighter version without sacrificing flavor. This offers a guilt-free indulgence while still being richly satisfying!
-
Nutty Crunch: Sprinkle chopped nuts like walnuts or pecans on top before baking for a delightful crunch and added texture. The nutty topping complements the creaminess of the bars perfectly.
-
Sweet Alternatives: For a unique taste, use honey cream cheese or flavored varieties like vanilla, which can add an extra layer of flavor without much effort at all. These small changes can make a huge difference!
Looking for even more inspiring dessert ideas? Check out my favorite soft and decadent red velvet cinnamon rolls or try a slice of our luscious decadent mango cheesecake for a tropical twist!
Advertisement
Decadent Fig and Cream Cheese Bars Recipe FAQs
How do I choose the best figs for this recipe?
Absolutely! When selecting figs, opt for ones that are plump and slightly soft to the touch, avoiding any with dark spots all over. If using dried figs, look for moist ones without added sugars, as they’ll provide a richer flavor in your filling.
What’s the best way to store leftover Decadent Fig and Cream Cheese Bars?
You can keep these delectable bars in an airtight container in the refrigerator for up to 5 days. Wrapping them well ensures that they maintain their creamy texture and freshness for your next indulgent bite!
Can I freeze Decadent Fig and Cream Cheese Bars?
Yes, these bars freeze beautifully! First, cut them into individual portions. Then, wrap each portion in plastic wrap and place them in a freezer-safe bag. They can be frozen for up to 3 months. When you’re ready to enjoy, simply thaw them in the refrigerator for a few hours or overnight.
What should I do if my crust is too crumbly?
If your crust is crumbling too much, it might be due to insufficient moisture or not enough butter mixed in. Ensure you cut your cold butter even smaller into the flour mixture until it resembles coarse crumbs. If it’s still too dry, try adding a tablespoon of cold water at a time until it comes together.
Are there any dietary considerations to keep in mind?
Definitely! If you’re serving guests with allergies or dietary restrictions, you can make these bars gluten-free by using a gluten-free flour blend. Additionally, consider substituting cream cheese with a dairy-free alternative to accommodate lactose intolerances. Always check labels carefully for allergens, especially with dried fruits.
Decadent Fig and Cream Cheese Bars You’ll Love to Share
Ingredients
Equipment
Method
- In a mixing bowl, combine all-purpose flour, brown sugar, and a pinch of salt. Cut in very cold unsalted butter using a pastry cutter until the mixture resembles coarse crumbs. Prepare a greased 20x30 cm baking pan, and press the mixture firmly into the bottom to create an even crust. Bake in a preheated oven at 180°C (356°F) for about 12-15 minutes until lightly golden.
- While the crust bakes, clean and chop the dried figs into smaller pieces. In a small saucepan, simmer the chopped figs with enough water to cover them for about 5 minutes, or until they soften significantly. Once softened, remove from heat and blend the figs with lemon juice until smooth, then spread this fig filling evenly over the baked crust.
- In a medium mixing bowl, beat together softened cream cheese, granulated sugar, vanilla extract, and one egg using an electric mixer until smooth and creamy. Carefully pour this mixture over the fig layer, gently spreading it evenly.
- Place the assembled bars back into the preheated oven. Bake for approximately 30 minutes or until the top is lightly golden brown and the edges are set. Keep a close eye to avoid overbaking.
- Once baked, remove the bars from the oven and let them cool completely. Transfer the pan to the refrigerator to chill for at least 4 hours. Once chilled, use a sharp knife to slice into squares.