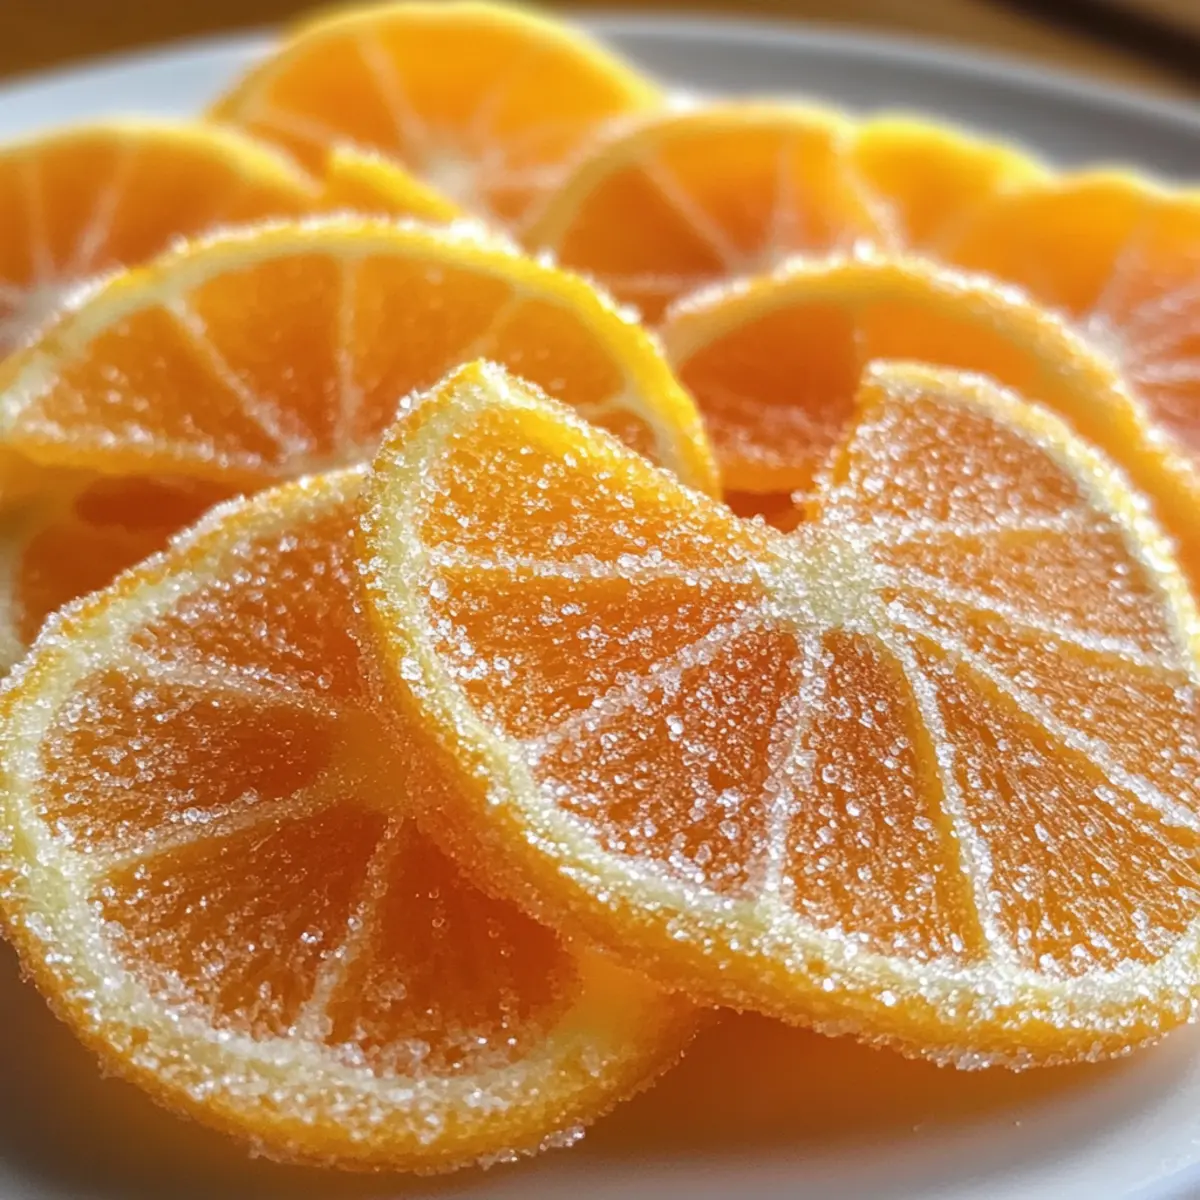
As I shuffled through my kitchen the other afternoon, I couldn’t help but notice the vibrant oranges beckoning at me from the fruit bowl, just waiting to be transformed. This sparked a craving for something sweet and tangy, leading me to whip up a batch of Classic Homemade Orange Candy. This delightful treat is not only a nostalgic nod to my childhood but also an easy way to impress your friends and family with a colorful and glossy finish. With simple ingredients and straightforward techniques, you’ll create chewy, citrus-infused gems that are perfect for gifting or enjoying yourself. Plus, they’re adaptable—feel free to swap in lemons or blood oranges for a refreshing twist! Are you ready to sweeten up your day with a little homemade magic?
Why Make Classic Homemade Orange Candy?
Uniqueness: This recipe offers a creative way to utilize fresh oranges, turning them into glossy, chewy candies that stand out on any dessert table.
Easy to Follow: Made with just three simple ingredients, it’s perfect for both beginners and seasoned chefs looking for a fun project.
Versatility: With the ability to swap in different citrus fruits and sugars, you can customize flavors to fit any occasion. Try adapting it with lemons or even coconut sugar for a richer taste!
Giftable Delight: Packaged beautifully, these candies make thoughtful gifts that are sure to impress friends and family. For charming alternatives, consider pairing your candies with a delightful homemade treat like Homemade Cinnamon Rolls or Homemade Mac Cheese for a sweet and savory gift basket.
Satisfying Crunch: The combination of chewy textures and vibrant citrus flavor evokes the essence of sunshine in every bite, making it a feel-good treat year-round!
Classic Homemade Orange Candy Ingredients
For the Candy
- Fresh Oranges – These provide the bright, tangy flavor that’s the star of your Classic Homemade Orange Candy; feel free to experiment with mandarins or other citrus for a twist.
- Granulated Sugar – A crucial component for creating sweetness and that perfect candy structure; coconut sugar is a great substitute for a more complex flavor.
- Water – Essential for making the syrup that transforms your orange slices into candy; no substitutes are needed here.
For the Dusting
- Granulated Sugar – A light dusting of sugar enhances the glossy finish and prevents the candies from sticking together.
Enjoy bringing a burst of citrus sunshine into your kitchen with these delightful ingredients!
Step‑by‑Step Instructions for Classic Homemade Orange Candy
Step 1: Prepare Oranges
Begin by thoroughly washing your fresh oranges to remove any wax or residue. Slice them thinly, aiming for about 1/8 to 1/4 inch thick rounds. A sharp knife or mandoline will give you even pieces. Lay the slices out on a cutting board, marveling at their vibrant color and aroma—these will be the star of your Classic Homemade Orange Candy.
Step 2: Make Syrup
In a medium saucepan, combine equal parts granulated sugar and water. Heat over low to medium-low heat, gently stirring until the sugar completely dissolves. Bring the mixture to a light simmer—as it bubbles steadily, the syrup should begin to thicken slightly. This should take about 5-7 minutes; be careful not to allow it to boil, as you want to avoid bitterness in your candy.
Step 3: Candy Oranges
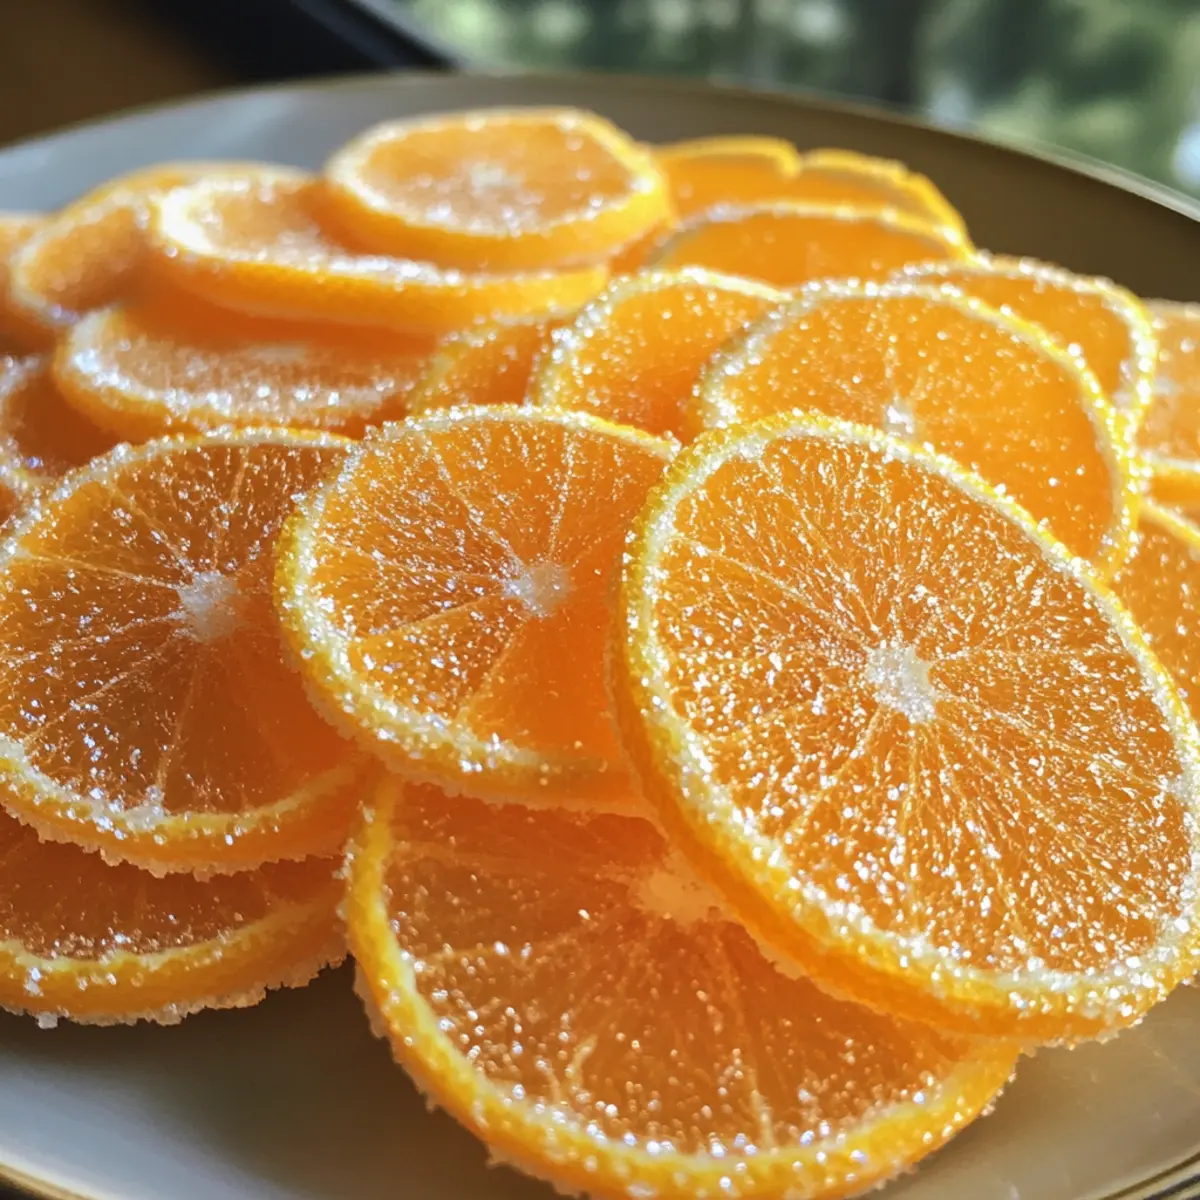
Add your prepared orange slices to the simmering syrup, carefully submerging them. Allow these slices to cook on low heat for about 30 minutes, stirring occasionally. You’ll notice the oranges becoming translucent and glossy—this is the magical transformation into Classic Homemade Orange Candy. Keep the heat low to ensure they don’t become bitter or overly caramelized.
Step 4: Dry Candies
Once the orange slices have turned a beautiful translucent color, remove them from the syrup using a slotted spoon. Place them on a drying rack set over a baking sheet to catch any drips. Let the candies dry completely, which usually takes about 2-3 hours; they should feel tacky but firm to the touch before moving on to the next step.
Step 5: Finish and Store
To add the finishing touch, lightly dust each dried candy with granulated sugar to enhance their glossy appearance and prevent sticking. Once coated, place your Classic Homemade Orange Candy in an airtight container. Store them at room temperature for up to one week, where they’ll stay fresh, chewy, and bursting with citrus flavor.
Make Ahead Options
These Classic Homemade Orange Candies are a fantastic treat to prepare ahead of time, making your busy weeknights a breeze! You can slice the oranges and prepare the syrup up to 24 hours in advance, storing the slices in water in the fridge to prevent browning. When you’re ready to candy them, simply heat the syrup and proceed with the recipe as directed. Additionally, the finished candies can be stored in an airtight container at room temperature for up to one week, ensuring they remain just as delicious and chewy. If you plan to gift them, dusting them lightly with sugar right before packaging will maintain their glossy appeal. Enjoy the time-saving benefits and impress your loved ones with your homemade treats!
Classic Homemade Orange Candy Variations
Feel free to let your creativity shine with these delightful twists on the original recipe!
-
Lemon Swap: Use fresh lemons instead of oranges for a tart, refreshing flavor that’s perfect for summer treats.
-
Grapefruit Twist: Swap in grapefruit slices for added complexity; their unique bitterness balances beautifully with the sugar.
-
Blood Orange Magic: Try using blood oranges for a stunning color and a hint of berry-like richness.
-
Coconut Sugar: Substitute granulated sugar with coconut sugar for a deeper, caramel-like flavor that enhances the citrus notes. This adjustment adds a lovely nutty undertone, elevating your candy experience.
-
Spicy Cinnamon: Add a pinch of ground cinnamon to the syrup while cooking for a warm, fragrant twist that pairs perfectly with citrus.
-
Ginger Kick: Incorporate thin slices of fresh ginger during simmering for a zesty zing that will awaken your taste buds and warm your heart.
-
Chocolate-Covered Variation: Dip half of each candy slice in melted dark chocolate for an indulgent treat that balances sweetness with richness.
-
Herbal Infusion: Experiment with adding a few sprigs of fresh mint or basil to the syrup; this refreshes the palate and adds an unexpected flavor element.
Get ready to impress your friends and family with these tantalizing variations! And if you’re looking for more sweet home endeavors, why not try out Homemade Cinnamon Rolls or dive into the comforting realm of Healthier Homemade Hamburger? These treats are sure to charm anyone with a love for homemade goodness!
Expert Tips for Classic Homemade Orange Candy
-
Slice Thickness: Ensure your orange slices are uniform in thickness (1/8 to 1/4 inch) for even cooking; uneven slices can lead to inconsistent textures in your Classic Homemade Orange Candy.
-
Low Heat: Always keep the heat low during candying to prevent bitterness in the syrup. A gentle simmer is key to avoiding disappointment.
-
Drying Time: Allow the candies to dry completely for 2-3 hours; this prevents them from sticking together and maintains the perfect chewy texture.
-
Storage Tips: Use wax paper between layers when storing to avoid sticking. An airtight container will keep them fresh longer.
-
Flavor Variations: Experiment with different citrus fruits or spices; swapping oranges for lemons or adding cinnamon can give your Classic Homemade Orange Candy an exciting twist.
What to Serve with Classic Homemade Orange Candy
Indulging in these delightful orange candies can inspire a wonderful meal that dances with flavor and warmth.
- Classic Tea: The aromatic notes of a warm cup of Earl Grey or chamomile beautifully complement the zesty sweetness of the candies. Sip and savor together for a cozy afternoon treat.
- Creamy Cheese Platter: Pair these candies with a selection of creamy cheeses like brie or goat cheese. The rich, velvety textures create a delightful contrast with the chewy candies.
- Bitter Dark Chocolate: Dipping half of the candies in dark chocolate takes them to a gourmet level; the bitterness balances the sweetness and adds depth to your palate.
- Fresh Fruit Salad: Combine seasonal fruits like berries or melons with your candies for a refreshing twist. The contrasting textures and flavors will brighten up any meal.
- Savory Nuts: A mix of salted almonds or pecans offers a savory crunch, enhancing the sweet citrus notes of the candies. This combination is perfect for a snack board.
- Homemade Ice Cream: Serve these candies as a topping for vanilla or coconut ice cream. The cool, creamy base pairs beautifully with the sunny, sweet flavor of the orange.
- Sparkling Water: A refreshing citrus-flavored sparkling water can cleanse your palate and provide a crisp backdrop to the sweet candy experience.
How to Store and Freeze Classic Homemade Orange Candy
Room Temperature: Store your Classic Homemade Orange Candy in an airtight container at room temperature for up to one week to maintain freshness and chewiness.
Airtight Protection: If stacking candies, include wax paper between layers to prevent sticking and preserve their glossy texture over time.
Freezer: While freezing is not recommended as it can alter the texture, if necessary, wrap candies tightly in plastic wrap and foil for up to 3 months.
Reheating: If your candies feel too sticky after storage, lightly dust them with granulated sugar upon serving to restore their delicious appeal.

Classic Homemade Orange Candy Recipe FAQs
How do I select ripe oranges for this recipe?
Absolutely! When choosing oranges, look for ones that are firm with a smooth, shiny skin. Avoid any with dark spots or blemishes, as these can indicate overripeness or spoilage. The smell is also a tell-tale sign; if they have a sweet citrus aroma, they’re likely perfect for candying!
What is the best way to store homemade orange candy?
You’ll want to store your Classic Homemade Orange Candy in an airtight container at room temperature for up to one week. To keep them from sticking together, place wax paper between layers of candies. If you notice them becoming too sticky, a light dusting of granulated sugar can help restore their delightful appeal.
Advertisement
Can I freeze Classic Homemade Orange Candy?
While freezing is not recommended due to potential texture changes, if you decide to do so, wrap your candies tightly in plastic wrap followed by foil to prevent freezer burn. They can last up to 3 months in the freezer. When you’re ready to enjoy them, simply let them thaw at room temperature—just be aware they might lose some of their original chewiness.
What should I do if my syrup gets too thick or crystallizes?
No worries! If your syrup thickens too much, you can simply add a splash of water over low heat and stir until it loosens up again. If it starts to crystallize, ensure you’re stirring often and maintaining a low simmer. Always dissolve the sugar completely at the beginning to avoid this issue.
Are there any dietary considerations to be aware of?
Yes! While this Classic Homemade Orange Candy is generally safe for most diets, if you or your loved ones have allergies, always check the labels of your ingredients, especially when using alternate sugars like coconut sugar. Additionally, these candies should be kept out of reach of pets, especially dogs, as high sugar content can be harmful to them.

Classic Homemade Orange Candy to Brighten Your Day
Ingredients
Equipment
Method
- Begin by thoroughly washing your fresh oranges to remove any wax or residue. Slice them thinly, aiming for about 1/8 to 1/4 inch thick rounds.
- In a medium saucepan, combine equal parts granulated sugar and water. Heat over low to medium-low heat, gently stirring until the sugar completely dissolves.
- Add your prepared orange slices to the simmering syrup, allowing them to cook on low heat for about 30 minutes, stirring occasionally.
- Once the orange slices have turned translucent, remove them from the syrup using a slotted spoon. Place on a drying rack set over a baking sheet.
- Lightly dust each dried candy with granulated sugar to enhance their glossy appearance. Store them in an airtight container.