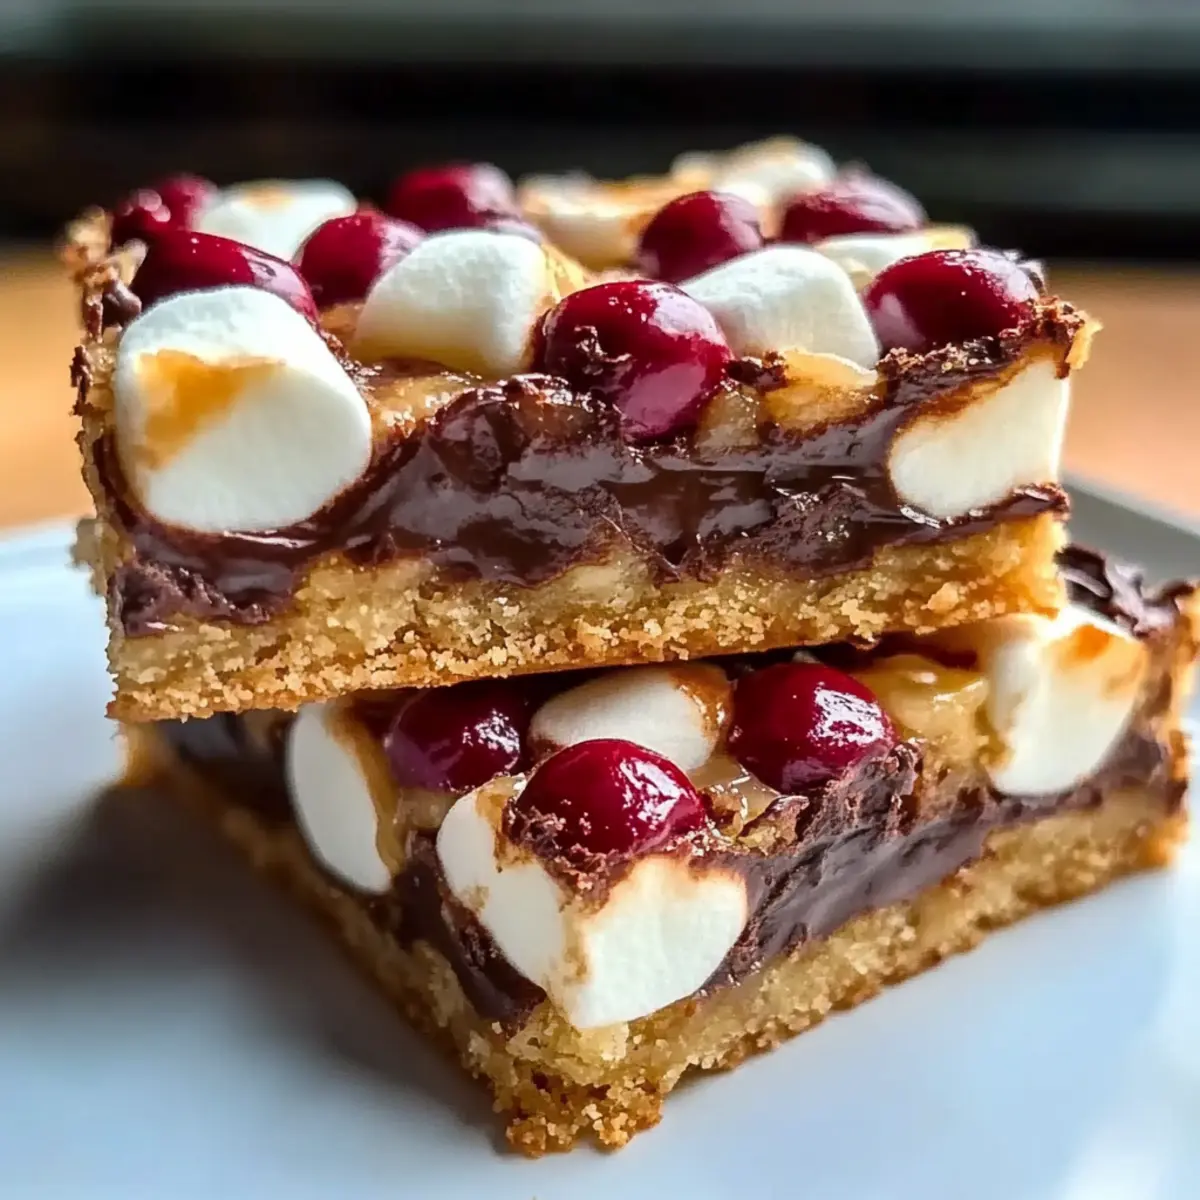
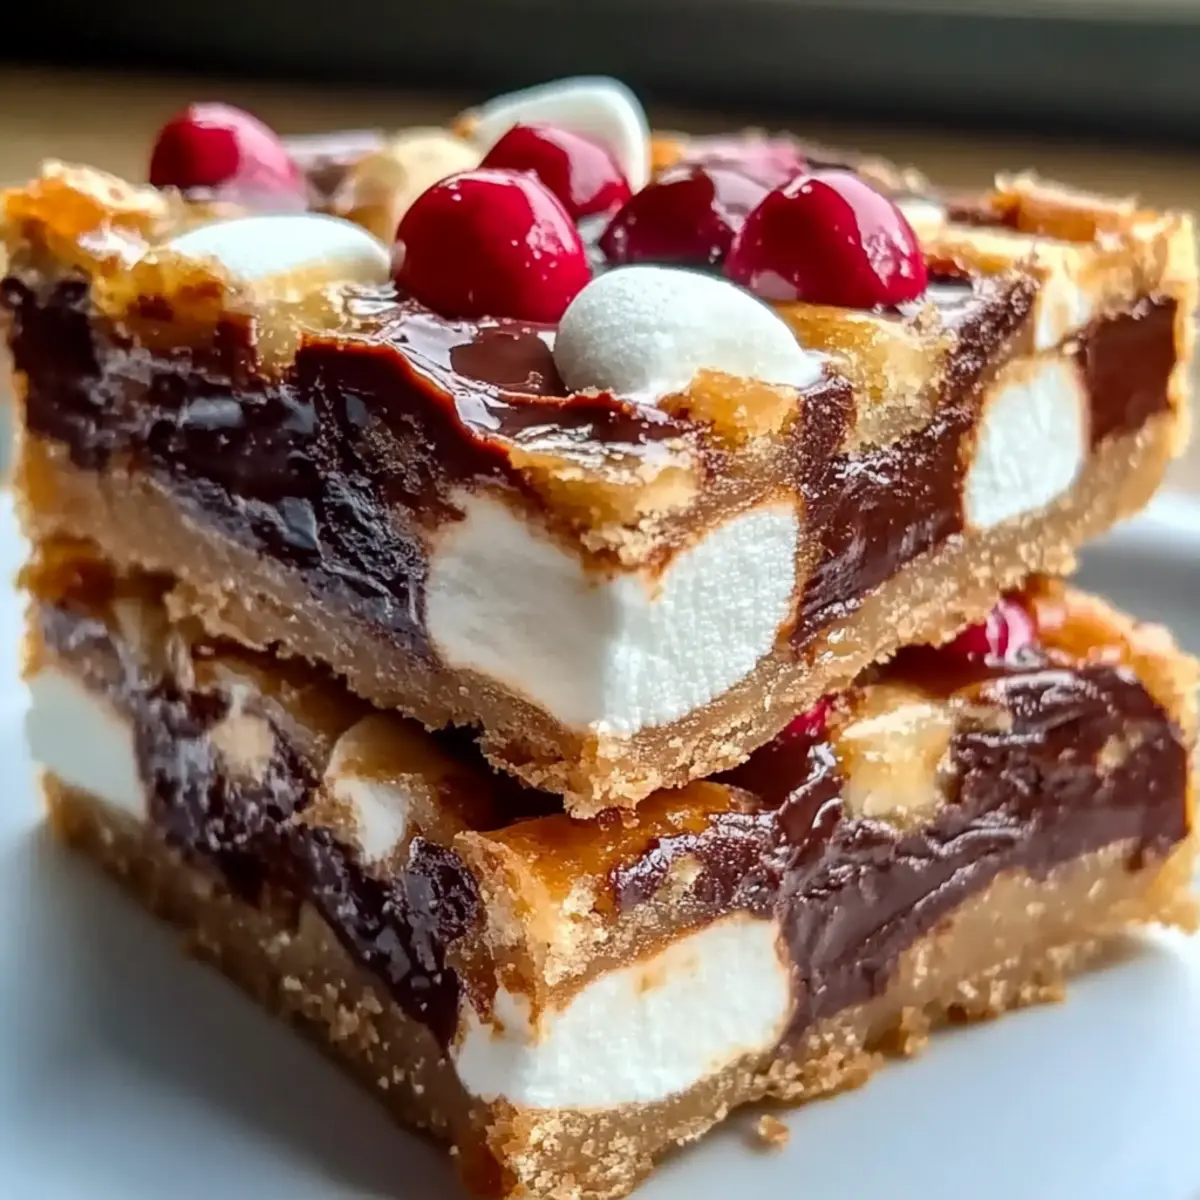
While rummaging through my holiday recipe box the other day, I stumbled upon a gem that instantly whisked me back to cozy family gatherings: Easy Christmas Bars with Chocolate and Marshmallows. These delightful treats are not only a crowd-pleaser but also an incredibly quick dessert to whip up—ready in just 45 minutes! The beauty of these Christmas bars lies in their versatility—you can easily customize them to suit dietary preferences with nut-free, gluten-free, or even vegan options. Imagine gathering your loved ones around the table, sharing a sweet, chewy bite that captures the essence of the festive season. Are you ready to turn your kitchen into a holiday haven?
Why are Christmas Bars so Special?
Easy to Make: In just 45 minutes, you can whip up these festive delights that everyone will adore.
Customizable Variations: Whether you need nut-free, gluten-free, or vegan options, there’s a way for everyone to enjoy these bars.
Crowd-Pleasing Treat: Their rich chocolate and fluffy marshmallow combination captures the hearts (and taste buds) of family and friends alike.
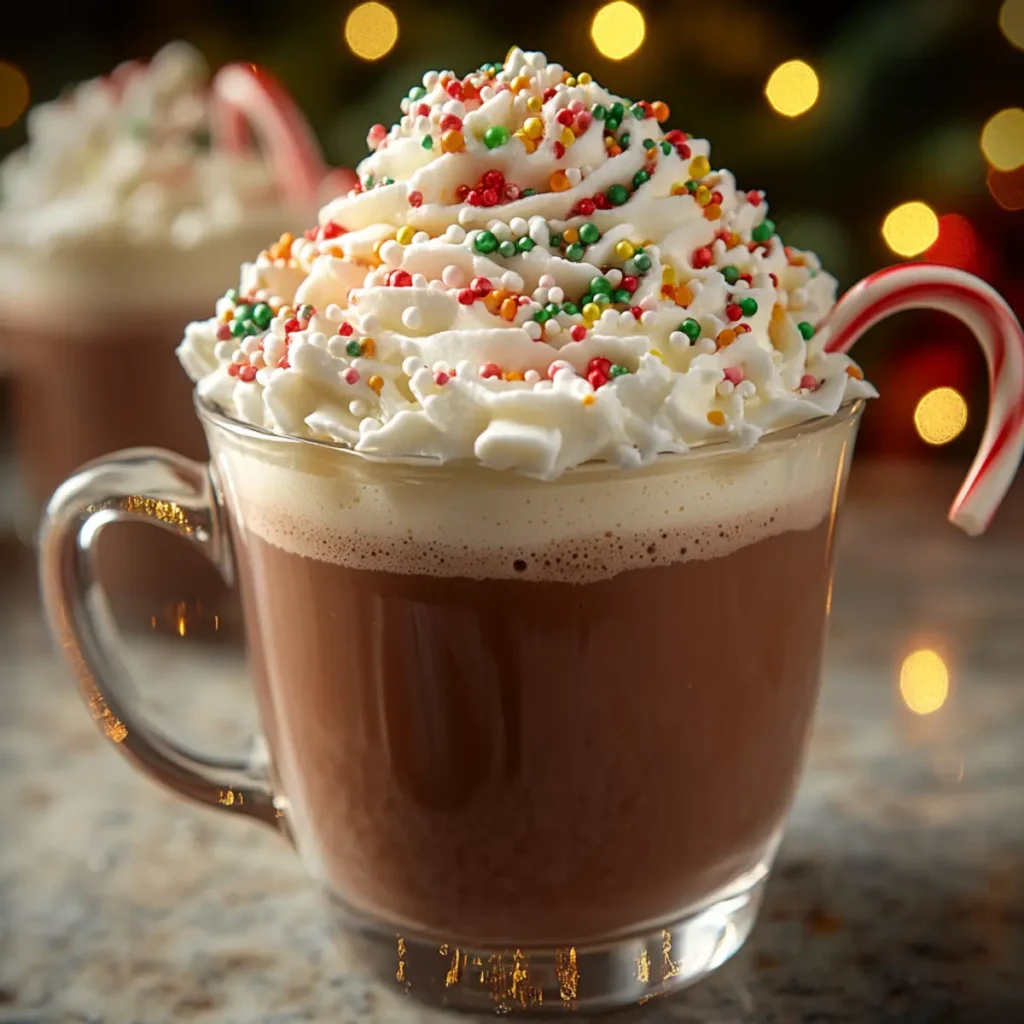
Perfect for Sharing: Serve them alongside a warm mug of hot cocoa or spiced apple cider for a cozy gathering!
Make-Ahead Bliss: Prepare a day in advance for flavors that meld beautifully, adding readiness to your holiday plans.
You’ll love how these Christmas bars effortlessly elevate any festive occasion—just like Gingerbread Cupcakes Christmas or Apple Cheesecake Bars!
Christmas Bars Ingredients
For the Base
- Graham Crackers – 2 cups (200 g); the sweet and crunchy foundation for these delicious Christmas bars.
- Cocoa Powder – ¼ cup (25 g); for rich chocolate flavor; opt for high-quality cocoa for the best taste.
- Powdered Sugar – 1½ cups (180 g); sweetens and creates that melt-in-your-mouth texture.
For the Binding
- Unsalted Butter – ¾ cup (170 g, melted); essential for binding and adding richness, though you can swap it with melted coconut oil for a dairy-free option.
- Sweetened Condensed Milk – 14 oz (397 g, 1 can); provides that necessary moisture and chewy consistency essential to these Christmas bars.
For the Mix-ins
- Mini Marshmallows – 3 cups (150 g); these fluffy bites bring a fun, chewy texture; mini ensures even distribution.
- Chocolate Chips – 1½ cups (270 g); adds a chocolate punch, with options including dark, milk, or white chocolate chips.
- Chopped Nuts – ½ cup (60 g, optional); brings extra crunch and flavor; simply omit for a nut-free version or replace with more chocolate chips.
Step‑by‑Step Instructions for Easy Christmas Bars with Chocolate and Marshmallows
Step 1: Preheat the Oven
Preheat your oven to 350°F (175°C) to ensure even baking of your Christmas bars. This initial step is vital as it helps the bars rise and set properly. Make sure to adjust your oven racks to the center position for optimal heat distribution—this will prevent undercooking or burning the edges.
Step 2: Mix Dry Ingredients
In a large mixing bowl, combine 2 cups of graham cracker crumbs, ¼ cup of cocoa powder, and 1½ cups of powdered sugar. Whisk them together until fully blended—this ensures the dry ingredients are nicely incorporated. You should see a uniform mixture with no lumps, which will create a smooth texture in your Christmas bars.
Step 3: Add Wet Ingredients
Pour in ¾ cup of melted unsalted butter and 14 oz of sweetened condensed milk into the dry mixture. Stir well until the mixture becomes thick and sticky, resembling a dough-like consistency. This is the base that will hold your Easy Christmas Bars together, so make sure everything is combined without any dry pockets left behind.
Step 4: Fold in Mix-ins
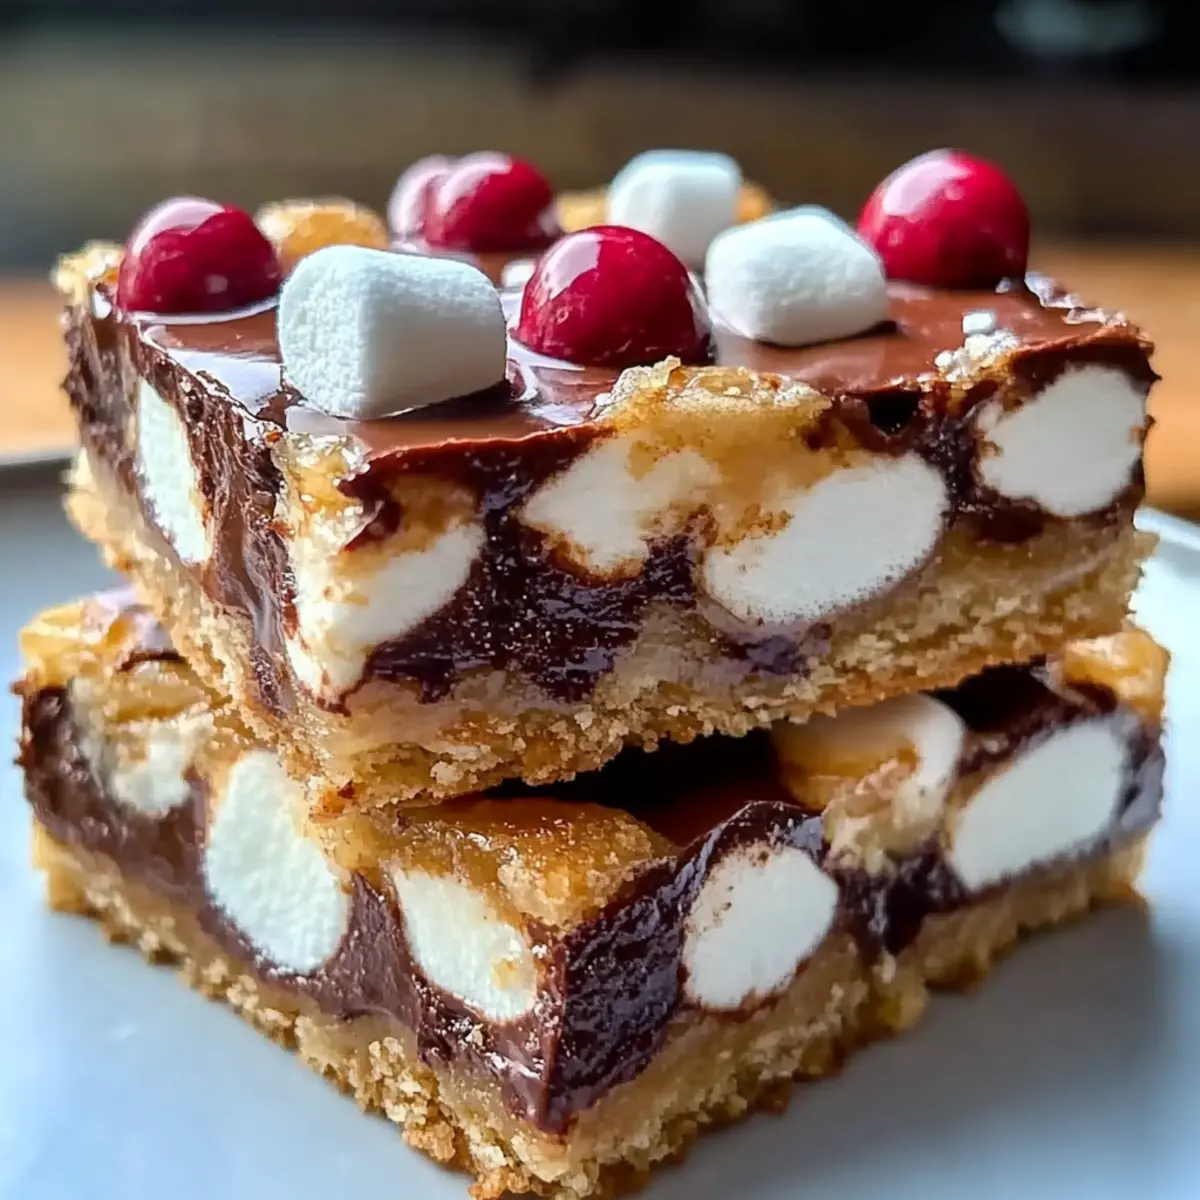
Gently fold in 3 cups of mini marshmallows and 1½ cups of chocolate chips. Be careful not to overmix, as you want to preserve the fluffy texture of the marshmallows. If you’re adding chopped nuts, now is the time to do so. Visualize a harmonious blend of chocolate and fluffy marshmallows—a delightful mix that enhances the flavor of your Christmas bars.
Step 5: Spread and Bake
Transfer the mixture into a greased 9×13 inch baking pan, spreading it evenly with a spatula to ensure uniform thickness. Bake in the preheated oven for 25 to 30 minutes, or until the edges look set and the center is slightly firm but still a bit soft. This will give your Easy Christmas Bars the perfect chewy texture.
Step 6: Cool and Cut
Allow the bars to cool completely in the pan at room temperature. Once they are cool, use a sharp knife to cut them into squares or rectangles. This cooling process is crucial to ensure that your Christmas bars hold their shape and don’t crumble when served. Enjoy the delightful combination of gooey marshmallows and rich chocolate in each bite!
Make Ahead Options
These Easy Christmas Bars are perfect for meal prep enthusiasts seeking to save time during the busy holiday season! You can prepare the base mixture up to 24 hours in advance; simply follow the first four steps of the recipe and refrigerate the mixture in an airtight container. This helps the flavors meld together for an even tastier result. When you’re ready to bake, just spread the chilled mixture into the greased pan and follow the baking instructions as usual. To maintain quality, ensure they cool completely before cutting into squares. By making these bars in advance, you’ll enjoy delicious, homemade treats with minimal effort on the day of your gathering!
What to Serve with Easy Christmas Bars with Chocolate and Marshmallows
Imagine cozying up with loved ones, savoring delectable flavors that harmonize beautifully with your holiday treats!
-
Hot Cocoa: Rich and comforting, a warm mug of hot cocoa enhances the indulgent chocolateiness of the bars, creating a blissful pairing for cold winter nights.
-
Spiced Apple Cider: The warm spices and sweetness of apple cider balance the richness of the Christmas bars, offering a refreshing zest that sings of holiday cheer.
-
Vanilla Ice Cream: Creamy and smooth, vanilla ice cream adds a delightful cold contrast to the chewy bars, making each bite even more enjoyable.
-
Powdered Sugar Dusting: A light dusting of powdered sugar gives a festive touch while adding just a pinch of sweetness, elevating the visual appeal of your dessert spread.
-
Fresh Mint Leaves: These vibrant, aromatic leaves not only add color but offer a refreshing burst of flavor that complements the rich chocolate perfectly.
-
Seasonal Berries: Fresh raspberries or strawberries introduce a fruity note that contrasts beautifully with the sweet marshmallows and chocolate, brightening each bite.
Enjoy these delightful pairings alongside your Easy Christmas Bars, making every celebration sweeter and more memorable!
Expert Tips for Easy Christmas Bars
-
Quality Ingredients: Use high-quality cocoa powder and chocolate chips for the best flavor; it makes a noticeable difference in these Christmas bars.
-
Avoid Overmixing: When folding in mini marshmallows and other ingredients, mix gently to keep the marshmallows fluffy and avoid a dense texture.
-
Cooling Time Matters: Allow the bars to cool completely before cutting to prevent them from crumbling, and to achieve clean, beautiful squares.
-
Non-Stick Helper: Use non-stick spray or parchment paper in your baking pan to make removal effortless; this prevents breakage and sticking.
-
Customize with Ease: Feel free to experiment with mix-ins like dried fruits or nuts, but remember to adjust the quantity to maintain the balance of flavors in your Christmas bars.
How to Store and Freeze Christmas Bars
Airtight Container: Store your Christmas bars in an airtight container at room temperature for up to 1 week to maintain their chewy texture and prevent them from drying out.
Refrigeration: For longer freshness, you can refrigerate them for up to 2 weeks. Just make sure they’re well covered to avoid absorbing other odors.
Freezing: To freeze, wrap the bars tightly in plastic wrap and then place them in a freezer-safe bag or container for up to 3 months. Thaw in the fridge when ready to enjoy.
Reheating: If you’d like them warm, pop them in the microwave for a few seconds. Enjoy the delicious chocolatey goodness of your Christmas bars, just like the day they were made!
Christmas Bars Variations & Substitutions
Feel free to get creative and make these Christmas bars your own with inviting options that cater to your taste buds!
-
Nut-Free Option: Omit the nuts entirely, and replace them with extra chocolate chips for that delightful crunch.
-
Gluten-Free Choice: Swap graham cracker crumbs for gluten-free graham crackers or even almond flour. Your bars will still be deliciously chewy and festive!
-
Vegan Adaptation: Substitute melted coconut oil for the butter and make your own vegan sweetened condensed milk using coconut milk and sugar. The taste remains indulgent!
-
Mint Chocolate Twist: Add a teaspoon of peppermint extract to the mixture for a refreshing holiday flavor that dances on your palate.
-
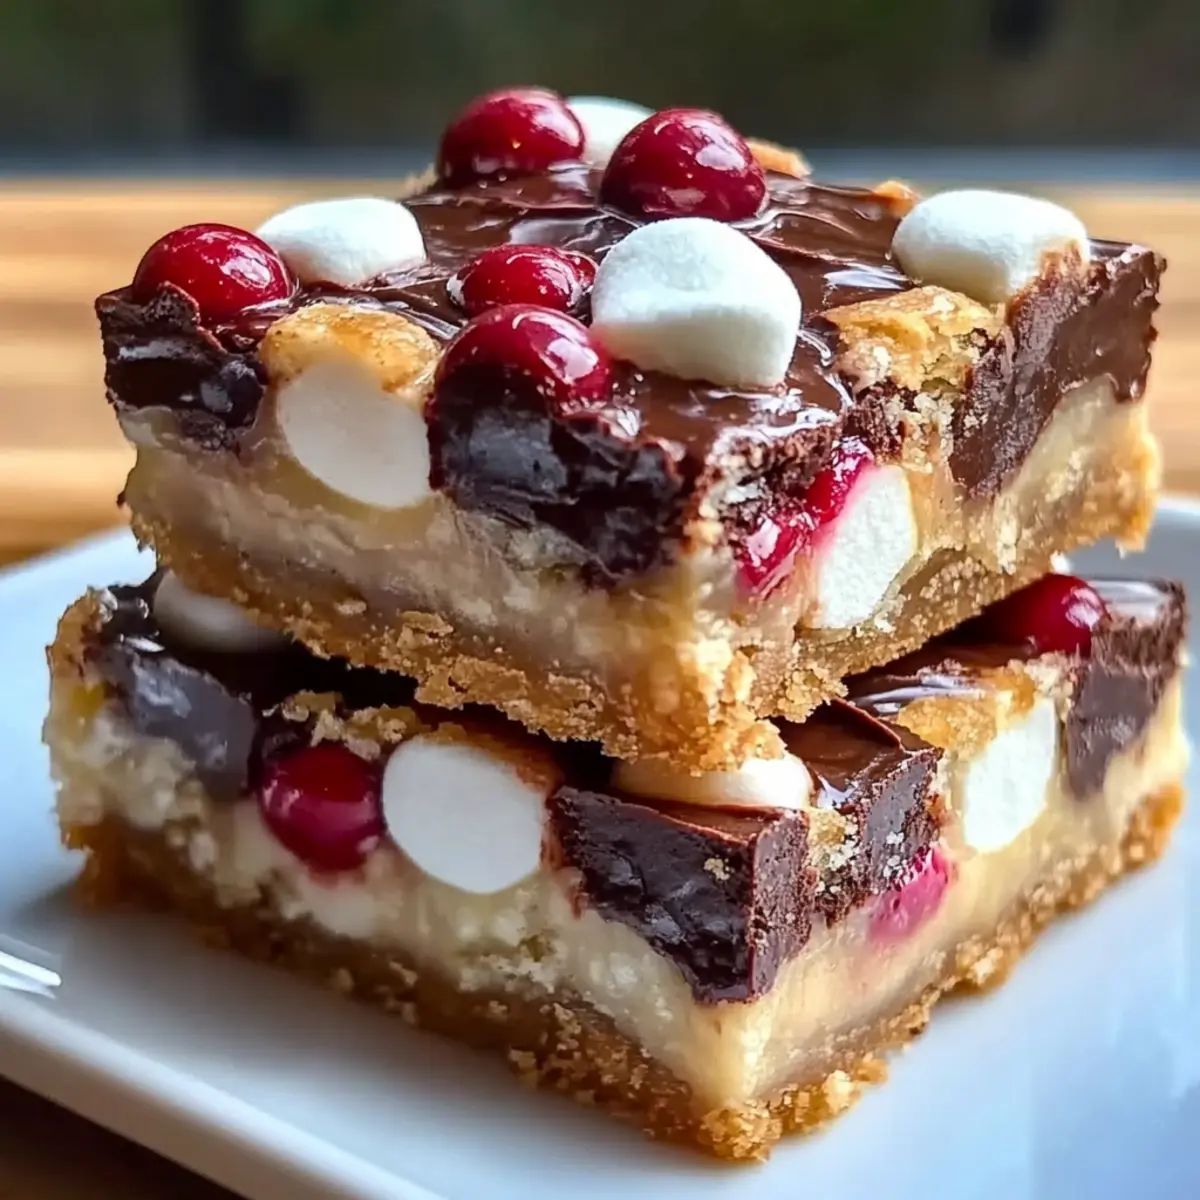
Fruit & Nut Medley: Incorporate a colorful blend of dried cranberries and nuts for a delightful crunch and a pop of festive color.
-
Double Chocolate Delight: Use chocolate graham crackers instead of regular ones and add white chocolate chips to intensify the chocolate experience!
-
Christmas Spice: Sprinkle in some cinnamon or nutmeg for a warm, holiday spice that will make your kitchen smell enchanting.
-
Marshmallow Surprise: Use flavored marshmallows, such as peppermint or caramel swirls, to introduce a new and unexpected treat in every bite.
When you’re ready to elevate your holiday dessert table, these variations will surely impress your guests—much like Gingerbread Cupcakes Christmas or a rich slice of Apple Cheesecake Bars. Create new family traditions with every delightful variation!
Christmas Bars Recipe FAQs
What type of graham crackers should I use for Christmas bars?
Absolutely! For the best taste and texture, I recommend using classic honey graham crackers. They provide the right sweetness and crunch. If you’re looking for a gluten-free option, there are many excellent gluten-free graham cracker brands available that work just as well.
How long can I store Christmas bars at room temperature?
You can store your Christmas bars in an airtight container at room temperature for up to 1 week. Just ensure they’re well covered to keep their chewy texture. If you’re like me, they might not last that long—as they’re quite irresistible!
Advertisement
Can I freeze Christmas bars for later enjoyment?
Very much! To freeze, first wrap the cooled bars tightly in plastic wrap, ensuring there are no exposed areas. Then place them in a freezer-safe bag or container. They will keep well for up to 3 months. When you’re ready to enjoy, simply thaw them overnight in the fridge and warm them slightly in the microwave if you prefer them gooey again.
What should I do if my Christmas bars are too crumbly?
If you find your Christmas bars are crumbly, make sure you’ve properly mixed the ingredients, particularly the melted butter and sweetened condensed milk. If your bars still crumble, you can try adding a little more melted butter next time to bind them together better. Always ensure they cool completely before cutting them to achieve clean edges!
Are these Christmas bars suitable for people with nut allergies?
Absolutely! You can easily omit the nuts from the recipe altogether. If you’re making them for someone with nut allergies, just be sure to avoid any cross-contamination in your kitchen. I often replace nuts with more chocolate chips for added texture and sweetness without any concern for allergies.
Can I customize the flavors of my Christmas bars?
Very! These bars are incredibly versatile. You can add ingredients like dried fruits, coconut, or even a splash of flavor extracts like peppermint for a festive twist. Just keep the overall quantity of mix-ins around the same so the texture stays consistent. Happy baking!
Festive Christmas Bars: Chewy Delights for Holiday Cheer
Ingredients
Equipment
Method
- Preheat your oven to 350°F (175°C) and adjust the oven racks to the center position.
- In a large mixing bowl, combine 2 cups of graham cracker crumbs, ¼ cup of cocoa powder, and 1½ cups of powdered sugar. Whisk until fully blended.
- Pour in ¾ cup of melted unsalted butter and 14 oz of sweetened condensed milk. Stir well until the mixture becomes thick and sticky.
- Gently fold in 3 cups of mini marshmallows and 1½ cups of chocolate chips, being careful not to overmix.
- Transfer the mixture into a greased baking pan, spreading it evenly. Bake for 25 to 30 minutes, until edges are set.
- Allow the bars to cool completely in the pan before cutting into squares or rectangles.