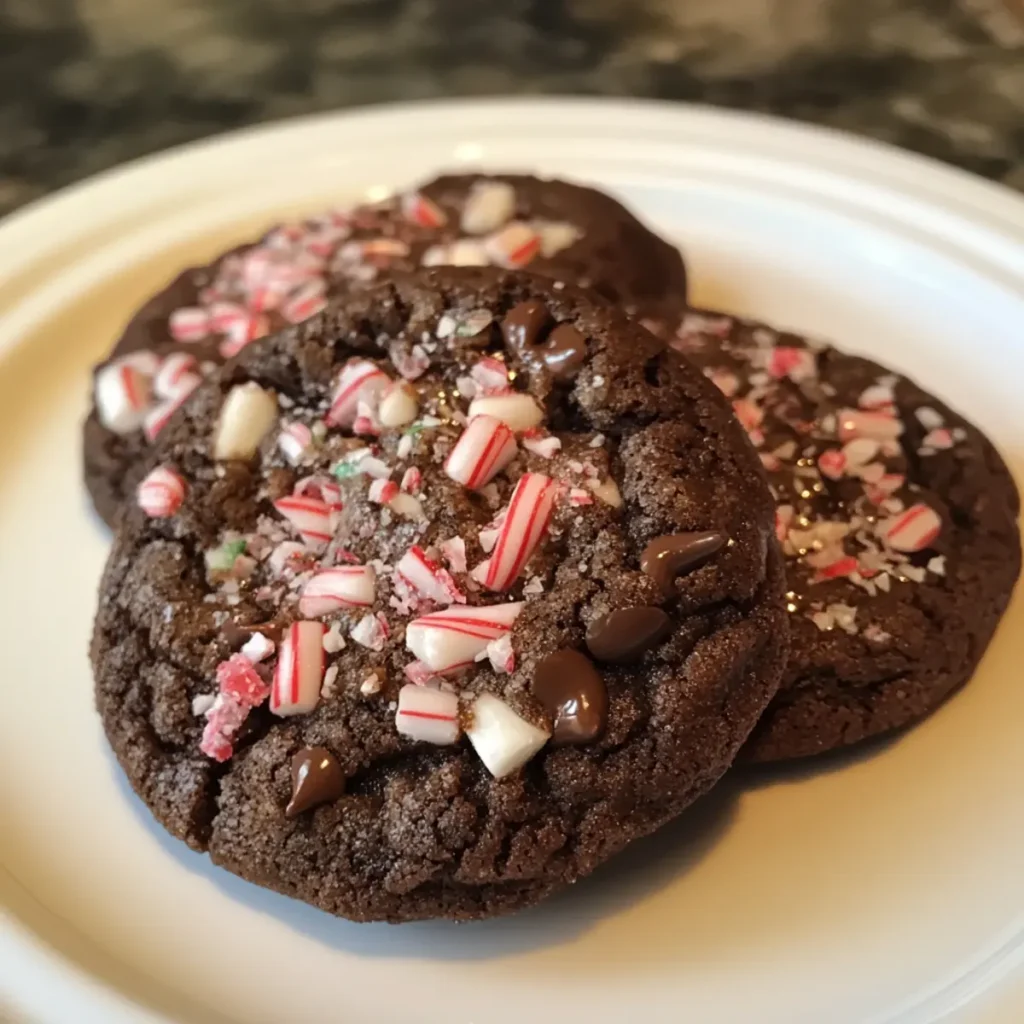
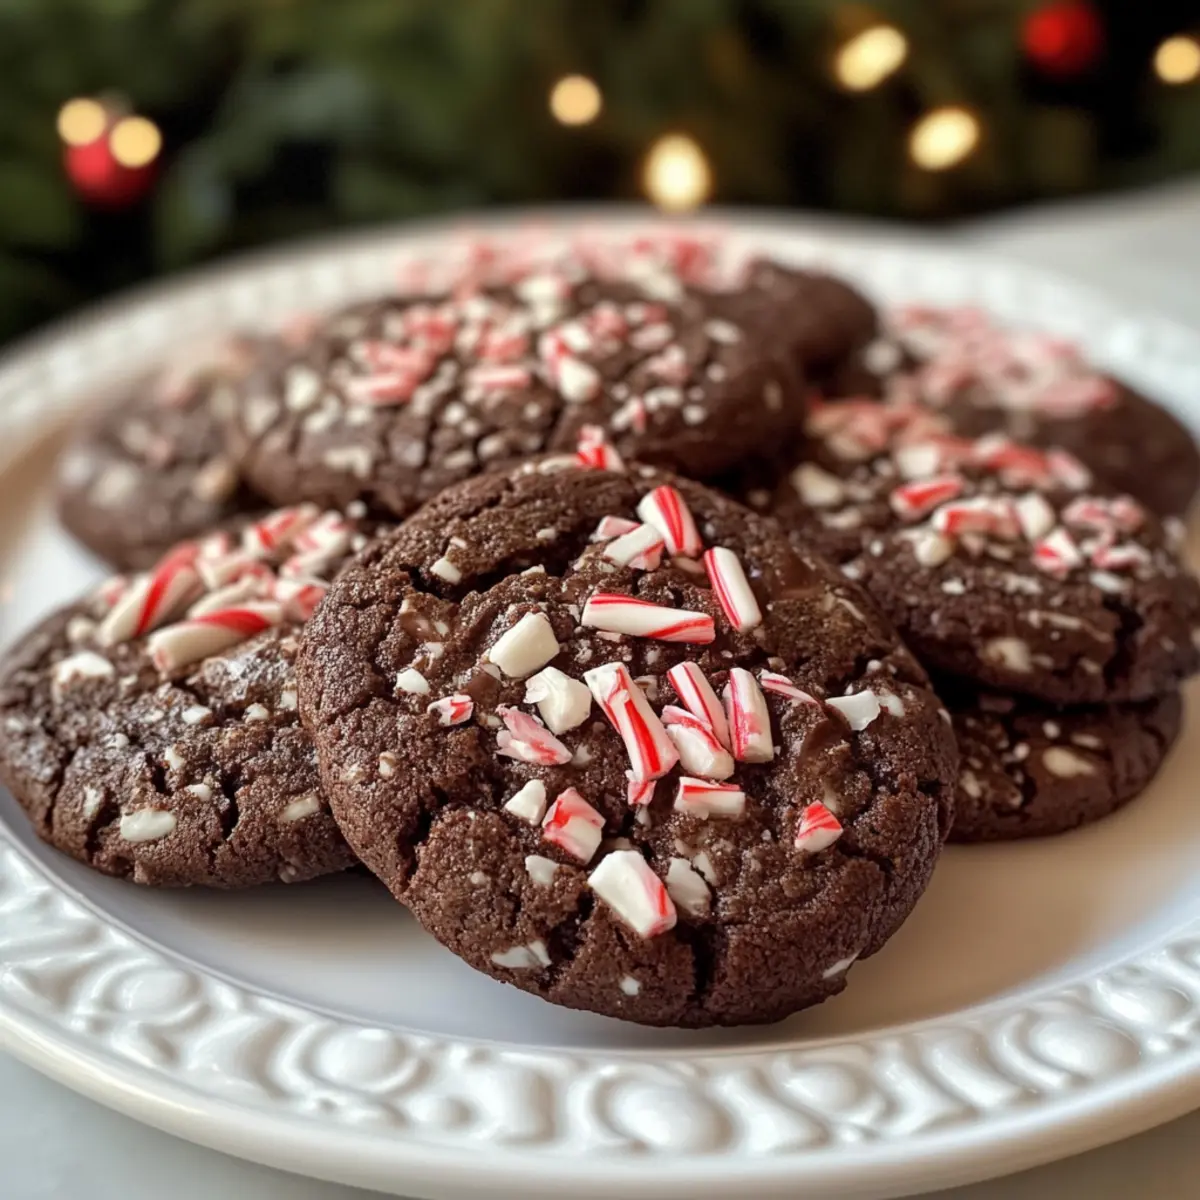
As the holiday season approaches, the scent of peppermint wafts through the air, instantly transforming any kitchen into a cozy haven. Today, I’m excited to share my Chewy Chocolate Peppermint Cookies with Peppermint Bark, a delightful treat that’s sure to become your new festive favorite. Not only are these cookies incredibly easy to make, but they also combine the rich flavors of chocolate with a refreshing peppermint twist—perfect for satisfying your sweet tooth while gaining the admiration of friends and family. With a simple prep process and the irresistible crunch of candy cane topping, these cookies bring the joy of holiday baking to everyone, regardless of their skill level. So, ready your mixing bowls—what flavor adventures await when you make this cheerful cookie recipe?
Why Are These Cookies a Must-Bake?
Irresistible Flavor: The combination of rich chocolate and cool peppermint creates a holiday flavor explosion that you simply can’t resist.
Easy and Quick: With just a few simple steps, even novice bakers can whip up a batch in no time—ideal for busy holiday seasons!
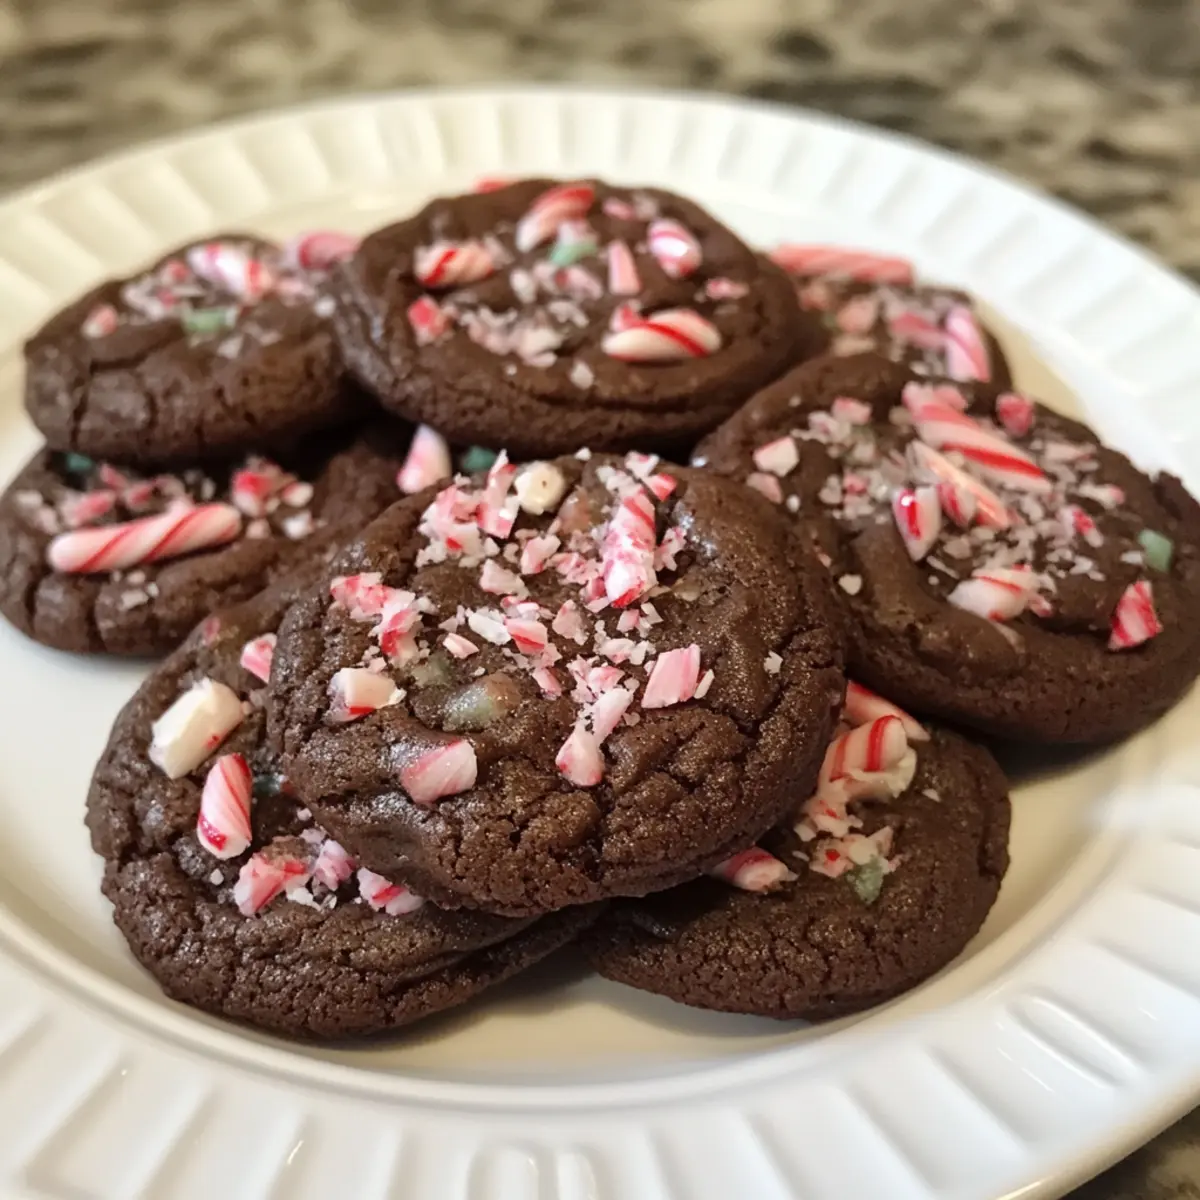
Festive Appeal: Topped with vibrant crushed candy canes, these cookies not only taste amazing but also look beautiful on any holiday platter.
Endless Variations: Feel free to personalize your treats—swap peppermint bark for white chocolate chips or add toffee bits for a unique touch.
Perfect for Sharing: Whether enjoyed at family gatherings or holiday parties, these cookies are sure to impress and delight friends and family alike.
You might also want to check out my Hot Chocolate Cookies for another chocolatey treat to cozy up with this holiday season!
Chocolate Peppermint Cookie Ingredients
For the Cookie Base
• All-Purpose Flour – Provides essential structure to the cookies; ensure accurate measuring to avoid density.
• Cocoa Powder – Adds a rich chocolate flavor; use unsweetened for the best results.
• Granulated Sugar – Sweetens and moistens the cookies; brown sugar can offer a chewier texture.
• Butter – Brings richness; opt for unsalted to control salt levels better.
• Egg – Acts as a binder; room temperature is best for a smooth mixture.
• Baking Soda – Helps the cookies rise; make sure it’s fresh for effectiveness.
• Salt – Enhances the overall flavor; a crucial ingredient in baking.
For the Festive Touch
• Ghirardelli Peppermint Bark – Provides the perfect chocolate and peppermint blend; dark or white chocolate chips can work as substitutes.
• Crushed Candy Canes – Adds a delightful crunch and burst of peppermint on top; optional, but it enhances the festive look and taste.
Embrace the joy of baking with these Chocolate Peppermint Cookies that are sure to become a holiday favorite!
Step‑by‑Step Instructions for Chocolate Peppermint Cookies
Step 1: Preheat the Oven
Begin by preheating your oven to 350°F (175°C). This step ensures that your cookies bake evenly and achieve that perfect chewy texture. While the oven heats up, prepare your baking sheet by lining it with parchment paper, which will help prevent sticking and make cleanup a breeze.
Step 2: Cream Butter and Sugars
In a large mixing bowl, cream together softened unsalted butter and granulated sugar until the mixture is light and fluffy, about 3-4 minutes. This process incorporates air, giving your chocolate peppermint cookies a delightful texture. Once combined, you might notice a pale color and a smooth consistency.
Step 3: Incorporate the Egg
Add one room temperature egg to the creamed butter and sugar mixture. Beat the mixture until well combined, taking care to fully integrate the egg for a uniform dough. The egg acts as a binder, bringing all the ingredients together for those chewy chocolate peppermint cookies you crave.
Step 4: Sift Dry Ingredients
In a separate bowl, sift together all-purpose flour, unsweetened cocoa powder, baking soda, and salt. Sifting helps eliminate lumps and aerates the flour, contributing to a softer cookie. Gradually incorporate this dry mixture into the wet ingredients, mixing just until combined to avoid overworking the dough.
Step 5: Fold in Peppermint Bark
Gently fold in the chopped Ghirardelli peppermint bark using a spatula or wooden spoon. Ensure the peppermint bark is evenly distributed throughout the dough for bursts of chocolate and peppermint flavor in each bite. You’ll see flecks of color and texture as you mix, making the dough even more enticing.
Step 6: Scoop the Dough
Using a cookie scoop or tablespoon, portion the dough onto the prepared baking sheet, spacing them about 2 inches apart. This spacing allows the cookies to spread without merging together while baking. You should have a uniform look, with each scoop holding that chewy cookie promise.
Step 7: Add Toppings
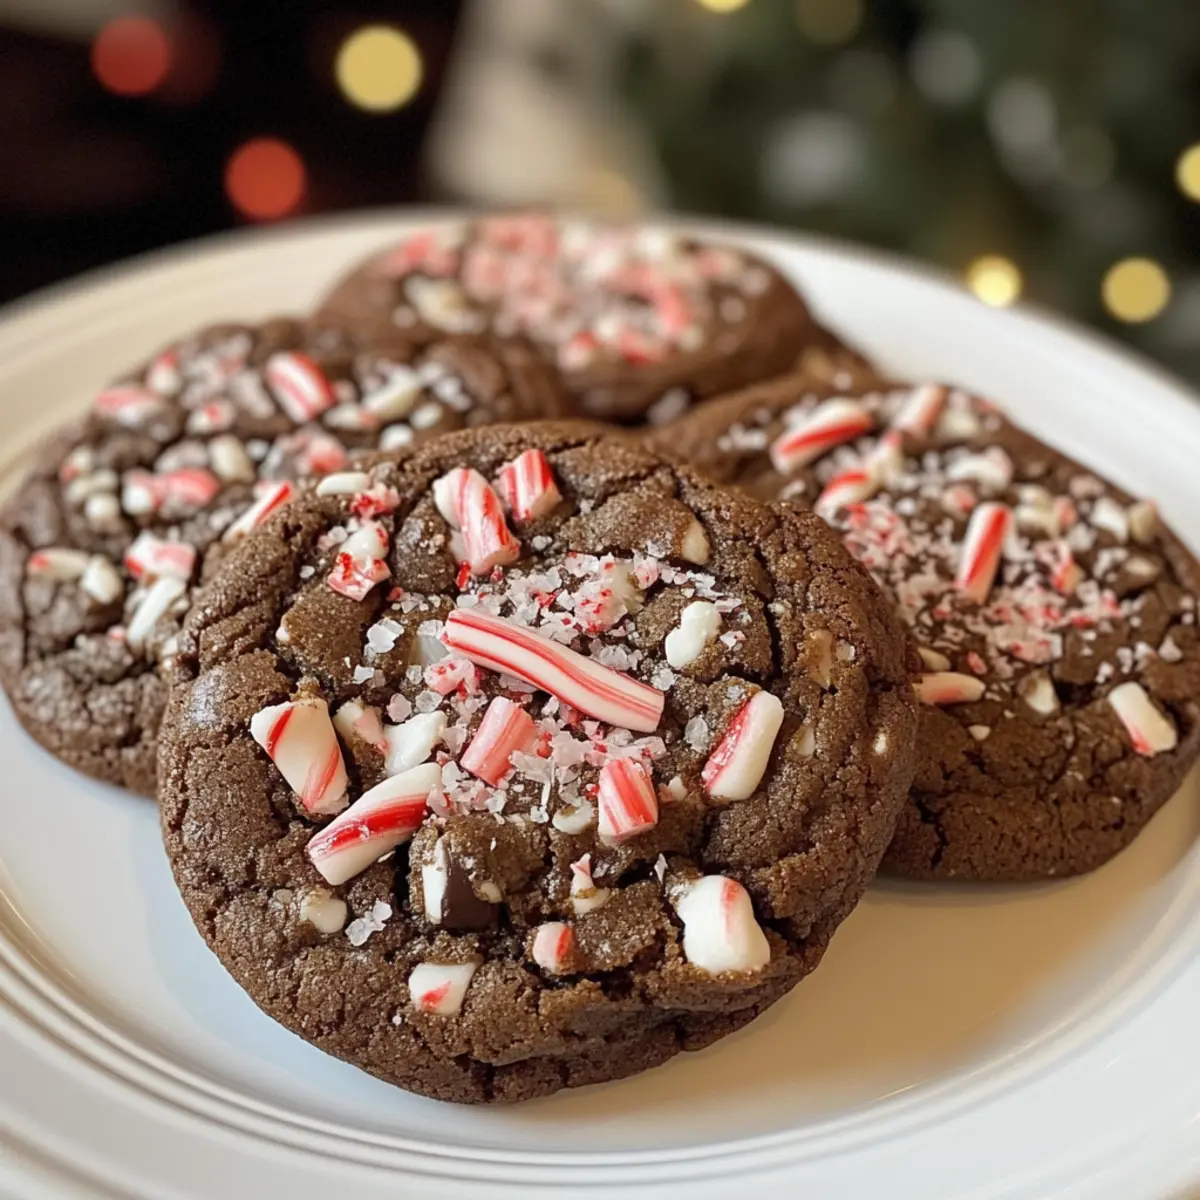
Before baking, sprinkle each cookie with crushed candy canes, giving a festive touch and that signature crunch. The vibrant red and white pieces not only enhance the holiday spirit but also add a delightful peppermint kick that pairs beautifully with the chocolate.
Step 8: Bake the Cookies
Place the baking sheet in your preheated oven and bake the cookies for 10-12 minutes. Keep a close eye on them; the edges should be set, while the centers remain soft and slightly gooey. Trust your instincts, as slightly underbaking helps maintain that chewy texture.
Step 9: Cool the Cookies
Once baked, remove the cookies from the oven and let them cool on the baking sheet for about 5 minutes. This resting time allows them to firm up before transferring to wire racks. The aroma of chocolate peppermint cookies will fill your kitchen, creating an irresistible environment.
Step 10: Transfer and Enjoy
Carefully transfer the cookies to wire racks to cool completely. This step is crucial to achieving the ideal chewy texture. Once cooled, take a moment to admire your creation—a batch of beautiful chocolate peppermint cookies ready to share or enjoy with friends and family!
Expert Tips for Chocolate Peppermint Cookies
-
Room Temperature Egg: Ensure your egg is at room temperature for easier mixing; if it’s cold, soak it in warm water for 5-10 minutes.
-
Fresh Ingredients: Use fresh baking soda for the best rise; always check the expiration date before starting.
-
Avoid Overmixing: Mix cookie dough just until combined; overmixing can lead to tough cookies instead of the chewy texture you want.
-
Adjust Baking Time: If you’re using a cookie scoop for larger cookies, keep an eye on baking time, as they may need an extra minute or two.
-
Cool Properly: Allow cookies to cool on the baking sheet before transferring to a wire rack; this helps maintain their soft and chewy texture.
Make Ahead Options
These Chocolate Peppermint Cookies are perfect for busy home cooks who want to have festive treats ready in no time! You can prepare the cookie dough up to 24 hours in advance; simply scoop it onto a baking sheet and cover it tightly with plastic wrap before refrigerating. Alternatively, you can freeze the dough balls individually for up to 3 months—just ensure they’re in an airtight container for optimal freshness. When you’re ready to bake, simply place them on a baking sheet and add a few extra minutes to the baking time if starting from frozen. This way, you’ll have freshly baked, delicious cookies awaiting you with minimal effort during the busy holiday season!
What to Serve with Chewy Chocolate Peppermint Cookies?
Bring the magic of the holidays alive with delectable dishes that enhance your festive baking experience.
- Glass of Milk: Nothing beats the classic pairing of warm cookies and milk, which balances the richness of chocolate and peppermint.
- Peppermint Hot Chocolate: Elevate your treat with a cozy cup of peppermint hot chocolate for an indulgent warming experience.
- Vanilla Ice Cream: A scoop of creamy vanilla ice cream adds a delightful contrast to these chewy chocolate peppermint cookies.
- Gingerbread Men: Serve alongside gingerbread cookies for a fun holiday cookie platter, harmonizing spicy and sweet flavors.
- Christmas Fruitcake: This fruity counterpart offers a contrasting texture and flavor profile, making for a well-rounded dessert spread.
- Festive Coffee: Brew a cup of holiday spice coffee or peppermint-infused brew to amplify the warmth and cheer of your gathering.
- Nutty Biscotti: Crunchy almond or hazelnut biscotti would provide an interesting textural contrast while enhancing the cookie’s flavor.
- Fudge Brownies: For a chocolate lover’s dream, pair with fudgy brownies for a double chocolate celebration that warms the heart.
- Cheesecake Bites: Light, creamy cheesecake bites can act as a refreshing palate cleanser amidst the richness of your cookie spread.
Chocolate Peppermint Cookie Variations
Feel free to play around with these variations and make these cookies your own!
-
White Chocolate Chips: Swap out the peppermint bark for white chocolate chips to infuse even more sweetness into each bite.
-
Toffee Bits: Add toffee bits for a delightful caramel crunch, balancing the rich chocolate flavor with buttery sweetness. These bits add a depth that will have everyone asking for your secret.
-
Nutty Twist: Mix in chopped walnuts or pecans for an earthy flavor and extra texture that contrasts beautifully with the melting chocolate.
-
Spicy Peppermint: Add a pinch of cayenne pepper to the dough to give your cookies a warm kick, enhancing that refreshing peppermint sensation.
-
Dairy-Free Delight: Use coconut oil or a dairy-free butter substitute instead of regular butter to make these cookies suitable for a dairy-free diet.
-
Crunchy Options: Experiment with crushed Oreos or gingersnap cookies sprinkled as a topping for an exciting flavor combination that will wow your guests.
-
Fruity Flavor: Incorporate dried cranberries or cherries into the dough for a fruity edge that complements the chocolate and peppermint beautifully.
Explore these variations and bring your own creative flair to your holiday baking! And don’t forget to check out my delicious Chocolate Brownie Cookies for more chocolaty goodness to enjoy!
How to Store and Freeze Chocolate Peppermint Cookies
Room Temperature: Store cookies in an airtight container at room temperature for up to 3 days to maintain freshness and chewy texture.
Fridge: If you live in a warmer climate, keep your cookies in the fridge for up to a week. Just be sure to let them come to room temperature before enjoying for the best flavor.
Freezer: For longer storage, freeze unbaked cookie dough balls on a baking sheet until solid, then transfer to a zip-loc bag. They can be frozen for up to 3 months—just bake directly from frozen, adding a few extra minutes to the baking time.
Reheating: To revive the cookies, heat them in the microwave for 10-15 seconds to restore some of their softness and warmth before serving.
Advertisement
Chocolate Peppermint Cookies Recipe FAQs
How do I select ripe ingredients for my cookies?
Absolutely! For the best tasting cookies, use high-quality ingredients. Look for dark, unsweetened cocoa powder, as this adds depth to the flavor. Ensure your butter is fresh and at room temperature—this makes it easier to cream and contributes to the perfect texture. While choosing peppermint bark, opt for a brand that clearly states its cocoa content for the best chocolate taste.
How should I store my Chocolate Peppermint Cookies?
Very! To keep those chewy delights fresh, store them in an airtight container at room temperature for up to 3 days. If you live in a warm area, using the fridge can extend their freshness for up to 7 days. Just allow them to warm to room temperature before enjoying to revive their chewy nature.
Can I freeze the cookie dough for future baking?
Absolutely! To freeze your Chocolate Peppermint Cookie dough, scoop individual balls onto a baking sheet lined with parchment paper and freeze them until solid. Then, transfer the dough balls to a zip-loc bag, where they can be stored for up to 3 months. When you’re ready to bake, just place them on a baking sheet, add a few extra minutes to the bake time, and enjoy freshly baked cookies as if they were made today!
What if my cookies don’t rise properly?
Very! If your cookies aren’t rising as they should, it’s often due to old baking soda. Make sure to check the expiration date, and if it’s expired, replace it. Additionally, ensure you’re not overmixing your dough after adding the dry ingredients, as this can lead to dense cookies. And remember, always measure your flour properly; too much flour can hinder the rise and create a drier texture.
Are these cookies suitable for people with allergies?
Of course! If you’re making Chocolate Peppermint Cookies for someone with allergies, be cautious with ingredient selections. Substitute the egg with a flaxseed meal or applesauce for egg-free options. For those with gluten intolerances, using a gluten-free flour blend can work beautifully! However, always double-check any packaged ingredients like peppermint bark or chocolate, as they can contain allergens.

Chewy Chocolate Peppermint Cookies for Holiday Magic
Ingredients
Equipment
Method
- Preheat your oven to 350°F (175°C) and line a baking sheet with parchment paper.
- Cream together softened unsalted butter and granulated sugar until light and fluffy, about 3-4 minutes.
- Add one room temperature egg and beat until well combined.
- Sift together flour, cocoa powder, baking soda, and salt. Incorporate this dry mixture into the wet ingredients.
- Fold in the chopped peppermint bark evenly throughout the dough.
- Scoop the dough onto the prepared baking sheet, spacing them about 2 inches apart.
- Sprinkle each cookie with crushed candy canes before baking.
- Bake for 10-12 minutes, until edges are set and centers are slightly gooey.
- Let the cookies cool on the baking sheet for about 5 minutes.
- Transfer the cookies to wire racks to cool completely.