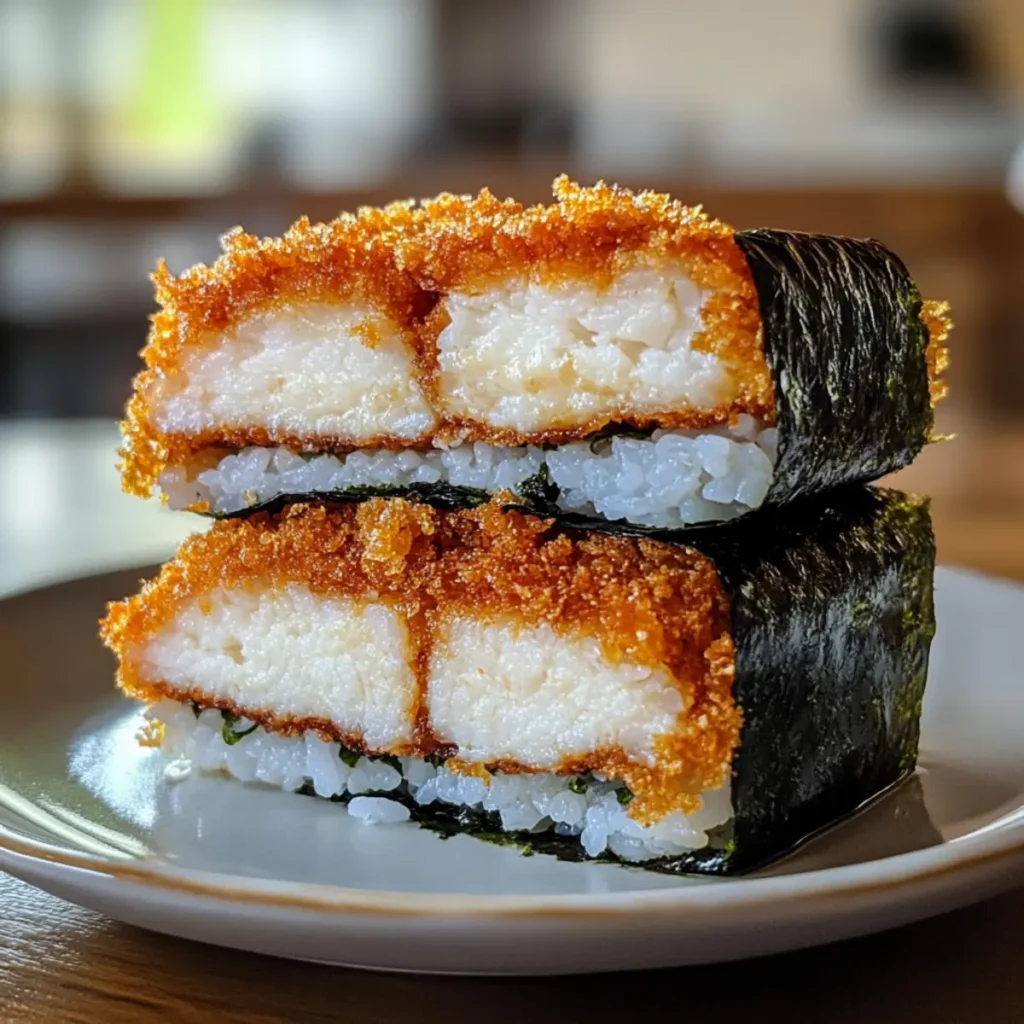
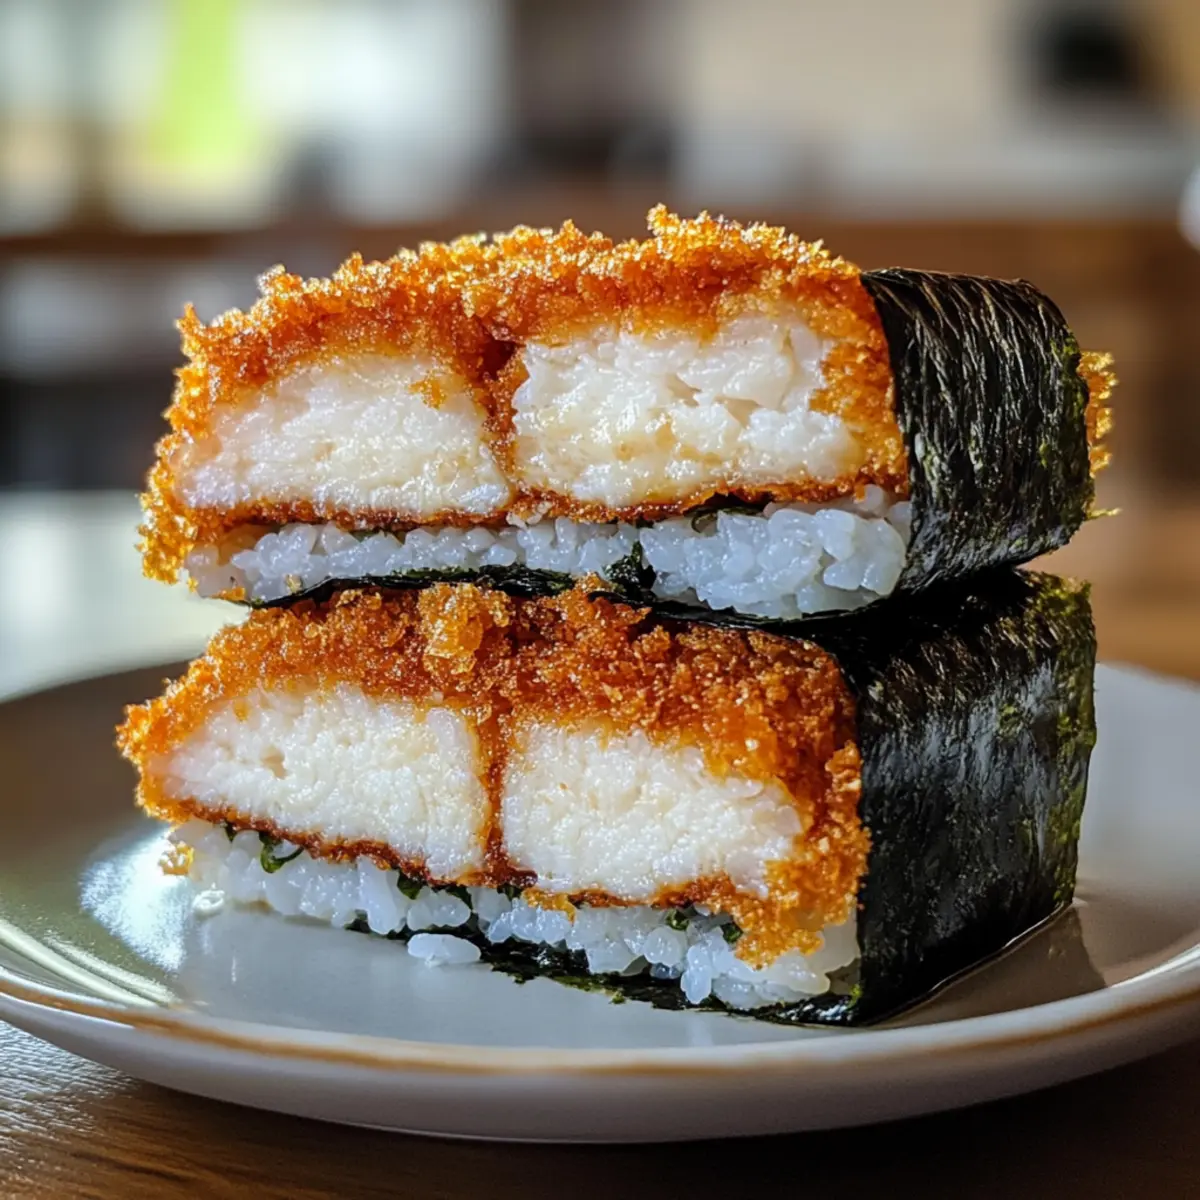
As I was rummaging through my pantry, I unearthed a forgotten pack of nori sheets that instantly transported me to my last trip to Japan. That’s when the idea for my Crunchy Chicken Katsu Musubi struck! This delightful recipe swaps out the traditional Spam for juicy, tender chicken, marrying textures and flavors in a symphony of umami goodness. With its crispy fried exterior and chewy sushi rice interior, Chicken Katsu Musubi isn’t just a meal; it’s the perfect answer to busy lunch hours or those mid-snack cravings. Best of all, it’s quick to prepare and utterly satisfying, turning those tired moments into culinary joy. So, are you ready to impress your taste buds with this delicious twist on an iconic favorite?
Why is Chicken Katsu Musubi a must-try?
Irresistible Flavor: The crispy chicken combined with umami-rich tonkatsu sauce offers a taste explosion that will leave you craving more.
Quick and Easy: Perfect for busy days, this recipe comes together in no time, making it an ideal lunch or snack option.
Unique Twist: Swapping Spam for chicken not only enhances taste but also elevates healthiness, pleasing both the palate and conscience.
Versatile Delights: Feel free to mix it up! Try it with different proteins or sauces, like wasabi mayo for a zesty kick.
Crowd-Pleaser: Whether for lunch with friends or an afternoon snack, everyone will love this delectable twist on a classic!
Once you’re done, pair it with a side of pickled vegetables or delve into the flavors of Sweet Sticky Chicken for more culinary exploration.
Chicken Katsu Musubi Ingredients
For the Chicken:
- Chicken thighs – Provides the main protein; choose boneless, skinless for ease in preparation.
- Eggs – Creates a wet batter for crispy coating; a flax egg makes for a vegan alternative.
- All-purpose flour – Acts as the first layer for batter adhesion; can swap for gluten-free flour for a GF option.
For the Coating:
- Salt & ground black pepper – Essential for seasoning; enhances the overall flavor of the katsu.
- Panko breadcrumbs – Adds a light, crisp coating; try crushed cornflakes for a gluten-free variation.
- Neutral oil – Perfect for frying; opt for canola or vegetable oil due to their high smoke points.
For the Assembly:
- Nori sheets – Wraps the musubi; cut into thirds for manageable pieces.
- Sushi rice – Provides a sticky base for the musubi; short-grain brown rice offers a nuttier taste if preferred.
- Tonkatsu sauce – A sweet and savory complement to the chicken; switch to teriyaki sauce or hoisin if necessary.
Step‑by‑Step Instructions for Chicken Katsu Musubi
Step 1: Prepare Chicken
Start by placing the boneless chicken thighs between two sheets of plastic wrap. Using a meat mallet, pound the chicken to a uniform thickness of about ½ inch, ensuring even cooking. This step is crucial for achieving that juicy, tender texture when you fry the Chicken Katsu Musubi.
Step 2: Make Batter
In a medium bowl, whisk together one egg, all-purpose flour, salt, and pepper until the mixture resembles a slightly loose pancake batter. If it’s too thick, you can add a splash of water or more egg. This batter will create the crispy coating for your chicken, which is essential for your Chicken Katsu Musubi’s crunchiness.
Step 3: Coat Chicken
Carefully dredge each piece of pounded chicken in the batter, allowing any excess to drip off. Then, coat the chicken in panko breadcrumbs, pressing gently to ensure they adhere well. This double coating will ensure a deliciously crunchy exterior when you fry the Chicken Katsu Musubi.
Step 4: Fry Chicken
Heat a large skillet over medium-high heat and pour in enough neutral oil to cover the bottom. Once the oil reaches 350°F (175°C), carefully add the coated chicken pieces. Fry them for about 4-6 minutes on each side until they are golden brown and the internal temperature reaches 165°F (75°C). Transfer the fried chicken to a wire rack to drain excess oil.
Step 5: Prepare Sushi Rice
While the chicken is frying, cook sushi rice according to package instructions. Once cooked, let it cool slightly to make it easier to handle. Ensuring the rice is sticky will help it hold together beautifully when assembling your Chicken Katsu Musubi, allowing for a satisfying bite every time.
Step 6: Assemble Musubi
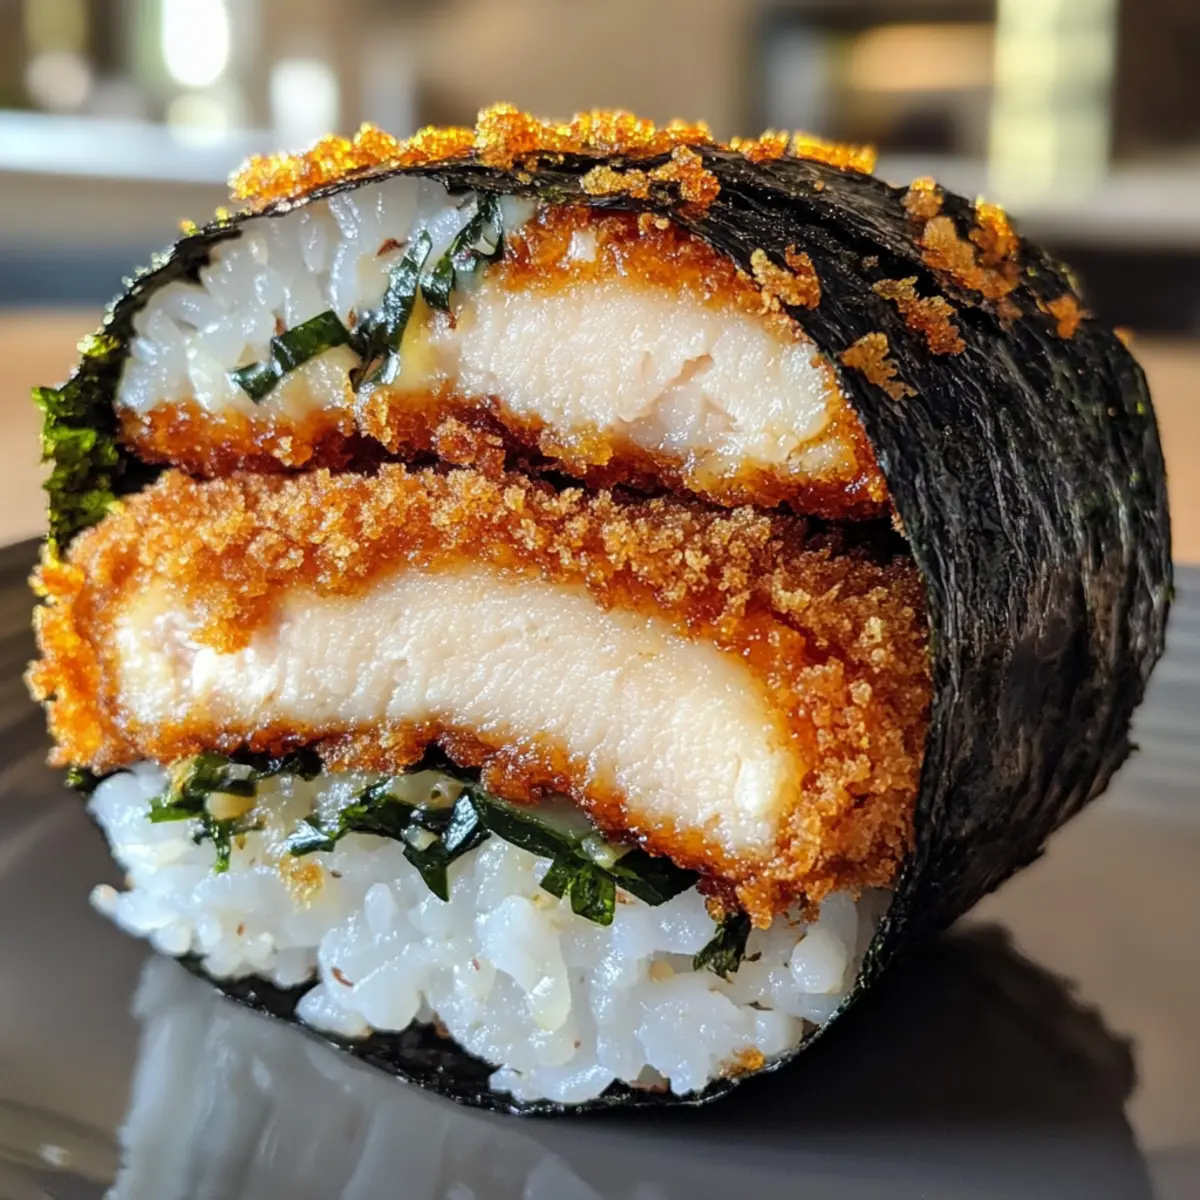
Take a nori sheet and cut it into thirds. Using a moistened Spam can or musubi mold, place ½ cup of the sticky rice inside. Smooth it out evenly, drizzle with tonkatsu sauce, and add a piece of your crispy chicken on top. Press down gently to compact, then carefully wrap the nori around the filling, sealing the edges with a little water.
Step 7: Final Touches
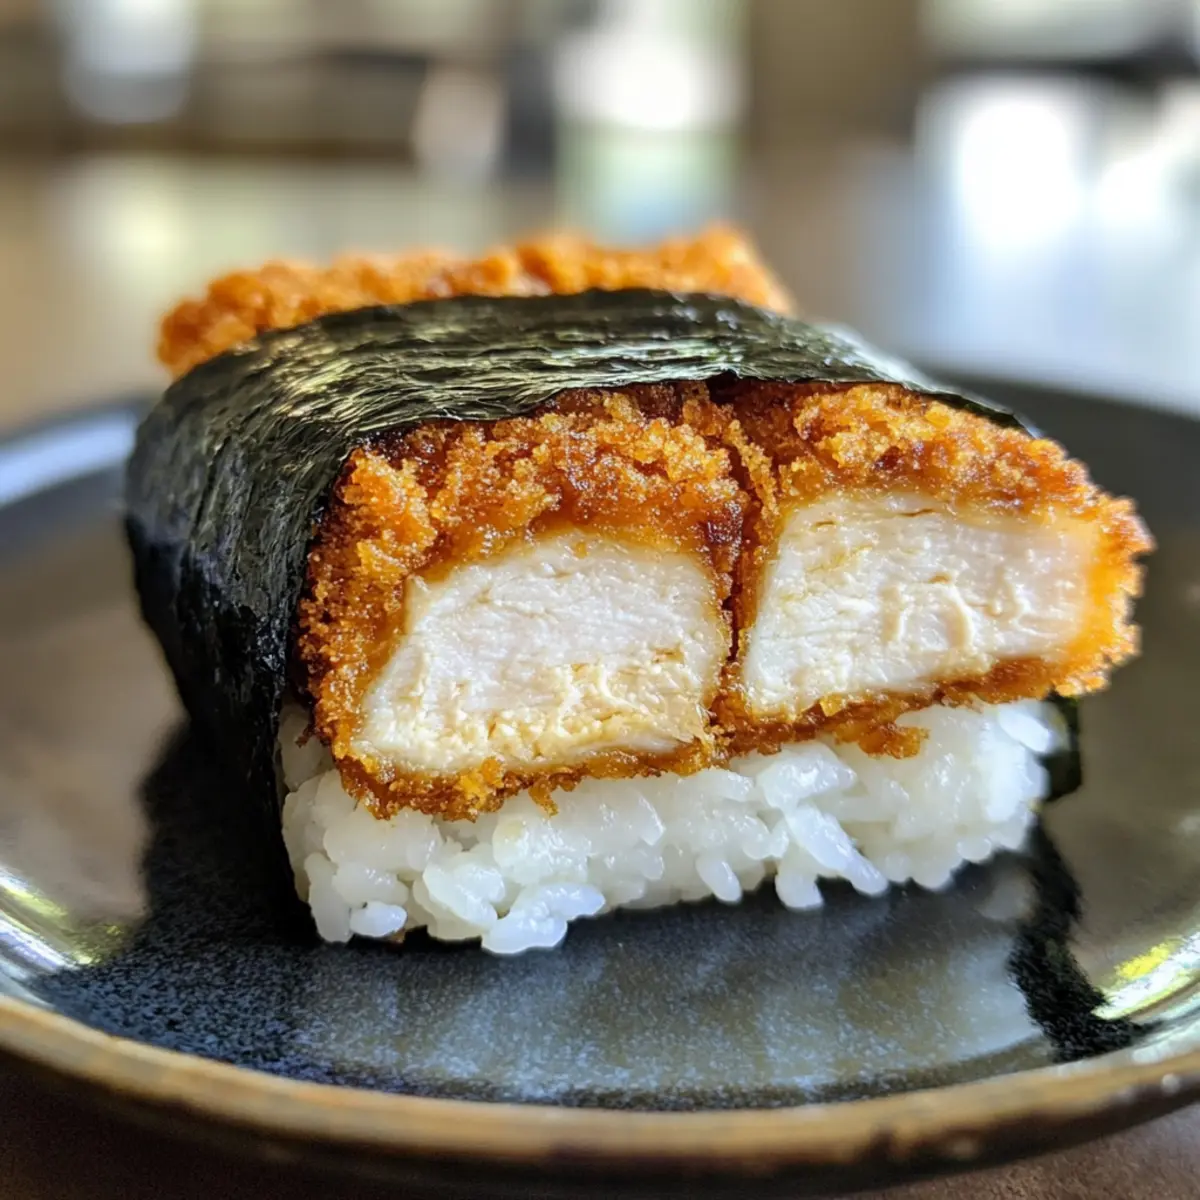
Once all your Chicken Katsu Musubi is assembled, let them rest for a minute. This resting period allows the nori to soften slightly with the steam from the rice, making the musubi easier to eat. Slice the musubi in half for serving, showcasing that beautiful filling, and get ready to enjoy this delightful snack!
What to Serve with Crunchy Chicken Katsu Musubi?
There’s nothing like pairing delightful bites of flavorful musubi with sides that enhance its crunchy charm and umami goodness.
- Tangy Pickled Vegetables: These refreshing bites cut through the richness of the katsu, offering a crisp, tangy contrast that brightens the meal.
- Light Cucumber Salad: A crunchy salad with sesame dressing adds a refreshing touch, balancing the savory flavors with a satisfying crunch.
Enjoy with a cup of warm green tea, the subtle earthiness complements the flavors beautifully while adding to the cozy, homestyle vibe.
-
Miso Soup: A warm bowl of miso soup introduces a soothing umami depth that harmonizes perfectly with the musubi’s crispiness.
-
Steamed Edamame: These simple steamed soybeans are not only a protein-packed option but also make for a fun and interactive snack that pairs well.
-
Fruity Dessert Rolls: Light and sweet, try a mango or strawberry dessert roll to add a burst of freshness and cleanse the palate after those savory bites.
-
Sweet Soy Glaze: Drizzling a bit of sweet soy glaze over your musubi can amplify the flavors while adding a delightful sweetness to each bite.
Expert Tips for Chicken Katsu Musubi
-
Pounding Technique: Make sure to pound chicken evenly. Uneven thickness can lead to overcooked edges while the center remains undercooked.
-
Oil Temperature: Keep an eye on the oil temperature. If it’s too low, the coating will absorb oil, resulting in a soggy Chicken Katsu Musubi instead of a crispy one.
-
Rice Consistency: Allow the sushi rice to cool slightly before assembling. This helps it stick together better, ensuring each bite of musubi has perfect texture.
-
Nori Wrapping: Seal nori edges with water for a tight wrap. This prevents the filling from spilling out while eating and maintains the delightful shape.
-
Experiment with Fillings: Don’t be afraid to swap chicken for your favorite proteins or try different sauces. Experimenting can inspire your next favorite Chicken Katsu Musubi!
Chicken Katsu Musubi Variations & Substitutions
Feel free to play around with this recipe and discover your own delicious twists on Chicken Katsu Musubi!
-
Shrimp Swap: Replace chicken with shrimps for a delightful seafood alternative, maintaining the same crispy batter.
-
Tofu Option: Use firm tofu instead of chicken for a hearty vegetarian option. Press the tofu beforehand to remove excess moisture for a better crunch.
-
Whole Grain Rice: Substitute sushi rice with short-grain brown rice for an added nutty flavor and increased fiber content. This change enhances the overall texture and nutrition.
-
Spicy Kick: Replace tonkatsu sauce with a spicy sriracha mayo for a fiery twist. This contrast of creamy and hot elevates each bite to new heights.
-
Soy Glaze: Experiment with a sweet soy glaze instead of traditional sauce. The sweet and salty notes intertwine perfectly with the crunchy chicken.
-
Veggie Addition: Add a layer of thinly sliced avocado or cucumber for extra freshness and creaminess, contrasting the crispy chicken beautifully.
-
Kid-Friendly: For a kid-friendly version, serve the musubi with a sweet teriyaki sauce that kids will adore, making each bite even more enticing.
-
Flavor Experiment: Try incorporating seasonings like garlic or ginger into your rice mixture for an additional punch of flavor. These aromatic notes complement the dish splendidly.
Whichever route you choose, don’t forget to pair your musubi with a side of pickled vegetables or a refreshing salad for an extra delicious meal. Check out our Cheesy Chicken Stuffed potatoes for another family-favorite dish!
How to Store and Freeze Chicken Katsu Musubi
Fridge: Store Chicken Katsu Musubi in an airtight container for up to 1 day to maintain freshness. To prevent sogginess, it’s best to consume it right after making.
Freezer: For longer storage, wrap individual musubi tightly in plastic wrap and place them in a freezer-safe bag. They can be frozen for up to 1 month.
Reheating: When ready to enjoy, thaw in the fridge overnight, then re-crisp in an air fryer or skillet over medium heat for about 3-5 minutes. This restores the crispy coating of your Chicken Katsu Musubi.
Room Temperature: Avoid leaving Chicken Katsu Musubi at room temperature for more than 2 hours, as it may not be safe to eat after that time.
Make Ahead Options
Chicken Katsu Musubi is an ideal recipe for meal prep! You can prepare the fried chicken up to 24 hours in advance, allowing it to cool completely before refrigerating in an airtight container. The sushi rice can also be cooked ahead and stored in the refrigerator for up to 3 days. When you’re ready to enjoy your musubi, simply reheat the chicken briefly in an air fryer or skillet to restore its crunch. For assembly, layer the cold rice and chicken with tonkatsu sauce before wrapping in nori. This simple prep ensures your Chicken Katsu Musubi is just as delicious and crispy, saving you precious time on busy weeknights!
Chicken Katsu Musubi Recipe FAQs
How do I choose ripe ingredients for my Chicken Katsu Musubi?
Absolutely! When selecting chicken, look for boneless, skinless thighs that are plump and pink with a fresh smell. The panko breadcrumbs should be light and airy, and avoid any that are stale. As for the nori sheets, go for ones that are dark, vibrant green without any dark spots, which can indicate age.
Advertisement
What is the best way to store Chicken Katsu Musubi?
Very! Store any leftover Chicken Katsu Musubi in an airtight container in the refrigerator for up to 1 day. To prevent the nori from getting soggy, it’s best to enjoy it fresh. If you need to keep it longer, consider freezing!
Can I freeze Chicken Katsu Musubi? How?
Certainly! To freeze, wrap each individual Chicken Katsu Musubi tightly in plastic wrap and then place them in a freezer-safe zip-top bag. You can keep them in the freezer for up to 1 month. When you’re ready to enjoy, thaw them overnight in the fridge, then re-crisp in an air fryer or skillet over medium heat for about 3-5 minutes until the coating is crispy again.
What can I do if my chicken coating is soggy?
If you find your Chicken Katsu Musubi has a soggy coating, it’s most likely due to low frying temperature. Ensure your oil is heated to around 350°F (175°C) before frying. If it’s too low, the coating absorbs the oil rather than becoming golden and crispy. Additionally, draining on a wire rack instead of paper towels can help maintain that lovely crunch!
Is this recipe safe for those with allergies?
Very! However, always check with your guests or family members before serving. The Chicken Katsu Musubi contains common allergens like eggs and wheat (from flour and panko). For a gluten-free option, swap regular flour and breadcrumbs for gluten-free alternatives. Additionally, adding a flax egg can make this dish suitable for vegans.
What sides pair well with Chicken Katsu Musubi?
Certainly! I often suggest serving Chicken Katsu Musubi with pickled vegetables or a light salad. This not only balances the richness of the musubi but adds a refreshing crunch. Alternatively, a side of miso soup or steamed edamame makes for a delightful Japanese-inspired meal!
Crunchy Chicken Katsu Musubi: Your New Favorite Snack!
Ingredients
Equipment
Method
- Start by placing the boneless chicken thighs between two sheets of plastic wrap. Using a meat mallet, pound the chicken to a uniform thickness of about ½ inch.
- In a medium bowl, whisk together one egg, all-purpose flour, salt, and pepper until the mixture resembles a slightly loose pancake batter.
- Carefully dredge each piece of pounded chicken in the batter and then coat with panko breadcrumbs.
- Heat a skillet over medium-high heat and pour in enough neutral oil to cover the bottom. Fry the coated chicken pieces for about 4-6 minutes on each side until golden brown.
- Cook sushi rice according to package instructions, then let it cool slightly.
- Take a nori sheet and cut it into thirds. Place ½ cup of the sticky rice inside a musubi mold, drizzle with tonkatsu sauce, and add chicken on top. Wrap nori around the filling.
- Let assembled musubi rest for a minute to allow the nori to soften, then slice in half for serving.