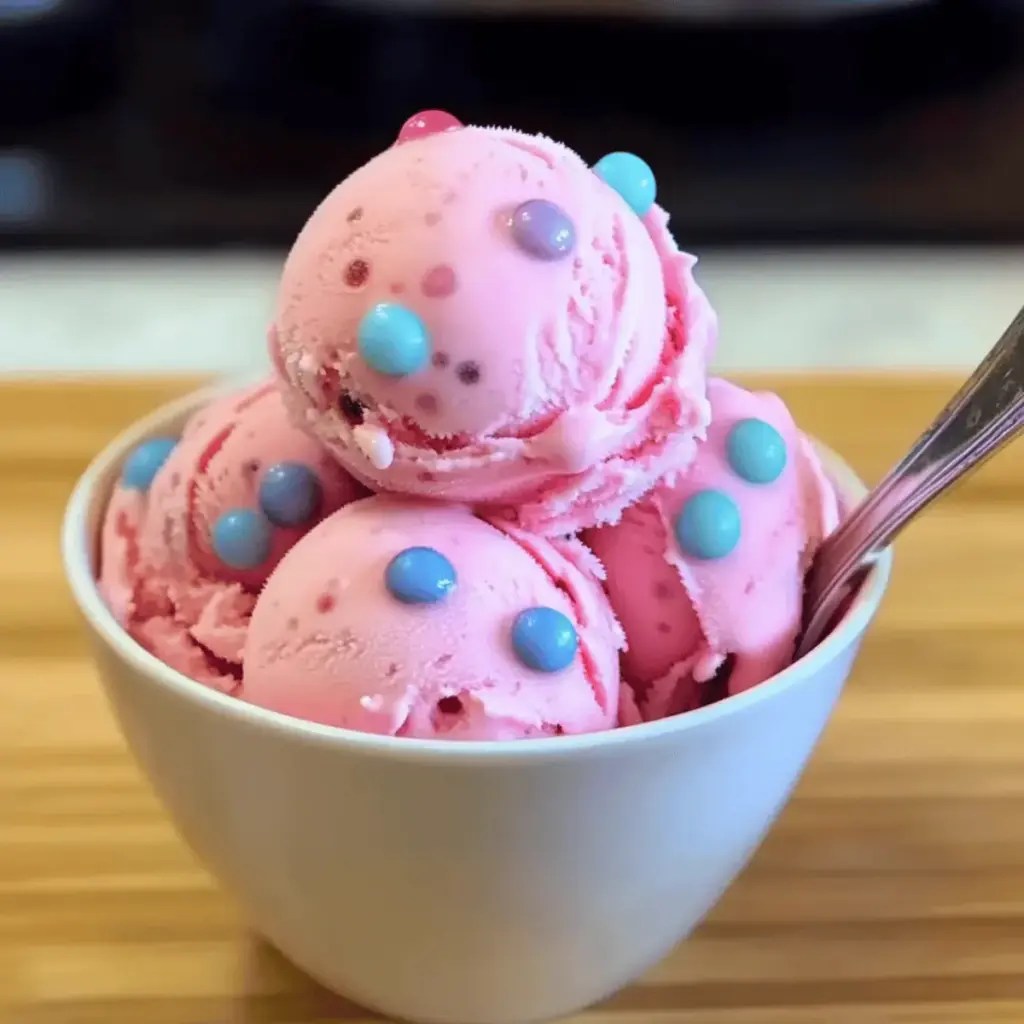
The soft thrum of a summer afternoon beckons, and suddenly, I’m transported back to sun-soaked childhood days filled with laughter and carefree joy. Nothing captures that essence like a scoop of homemade bubblegum ice cream. With its vibrant pink hue and playful, candy-like flavor, this dreamy treat is a delightful nod to those nostalgic moments. Crafting this creamy concoction at home not only ensures the purest taste—free from artificial additives—but also brings a sense of fun to your kitchen. Perfect for satisfying both kids and adults, this recipe is a crowd-pleaser that transforms any ordinary day into a celebration. Are you ready to whip up a batch of joy and indulge in flavors that evoke blissful memories? Let’s dive into the delightful world of bubblegum ice cream!
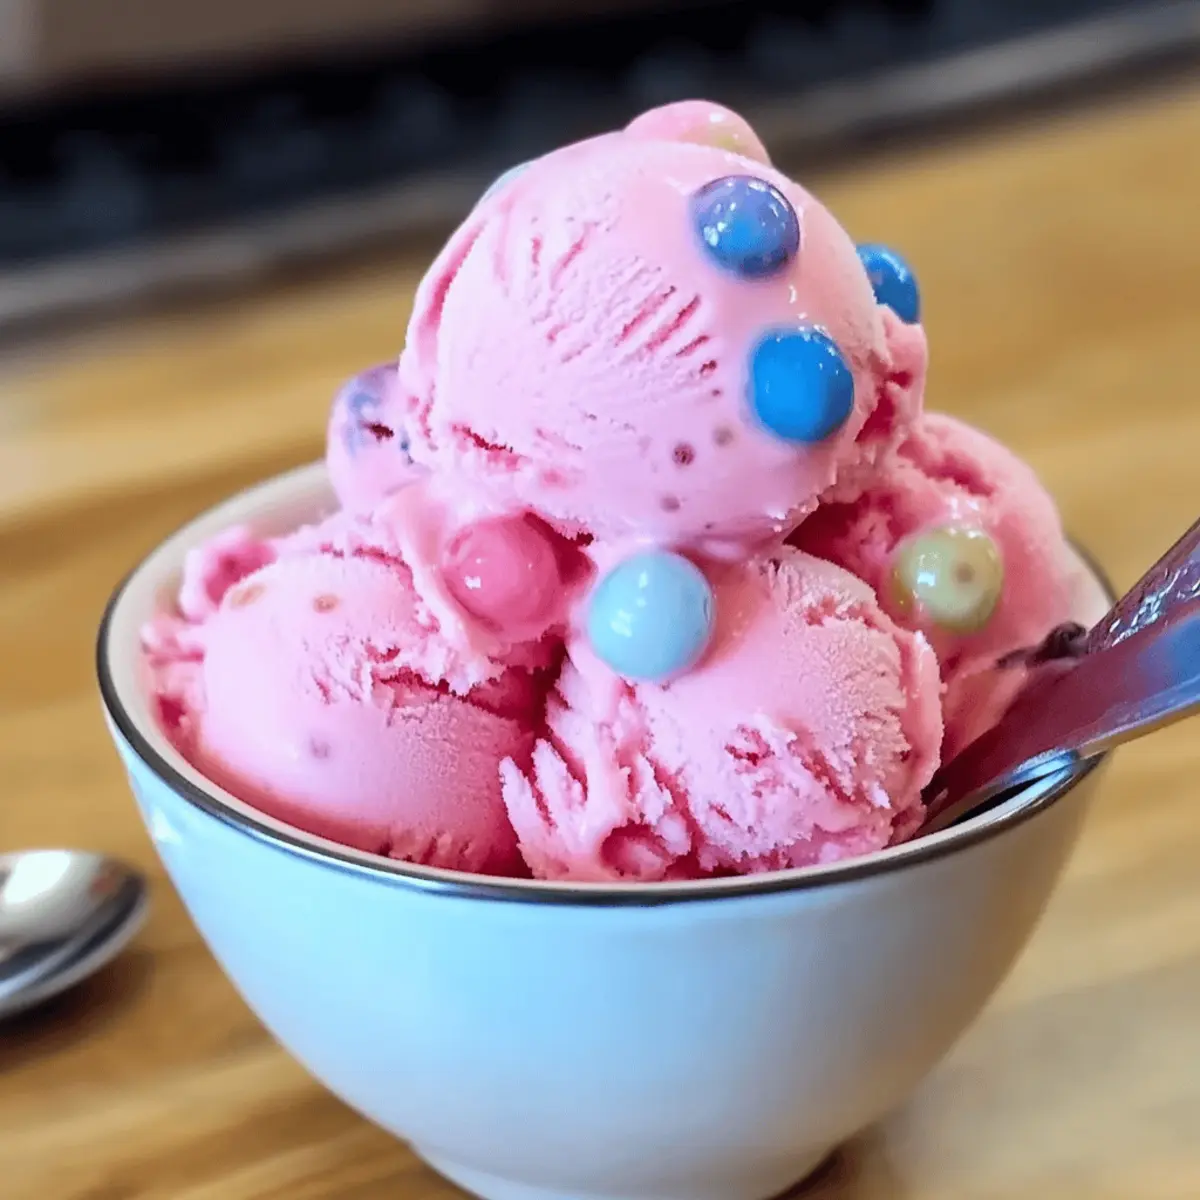
Why Is This Bubblegum Ice Cream So Special?
Nostalgic Bliss: Each scoop of this delightful bubblegum ice cream transports you back to carefree childhood days with its sweet, candy-like flavor and vibrant pink hue.
Easy to Make: No complicated techniques here! With basic ingredients and simple steps, you’ll have creamy goodness in no time.
Crowd-Pleasing Treat: Perfect for kids and adults alike, it’s a fun way to brighten up any gathering—think summer barbecues or birthday parties!
Customizable Fun: Feel free to experiment with different bubblegum brands or mix in toppings for a personalized touch, just like you would with my Cheesy Scalloped Potatoes as a side dish or enjoy a twist on flavors.
No Artificial Additives: Enjoy peace of mind knowing you’re serving a homemade treat that’s wholesome and free from preservatives.
Versatile Enjoyment: Serve it in cone or dish—pair it with fruity toppings for a delicious flavor explosion, or dive into bubblegum floats for a bubbly surprise!
Bubblegum Ice Cream Ingredients
• Here’s everything you need for a delightful batch of homemade bubblegum ice cream!
For the Base
- Bazooka Bubblegum – The star of the show; choose a high-quality gum that will dissolve beautifully for the perfect flavor.
- Whole Milk – This creamy staple creates a rich base; substitute with full-fat coconut milk for a dairy-free option.
- Heavy Cream – Essential for adding richness and a smooth texture; stick with this ingredient for the best results.
For Thickening
- Cornstarch – Helps thicken the ice cream base to creamy perfection; don’t skip this crucial step!
For Sweetness
- Sugar – Adjust to taste starting with 2 tablespoons; this ensures just the right amount of sweetness in your bubblegum ice cream.
- Salt – A pinch elevates all the flavors beautifully; it’s a little secret that makes a big difference!
Step‑by‑Step Instructions for Homemade Bubblegum Ice Cream
Step 1: Prepare the Cornstarch Slurry
In a small bowl, whisk together 1 tablespoon of cornstarch with 2 tablespoons of whole milk until smooth. This mixture will help thicken your bubblegum ice cream. Set it aside for now, ensuring that you have all your ingredients prepped and ready to go for a seamless cooking experience.
Step 2: Blend the Bubblegum Base
In a blender, combine 45 pieces of Bazooka Bubblegum, 2 cups of whole milk, and 1 cup of heavy cream. Blend on high speed until the mixture is completely smooth and the bubblegum has dissolved well, about 1-2 minutes. The vibrant pink color will start to emerge, signaling that you’re on the right track to creating your delightful bubblegum ice cream.
Step 3: Heat the Mixture
Pour the blended bubblegum mixture into a medium saucepan over medium heat. Add 2 tablespoons of sugar and a pinch of salt, stirring gently. Heat until the mixture begins to simmer, but be careful not to boil it—look for small bubbles forming around the edges to ensure you maintain a creamy texture in your ice cream base.
Step 4: Thicken the Base
Once simmering, gradually stir in the cornstarch slurry you prepared earlier. Whisk continuously for about 3-5 minutes, or until the mixture slightly thickens and coats the back of a spoon. This crucial step will give your homemade bubblegum ice cream a rich and creamy texture that everyone will love.
Step 5: Cool the Mixture
To cool down the bubblegum ice cream base quickly, pour it into a resealable plastic bag and submerge it in a larger bowl filled with ice water. Let it sit for about 15 minutes, stirring occasionally to promote even cooling. This step is important to prepare your mixture for churning to achieve the perfect creamy result.
Step 6: Strain the Mixture
After cooling, strain the mixture through a cheesecloth-lined strainer multiple times to remove any remaining bubblegum pieces. This step ensures that your bubblegum ice cream has a smooth texture, free from unwanted bits, allowing the delightful flavor to shine through in every scoop.
Step 7: Churn the Ice Cream
Pour the strained mixture into an ice cream maker and churn according to the manufacturer’s instructions, usually about 20-25 minutes. Keep an eye on the texture—it should become thick and creamy as it churns. This is the moment when you’ll start to see your homemade bubblegum ice cream come to life!
Step 8: Freeze and Firm Up
Once churning is complete, transfer the soft ice cream into an airtight container. Spread it evenly, press it down gently, and cover tightly. Freeze for at least 4 hours to allow the bubblegum ice cream to firm up to the perfect scooping consistency. Patience is key, but the wait will be absolutely worth it!
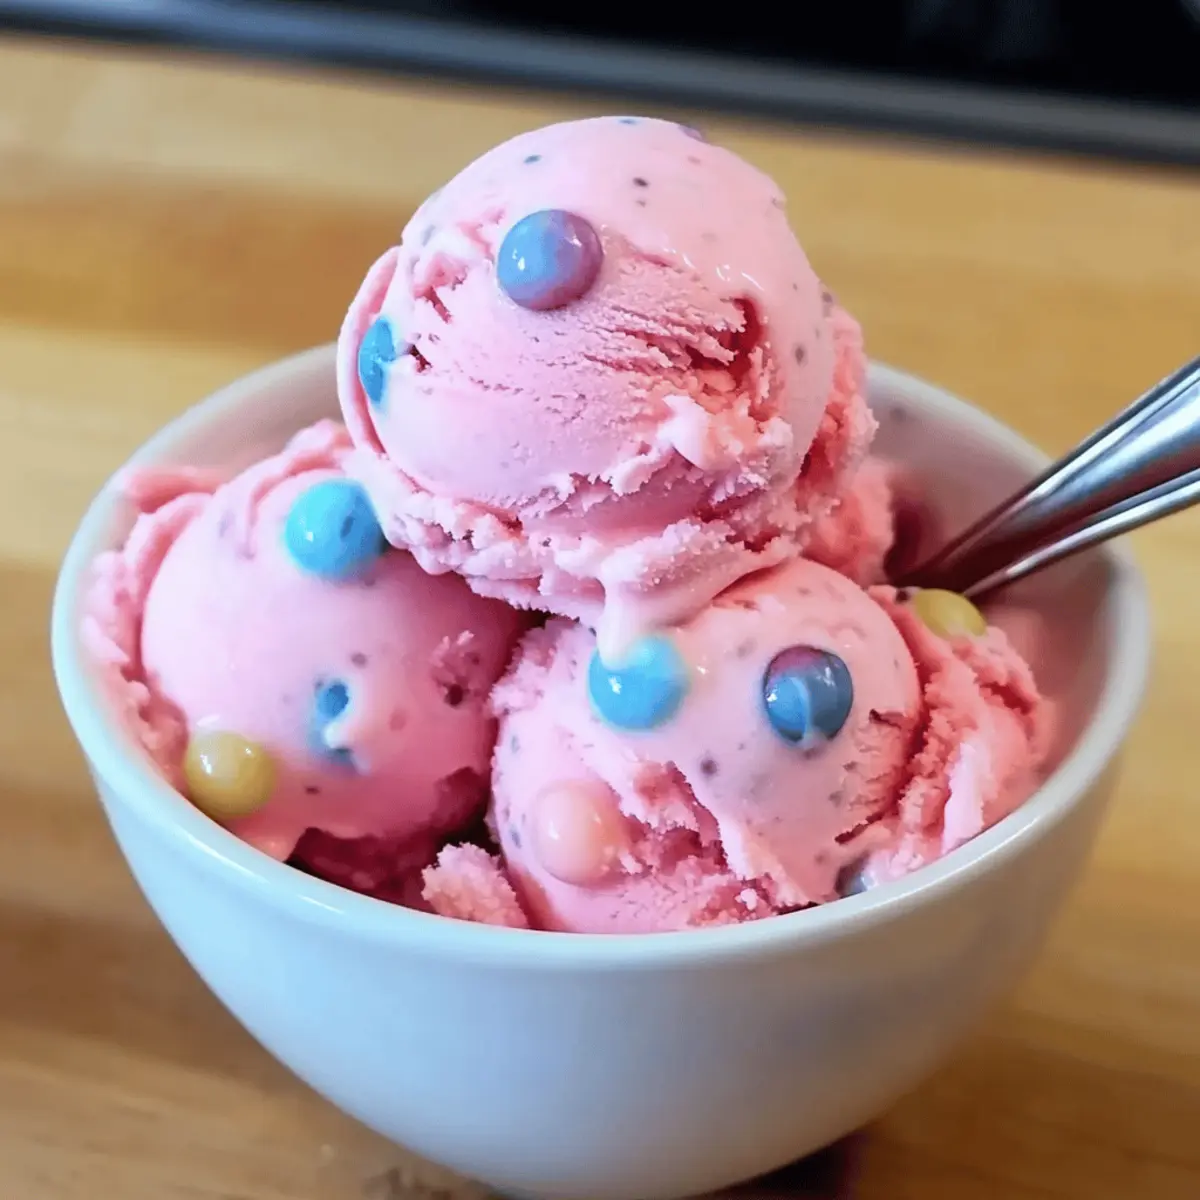
Expert Tips for Bubblegum Ice Cream
Quality Matters: Use high-quality Bazooka Bubblegum for the best flavor. Cheaper brands may not dissolve properly, impacting the ice cream’s taste.
Chill First: Allow the bubblegum mixture to cool completely before churning. A chilled mixture ensures a smoother and creamier bubblegum ice cream.
Don’t Rush Straining: Strain the mixture several times to remove any gum residue. This step is essential for achieving the velvety texture you desire.
Avoid Boiling: Keep an eye on the heat when simmering the base; boiling can lead to a grainy texture. Simmer gently for a creamy finish.
Scooping Made Easy: Let the churned ice cream sit at room temperature for 5-10 minutes before serving; this makes scooping a breeze.
Make Ahead Options
Homemade bubblegum ice cream is a delightful treat that you can easily prepare ahead to save time on busy days. You can make the ice cream base up to 24 hours in advance by completing steps 1 through 6. After straining, store the cooled mixture in an airtight container in the refrigerator. When you’re ready to enjoy your bubblegum ice cream, simply churn it in your ice cream maker, which takes about 20-25 minutes, then freeze it for at least 4 hours to firm up. This meal prep strategy ensures that every scoop remains just as creamy and delicious, allowing you to create sweet memories without the last-minute rush!
Storage Tips for Bubblegum Ice Cream
Fridge: Store leftover bubblegum ice cream in an airtight container in the fridge for up to 3 days. However, for the best texture, keep it frozen.
Freezer: When storing in the freezer, ensure the container is tightly sealed to prevent ice crystals from forming. Homemade bubblegum ice cream is best enjoyed within 2 weeks.
Reheating: If the ice cream becomes too hard, let it sit at room temperature for about 10 minutes before scooping. This will make it easier to serve and enjoy.
Serving Suggestions: For an extra treat, consider adding sprinkles or whipped cream just before serving to enhance the playful experience of your bubblegum ice cream.
What to Serve with Homemade Creamy Bubblegum Ice Cream
Create a delightful dessert experience with fun pairings that enhance the whimsical flavor of this creamy treat.
-
Waffle Cones:
The crunchy texture offers a satisfying contrast to the creamy ice cream, making each bite a joyful experience. -
Fresh Berries:
Juicy strawberries or blueberries provide a refreshing pop of tartness that balances the sweet bubblegum flavor perfectly. -
Chocolate Sauce:
Drizzled over the ice cream, it adds a rich depth, transforming the dessert into a divine cozy treat. -
Whipped Cream:
Light and airy, a dollop of whipped cream on top elevates the indulgence, inviting a nostalgic feel reminiscent of ice cream parlors. -
Bubblegum Floats:
Pour lemon-lime soda over scoops for a fizzy twist, creating a playful drink that enhances your ice cream experience. -
Sprinkles:
Colorful sprinkles add a whimsical touch, bringing additional crunch and fun to your bowl of bubblegum delight. -
Brownie Bites:
Chewy brownies contrast beautifully, creating a rich layering of flavors that kids and adults alike will adore. -
Coconut Sorbet:
The tropical flavor creates a unique twist when combined, making your dessert a refreshing delight on warm days. -
Milkshakes:
Blend scoops of bubblegum ice cream with milk for a thick, creamy shake that envelops you in nostalgia and joy. -
Candied Nuts:
Crunchy and slightly salty, these add an unexpected yet delightful twist, enticing the taste buds in every scoop.
Bubblegum Ice Cream: Fun Variations
Feel free to customize this delightful bubblegum ice cream and let your creativity shine in the kitchen!
-
Bubblegum Brand Swap: Try different bubblegum brands like Double Bubble for a unique twist on flavor. Each type brings its own charm to the table!
-
Dairy-Free Option: Use full-fat coconut milk instead of whole milk for a creamy dairy-free version. This swap adds a taste of tropical delight to your nostalgic treat.
-
Topping Delight: Elevate your ice cream with whipped cream and crushed candies to add texture and extra sweetness. Think sprinkles, gummy bears, or even mini marshmallows for a whimsical touch!
-
Bubblegum Float: Combine scoops of this ice cream with lemon-lime soda or cream soda for a refreshing bubblegum float. It’s a fizzy celebration worthy of any summer day!
-
Chocolate Chip Addition: Fold in mini chocolate chips before churning for a scrumptious surprise with every scoop. The sweet and slightly bitter contrast will keep taste buds dancing!
-
Nutty Crunch: Sprinkle some crushed nuts or toffee bits into the ice cream for an unexpected crunchy texture experience, enhancing the overall sensation of joy.
-
Flavored Swirls: Add a swirl of fruit puree—like strawberry or raspberry—into your ice cream before freezing. This not only adds fruity flavors but also creates a beautiful marbled effect.
-
Salty-Sweet Contrast: Finish with a light sprinkle of sea salt on top before serving to enhance the sweetness of the bubblegum. It’s a magical pairing that heightens every scoop’s delight!
Try these variations to make your bubblegum ice cream an even more memorable treat! And if you’re in the mood for more sweet indulgences, check out my delicious recipes for Gingerbread Spice Cheesecake or Biscoff Cheesecake Sweet for more inspired desserts!
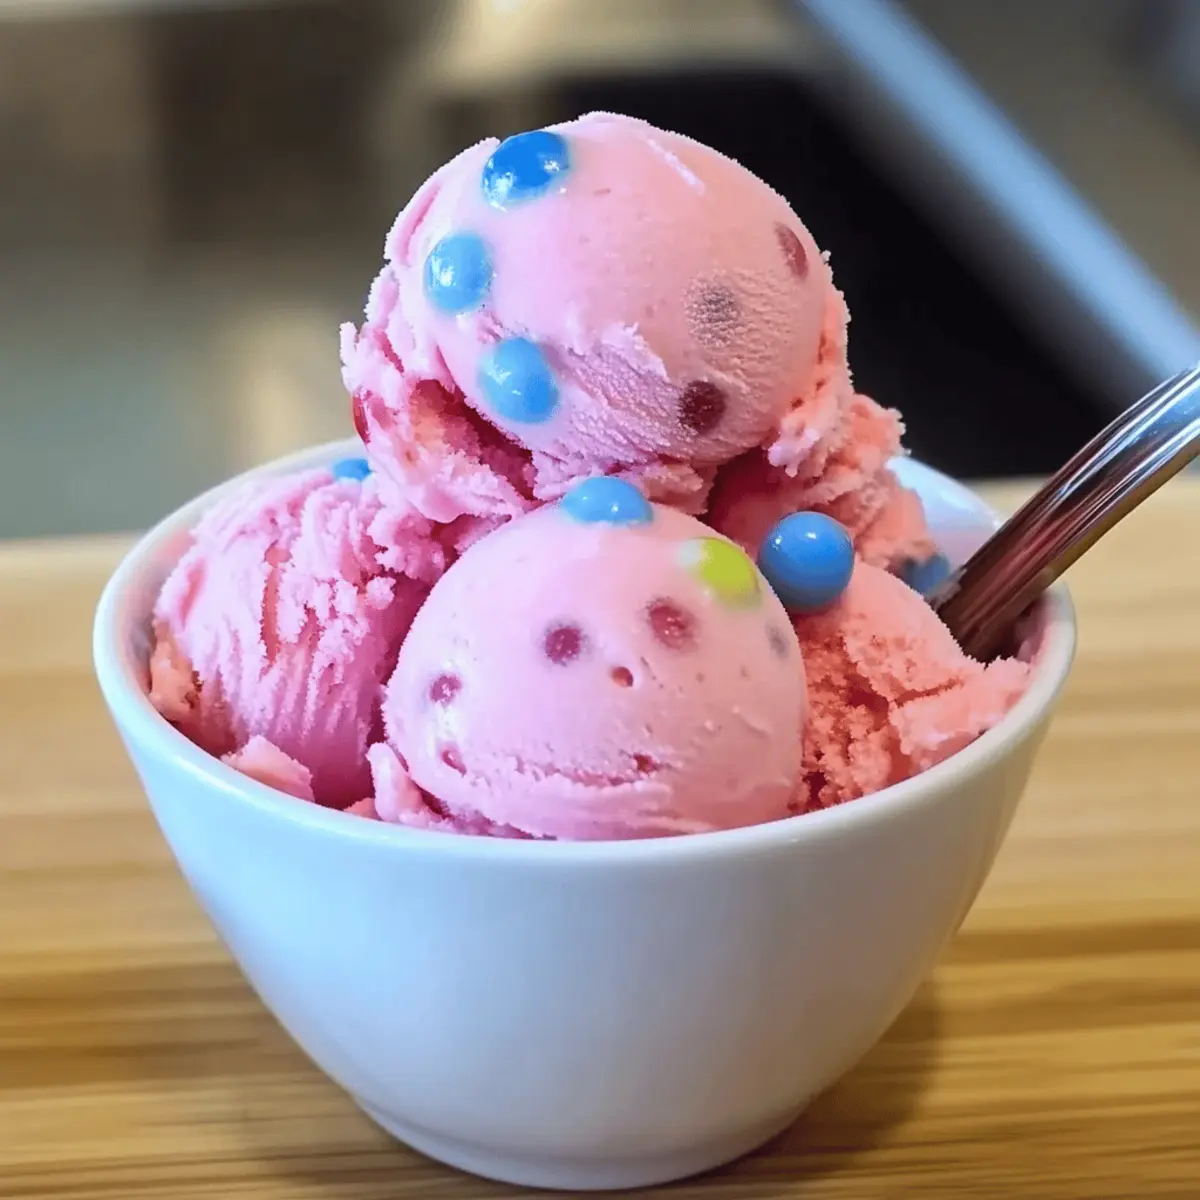
Bubblegum Ice Cream Recipe FAQs
How do I choose the right bubblegum for the ice cream?
Absolutely! The best option is to go for high-quality Bazooka Bubblegum, as it dissolves well and imparts a strong flavor. Avoid cheaper brands, as they may not blend as smoothly, leading to an uneven taste and texture.
Advertisement
How should I store homemade bubblegum ice cream?
I recommend storing your bubblegum ice cream in an airtight container; this helps to maintain its creamy texture. You can keep it in the fridge for up to 3 days, but for the best results, keep it frozen for up to 2 weeks. Just ensure the container is tightly sealed to avoid the formation of ice crystals!
Can I freeze leftover bubblegum ice cream?
Yes, you can absolutely freeze it! After churning, transfer the ice cream to an airtight container. It should be good for up to 3 months in the freezer. Just let it sit at room temperature for about 10 minutes before scooping if it becomes too hard.
What if my ice cream is too grainy?
Very! Graininess often comes from boiling the milk mixture. To ensure smoothness, keep the heat at a gentle simmer and avoid boiling altogether. Additionally, make sure to strain the mixture thoroughly to eliminate any bits of gum residue.
Is this bubblegum ice cream suitable for kids?
Absolutely! This homemade treat is perfect for kids, as it’s free from artificial additives and preservatives commonly found in store-bought versions. Plus, it brings a playful flavor that they’ll love. Just be mindful of any allergies related to the ingredients, especially the milk and sugar content.
Can I use other flavors of bubblegum?
Yes, of course! Feel free to experiment with other bubblegum brands, like Double Bubble, for a different flavor experience. Just make sure to choose a brand that dissolves well and provides a pleasant taste for your homemade bubblegum ice cream.
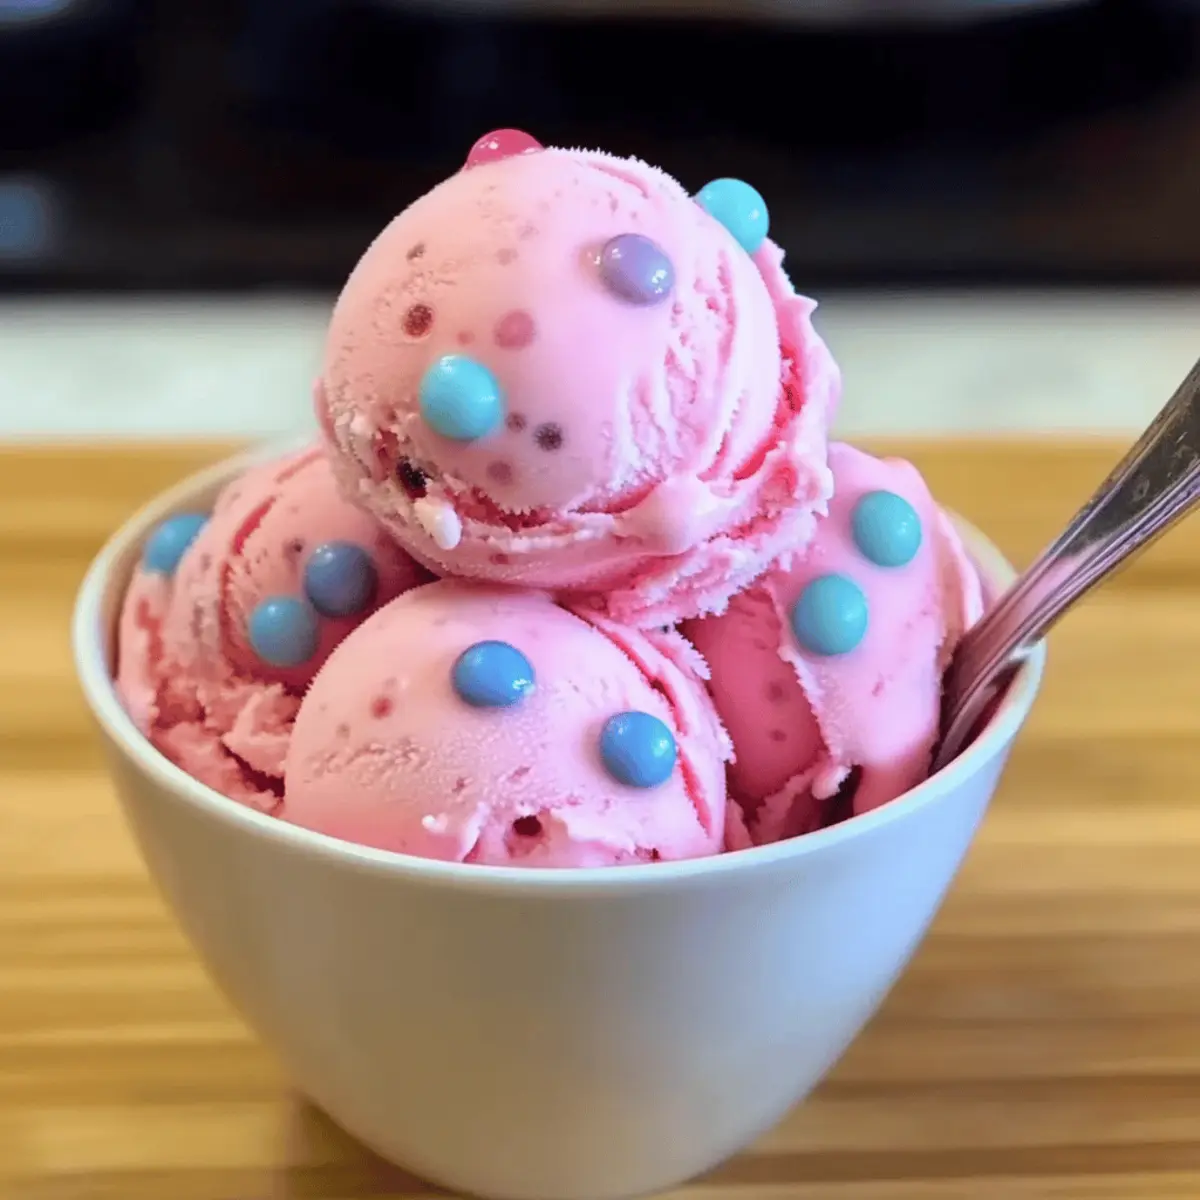
Irresistibly Creamy Bubblegum Ice Cream for Sweet Nostalgia
Ingredients
Equipment
Method
- Prepare the Cornstarch Slurry: In a small bowl, whisk together cornstarch with whole milk until smooth. Set aside.
- Blend the Bubblegum Base: In a blender, combine Bazooka Bubblegum, whole milk, and heavy cream. Blend on high speed until smooth, about 1-2 minutes.
- Heat the Mixture: Pour blended mixture into a saucepan over medium heat. Add sugar and salt. Heat until simmering, but do not boil.
- Thicken the Base: Gradually stir in the cornstarch slurry, whisking continuously for 3-5 minutes until it thickens.
- Cool the Mixture: Pour the mixture into a plastic bag and submerge in ice water for about 15 minutes, stirring occasionally.
- Strain the Mixture: Strain the cooled mixture through a cheesecloth-lined strainer to remove bubblegum pieces.
- Churn the Ice Cream: Pour the strained mixture into an ice cream maker and churn according to instructions, about 20-25 minutes.
- Freeze and Firm Up: Transfer to an airtight container and freeze for at least 4 hours to firm up.

