As I rummaged through my pantry one sweltering afternoon, I stumbled upon a treasure: an unassuming jar of Biscoff spread waiting to be transformed into something extraordinary. Enter the Biscoff Icebox Cake, a no-bake wonder that is as easy as it is delightful! With just four simple ingredients, this dessert is a heavenly blend of creamy goodness and crunchy Biscoff biscuits, perfect for those warm days when turning on the oven feels like a mini crisis. Not only is it a stunning make-ahead treat, but it also serves as a conversation starter at gatherings, with its spiced cookie flavor leaving everyone wondering how it was made. Are you ready to whip up a dessert that will leave your friends buzzing with excitement? Let’s dive into this delectable creation!
Why is Biscoff Icebox Cake irresistible?
Simplicity, This no-bake recipe whisks together just four ingredients, making it a breeze for any skill level. Luscious Layers of creamy Biscoff spread and crunchy cookies create a stunning visual and flavor experience. Make-Ahead Magic allows you to prepare it in advance, perfect for busy days. Crowd-Pleasing Delight that pairs beautifully with various toppings or spins like fresh berries, much like our mouthwatering Limoncello Ricotta Cake. Unique Flavor offers a warm, spiced twist that ignites nostalgic memories, ensuring your guests will be clamoring for the recipe!
Biscoff Icebox Cake Ingredients
• Simple and delightful!
For the Cream Layer
- Heavy Cream – A rich base that provides a velvety texture; for a lighter option, consider using whipped topping.
- Sweetened Condensed Milk – This adds the perfect touch of sweetness; you can swap it with powdered sugar if you’d prefer a drier mix.
- Lotus Biscoff Spread – The star of the show, giving the cake its distinct, spiced flavor; any cookie butter will work as a tasty substitute.
For the Layering
- Lotus Biscoff Biscuits – Crunchy and perfect for layering; if you can’t find them, any speculoos biscuits will do just fine.
This Biscoff Icebox Cake comes together quickly and is sure to bring smiles all around!
Step‑by‑Step Instructions for Biscoff Icebox Cake
Step 1: Prepare the Lotus Cream
In a cold mixing bowl, use a chilled whisk to whip the heavy cream with sweetened condensed milk on medium-high speed until stiff peaks form, about 3-5 minutes. Once fluffy and thick, gently fold in ½ cup of Biscoff spread until just combined, creating a luscious mixture that will form the base of your Biscoff Icebox Cake.
Step 2: Assemble the Icebox Cake
Microwave ¼ cup of Biscoff spread for 10-15 seconds until it becomes runny. Line a 9×5 loaf pan with plastic wrap, ensuring some overhang for easy removal. Spread a thin layer of the Lotus cream mixture at the bottom of the pan, followed by a layer of Biscoff biscuits, and then add a third of the cream mixture along with a drizzle of the warmed Biscoff spread.
Step 3: Repeat Layering
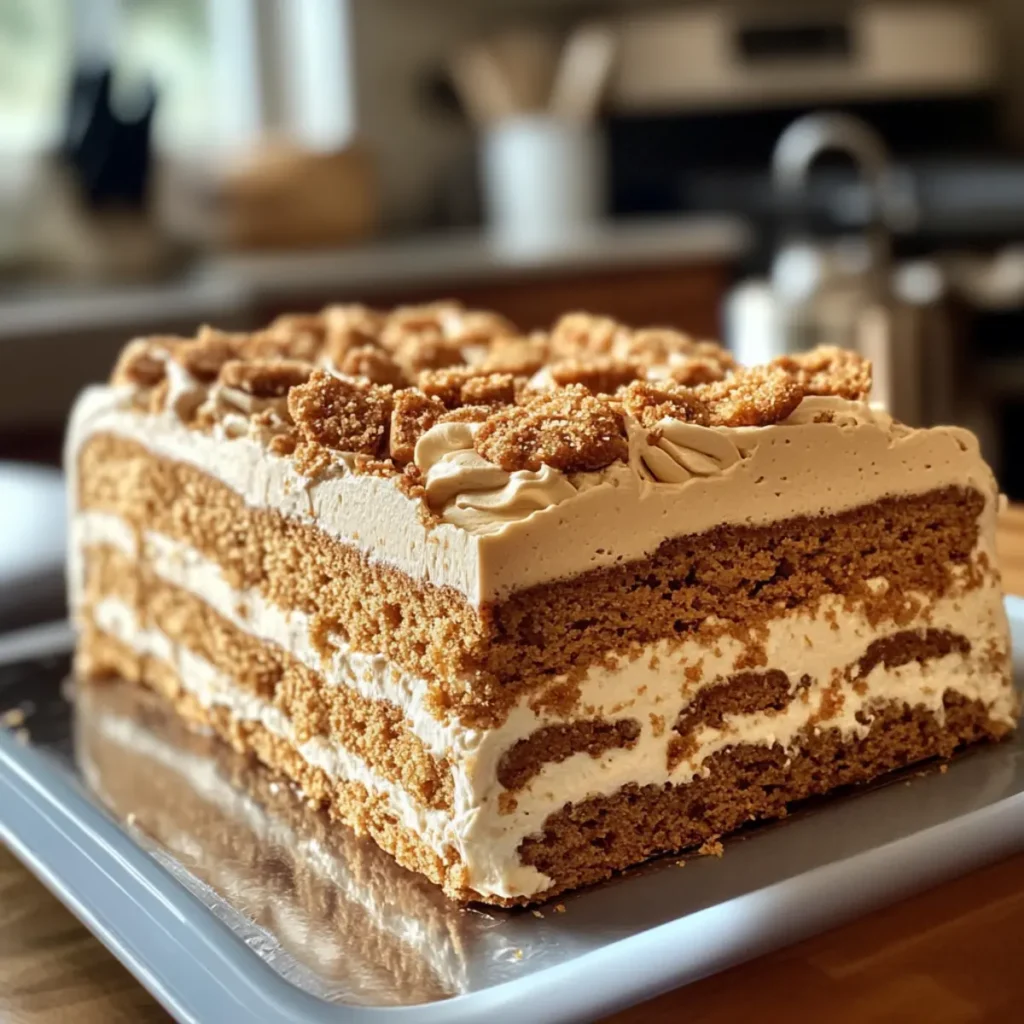
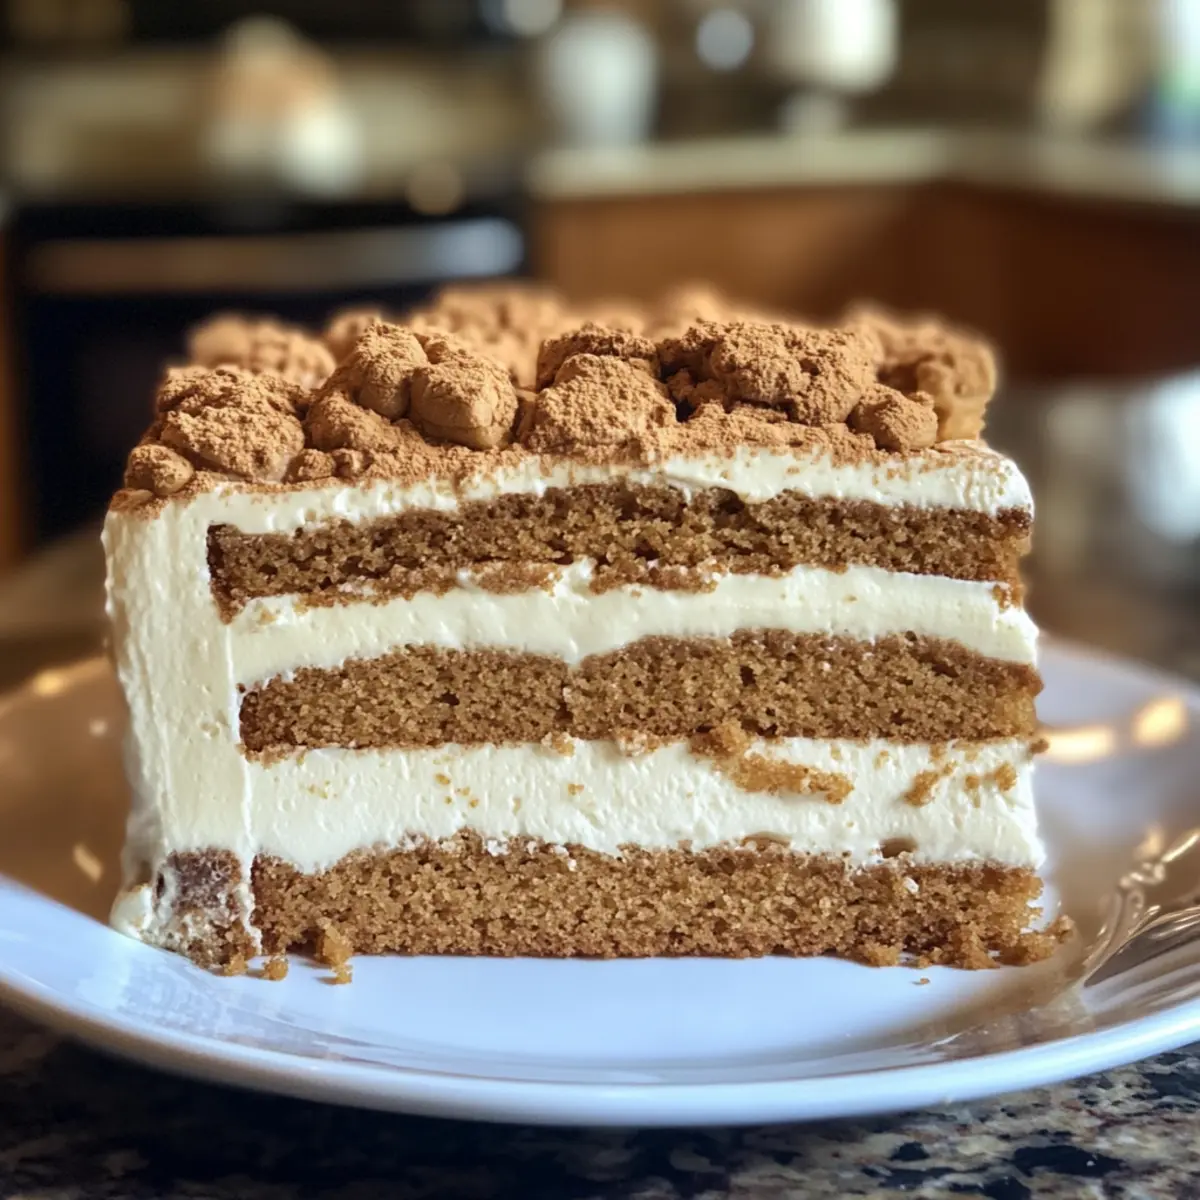
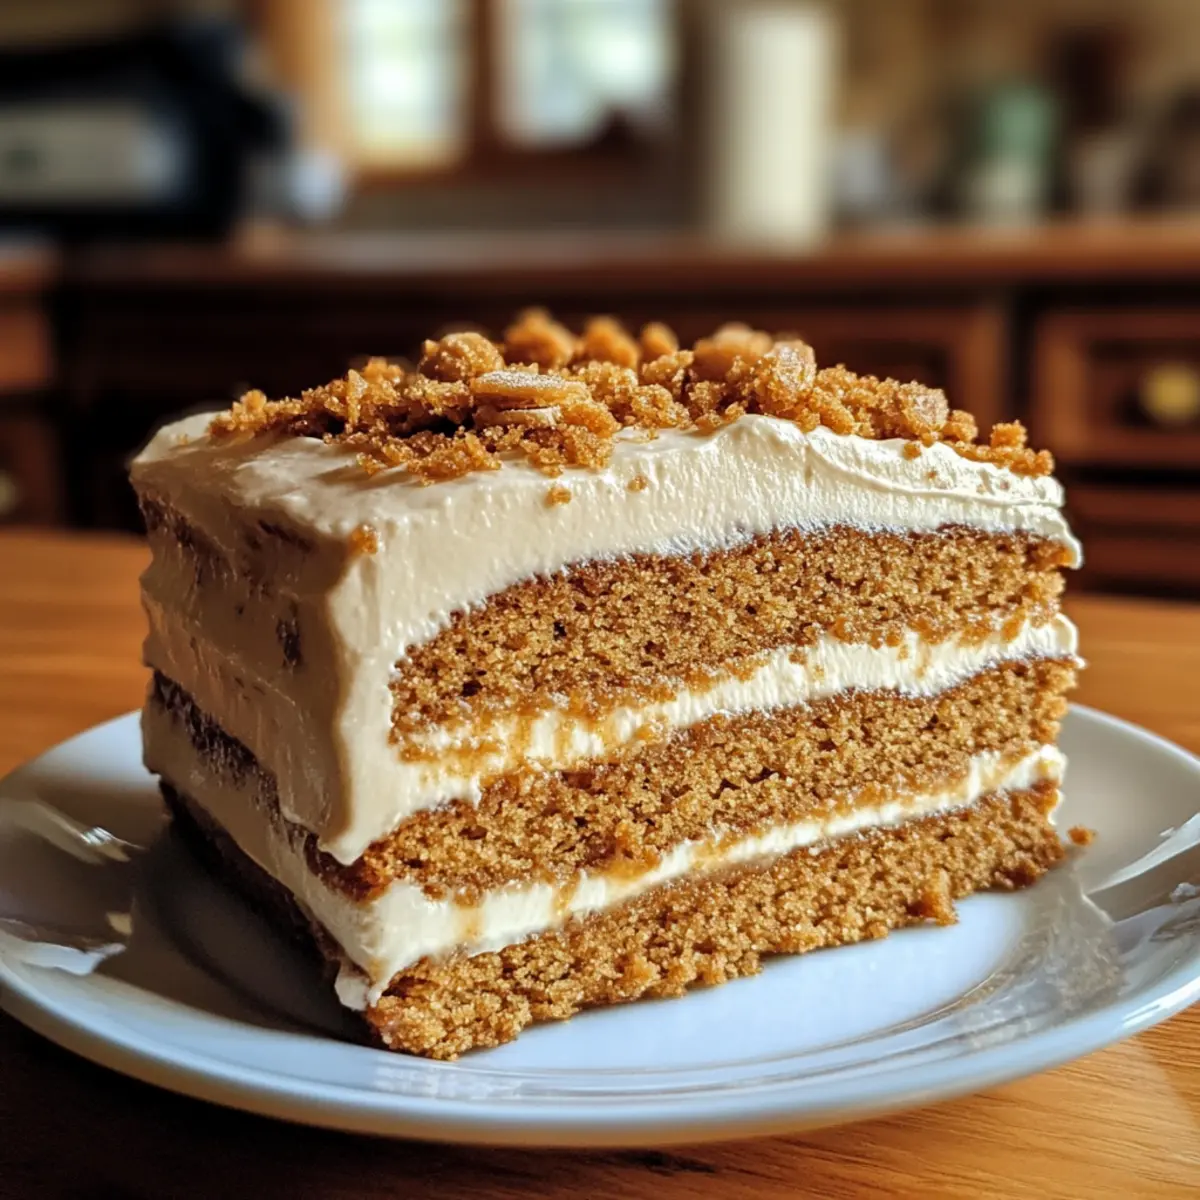
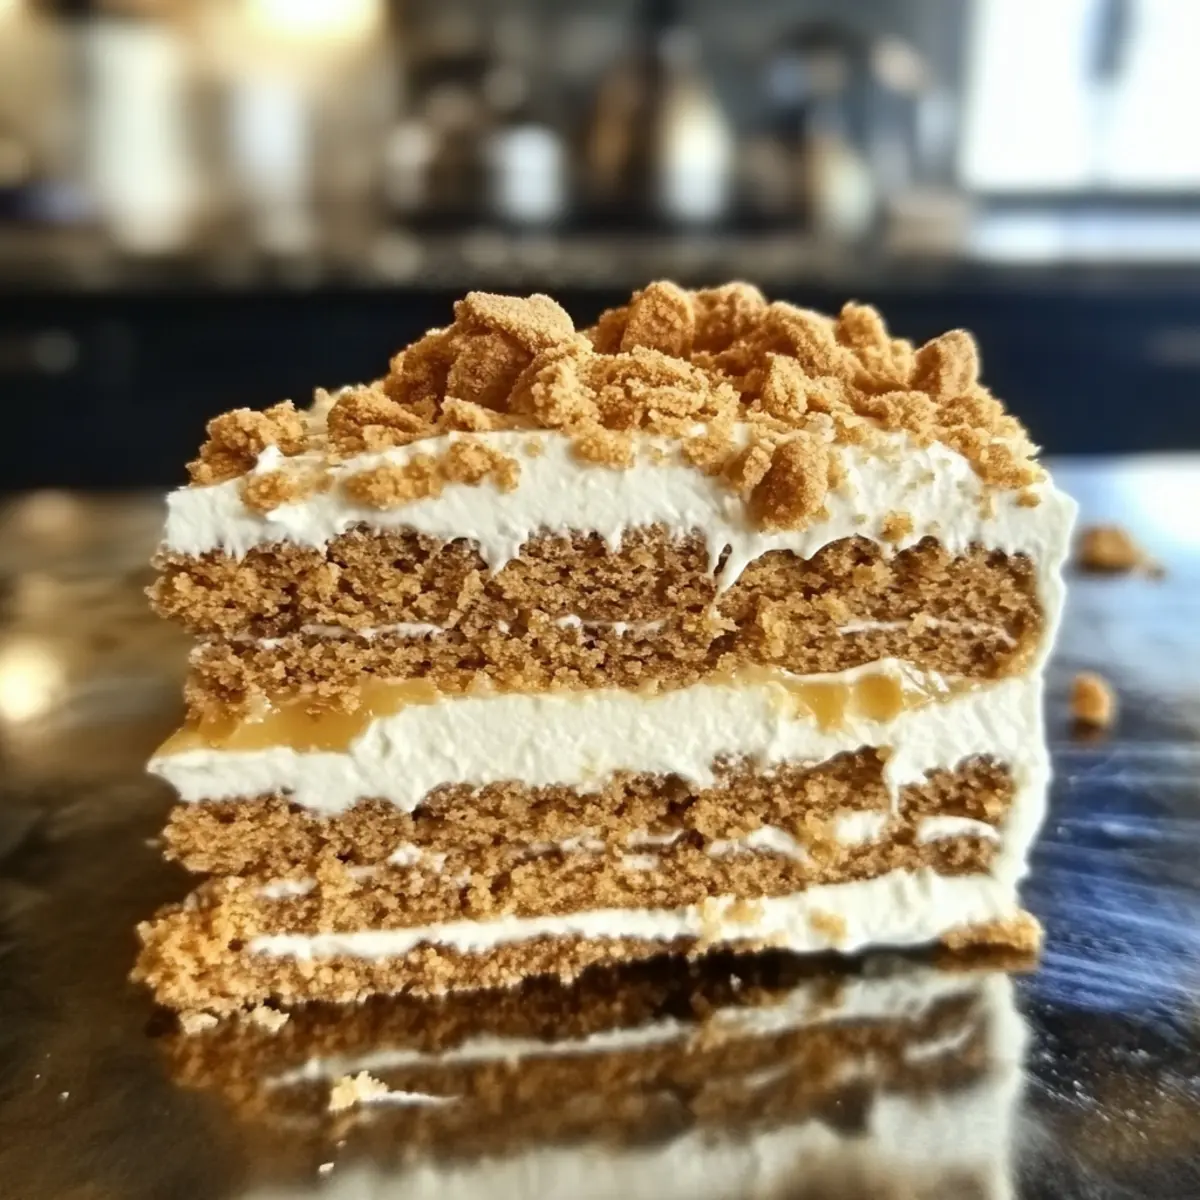
Continue layering by repeating the process: add another layer of Biscoff biscuits, cover with a third of the cream mixture, and drizzle more warmed Biscoff spread. Repeat this two more times, making sure to finish with a final creamy layer. For a decorative touch, consider garnishing the top with extra cookie crumbs and whole biscuits.
Step 4: Chill
Once assembled, cover the loaf pan securely with plastic wrap and place it in the freezer for at least 2 hours or overnight. This chilling step is crucial for the Biscoff Icebox Cake to set properly, allowing the flavors to meld together beautifully.
Step 5: Serve
When ready to serve, remove the Biscoff Icebox Cake from the freezer and let it sit at room temperature for about 15 minutes. This will soften the cake slightly, making it easier to slice and enhancing the creamy texture, ensuring each bite melts in your mouth.
What to Serve with Biscoff Icebox Cake
Indulging in a slice of creamy goodness invites a world of delicious pairings to elevate your dessert experience.
- Fresh Berries: A burst of tartness from strawberries or raspberries balances the sweetness of the cake, creating a delightful contrast.
- Whipped Cream: A dollop of lightly sweetened whipped cream adds airiness to each bite, enhancing the rich Biscoff flavors beautifully.
- Coffee: The deep, roasted notes of coffee pair perfectly with the spiced sweetness of the cake, making each sip a comforting companion.
- Chocolate Sauce: Drizzling warm chocolate sauce over the top adds a luxurious touch, wrapping everything in a sweet, melty embrace.
- Vanilla Ice Cream: A scoop of creamy vanilla ice cream brings a classic touch, complementing the cake’s texture with cold, smooth indulgence.
- Caramel Drizzle: A swirl of caramel introduces a rich, buttery flavor that harmonizes blissfully with the Biscoff spread, making it irresistible.
- Mint Leaves: For a refreshing twist, sprinkle fresh mint leaves on top; their coolness cuts through the richness while adding a pop of color.
- Nuts: Chopped hazelnuts or pistachios introduce a crunchy element, adding texture and a nutty flavor that pairs beautifully with the cake’s creaminess.
- Spiced Chai: A cup of warm spiced chai tea echoes the cake’s flavor profile, enveloping your taste buds in cozy warmth with every sip.
Expert Tips for Biscoff Icebox Cake
-
Chill Your Tools: A cold bowl and whisk are crucial for whipping heavy cream. This ensures it reaches stiff peaks quickly and maintains a light texture in your Biscoff Icebox Cake.
-
Layer with Care: Don’t rush the layering process. Spread each layer evenly for a neat finish and better flavor distribution.
-
Adjust Sweetness: Taste the cream mixture before assembling. If it’s not sweet enough, add a touch more sweetened condensed milk or powdered sugar to suit your preference.
-
Use Plastic Wrap Wisely: Line your loaf pan with plastic wrap, leaving overhang. This makes it super easy to lift the Biscoff Icebox Cake out once it’s frozen.
-
Let It Soften: Always allow the cake to sit at room temperature for 15 minutes before slicing. This ensures the creamy layers are the perfect consistency to melt in your mouth.
Make Ahead Options
These Biscoff Icebox Cakes are perfect for busy home cooks looking to save time! You can prepare the Lotus cream up to 24 hours in advance and store it in an airtight container in the refrigerator. Additionally, you can layer the cake and freeze it for up to 3 days before serving. Just be sure to cover the loaf pan tightly with plastic wrap to prevent freezer burn, ensuring it remains just as delicious when you’re ready to enjoy it. When it’s time to serve, simply remove the cake from the freezer, let it sit at room temperature for about 15 minutes to soften, and slice into perfect pieces that will wow your guests!
How to Store and Freeze Biscoff Icebox Cake
Fridge: Store any leftover Biscoff Icebox Cake tightly wrapped in the refrigerator, where it will remain fresh for up to 3 days.
Freezer: For longer storage, keep the cake tightly wrapped in plastic wrap followed by aluminum foil. It can be frozen for up to 2 weeks without losing flavor.
Thawing: When ready to enjoy, transfer the Biscoff Icebox Cake from the freezer to the fridge for several hours or overnight to thaw.
Reheating: Allow slices to sit at room temperature for about 15 minutes before serving, enabling the creamy texture to return and enhance your tasting experience.
Biscoff Icebox Cake Variations & Substitutions
Feel free to get creative and personalize your Biscoff Icebox Cake with these delicious twists!
- Dairy-Free: Substitute heavy cream with coconut cream for a rich, dairy-free alternative that adds a tropical flair.
- Lower Sugar: If you’re looking to cut back on sugar, replace sweetened condensed milk with a sugar-free alternative or use honey for a natural sweetener.
- Nutty & Crunchy: Mix in chopped nuts like walnuts or almonds within the cream layer for an exciting crunch and additional texture in every bite.
- Fruit Fusion: Add fresh fruits like sliced strawberries or bananas between the layers for a refreshing burst of flavor and a nutritious boost.
- Chocolate Lovers: Swirl in some chocolate hazelnut spread with the Biscoff spread for a delightful twist that chocolate aficionados will adore.
- Spiced Kick: Incorporate a dash of cinnamon or nutmeg into the cream mixture to elevate the flavor profile and add warmth.
- Gourmet Garnishes: Top with drizzled melted dark chocolate or a sprinkle of sea salt before serving for an indulgent finish that’s beyond beautiful.
- Decadent Layers: For a more extravagant treat, alternate layers of Biscoff spread with a rich cheesecake filling, resembling the layers of a luxurious Classic Yule Log Cake.
With these variations, your Biscoff Icebox Cake can be uniquely yours, making every bite a little adventure!
Biscoff Icebox Cake Recipe FAQs
What type of Biscoff spread should I use?
You should use any brand of Biscoff spread, as the flavor is essential to the cake. If you can’t find Biscoff, feel free to use other cookie butters like Speculoos or even nut-based spreads for a different but equally tasty experience!
How should I store Biscoff Icebox Cake?
For storage, I recommend wrapping any leftover Biscoff Icebox Cake tightly in plastic wrap and keeping it in the refrigerator for up to 3 days. If you want it to last longer, you can wrap it in plastic and aluminum foil for freezing. It can stay good in the freezer for up to 2 weeks!
Advertisement
Can I freeze Biscoff Icebox Cake?
Absolutely! To freeze, wrap the Biscoff Icebox Cake tightly in plastic wrap, then cover it with aluminum foil for added protection against freezer burn. For the best texture, allow it to thaw in the fridge for several hours or overnight before serving.
What should I do if the cream mixture isn’t thickening?
If your cream mixture isn’t thickening, it’s likely that your bowl or whisk isn’t cold enough. Make sure to use a chilled bowl and whisk, and whip the mixture on medium-high speed for 3-5 minutes until stiff peaks form. If needed, you can add an additional touch of sweetened condensed milk for extra stability.
Is this Biscoff Icebox Cake suitable for my vegetarian friends?
Yes, this Biscoff Icebox Cake is completely vegetarian! The ingredients do not contain any meat or animal products, making it a delightful dessert option for vegetarians. Just ensure that your sweetened condensed milk doesn’t contain any gelatin, which some brands may have.
Can I make Biscoff Icebox Cake ahead of time?
Definitely! One of the best features of this Biscoff Icebox Cake is its make-ahead magic! You can prepare and assemble it up to 24 hours in advance and store it in the freezer, so you can have a stunning dessert ready to impress your guests without any last-minute stress.

Indulge in Creamy Biscoff Icebox Cake - No-Bake Delight!
Ingredients
Equipment
Method
- In a cold mixing bowl, whip the heavy cream with sweetened condensed milk until stiff peaks form, about 3-5 minutes. Fold in ½ cup of Biscoff spread until just combined.
- Microwave ¼ cup of Biscoff spread for 10-15 seconds until it becomes runny. Line a 9x5 loaf pan with plastic wrap. Spread a thin layer of the cream mixture at the bottom, add a layer of Biscoff biscuits, and a third of the cream mixture with a drizzle of warmed Biscoff spread.
- Repeat the layering process: add another layer of Biscoff biscuits, cover with a third of the cream mixture, and drizzle more warmed Biscoff spread. Continue for a total of four layers, finishing with a creamy layer.
- Cover the loaf pan securely with plastic wrap and freeze for at least 2 hours or overnight.
- Before serving, remove from the freezer and let sit at room temperature for about 15 minutes.