As I pulled the warm Baked Greek Yogurt from the oven, the comforting aroma instantly transported me to my favorite café, where I used to savor the lightest desserts while indulging in meaningful conversations with friends. This high-protein wonder transforms breakfast or a post-workout snack into something truly special, all while being gluten-free and low in carbs. Whipping it up is a breeze, making it a quick triumph in the kitchen! Plus, the fluffy texture and a hint of sweetness will not only satisfy your cravings but also keep your fitness goals on track. From dairy-free swaps to a plethora of flavor variations, the possibilities for customization are endless. Ready to discover how to make your mornings a bit brighter? Let’s dive into creating this delightful Baked Greek Yogurt together!
Why is Baked Greek Yogurt a Must-Try?
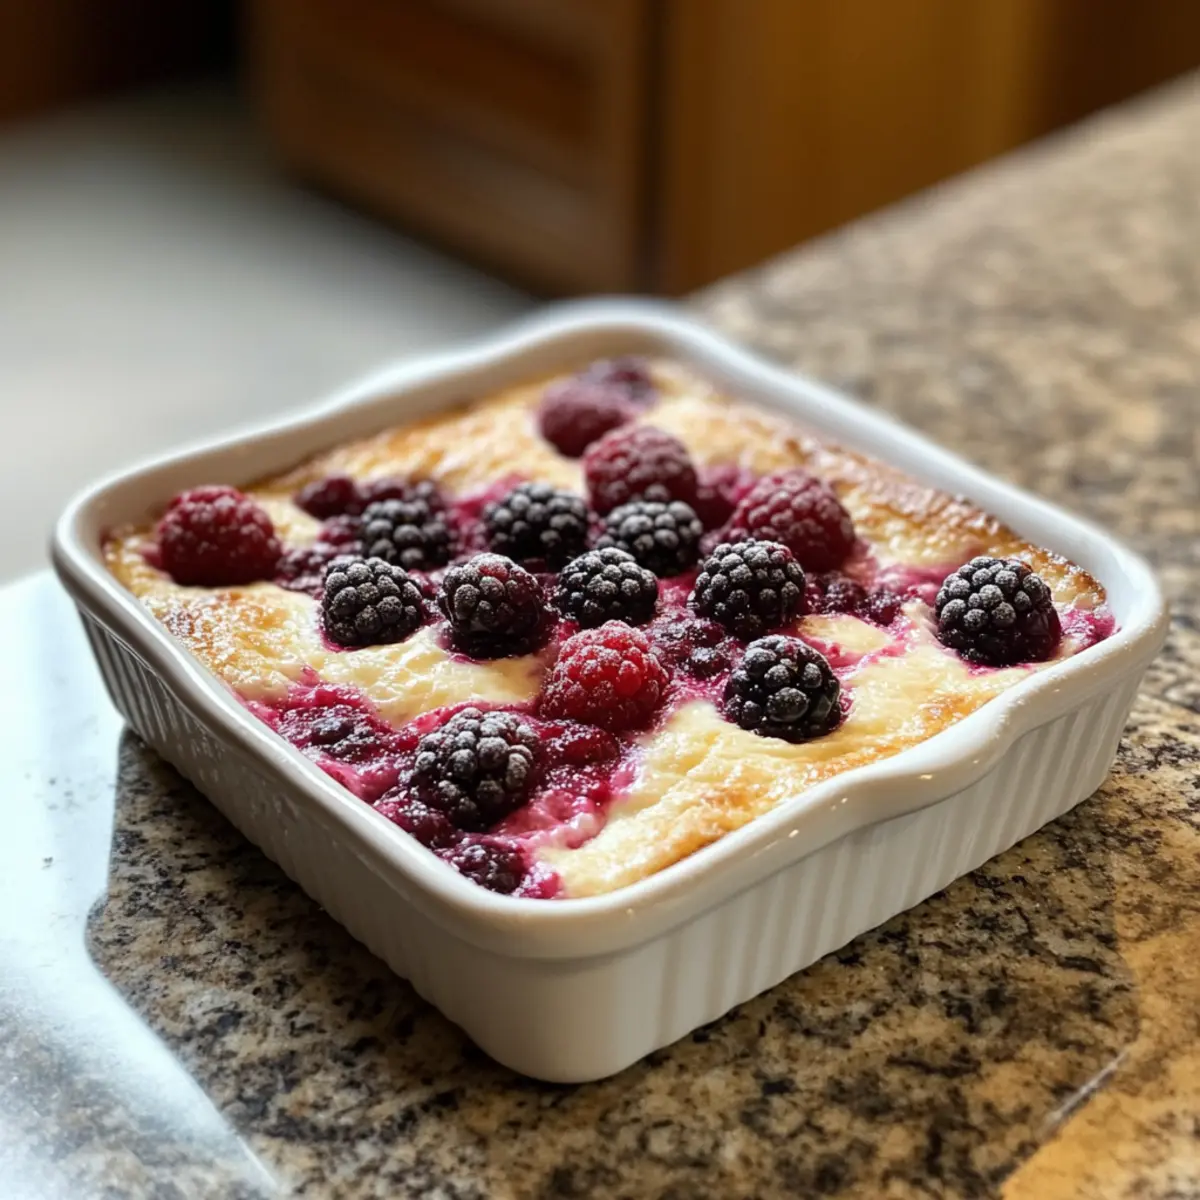
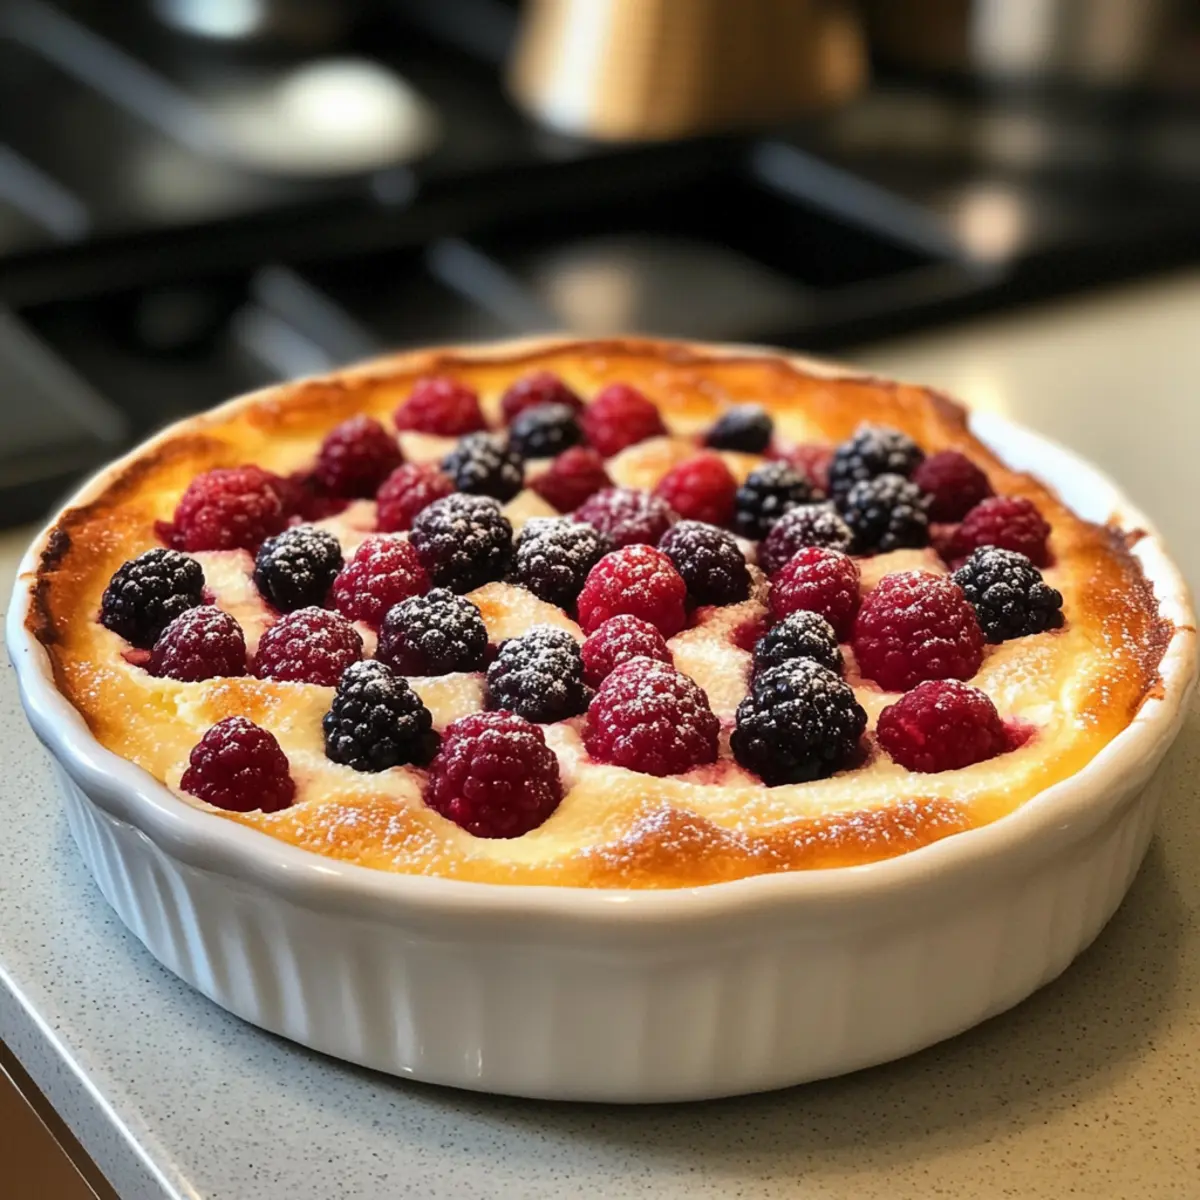
Creamy Texture: The airy, soufflé-like fluffiness of this Baked Greek Yogurt will have you swooning! It’s a dessert and a snack rolled into one, perfect for any time of day.
High Protein Power: With an impressive 46.5g of protein per serving, it supports your fitness goals while keeping you satisfied, making it a fantastic post-workout choice.
Customization Galore: Whether you opt for a vegan version using coconut yogurt or want to mix in your favorite berries or chocolate chips, creativity knows no bounds with this recipe!
Quick & Easy: In just a few simple steps, you can whip up this delightful treat, making it a perfect meal prep option for busy mornings or snack times.
Guilt-Free Indulgence: With low carbs and gluten-free ingredients, this dish lets you enjoy a sweet moment without derailing your diet. Plus, it’s a fantastic way to impress your friends, just like a luxurious café dessert!
Try it topped with a drizzle of honey or a dollop of yogurt, and don’t forget to check out healthy additions like the Healthy Greek Turkey for a complete snack experience!
Baked Greek Yogurt Ingredients
For the Base
• Nonfat Plain Greek Yogurt – The star of this dish, providing a creamy texture and high protein content; substitute with coconut yogurt for a dairy-free option.
• Egg – Adds richness and structure; for a vegan version, replace it with aquafaba.
• Unsweetened Almond Milk – Contributes moisture; any non-dairy milk works as a perfect substitute.
For the Flavor & Texture
• Vanilla Protein Powder – Elevates the protein boost and adds subtle flavor; plant-based protein powder is a great vegan alternative.
• Cornstarch – Helps stabilize the batter for a light texture; it’s optional, but omitting it may change the final consistency.
For Customization
• Chopped Berries or Chocolate Chips (optional) – These add your favorite flavors; feel free to use any fruits or sugar-free chocolate of your choice.
Get ready to enjoy a luscious Baked Greek Yogurt that’s not only easy to make but oh-so-delicious!
Step‑by‑Step Instructions for Baked Greek Yogurt
Step 1: Preheat the Oven
Begin by preheating your oven to 350°F (175°C) to ensure an even bake for your Baked Greek Yogurt. While the oven warms, prepare your ramekin by greasing it with non-stick spray, ensuring it’s well coated to prevent sticking. This is essential for achieving a smooth and creamy texture once your yogurt bakes.
Step 2: Mix the Base Ingredients
In a large mixing bowl, combine the nonfat plain Greek yogurt and the egg, whisking them together until fully blended and smooth. This mixture should have a cohesive and creamy appearance, which helps to create the delightful texture of the Baked Greek Yogurt. Take your time to ensure everything is well incorporated.
Step 3: Incorporate Protein Powder and Cornstarch
Add the vanilla protein powder and cornstarch to the yogurt-egg mixture, stirring gently until the batter is uniformly mixed. The cornstarch is key for a soft and fluffy texture, while the protein powder enhances the nutritional value. Aim for a creamy consistency without any lumps for a perfect final outcome.
Step 4: Adjust Consistency with Almond Milk
If the mixture appears too thick, gradually stir in unsweetened almond milk until you reach your desired consistency. The batter should be smooth and pourable, ready for baking. This step ensures that your Baked Greek Yogurt turns out light and airy, enhancing the overall experience.
Step 5: Fold in Optional Ingredients
Carefully fold in any chopped berries or chocolate chips you wish to add at this stage, ensuring they’re evenly distributed throughout the batter. This customization not only boosts flavor but also enhances the visual appeal of your Baked Greek Yogurt, creating delightful bursts of taste with each bite.
Step 6: Pour into Ramekin
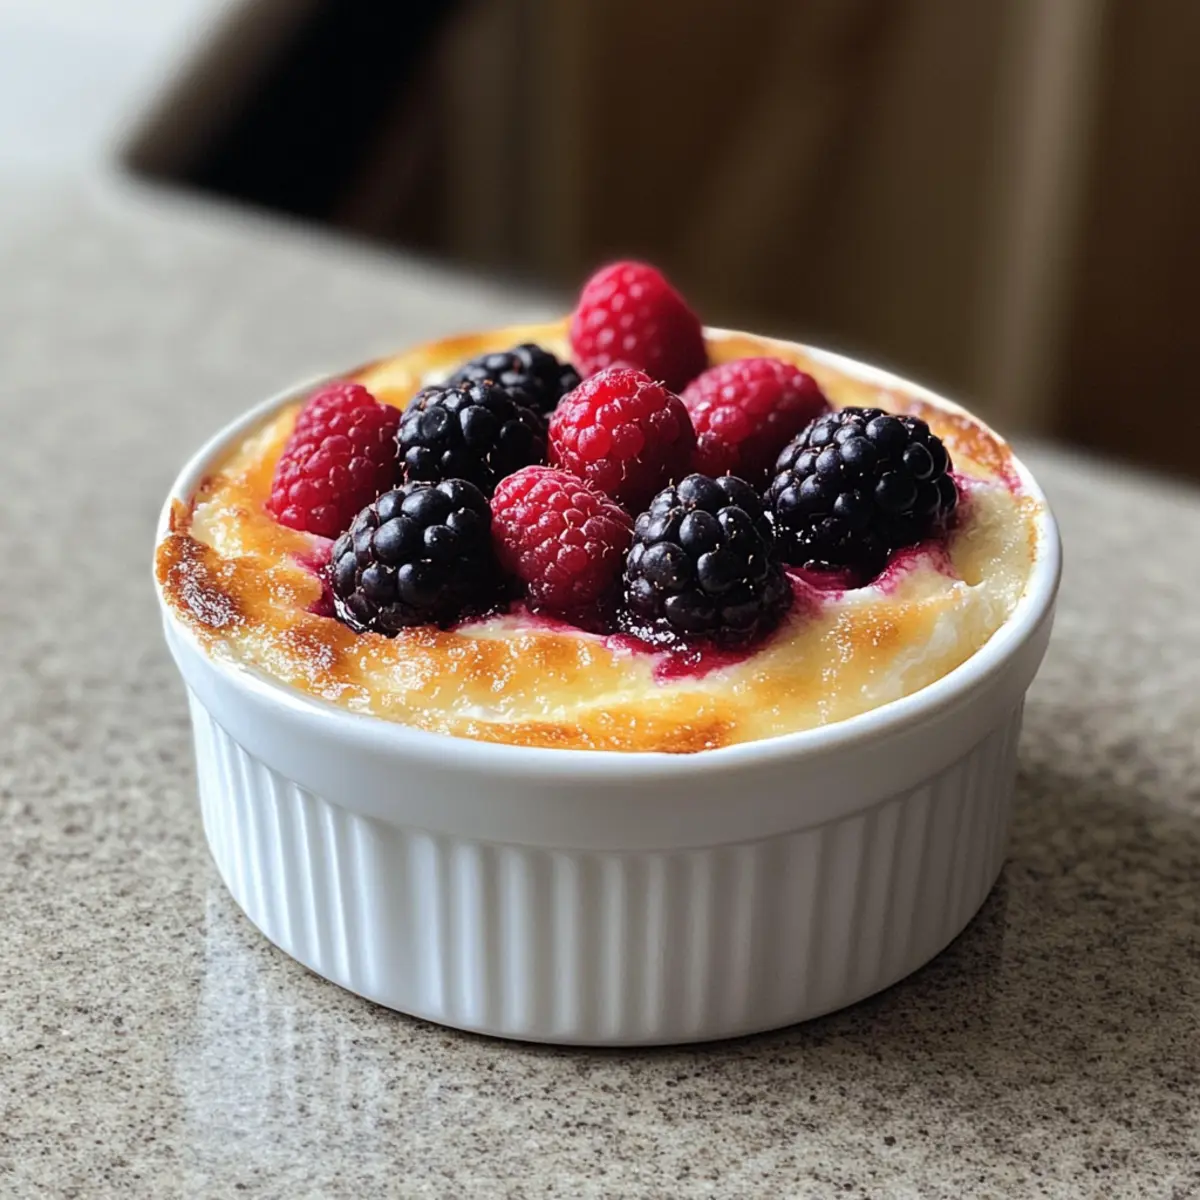
Pour the yogurt mixture into your prepared ramekin, using a spatula to smooth the top for an even bake. Make sure the batter doesn’t extend above the rim, as it will rise during baking. This step is crucial for achieving the perfect fluffy soufflé-like texture you’re aiming for.
Step 7: Bake to Perfection
Place the ramekin in the preheated oven and bake for approximately 30 minutes, or 20 minutes for smaller portions. Keep an eye on it; the top should be just jiggly but set. This visual cue indicates that your Baked Greek Yogurt has cooked through but remains soft inside, perfect for a decadent yet healthy treat.
Step 8: Cool and Serve
Once baked, remove the ramekin from the oven and let it cool for a few minutes. This resting time helps the flavors develop and the texture to set beautifully. Serve your Baked Greek Yogurt warm or chilled, allowing it to become a delightful centerpiece for breakfast or a nourishing post-workout snack.
Make Ahead Options
These Baked Greek Yogurt treats are ideal for meal prep, allowing busy home cooks to save time during hectic mornings! You can prepare the yogurt mixture up to 24 hours in advance. Simply whisk together the Greek yogurt, egg, protein powder, and cornstarch, then refrigerate it in an airtight container to maintain freshness. To ensure optimal quality, keep any added berries or chocolate chips separate until you’re ready to bake. When you’re set to enjoy your delicious Baked Greek Yogurt, pour the mixture into your ramekins, fold in your chosen add-ins, and bake as directed. With just a little pre-planning, you’ll delight in a creamy, high-protein snack with minimal effort!
Storage Tips for Baked Greek Yogurt
Fridge: Store leftover Baked Greek Yogurt in an airtight container for up to 3-4 days. This helps retain its creamy texture and flavors, ensuring every bite stays fresh.
Freezer: If you’d like to keep it longer, freeze portions wrapped tightly in plastic wrap or placed in freezer-safe containers for up to 2 months. Thaw overnight in the fridge before enjoying.
Reheating: Gently reheat in the microwave for about 30-60 seconds, or until warm. Add a splash of almond milk if it seems dry to restore that delightful texture of the Baked Greek Yogurt.
Serving Temperature: While delicious chilled, this yogurt is equally enjoyable warm, allowing for versatile snack options anytime!
Expert Tips for Baked Greek Yogurt
Gentle Mixing: Avoid over-mixing the batter, as this can lead to a denser texture. Aim for a smooth, gentle blend to keep it light and airy.
Right Oven Temperature: Make sure your oven is fully preheated at 350°F (175°C) before baking; a consistent temperature is crucial for achieving that soufflé-like fluffiness in the Baked Greek Yogurt.
Monitor Baking Time: Keep an eye on the baking time, especially for smaller portions; underbaking may leave it too gooey, while overbaking can dry it out. Aim for a soft, jiggly center.
Cooling Matters: Let the Baked Greek Yogurt rest after baking; this enhances flavor and texture as it sets. Remember, it will firm up as it cools!
Experiment with Extras: Don’t hesitate to customize! From berries to nuts, feel free to experiment with flavors while keeping the base recipe healthy and delicious.
Baked Greek Yogurt Variations
Embrace your creativity and make this delightful dish truly your own with these tasty twists!
-
Dairy-Free: Swap Greek yogurt for coconut yogurt to enjoy a creamy, plant-based version that captures all the goodness! With this option, you’ll still experience that dreamy fluffiness while accommodating dietary preferences.
-
Vegan Delight: Replace the egg with aquafaba to create a completely egg-free version. Whip it up to soft peaks before gently folding it into your yogurt mix—this adds an airy lightness to your baked creation.
-
Nutty Crunch: Add a handful of chopped nuts, like almonds or walnuts, for an unexpected crunch. This brings more texture and a delightful nutty flavor, enhancing the overall experience of the yogurt.
-
Chocolate Lover’s Dream: Stir in sugar-free chocolate chips for a decadent treat. The melted chocolate that oozes with each bite makes this a joyous dessert that comforts your sweet cravings while keeping it healthy.
-
Berry Fusion: Use a mix of your favorite berries to burst with flavor! Blueberries, raspberries, or strawberries not only enhance the taste but also infuse the yogurt with vibrant color and nutrients—perfect for a refreshing snack.
-
Heat it Up: For a kick, add a pinch of cayenne or chili powder. It’s an intriguing twist that balances with the sweetness, transforming your yogurt into an adventurous snack!
-
Sweetness Levels: Adjust the sweetness by using stevia or agave syrup if the yogurt needs a little boost. Everyone has different taste preferences, so feel free to make this your own.
-
Cereal Twist: Top your Baked Greek Yogurt with granola for an extra layer of flavor and crunch. It elevates breakfast into a feasting experience, making every bite more satisfying!
This Baked Greek Yogurt is a versatile canvas—have fun exploring these variations and serve it as a nourishing snack or a charming dessert! For even more delicious ideas, check out the Baked Feta Pasta for a complementary dish full of flavor!
What to Serve with Baked Greek Yogurt
Elevate your creamy, protein-packed treat into a delightful meal by pairing it with a few irresistible sides.
- Fresh Berries: Juicy, vibrant berries add a burst of flavor, enhancing the yogurt’s sweetness while keeping it fresh and light.
- Granola Clusters: These crunchy delights offer a satisfying texture contrast to the creamy yogurt, making every bite a perfect blend of crispy and smooth.
- Honey Drizzle: A touch of honey elevates the natural sweetness, transforming your yogurt into a heavenly dessert that feels indulgent yet guilt-free.
- Nut Butter Swirl: Creamy almond or peanut butter syrup provides a rich layer of flavor while adding healthy fats, creating a more filling snack.
- Coconut Flakes: Toasted coconut adds a tropical flair and delightful texture that complements the yogurt’s creaminess perfectly.
- Chia Seed Pudding: Serve alongside a mini chia pudding for a nutrient-packed bonus, boosting both texture and health benefits.
- Herbal Tea: A soothing cup of chamomile or mint tea rounds out the meal, adding warmth and a calming effect after your protein-rich treat.
- Dark Chocolate Shavings: For a touch of indulgence, sprinkle dark chocolate on top for a sophisticated, delicious finish that satisfies your sweet tooth.
With these suggestions, you’ll transform your Baked Greek Yogurt into a complete, enjoyable experience that’s sure to impress!
Advertisement
Baked Greek Yogurt Recipe FAQs
How do I select ripe ingredients for Baked Greek Yogurt?
Absolutely! For the best flavor, choose nonfat plain Greek yogurt that’s smooth and creamy, avoiding any with dark spots or if it has an off smell. When selecting berries, look for vibrant-colored ones that are firm and free from mushiness. They should have a fresh aroma, indicating their ripeness.
How should I store leftover Baked Greek Yogurt?
Very simple! Store any leftover Baked Greek Yogurt in an airtight container in the refrigerator for up to 3-4 days. Keeping it sealed will help maintain its fluffy texture and delicious flavor. For the best experience, it’s recommended to enjoy it chilled or slightly warmed.
Can I freeze Baked Greek Yogurt?
Absolutely! To freeze your Baked Greek Yogurt, first, let it cool completely. Wrap individual portions tightly in plastic wrap, then place them in a freezer-safe container. This allows for storage of up to 2 months. When you’re ready to enjoy it, simply thaw overnight in the refrigerator and then gently reheat in the microwave.
What should I do if my Baked Greek Yogurt isn’t rising properly?
If your Baked Greek Yogurt didn’t rise as expected, it might be due to over-mixing the batter, which can create a denser texture instead of the desired fluffiness. To troubleshoot, ensure that you mix just until all ingredients are combined. Also, always check that your oven is preheated to 350°F (175°C) for the best results.
Are there any dietary considerations I should keep in mind?
Absolutely! This Baked Greek Yogurt recipe is gluten-free and can easily be customized for dietary needs. For a dairy-free version, substitute the Greek yogurt with coconut yogurt and replace the egg with aquafaba. Ensure that any protein powder used is also suitable for your dietary preferences. Always check ingredient labels for allergens, especially if serving to others.

Baked Greek Yogurt: Your Dream High-Protein Snack
Ingredients
Equipment
Method
- Preheat your oven to 350°F (175°C) and grease your ramekin with non-stick spray.
- In a large mixing bowl, combine the nonfat plain Greek yogurt and the egg, whisking until smooth.
- Add the vanilla protein powder and cornstarch to the mixture, stirring until uniformly mixed.
- If the batter is too thick, gradually stir in unsweetened almond milk until desired consistency is reached.
- Fold in any optional chopped berries or chocolate chips.
- Pour the mixture into the prepared ramekin, smoothing the top without exceeding the rim.
- Bake for approximately 30 minutes, or 20 minutes for smaller portions, until the top is just jiggly but set.
- Remove from oven, let cool for a few minutes, and serve warm or chilled.