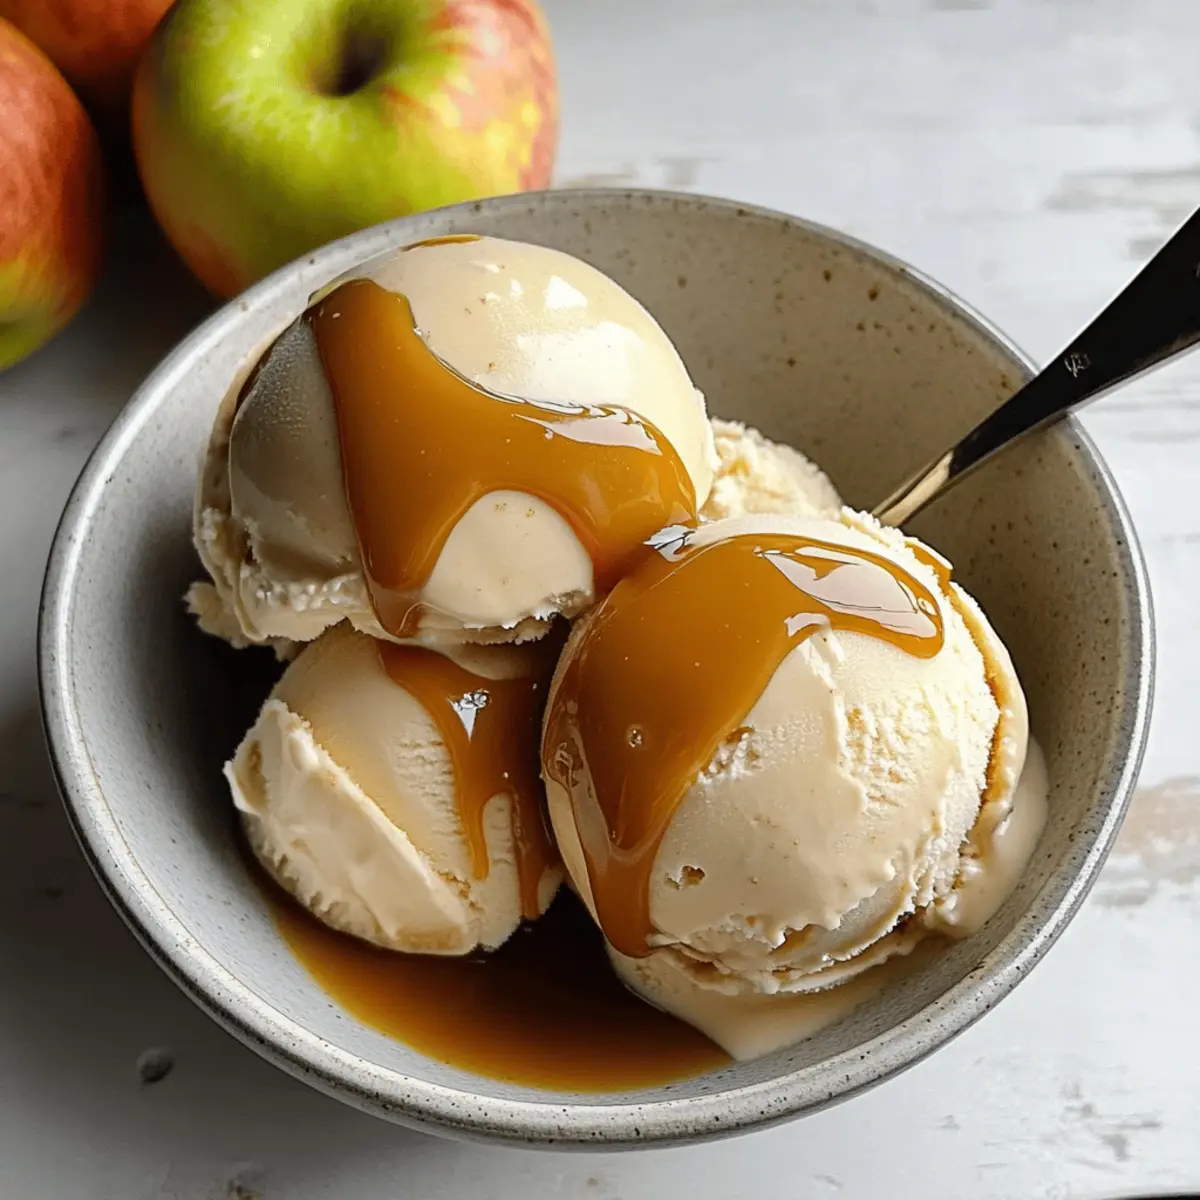
As the warmth of summer gives way to the crispness of autumn, a sense of excitement bubbles within me. That delightful transition beckons us to indulge in the rich flavors of the season, and what better way to celebrate than with Homemade Apple Cider Caramel Ice Cream? This luscious treat merges the sweet, tangy notes of fresh apple cider with a deep caramel essence, all enhanced by using muscovado sugar for an unforgettable depth. Imagine the creamy texture melting in your mouth, while bits of caramelized white chocolate add a satisfying crunch—an experience that’s both cozy and decadent. This recipe is not only a crowd-pleaser, but it’s also a fun way to reinvent your dessert game this fall. Are you ready to scoop into a bowl of pure seasonal bliss?
Why is this ice cream so special?
Decadent Flavors: The rich caramel mingles with the tartness of fresh apple cider, creating a taste sensation reminiscent of autumn festivals.
Unique Sugar Choice: Using muscovado sugar gives a deeper sweetness, elevating the typical caramel flavor to extraordinary heights.
Creamy Texture: Achieve that luxurious gelato-like creaminess that’ll have everyone coming back for seconds.
Easy to Make: This recipe is straightforward, making it an approachable treat for both seasoned chefs and newcomers alike.
Perfect Pairing: Serve it alongside pumpkin pie or apple cider donuts for a complete fall dessert experience.
Crowd Favorite: Whether for family gatherings or cozy nights in, this ice cream will impress and satisfy.
Ingredients for Apple Cider Caramel Ice Cream
• Fresh apple cider – Provides the primary flavor; choose unfiltered apple cider for the best taste.
• Unsalted butter – Adds richness and creaminess; no need to soften, just melt it.
• Brown sugar (or muscovado sugar) – Offers sweetness and a rich caramel flavor; muscovado enhances the depth for your apple cider caramel ice cream.
• Ground cinnamon – Introduces warmth and fall flavors; consider adding nutmeg or ginger for a spicier twist.
• Fine sea salt – Balances sweetness; it’s essential for enhancing all the flavors.
• Vanilla extract – Adds depth; use pure vanilla for the most satisfying flavor.
• Heavy cream – Creates that rich, smooth texture; no substitutes recommended for best results.
• Whole milk – Helps achieve ideal creaminess; alternatives like 2% can be used, but expect a lighter texture.
Step‑by‑Step Instructions for Apple Cider Caramel Ice Cream
Step 1: Reduce the Apple Cider
In a medium-sized pot, pour in 2 cups of fresh apple cider. Over high heat, bring the cider to a rolling boil, then reduce the heat to medium-low. Let it simmer uncovered for 30 to 45 minutes, stirring occasionally, until the cider thickens and concentrates to about 1/4 cup. It should have a syrupy texture and a strong apple aroma.
Step 2: Make the Caramel Mixture
Once the apple cider is reduced, carefully stir in 1/2 cup of unsalted butter, 1 cup of brown sugar (or muscovado sugar), and a pinch of fine sea salt and ground cinnamon. Increase the heat to medium and bring the mixture to a gentle boil, stirring continuously to dissolve the sugar. Cook for 2-3 minutes until the mixture bubbles and thickens slightly, then remove from heat.
Step 3: Incorporate Cream and Milk
Let the caramel mixture cool for about 5 minutes before adding 2 cups of heavy cream and 1 cup of whole milk. Whisk vigorously until everything is well combined and smooth. The Apple Cider Caramel Ice Cream base should be rich and creamy with a beautiful caramel color.
Step 4: Chill the Mixture
Allow the mixture to cool to room temperature on the counter, which should take about 30 minutes. Once cooled, cover it with plastic wrap and refrigerate for at least 6 hours or overnight. Chilling helps the flavors meld together beautifully, enhancing the taste of your ice cream.
Step 5: Prepare the Ice Cream Maker
When you’re ready to churn your Apple Cider Caramel Ice Cream, set up your ice cream maker according to the manufacturer’s instructions. Pour the chilled mixture into the machine and churn until it reaches a soft-serve consistency—usually about 20 to 25 minutes.
Step 6: Add Caramelized White Chocolate
During the last few minutes of churning, you can drizzle in melted caramelized white chocolate for added texture and flavor. This step is optional, but it creates delightful nuggets of sweetness throughout your ice cream, making it even more special.
Step 7: Freeze the Ice Cream
Transfer the churned ice cream into an airtight container and smooth the top with a spatula. Cover and freeze for at least 4 hours, or until it’s firm enough to scoop. Your homemade Apple Cider Caramel Ice Cream will be perfectly set and ready for a delicious fall treat.

What to Serve with Creamy Apple Cider Caramel Ice Cream
Imagine a cozy fall evening, where the sweet aroma of apples and caramel fills the air, perfectly complemented by delightful pairings to enhance every scoop.
-
Pumpkin Pie: The spiced flavors of pumpkin pie naturally blend with the warm notes of caramel, creating a delightful autumn dessert duo. The creamy texture of the ice cream contrasts beautifully with the flaky crust.
-
Apple Cider Donuts: These treats offer a perfect crunchy counterpart to the smooth ice cream. The warm, freshly glazed donuts bring a taste of the orchard right to your table.
-
Ginger Snap Cookies: The slight heat from the ginger snaps adds an aromatic punch, balancing the sweetness of the ice cream. Dipping these cookies into the creamy goodness is a must!
-
Nutty Caramel Bark: Enhance your ice cream experience with crunchy, nut-covered caramel bark. The combination of textures and flavors makes for an unforgettable dessert experience.
-
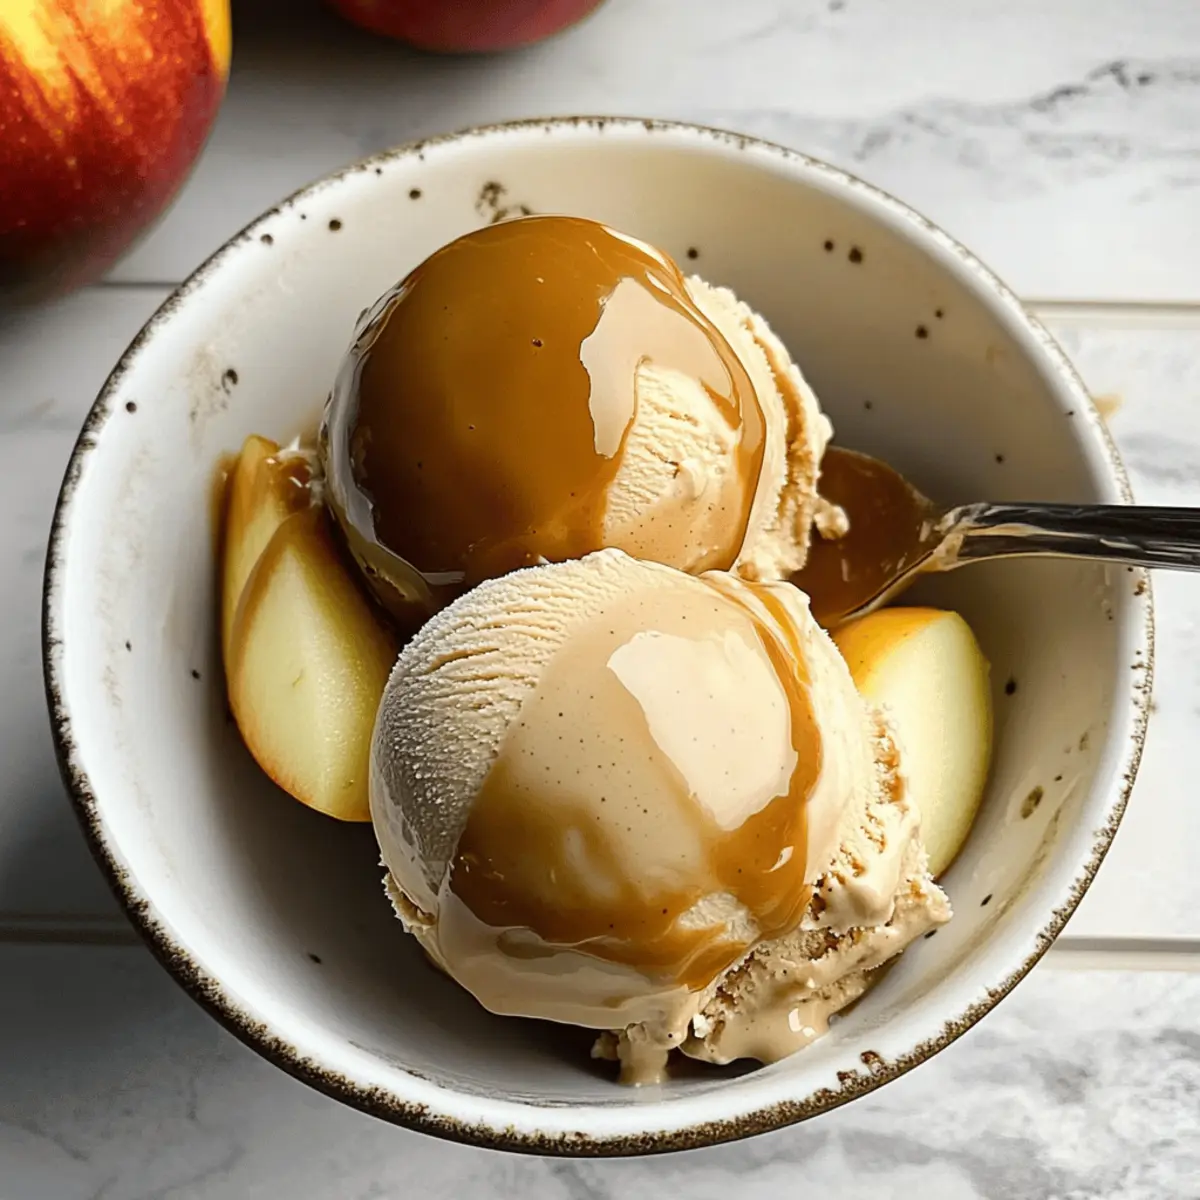
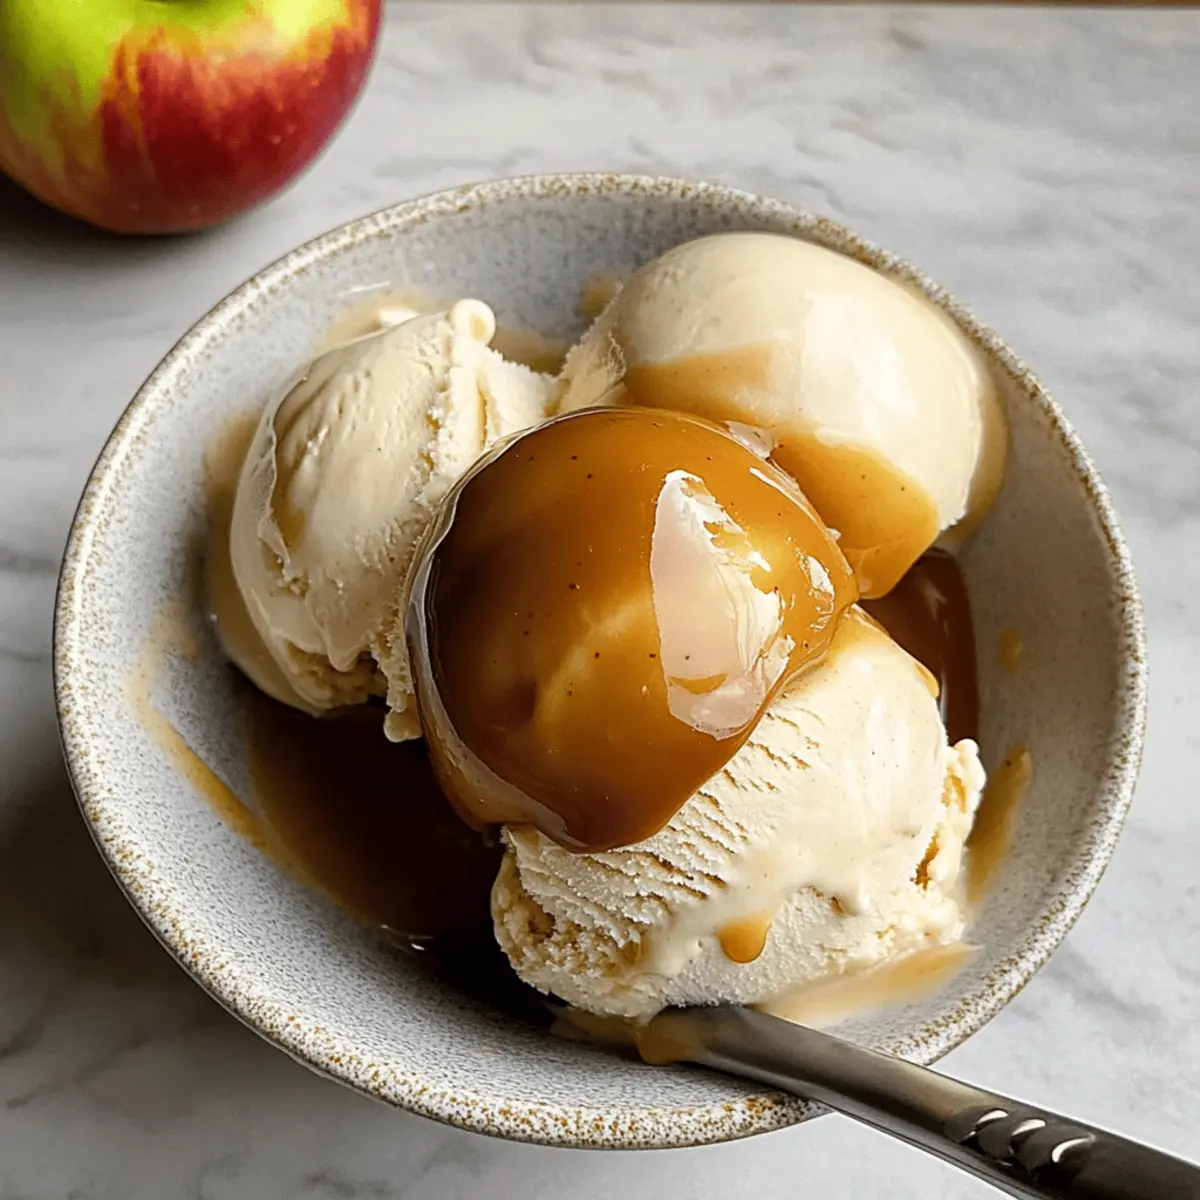
Salted Caramel Sauce: Drizzling extra salted caramel on top will amplify that rich flavor profile, making each bite truly indulgent and irresistible. It’s an absolute game-changer for your serving experience!
-
Chai Latte: Pairing your ice cream with a warm chai latte creates a comforting and cozy atmosphere. The spices in the chai resonate with the fall flavors, adding warmth to your autumn evenings.
-
Spiced Hot Chocolate: This sweet and indulgent drink pairs wonderfully with apple cider caramel ice cream. It complements the ice cream’s sweetness while adding a rich, chocolatey depth that will make you feel extra cozy.
-
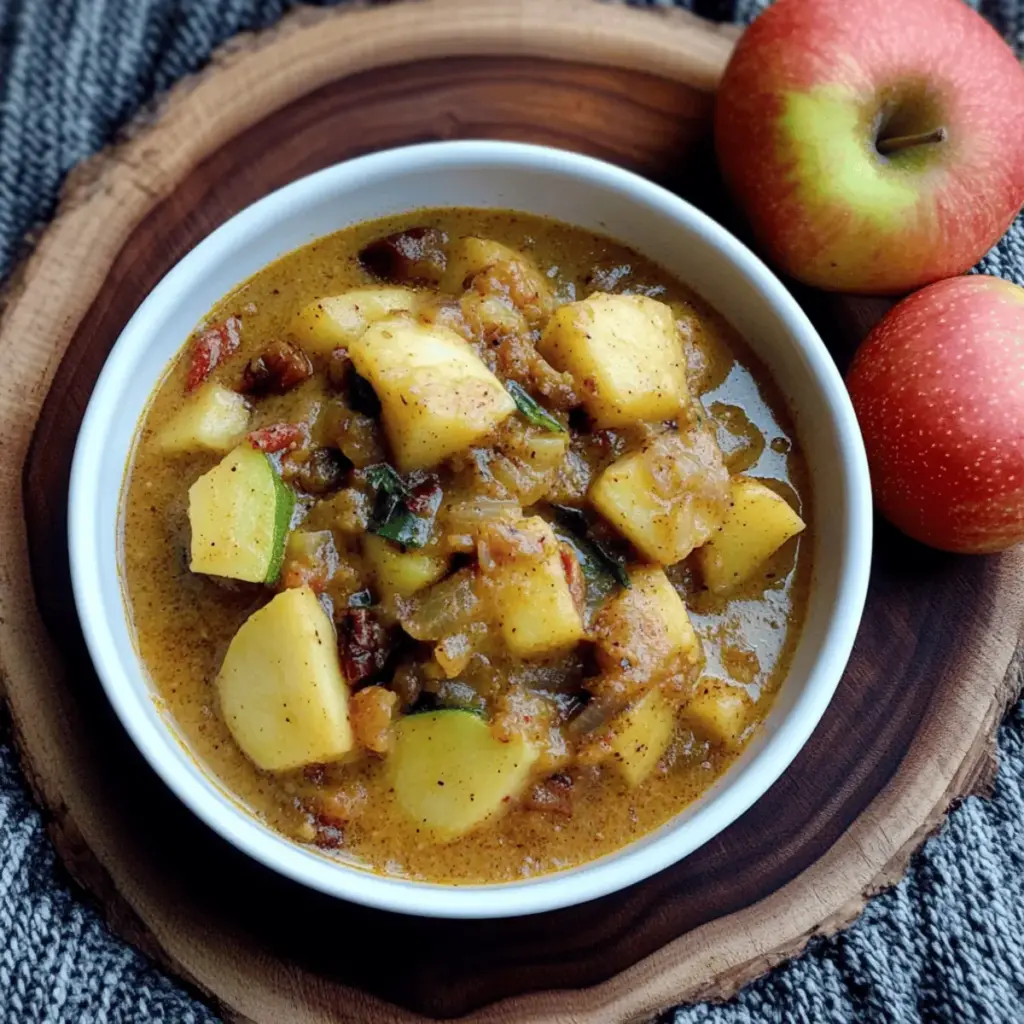
Caramelized Apples: Serve warm caramelized apples alongside the ice cream for a deliciously fruity twist. The gooey, sweet topping brings a rustic, homey feel to your dessert.
-
Cinnamon Sugar Tortilla Chips: Crunchy, sweet, and cinnamon-dusted tortilla chips are great for scooping up your creamy apple cider caramel ice cream, enhancing the overall flavor experience with every bite.
Expert Tips for Apple Cider Caramel Ice Cream
- Select Quality Cider: Use unfiltered fresh apple cider to bring out the most robust flavor in your homemade ice cream; avoid any substitutes like vinegar or plain apple juice.
- Avoid Over-boiling: When reducing the apple cider, maintain a gentle simmer; boiling too vigorously can lead to burning, impacting the flavor adversely.
- Chill Thoroughly: Refrigerate the mixture for at least six hours to allow flavors to meld, enhancing the overall richness of your Apple Cider Caramel Ice Cream.
- control the Sweetness: Adjust the sugar levels based on your preference; using less sugar can still yield a deliciously sweet dessert without compromising quality.
- Don’t Rush Freezing: Allow the ice cream to fully set in the freezer for at least 4 hours; this ensures a perfect scoopability and delicious creamy texture.
- Experiment with Spices: Enhance the flavor by adding spices like nutmeg or clove; they can elevate your apple cider caramel ice cream to a whole new level this fall!
Make Ahead Options
These Creamy Apple Cider Caramel Ice Cream delights are perfect for busy weeknights! You can prepare the apple cider reduction and caramel mixture up to 24 hours in advance—just make sure to let it cool completely before refrigerating. After chilling overnight, simply churn the mixture in your ice cream maker when you’re ready to serve. For optimal flavor, it’s best to freeze the finished ice cream for at least 4 hours before enjoying. To maintain that luscious creaminess, store it in an airtight container and avoid leaving it out too long before serving; letting it sit at room temperature for a few moments will make scooping easier. This prep-ahead strategy ensures your Apple Cider Caramel Ice Cream is just as delicious when the time comes to indulge!
Apple Cider Caramel Ice Cream Variations
Feel free to make this delightful ice cream your own with these fun twists and substitutions!
-
Sugar Swap: Use dark brown sugar instead of light for a richer sweetness. This enhances the overall caramel flavor beautifully.
-
Muscovado Magic: Replace brown sugar with muscovado for a deeper, more complex sweetness. The unique flavor profile elevates the entire dessert, complementing the apple notes.
-
Spice It Up: Add a pinch of allspice, cloves, or ginger to deepen the fall flavor. These spices harmonize perfectly with the apple and caramel, creating a warm and inviting profile.
-
Dairy-Free Delight: Substitute heavy cream and milk with coconut cream and almond milk. You’ll still enjoy a creamy texture and a subtly tropical twist, perfect for those avoiding dairy.
-
Nutty Crunch: Fold in crushed pecans or walnuts during the last few minutes of churning. The added crunch offers a delightful textural contrast to the ice cream’s smooth creaminess.
-
Fruit Fusion: Incorporate diced pears or figs for added fruitiness and texture. They bring a new dimension to your ice cream, making it a surprise treat in every spoonful.
-
Extra Caramel: Drizzle extra caramel sauce while churning for an even richer caramel experience. This creates glorious swirls that will have everyone coming back for more.
-
Heated Twist: Add a dash of cayenne or chili powder for a surprising kick. This heat gives a delightful contrast to the sweet and creamy flavors, perfect for adventurous eaters!
For serving suggestions to complete your fall experience, consider pairing this luscious ice cream with pumpkin pie or alongside apple cider donuts. Enjoy your creative journey in the kitchen!
How to Store and Freeze Apple Cider Caramel Ice Cream
- Fridge: Store your Apple Cider Caramel Ice Cream in an airtight container for up to 2 weeks. This helps retain its creamy texture and rich flavors.
- Freezer: For longer storage, keep the ice cream in the freezer, using an airtight container to prevent ice crystals from forming. It’ll stay fresh for up to 2 months.
- Before Serving: Allow the ice cream to sit at room temperature for about 5-10 minutes before scooping to achieve that perfect, creamy consistency.
- Reheating: Although ice cream doesn’t require reheating, any bits of caramelized white chocolate mixed in might soften slightly after thawing, enhancing the flavor when you enjoy it!
Apple Cider Caramel Ice Cream Recipe FAQs
What type of apple cider should I use?
Absolutely! For this recipe, it’s best to use unfiltered fresh apple cider. This choice ensures you get the robust, authentic apple flavor that will elevate your ice cream. Avoid using vinegar or plain apple juice, as they won’t provide the same depth and sweetness.
How should I store my Apple Cider Caramel Ice Cream?
Store your homemade ice cream in an airtight container in the freezer for up to 2 months. This prevents ice crystals from forming and helps preserve the creamy texture. When ready to enjoy, allow it to sit at room temperature for about 5-10 minutes before scooping for easier serving.
Can I freeze Apple Cider Caramel Ice Cream for longer?
Definitely! If stored properly in an airtight container, the ice cream can last in the freezer for up to 2 months without losing quality. Just make sure to check for any signs of freezer burn before serving.
Advertisement
What if my mixture curdles or doesn’t blend smoothly?
No worries! If your mixture curdles, try gently heating it back up while whisking until it smooths out. If you find it won’t blend smoothly, allow the mixture to cool slightly then blend it using an immersion blender or regular blender until creamy. This could be a game-changing step, ensuring you achieve that beautifully rich texture that you crave!
Are there dietary considerations I should keep in mind?
Yes, it’s wise to consider any allergies when preparing Apple Cider Caramel Ice Cream. This recipe contains dairy and sugar, which some individuals may need to avoid. If you’re cooking for someone with lactose intolerance, try using lactose-free cream and milk for similar results. Additionally, check that your sugar choice aligns with desired dietary restrictions or preferences!
Can I substitute ingredients if I don’t have muscovado sugar?
Absolutely! You can substitute muscovado sugar with regular brown sugar or light brown sugar. However, for a similar depth of flavor, I recommend using dark brown sugar. It will still provide a rich caramel undertone while being a bit more accessible!
Creamy Apple Cider Caramel Ice Cream for Cozy Fall Nights
Ingredients
Equipment
Method
- In a medium-sized pot, pour in 2 cups of fresh apple cider. Over high heat, bring it to a boil, then reduce heat and simmer until thickened.
- Stir in 1/2 cup of melted unsalted butter, 1 cup of brown sugar, and a pinch of salt and cinnamon. Cook 2-3 minutes until bubbling.
- Let the caramel mixture cool, then whisk in 2 cups of heavy cream and 1 cup of whole milk until smooth.
- Allow to cool to room temperature, then refrigerate for at least 6 hours.
- Set up ice cream maker and churn the mixture until soft-serve consistency, about 20-25 minutes.
- During the last minutes of churning, add melted caramelized white chocolate if desired.
- Transfer to an airtight container and freeze for at least 4 hours.