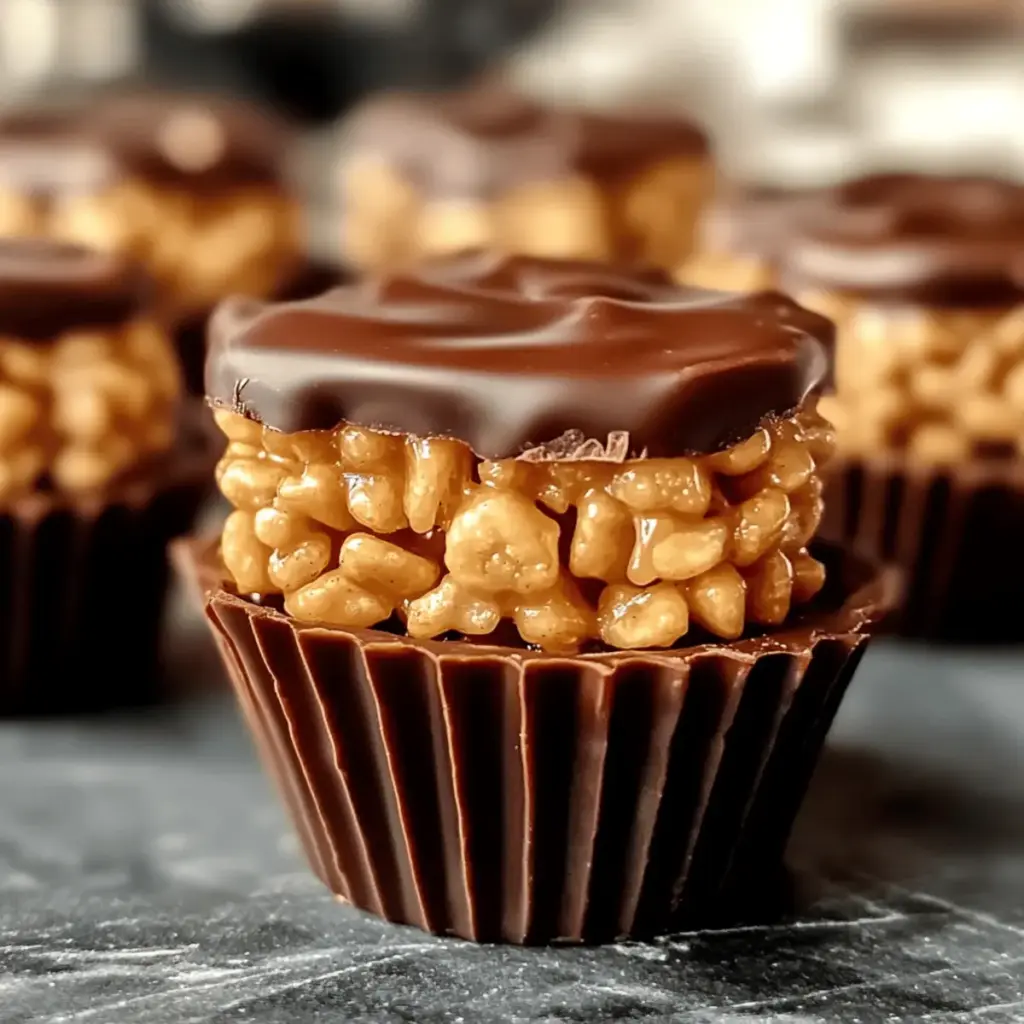
As I rummage through my pantry one lazy afternoon, I stumble upon a familiar bag of Rice Krispies. The sound of the crispy cereal crinkling brings back sweet memories, just as it sparks the idea for a mouthwatering treat: No-Bake Chocolate Peanut Butter Rice Krispie Cups. With just a handful of simple ingredients, I’m about to create a deliciously easy dessert that’s perfect for any occasion—and trust me, you’ll want to keep this recipe on repeat! Not only are these treats a breeze to whip up in no time, but they’re also endlessly customizable; whether you prefer crunchy peanut butter or a sprinkle of your favorite toppings, every option is a delectable delight. Ready to join me on this sweet journey? Let’s get started!
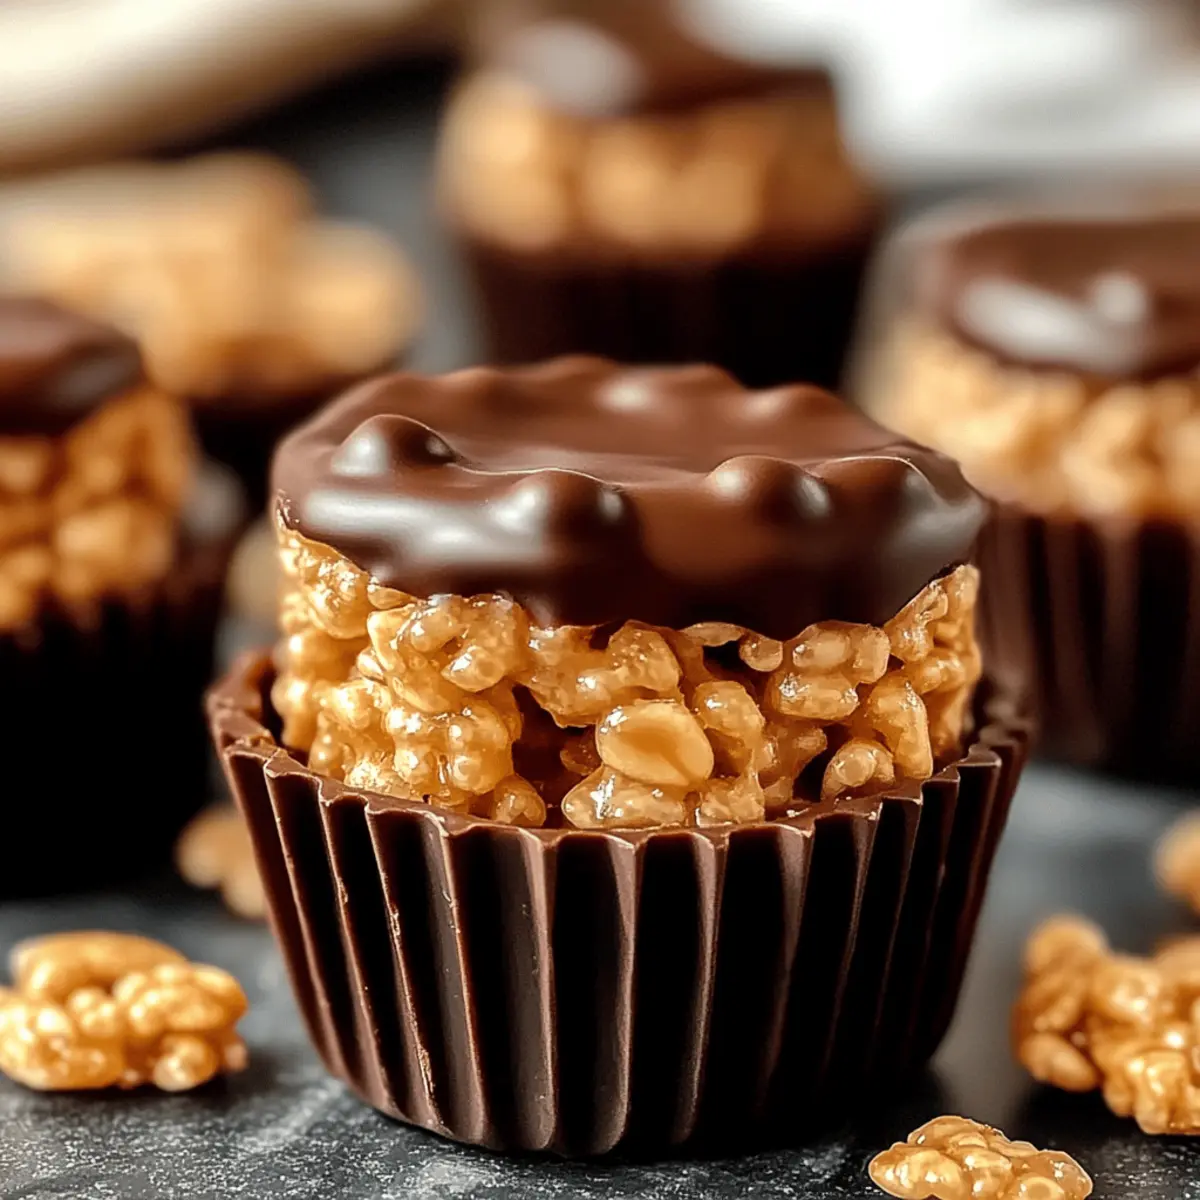
Why Are These Rice Krispie Cups So Irresistible?
Simplicity Meets Indulgence: This no-bake recipe requires minimal effort, making it perfect for anyone craving a delightful treat without the fuss.
Endlessly Customizable: Whether you opt for crunchy peanut butter or add toppings like nuts or drizzled caramel, you can make these cups uniquely yours and keep the excitement alive!
Rich Flavor Bliss: The pairing of smooth chocolate with creamy peanut butter creates a rich flavor profile that pleases every palate.
Perfect for Any Occasion: Serve these at parties, as an after-school snack, or even with your coffee for a sweet pick-me-up.
Quick Prep Time: With just a few straightforward steps, you’ll have these delicious treats ready to chill in under 30 minutes!
Crowd-Pleaser: Both kids and adults adore these Chocolate Peanut Butter Rice Krispie Cups; they’re sure to be a hit wherever you bring them!
Chocolate Peanut Butter Rice Krispie Cups Ingredients
For the Base
• Rice Krispies cereal – Adds crunch and structure; substitute with any crispy cereal for a different texture.
• Creamy peanut butter – Provides richness and a creamy texture; feel free to swap for crunchy peanut butter for extra crunch.
• Unsalted butter – Helps bind the mixture together while adding moisture; margarine or coconut oil can work as a substitute.
• Mini marshmallows – Create a sweet base and deliver chewiness; use vegan marshmallows for a plant-based treat.
For the Chocolate Layer
• Chocolate chips – Adds a layer of sweetness and richness; use dark chocolate for a less sweet variation or vegan chocolate for dietary needs.
• Vanilla extract (optional) – Enhances flavor depth; omit if you prefer simplicity.
• Sea salt (optional) – Balances sweetness and enhances flavor; a pinch can elevate the overall taste.
With these key ingredients, you’re on your way to creating mouthwatering Chocolate Peanut Butter Rice Krispie Cups that will surely impress!
Step‑by‑Step Instructions for Chocolate Peanut Butter Rice Krispie Cups
Step 1: Melt the Base
In a medium saucepan over low heat, combine 4 tablespoons of unsalted butter and 2 cups of mini marshmallows. Stir continuously until the mixture is smooth and fully melted, about 5 minutes. Be careful not to let it boil to avoid burning. Once melted, remove the saucepan from heat and let it cool slightly before the next step.
Step 2: Add Peanut Butter
Stir in 1 cup of creamy peanut butter into the melted marshmallow mixture. Incorporate 1 teaspoon of vanilla extract if desired, mixing until creamy and well-blended. This will create a luscious, fragrant mixture that forms the foundation of your Chocolate Peanut Butter Rice Krispie Cups. Make sure there are no lumps before proceeding.
Step 3: Mix with Cereal
In a large mixing bowl, pour in 4 cups of Rice Krispies cereal. Spoon in the creamy peanut butter mixture and gently fold everything together with a spatula or wooden spoon until the cereal is evenly coated. This step should take about 2-3 minutes, resulting in a sticky, flavorful blend that holds well.
Step 4: Shape the Cups
Line a muffin tin with paper liners to prevent sticking, then scoop the Rice Krispie mixture into each cup. Use your fingers or the back of a spoon to gently press it down, ensuring an even layer and that the mixture holds together. This shaping should take about 5 minutes, creating a neat base for your delectable treats.
Step 5: Add Chocolate Layer
In a microwave-safe bowl, melt 1 cup of chocolate chips in 30-second intervals, stirring in between until smooth. Carefully spoon the melted chocolate over each Rice Krispie cup, ensuring they are well-coated. This chocolate layer adds a rich contrast, and should be done within 5 minutes, creating a luxurious finish to each cup.
Step 6: Set & Serve
Place the muffin tin in the refrigerator and chill for about 20 minutes, allowing the chocolate to set firmly over the Rice Krispie cups. Once set, gently remove each cup from the liners and place them on a serving platter. Your irresistible Chocolate Peanut Butter Rice Krispie Cups are now ready to be enjoyed, offering a perfect blend of crunch and creaminess!
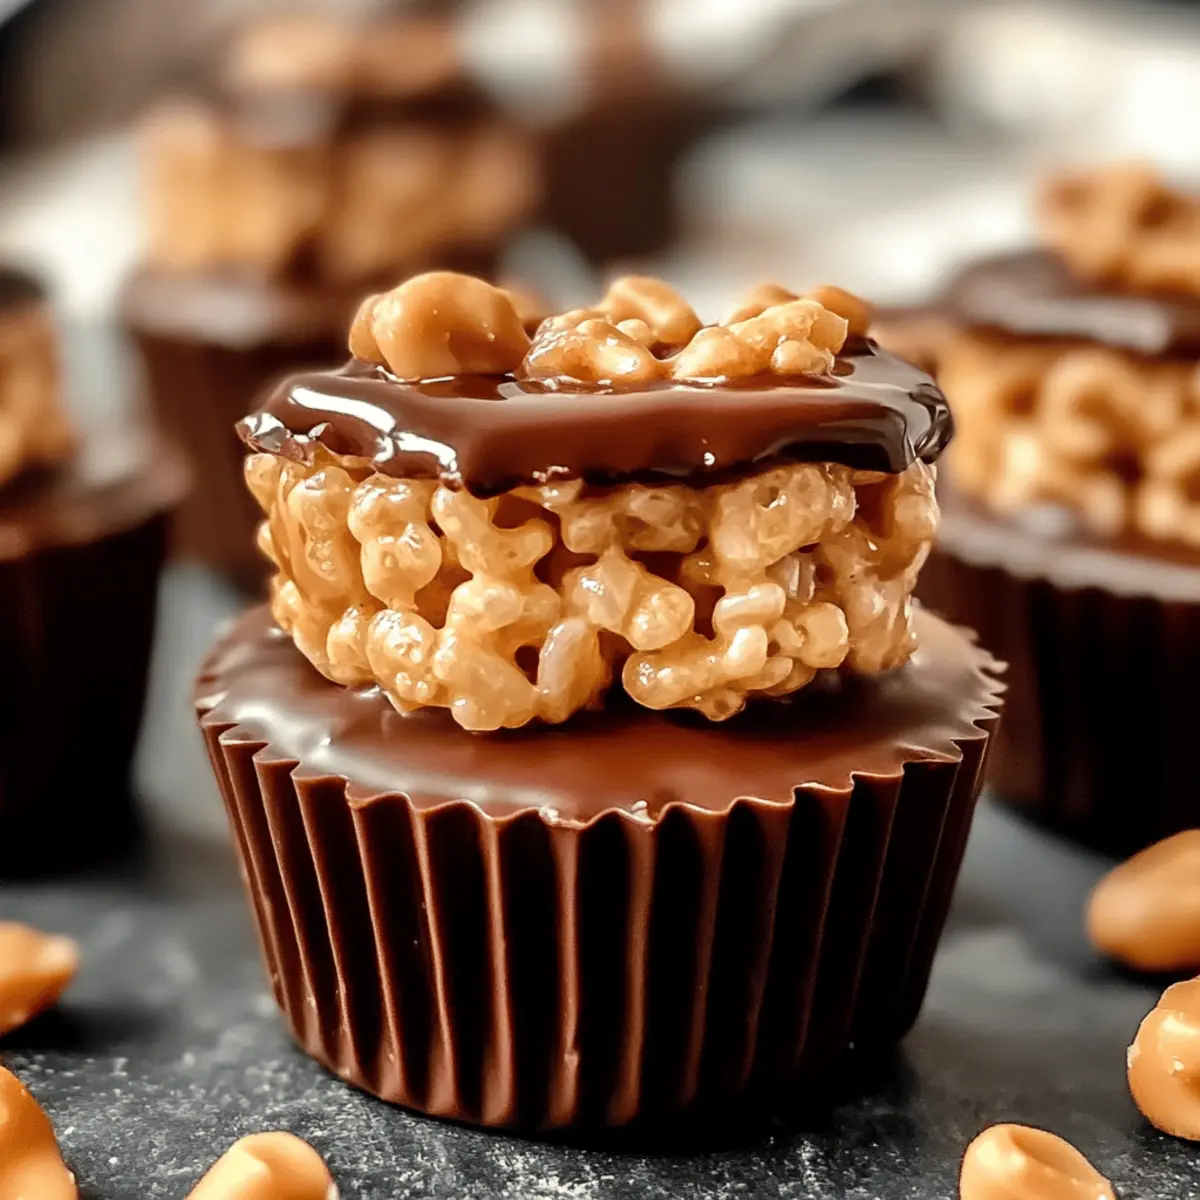
What to Serve with Chocolate Peanut Butter Rice Krispie Cups
There’s nothing like a sweet treat to brighten your day, and these delightful cups sing in harmony with a variety of complementary dishes.
- Creamy Vanilla Ice Cream: A scoop of vanilla ice cream brings coolness and creamy texture, offering a lovely contrast to the rich chocolate and peanut butter.
- Fresh Berries Medley: Serve a bowl of fresh strawberries and blueberries for a pop of color and tartness, balancing the sweetness of the cups beautifully.
- Rich Coffee or Espresso: The bold flavors of coffee match perfectly with the indulgent Rice Krispie Cups, creating a delightful after-dinner pairing.
- Chocolate Dipping Sauce: For those who crave extra decadence, a small bowl of warm chocolate sauce to drizzle over the cups will elevate your dessert experience.
- Nut Mix: Present a bowl of mixed nuts for a crunchy, salty counterpart. Their texture and flavor add depth and contrast to each sweet bite.
- Banana Slices: Sweet, ripe banana slices add a refreshing element that complements the cup’s richness while enhancing the overall appeal.
- Salted Caramel Sauce: Drizzle some salted caramel over the top for an irresistible touch—sweet, salty, and utterly delicious!
- Chilled Milk: A classic pairing, a glass of cold milk serves as a comforting refreshment that perfectly contrasts the indulgent flavor of the cups.
- Mini Cupcakes: For a festive touch, mini chocolate or vanilla cupcakes make delightful companions, creating a delightful dessert spread for celebrations.
- Sparkling Water: A glass of sparkling water with a hint of lemon provides a light and bubbly contrast that cleanses the palate between sweet bites.
Expert Tips
• Low Heat Care: Keep the heat low while melting the butter and marshmallows to avoid burning. Gradual melting yields the best texture for your Chocolate Peanut Butter Rice Krispie Cups.
• Press Firmly: When shaping the cups, make sure to press the mixture firmly into the muffin tin compartments. This helps them hold together when removed and enhances the final presentation.
• Set Faster: If you’re short on time, pop the muffin tin in the freezer instead of the refrigerator to speed up the setting process. Just keep an eye on them to avoid freezing!
• Mixing Technique: Gently fold the Rice Krispies into the peanut butter mixture to maintain the crunch. Over-mixing can lead to a soggier texture, which you want to avoid.
• Experiment with Toppings: Don’t hesitate to customize! Adding different toppings like chopped nuts or colorful sprinkles can take your Chocolate Peanut Butter Rice Krispie Cups to the next level of deliciousness!
Chocolate Peanut Butter Rice Krispie Cups Variations
Feel free to let your creativity shine by personalizing these delicious treats with delightful twists!
-
Crunchy Peanut Butter: Swap creamy peanut butter for crunchy to add a satisfying texture that makes each bite even more enjoyable.
-
Nutty Surprise: Stir in chopped nuts like almonds or pecans for a delightful crunch and added nutrition. The nutty flavor will beautifully complement the chocolate and peanut butter.
-
Decadent Drizzle: After setting the chocolate, drizzle melted caramel over the top for an eye-catching finish and a sweet surprise in every bite.
-
Fruity Fun: Top your Rice Krispie cups with chopped fresh strawberries or banana slices. The fruit adds a refreshing taste that balances the richness of the chocolate.
-
Vegan Twist: Use vegan marshmallows and chocolate chips for a completely plant-based treat that everyone can enjoy. You won’t miss the dairy with this rich, satisfying version!
-
Spice It Up: Add a pinch of cayenne pepper or chili powder for a surprisingly delightful heat that pairs wonderfully with the chocolate and peanut butter flavors.
-
Gourmet Topping: Finish with a sprinkle of fleur de sel or sea salt on top of the melted chocolate for a touch of gourmet flair—perfect for elevating the overall taste experience.
-
Learn from Other Recipes: If you’re looking for alternate dessert ideas, check out Double Chocolate Brownie or try the classic Chewy Peanut Butter cookies for more inspirations to satisfy your sweet tooth!
Make Ahead Options
These Chocolate Peanut Butter Rice Krispie Cups are perfect for meal prep! You can prepare the base mixture—combining the Rice Krispies with the melted marshmallow and peanut butter—up to 24 hours in advance. Just store it in an airtight container in the refrigerator to maintain its freshness. When you’re ready to finish them, simply scoop the refrigerated mixture into muffin liners, melt the chocolate, and layer it on top. Chill the cups for about 20 minutes to set, and enjoy the delightful treat just as if you made them fresh! This approach not only saves you time on busy days but ensures you have a sweet reward waiting for you.
How to Store and Freeze Chocolate Peanut Butter Rice Krispie Cups
Room Temperature: Keep your Chocolate Peanut Butter Rice Krispie Cups in an airtight container at room temperature for up to 1 week. This maintains their delightful texture and flavor.
Fridge: If you prefer a cooler treat, store the cups in the refrigerator for up to 2 weeks. They will remain fresh and delicious while staying firm and cool.
Freezer: For longer storage, individually wrap each cup in plastic wrap and place them in a freezer-safe container. They will last for up to 1 month. Simply thaw at room temperature before enjoying!
Reheating: Although these treats are best enjoyed cold or at room temperature, you can gently reheat them in the microwave for a few seconds to soften slightly.
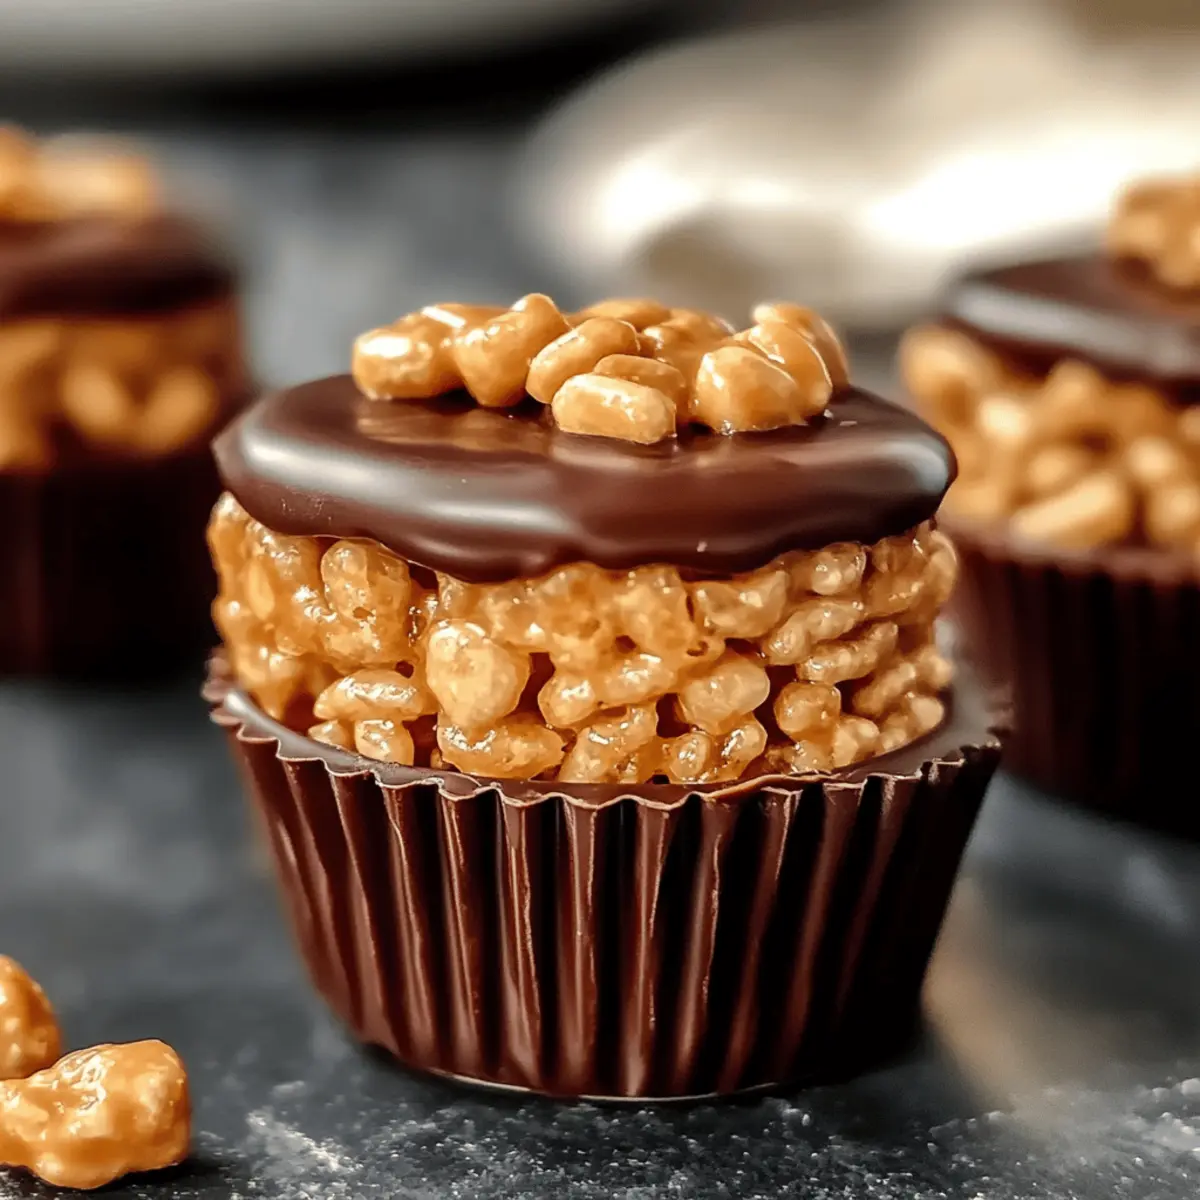
Chocolate Peanut Butter Rice Krispie Cups Recipe FAQs
How do I choose the best Rice Krispies cereal for this recipe?
When selecting Rice Krispies, look for those that are fresh and crisp. Stale cereal can lead to a chewy texture instead of the desired crunch. If you want to mix things up, feel free to substitute with a different crispy cereal like Cornflakes or even gluten-free options to suit dietary preferences!
Advertisement
What is the best way to store leftover Chocolate Peanut Butter Rice Krispie Cups?
Store your Chocolate Peanut Butter Rice Krispie Cups in an airtight container at room temperature for up to one week. If you want to keep them fresh for a longer period, you can refrigerate them for up to two weeks. The cool environment helps maintain their shape and flavor, making for a delicious snack any time of day!
Can I freeze Chocolate Peanut Butter Rice Krispie Cups?
Absolutely! For freezing, wrap each cup individually in plastic wrap and place them in a freezer-safe container. They can be stored this way for up to 1 month. When you’re ready to enjoy, simply thaw them at room temperature for a deliciously crunchy treat. Just remember that while they freeze well, the chocolate layer may lose some of its glossy finish, but they’ll still be scrumptious!
What should I do if my Rice Krispie mixture is too sticky or crumbly?
If your mixture is too sticky, it might be due to excess marshmallows or melting them at too high heat. Ease this by adding a little more Rice Krispies, stirring gently until the mixture becomes manageable. If it’s too crumbly, try adding a teaspoon of peanut butter gradually, stirring until it binds properly. Testing with a little press in the muffin tin should help determine if it’s the right consistency!
Are these Chocolate Peanut Butter Rice Krispie Cups safe for kids with nut allergies?
For those with nut allergies, it’s essential to substitute peanut butter with a nut-free alternative like sunbutter or a creamy seed butter. Additionally, check that the chocolate chips are free from cross-contamination with nuts. Always read the labels of all ingredients carefully to ensure they suit the dietary needs of the person enjoying them.
Can I make these Rice Krispie Cups vegan-friendly?
Yes! To make vegan Chocolate Peanut Butter Rice Krispie Cups, use vegan chocolate chips and replace the butter with coconut oil. You can also swap regular marshmallows for vegan marshmallows. This way, you’ll create a delicious dairy-free treat that doesn’t compromise on flavor!
These FAQs cover common concerns and considerations to ensure your baking experience is both enjoyable and successful!
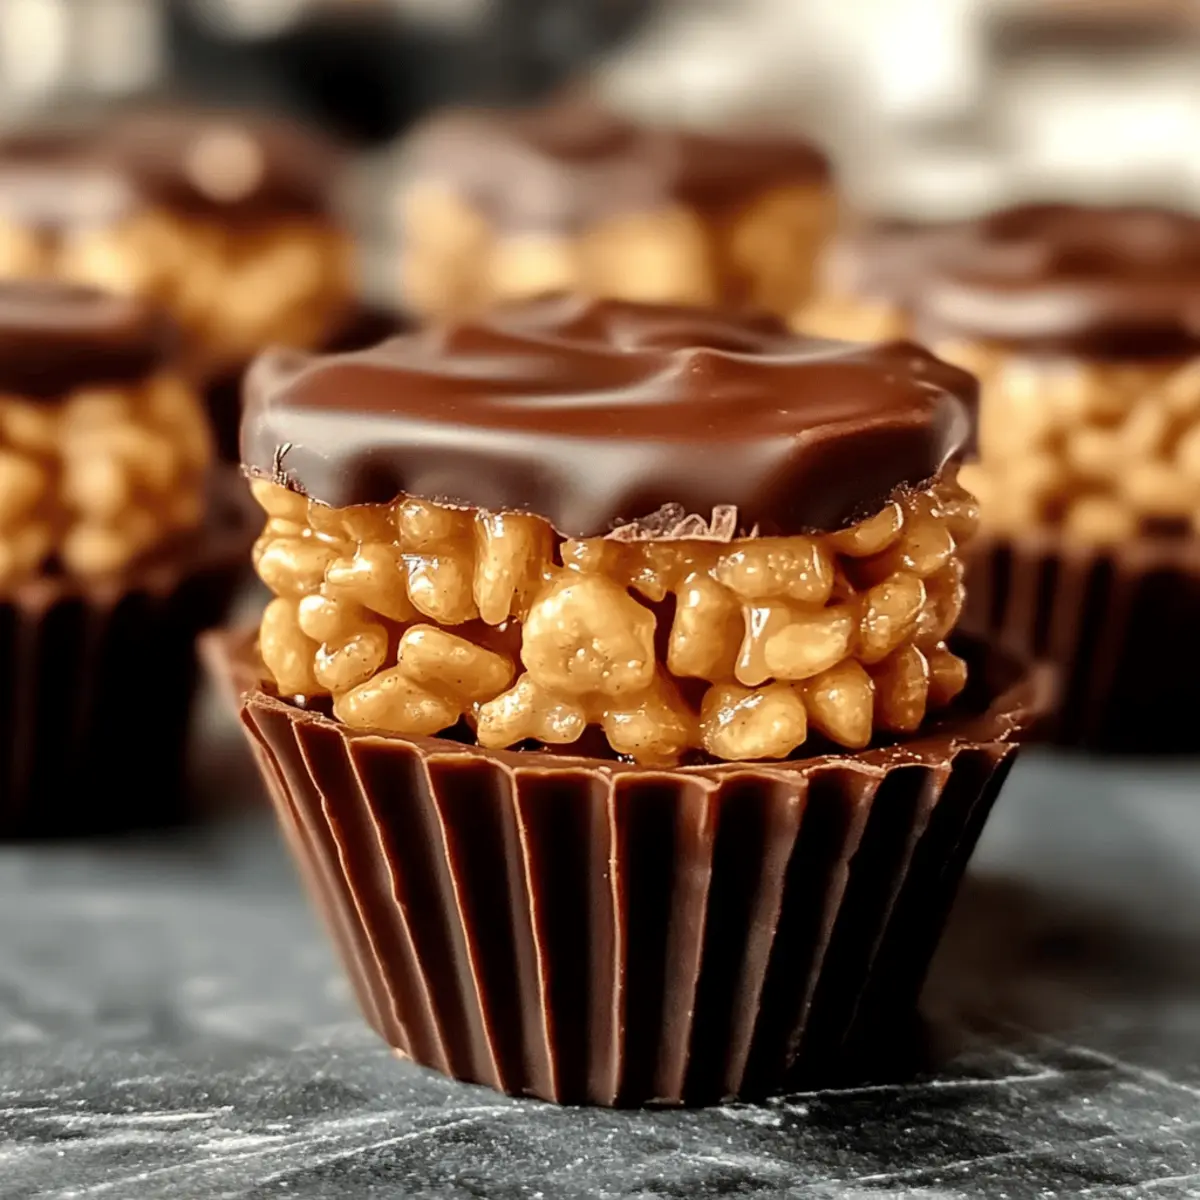
Irresistible Chocolate Peanut Butter Rice Krispie Cups Recipe
Ingredients
Equipment
Method
- In a medium saucepan over low heat, combine unsalted butter and mini marshmallows. Stir until smooth, about 5 minutes.
- Stir in creamy peanut butter and optional vanilla extract until well blended.
- In a large bowl, pour in Rice Krispies cereal and fold in the peanut butter mixture until coated.
- Scoop the mixture into muffin tin lined with paper liners and press down to shape the cups.
- Melt chocolate chips in a microwave-safe bowl, then spoon over each Rice Krispie cup to coat.
- Chill in the refrigerator for 20 minutes until chocolate sets, then serve.

