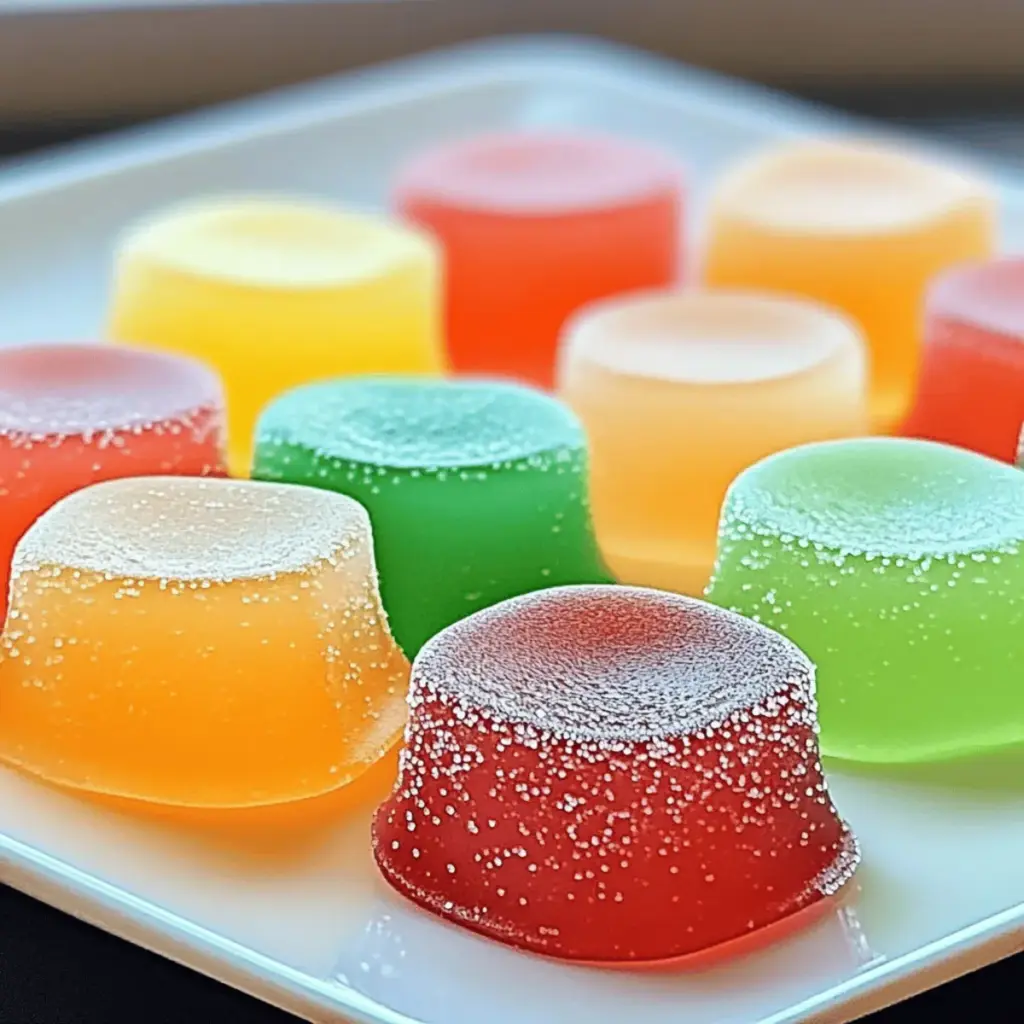
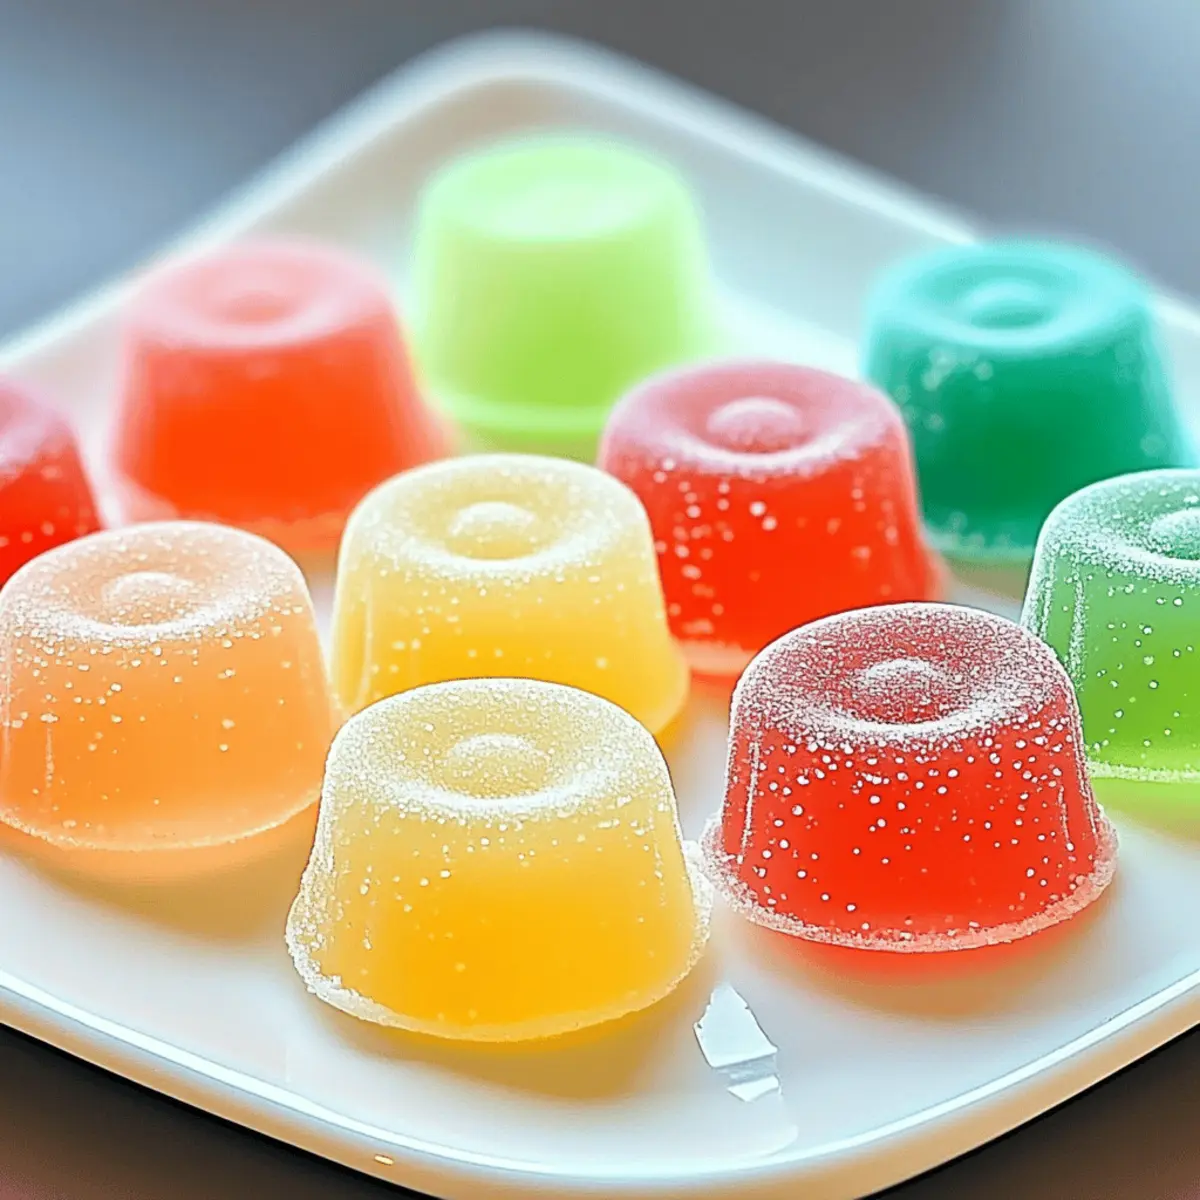
As I stood in my kitchen, the sweet aroma of Jello Candy Melts began to swirl around me, instantly reviving memories of childhood celebrations. These delightful treats offer both a fruity punch and a smooth texture that you won’t forget. What I love most about Jello Candy Melts is how effortlessly they come together, making them a fantastic way to add a splash of color to any event or a fun afternoon snack. Not only are they gluten-free, but their customizable nature means you can mix and match flavors to suit your mood or occasion—just imagine a rainbow of flavors waiting to be discovered! Are you ready to create your own delicious versions and spread some sweetness?
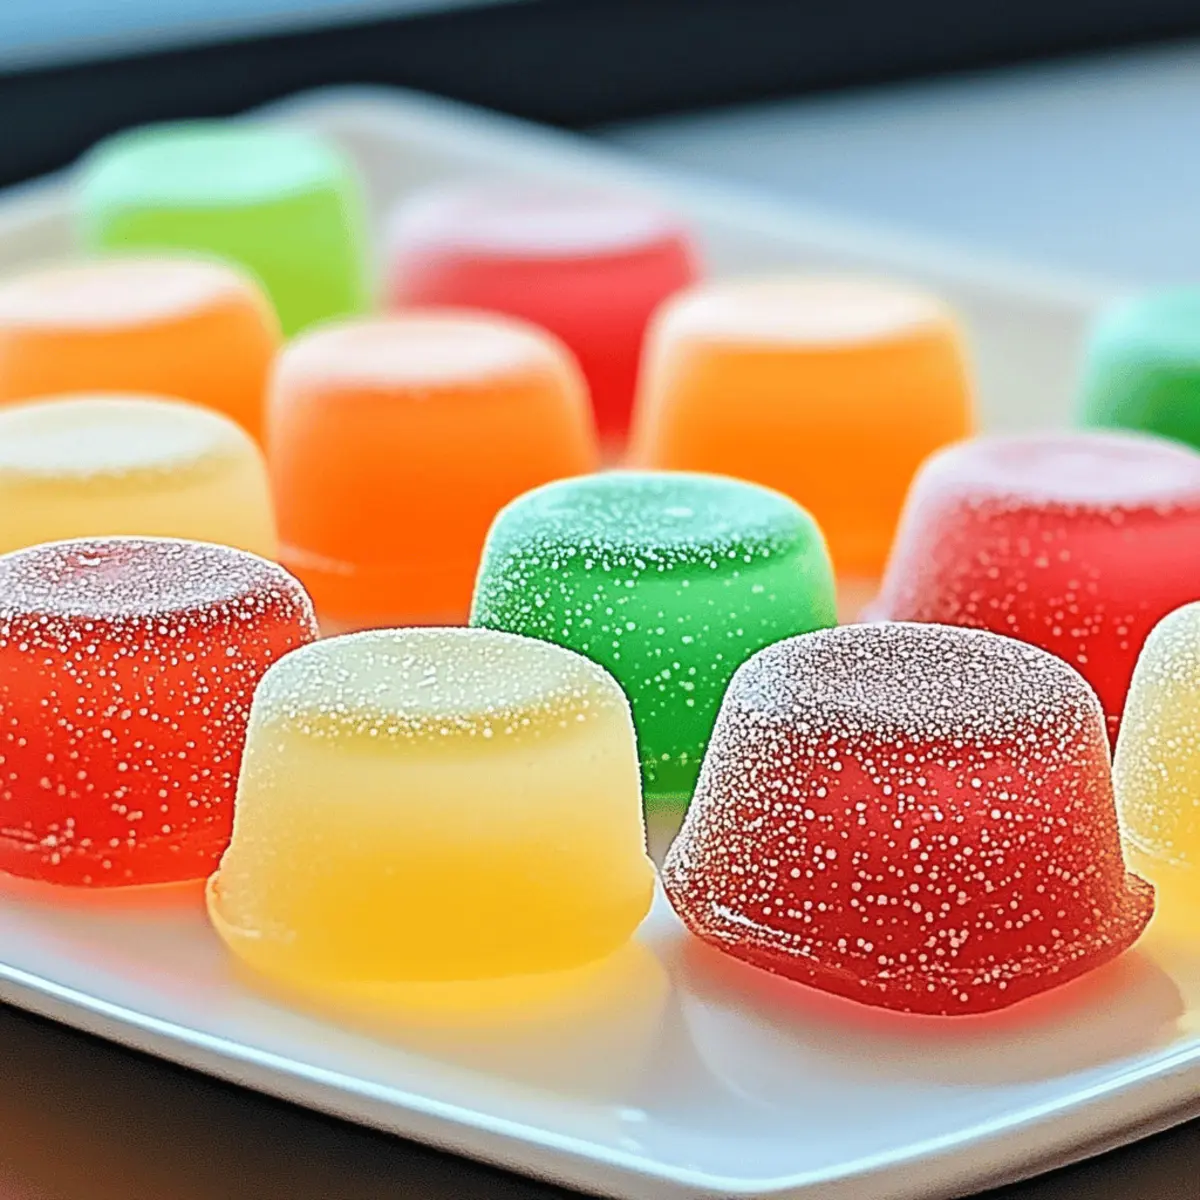
Why Are Jello Candy Melts So Irresistible?
Versatile and Customizable: With endless flavor options, these melts let your creativity shine! You can mix different Jello flavors for unique combinations that suit any occasion.
Quick and Easy: The simple preparation means even novice cooks can whip them up—no need for complicated techniques!
Fun and Colorful: Their vibrant colors are visually stunning, making them a hit at parties and gatherings. Serve them in decorative jars for added flair!
Gluten-Free Delight: A perfect treat for those with dietary restrictions, ensuring everyone can indulge without worry.
Perfect for All Ages: Kids and adults alike will enjoy these delightful morsels, making them a surefire crowd-pleaser.
How about trying a classic flavor pairing like cherry-lime? You’ll find a cozy world of deliciousness as you explore new variations!
Jello Candy Melts Ingredients
• Craft your colorful treats with these simple components!
For the Candy Base
- Jello Powder – Provides sweetness and vibrant color; substitute any flavored gelatin for a unique twist!
- Confectioners’ Sugar – Adds sweetness and a smooth texture; can use a powdered sugar alternative if needed.
- Butter – Contributes richness and moisture; make sure it’s gently melted to avoid sizzling.
- Vanilla Extract – Enhances the flavor profile; feel free to swap for almond extract for a different taste experience.
- Water – Binds the dry ingredients into a paste; adjust the quantity slightly for your desired consistency.
For Decoration (Optional)
- Sprinkles – Add a festive touch and fun texture; go wild with colors that match your occasion!
- Edible Glitter – For a touch of sparkle that enhances the visual appeal; perfect for celebrations!
Using these ingredients, you’ll create Jello Candy Melts that just melt in your mouth and bring joy to any gathering or casual snack time!
Step‑by‑Step Instructions for Jello Candy Melts
Step 1: Prepare Workspace
Start by clearing your kitchen counter to create an organized workspace. Gather all your ingredients for Jello Candy Melts, including Jello powder, confectioners’ sugar, melted butter, vanilla extract, and water. Ensure you have a large mixing bowl, a small saucepan, parchment paper, and baking sheets ready for the next steps.
Step 2: Mix Dry Ingredients
In your large mixing bowl, combine the Jello powder and confectioners’ sugar thoroughly. Use a whisk to mix until the colors blend, creating a vibrant and inviting base for your Jello Candy Melts. This dry mixture should have a uniform color and texture, setting the stage for the delicious treats to come.
Step 3: Melt Butter
Gently heat the butter in a small saucepan over low heat, stirring occasionally until it melts completely. Be cautious to prevent the butter from sizzling or browning, as we want a smooth, silky addition. Once melted, allow the butter to cool slightly before adding it to the dry mixture, ensuring it doesn’t cook the ingredients.
Step 4: Combine Wet Ingredients
Pour the melted butter into the bowl with the dry ingredients, followed by the vanilla extract and water. Stir everything together until it forms a thick, cohesive paste. The mixture should look vibrant and slightly glossy, reflecting its fruity flavors. If it’s too dry, add a tiny bit more water until the desired consistency is reached.
Step 5: Shape Candy Melts
With your hands, scoop out portions of the mixture and form them into small balls or flat discs. Place each piece onto parchment-lined baking sheets, ensuring they have space between them. The shapes can vary based on your preference, so have fun with it! Each candy should be around one inch in size for even consistency.
Step 6: Chill and Set
Refrigerate the shaped Jello Candy Melts for about one hour, allowing them to firm up nicely. This chilling process ensures that they hold their shape and achieves that delightful melt-in-your-mouth texture. After an hour, you’ll notice the candies have set perfectly and are ready for indulgence or presentation.
Make Ahead Options
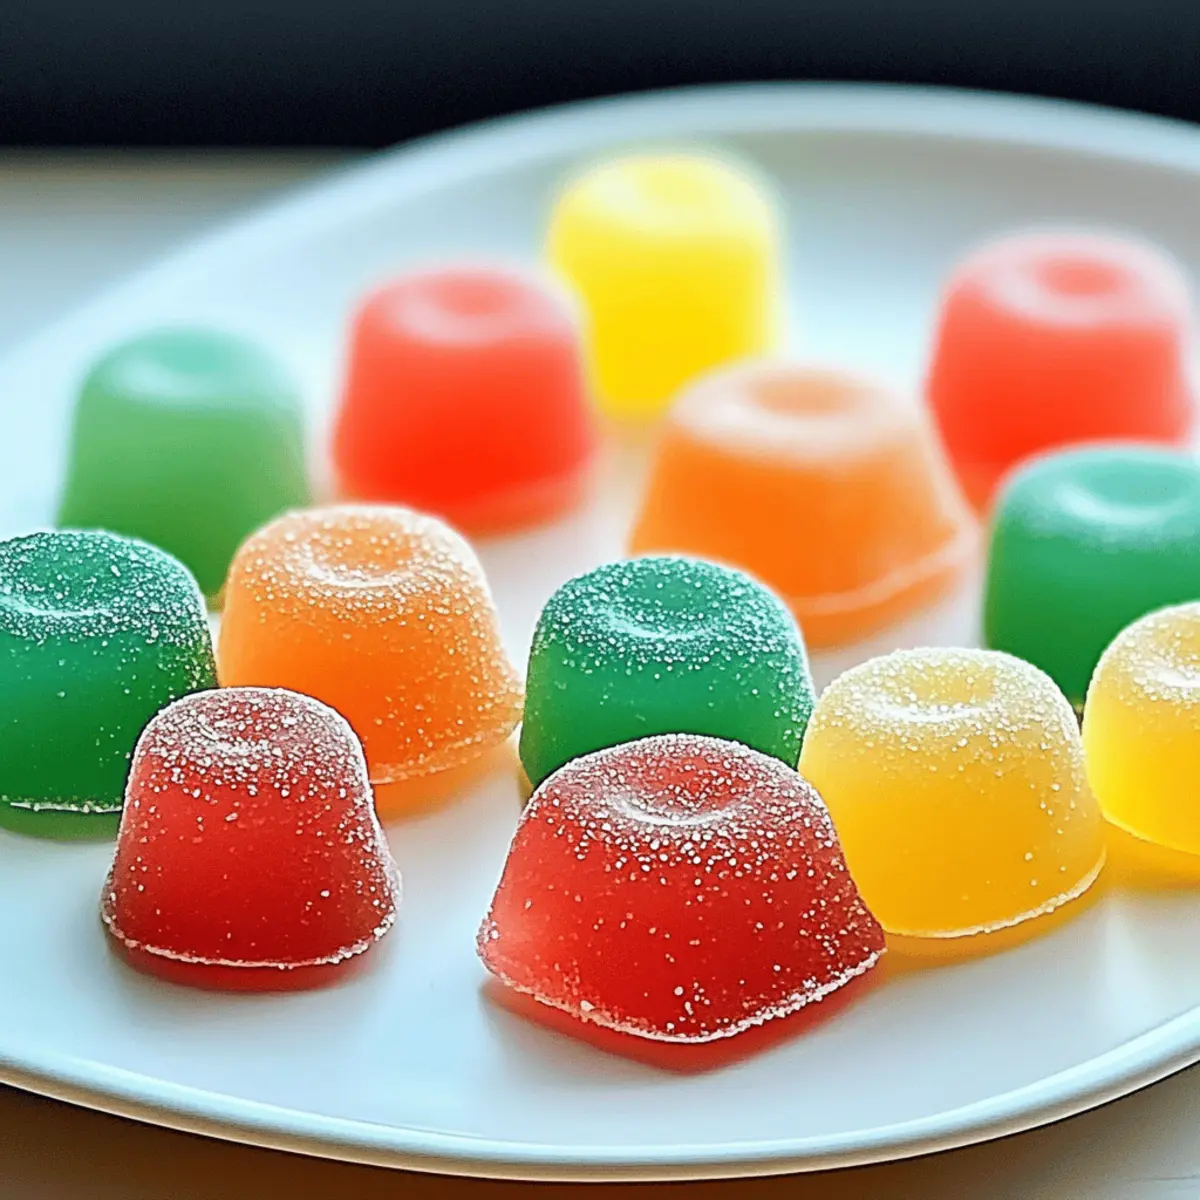
These Jello Candy Melts are perfect for meal prep and can save you time during busy weeks! You can prepare the mixture up to 24 hours in advance. Simply follow the initial steps of mixing the dry ingredients, melting the butter, and combining everything into a cohesive paste. Store the mixture in an airtight container in the refrigerator to maintain its quality. When you’re ready to shape the candy melts, simply scoop and form them into balls or discs before chilling them in the fridge for about an hour. This way, you can enjoy colorful, homemade treats with minimal effort, all while keeping them just as delicious as the day you made them!
Expert Tips for Jello Candy Melts
Flavor Fusion: Experiment with different Jello flavors to create your own unique combinations—mixing flavors like strawberry and lemon can create a delightful taste sensation.
Butter Caution: When melting butter, use low heat and keep stirring. Overheating can change the flavor and texture of your Jello Candy Melts.
Chill Time: Ensure the candies are fully chilled for at least an hour before serving. This helps them maintain their shape and that signature melt-in-your-mouth experience.
Color Play: Don’t shy away from mixing different colors of Jello powder! Layering colors can result in visually stunning Jello Candy Melts for any celebration.
Consistent Size: Aim for uniform size when shaping your candies. This ensures even setting and makes for an appealing presentation on your serving platter.
What to Serve with Irresistible Jello Candy Melts
Create a colorful spread that complements the fun flavors of these confectionery delights!
- Fresh Fruit Platter: A vibrant mix of berries and citrus fruits perfectly balances the sweetness of Jello Candy Melts, refreshing your palate.
- Chocolate Dipping Sauce: Rich, warm chocolate adds a luxurious twist, allowing for delightful dipping experiences with every bite.
Pairing these sweet melts with a fresh fruit platter not only enhances the overall presentation but also provides a refreshing contrast. The bright hues of the fruits mirror the colors of the melts, making for a visually stunning display.
-
Whipped Cream: Light and airy, whipped cream provides a creamy backdrop that enhances the sweet flavor without overwhelming them.
-
Ice Cream Floats: These fun and fizzy drinks bring nostalgia to the table, with their bubbly nature making each bite of Jello Candy Melts even more delightful.
-
Sparkling Lemonade: The zesty bubbles in sparkling lemonade can help cleanse the palate, making it an exciting pairing with these fruity treats.
-
Mini Cupcakes: Sweet and fluffy mini cupcakes not only match the vibrant colors but also create a playful dessert buffet that will delight guests of all ages.
How to Store and Freeze Jello Candy Melts
Room Temperature: Keep your Jello Candy Melts in an airtight container at room temperature for up to 2 weeks. This will help retain their delightful texture and flavor.
Fridge: If you prefer to keep them chilled, store your Jello Candy Melts in the refrigerator for up to 3 weeks. Just remember to use a sealed container to avoid drying out.
Freezer: For longer storage, you can freeze Jello Candy Melts for up to 3 months. Place them in a freezer-safe container with parchment paper between layers to prevent sticking.
Reheating: Thaw your frozen Jello Candy Melts in the fridge overnight before enjoying—they’ll retain their delicious, melt-in-your-mouth elegance!
Jello Candy Melts Variations & Substitutions
Unleash your creativity with these Jello Candy Melts variations that will add unexpected flavors and fun textures to your treats!
-
Layered Flavors: Mix different Jello flavors for a colorful layered effect, like cherry and lemon for a delightful pink citrus treat. Each bite reveals a beautiful contrast of tastes!
-
Sprinkle Adventures: Add sprinkles or edible glitter for an enchanting touch that makes your Jello Candy Melts pop. Imagine celebrating a birthday with these sparkly delights!
-
Shaped Molds: Use fun-shaped molds like stars or hearts to create themed treats. Perfect for holidays or special occasions, these molds bring an extra layer of love to your candies!
-
Fruit Infusion: Incorporate small fruit bits like crushed strawberries or crushed pineapple for a fruity explosion. This not only enhances flavor but also adds a burst of color!
-
Nutty Crunch: Add finely chopped nuts, such as almonds or walnuts, for a delightful crunch that contrasts the smooth candy base. This twist gives your melts an inviting texture!
-
Spicy Kick: Mix in a pinch of cayenne pepper or chili powder for a surprising kick. The heat will beautifully balance the sweetness of the Jello!
-
Coconut Dream: Swap out water for coconut milk to create a creamy coconut version. This will give your Jello Candy Melts a tropical twist that transports you to a sunny beach!
-
Herbal Enhancements: Try adding a hint of mint or basil alongside your favorite Jello flavors for an aromatic experience that tantalizes the palate. Imagine a refreshing mint-lime or basil-strawberry combo!
These variations celebrate customization and can easily guide you in transforming your Jello Candy Melts for any occasion. For additional creativity, consider pairing them with a delightful spread of fun decoration ideas for your next gathering!
Advertisement
Jello Candy Melts Recipe FAQs
What type of Jello powder should I use?
Absolutely! You can use any flavored gelatin to create your Jello Candy Melts. Just choose your favorite flavor or mix different ones for a more vibrant taste experience. The possibilities are endless!
How should I store leftover Jello Candy Melts?
I recommend keeping your Jello Candy Melts in an airtight container at room temperature for up to 2 weeks. If you prefer them a bit chilled, they can last up to 3 weeks in the refrigerator. Just ensure the container is well-sealed to maintain their delightful texture.
Can I freeze Jello Candy Melts? How do I do that?
Yes, you can freeze your Jello Candy Melts for up to 3 months! To do so, place them in a freezer-safe container, separating layers with parchment paper to prevent sticking. When you’re ready to enjoy them, simply thaw them in the refrigerator overnight, and they’ll be back to their perfect, melt-in-your-mouth self.
What should I do if my Jello Candy Melts are too sticky?
If you find that your Jello Candy Melts are sticking to your hands or the parchment paper, don’t worry! Lightly dust your hands with confectioners’ sugar before shaping them. This will make the process much smoother. Additionally, if the mixture is too wet, you can add a little more confectioners’ sugar to help firm it up.
Are Jello Candy Melts safe for those with dietary restrictions?
Yes! Jello Candy Melts are naturally gluten-free, but it’s still essential to check the Jello powder’s packaging for any potential allergens. If you’re accommodating allergies, consider using natural flavorings and ensuring all your ingredients are sourced from allergy-friendly suppliers.
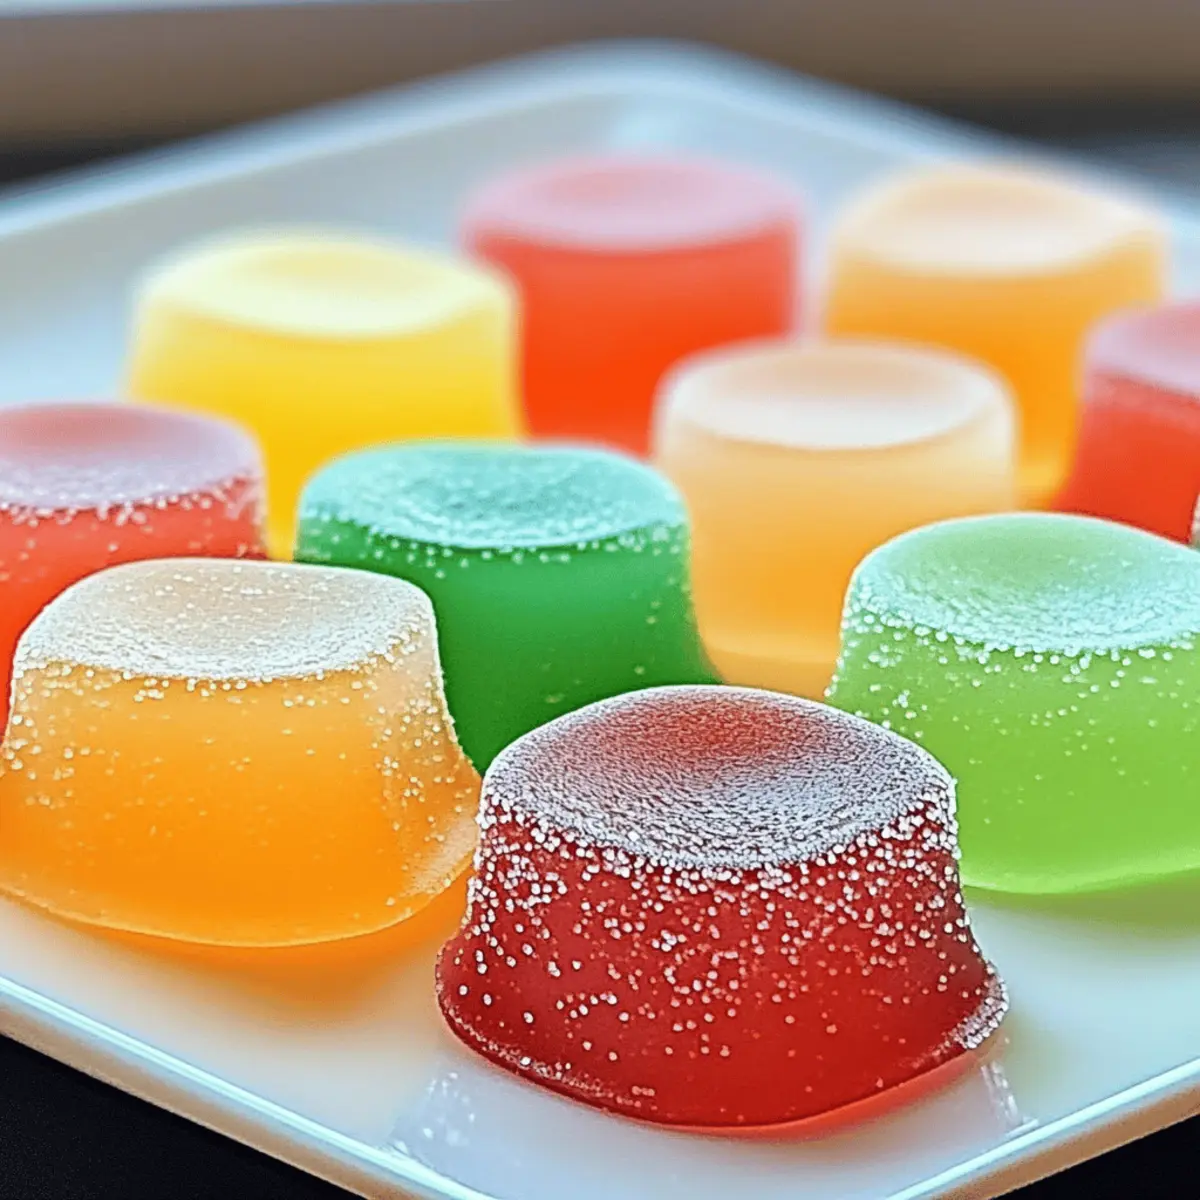
Colorful Jello Candy Melts That Melt in Your Mouth
Ingredients
Equipment
Method
- Prepare your workspace by clearing the kitchen counter and gathering all ingredients.
- In a large mixing bowl, combine the Jello powder and confectioners’ sugar until well mixed.
- In a small saucepan, melt the butter over low heat, stirring occasionally until fully melted.
- Add melted butter, vanilla extract, and water to the dry mixture. Stir until it forms a cohesive paste.
- Scoop portions of the mixture and form them into small balls or flat discs. Place on parchment-lined sheets.
- Refrigerate for about one hour to allow the shapes to firm up.

