A Memory Baked in Chocolate
Growing up, Easter was always more than just pastel-colored baskets and egg hunts; it was about family, laughter, and the scent of something sweet baking in the kitchen. Every year, my grandmother would bake a batch of cookies that were more than just a treat—they were a tradition. She never wrote down the recipe, yet somehow, each batch tasted exactly the same: soft, chocolatey, and topped with a perfectly melted piece of chocolate.
As I grew older, I realized that these cookies weren’t just a dessert; they were a reminder of childhood, of time spent decorating with sprinkles, sneaking extra chocolate kisses, and waiting impatiently for them to cool. This recipe for Easter Chocolate Blossom Cookies brings back those same memories, wrapped in a festive twist. Whether you’re making them with kids, sharing them at an Easter gathering, or simply indulging in a nostalgic bite, these cookies are the perfect way to celebrate the season.
Why These Cookies Are an Easter Favorite
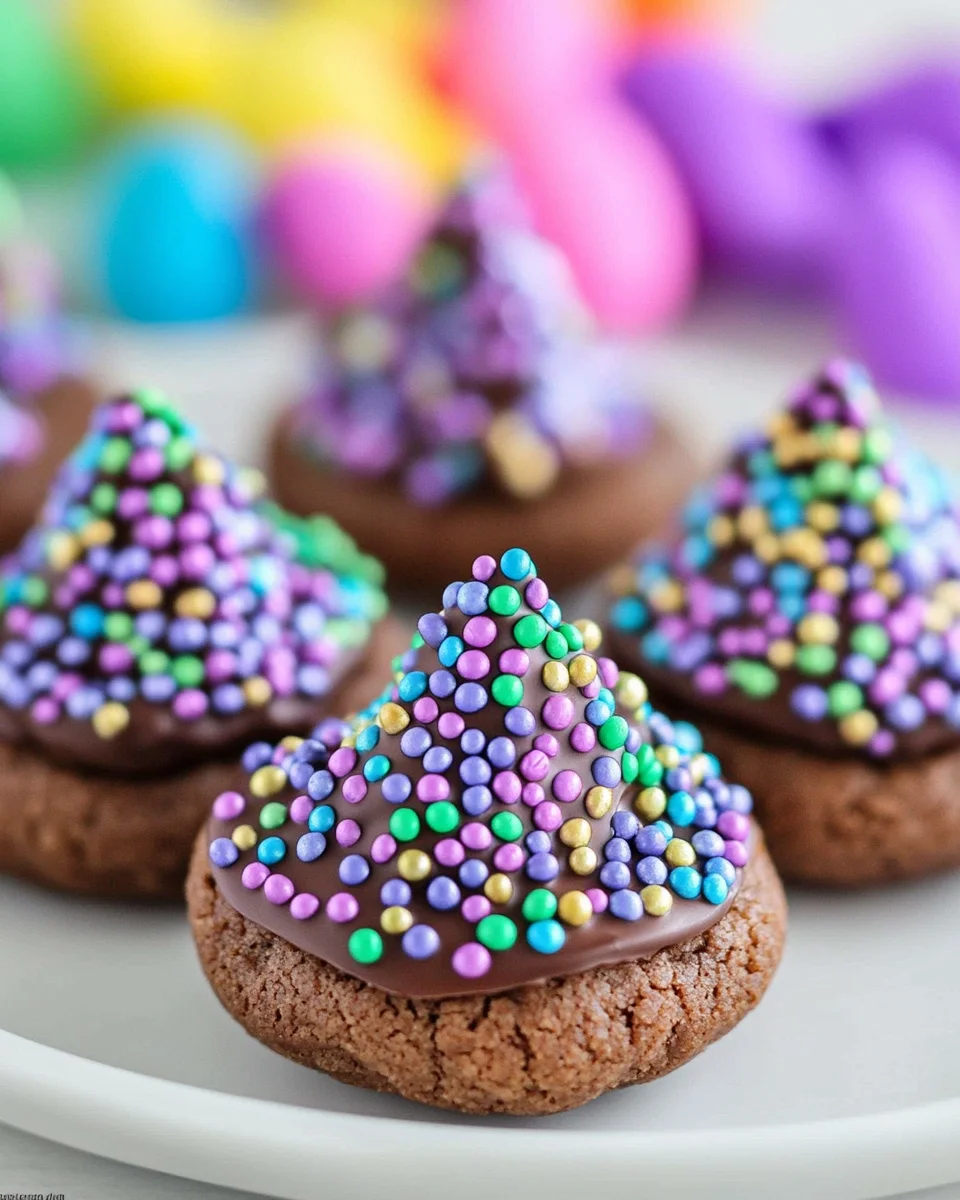
Easter is a holiday filled with bright colors, sweet treats, and moments of togetherness. These Chocolate Blossom Cookies fit perfectly into the theme. They combine the richness of chocolate with a fun, festive look thanks to pastel-colored sprinkles. The best part? They are easy to make and always a hit with both kids and adults.
Here’s why these cookies deserve a spot on your Easter dessert table:
- Perfect Balance of Softness and Chocolatey Goodness
The base of this cookie is soft and chewy, infused with cocoa for a deep chocolate flavor. The final touch—a chocolate kiss pressed into the center—adds a melt-in-your-mouth experience with every bite. - A Fun and Interactive Baking Experience
Rolling the dough in sprinkles and placing chocolate kisses on top make these cookies a great family activity. Kids especially love getting involved, and the simple process means even little hands can help. - Customizable for Any Occasion
While these cookies are decorated with pastel sprinkles for Easter, they can easily be adapted for other holidays. Use red and green sprinkles for Christmas, orange and black for Halloween, or pink and white for Valentine’s Day. - Great for Gifting and Sharing
These cookies make a beautiful homemade gift. Pack them in a festive tin or wrap them in clear bags tied with a ribbon, and you have a thoughtful and delicious Easter treat to share with friends and family.
Baking Tips for the Best Easter Chocolate Blossom Cookies
To make sure your cookies turn out perfect every time, keep these tips in mind:
- Use Room Temperature Ingredients
Butter and eggs mix better when they are at room temperature. This helps create a smooth and well-incorporated dough. - Don’t Overmix the Dough
Overmixing can lead to dense cookies instead of the soft and chewy texture we’re aiming for. Mix just until the ingredients are combined. - Roll Evenly for a Perfect Bake
Using a cookie scoop ensures that all the cookies are the same size, which helps them bake evenly. - Give the Cookies Space to Spread
Place the cookie dough balls at least 2 inches apart on the baking sheet, as they will spread slightly while baking. - Be Gentle with the Chocolate Kiss
When pressing the chocolate kiss into the warm cookie, do it gently to avoid cracking. The heat from the cookie will slightly melt the chocolate, but it will re-solidify as it cools. - Let Them Cool Completely
As tempting as it is to dig in right away, allowing the cookies to cool helps them set properly, ensuring the best texture.
Ingredients – A Sweet Symphony
- Dry Ingredients:
- 2 cups all-purpose flour
- ⅔ cup unsweetened cocoa powder
- ½ teaspoon baking soda
- ¼ teaspoon salt
- Wet Ingredients:
- 2 sticks unsalted butter, softened
- 1 cup sugar
- 1 teaspoon vanilla extract
- 1 whole egg
- 1 egg yolk
- Extras for the Magic Touch:
- 36 Hershey’s Kisses (milk chocolate, or your preferred flavor)
- Pastel nonpareil sprinkles
Directions – Bake Up Some Joy
- Prep the Stage:
Preheat your oven to 350°F and line a large baking sheet with parchment paper. - Mix the Dry Team:
In a medium bowl, whisk together the flour, cocoa powder, baking soda, and salt. Set aside. - Whip Up the Butter Magic:
In a separate bowl, beat the butter on medium speed for 5 minutes, scraping down the sides. Add sugar and continue beating for 5–7 minutes until light and fluffy. Mix in vanilla and eggs until fully combined. - Bring It All Together:
Gradually mix in the dry ingredients until fully incorporated into a smooth dough. - Shape & Roll:
Scoop out 1 tablespoon of dough, shape into balls, and roll each in pastel sprinkles. Place them 2 inches apart on the baking sheet. - Bake to Perfection:
Bake for 8–10 minutes until the cookies puff up and the edges are set. - Kiss the Cookies:
While warm, press a Hershey’s Kiss into the center of each cookie. The chocolate may soften but will re-solidify as it cools. - Cool & Enjoy:
Transfer cookies to a wire rack and let them cool completely before serving.
Nutritional Bites – Sweet but Sensible
Note: These values are approximate and may vary depending on ingredient brands and portion sizes.
- Calories: ~150 per cookie
- Total Fat: ~8g
- Saturated Fat: ~5g
- Carbohydrates: ~18g
- Sugars: ~10g
- Protein: ~2g
Storage Tips – Keep the Goodness Fresh
- Counter: Store in an airtight container for up to 4 days.
- Refrigerator: Keep in an airtight container for up to 2 weeks.
- Freezer: Store in a freezer-safe container for up to 6 months (note: the chocolate may bloom but will still taste great!).
Enjoy these colorful, chocolatey treats for Easter or any special occasion!
FAQs: Answering Your Baking Questions
1. Can I make these cookies ahead of time?
Yes! You can bake these cookies in advance and store them in an airtight container. They last up to 4 days on the counter, 2 weeks in the fridge, and up to 6 months in the freezer.
2. What can I use instead of Hershey’s Kisses?
If you don’t have Hershey’s Kisses, you can substitute with chocolate chunks, mini peanut butter cups, or even a square of your favorite chocolate bar.
3. Can I make these cookies without cocoa powder?
Absolutely! If you prefer a non-chocolate version, simply omit the cocoa powder and increase the flour slightly to maintain the dough consistency.
4. How do I keep the chocolate kisses from melting too much?
The key is to press them onto the cookies right after baking but avoid touching them too much. Let the cookies cool naturally, and the chocolate will set in place.
5. Can I use different types of sprinkles?
Yes! While pastel nonpareils work beautifully for Easter, feel free to use any kind of decorative sugar or themed sprinkles for other occasions.
6. Can I make these cookies gluten-free?
Yes! You can substitute all-purpose flour with a gluten-free flour blend. Just make sure it’s a 1:1 replacement for the best results.
7. What if my cookies turn out too hard?
If your cookies are hard, they may have been overbaked. Try reducing the baking time slightly next time, and always store them in an airtight container to retain moisture.
Storage and Freezing Tips
These cookies store well, making them a great make-ahead dessert for Easter celebrations. Here’s how to keep them fresh:
- Room Temperature: Store in an airtight container for up to 4 days.
- Refrigerator: Keep in a sealed container for up to 2 weeks.
- Freezer: Store in a freezer-safe bag or container for up to 6 months. Note that the chocolate may develop a slight white “bloom” due to temperature changes, but this won’t affect the taste.
For best results, bring frozen cookies to room temperature before serving.
Advertisement
Creative Ways to Serve Easter Blossom Cookies
While these cookies are delicious on their own, you can take them up a notch with some fun serving ideas:
- With Ice Cream: Sandwich a scoop of vanilla or chocolate ice cream between two cookies for a festive ice cream sandwich.
- As a Dessert Platter Addition: Pair them with mini cupcakes, chocolate-covered pretzels, and pastel-colored candies for a beautiful Easter dessert spread.
- With a Cup of Coffee or Milk: These cookies pair perfectly with a warm drink, making them a great treat for an afternoon snack.
- As a Cake Topper: Use them as edible decorations on top of an Easter cake for a creative and delicious presentation.
Conclusion: More Than Just a Cookie
Easter Chocolate Blossom Cookies aren’t just another holiday treat—they’re a tradition, a memory, and a symbol of time spent together. Whether you’re making them for a special occasion or just because, they bring warmth, joy, and a touch of nostalgia with every bite.
So this Easter, gather your loved ones in the kitchen, roll up your sleeves, and create something sweet together. Because at the heart of every holiday celebration is the love and laughter shared over homemade treats.
Easter Chocolate Blossom Cookies: A Sweet Treat for Family and Tradition
Ingredients
Method
- Step 1: Prep the Stage
- Preheat the oven to 350°F (175°C) and line a large baking sheet with parchment paper.
- In a medium bowl, whisk together flour, cocoa powder, baking soda, and salt. Set aside.
- In a separate bowl, beat the butter on medium speed for 5 minutes, scraping down the sides.
- Add sugar and continue beating for 5–7 minutes until light and fluffy.
- Mix in vanilla extract, egg, and egg yolk until fully combined.
- Gradually mix in the dry ingredients until fully incorporated into a smooth dough.
- Scoop out 1 tablespoon of dough, shape into balls, and roll each in pastel sprinkles.
- Place them 2 inches apart on the baking sheet.
- Bake for 8–10 minutes until the cookies puff up and the edges are set.
- While warm, press a Hershey’s Kiss into the center of each cookie. The chocolate may soften but will re-solidify as it cools.
- Transfer cookies to a wire rack and let them cool completely before serving.
Notes
- For a festive twist, swap out Hershey’s Kisses for peanut butter cups or caramel-filled chocolates.
- Chilling the dough for 30 minutes before baking helps maintain shape.
- For extra crunch, try rolling in crushed candy pieces instead of sprinkles.