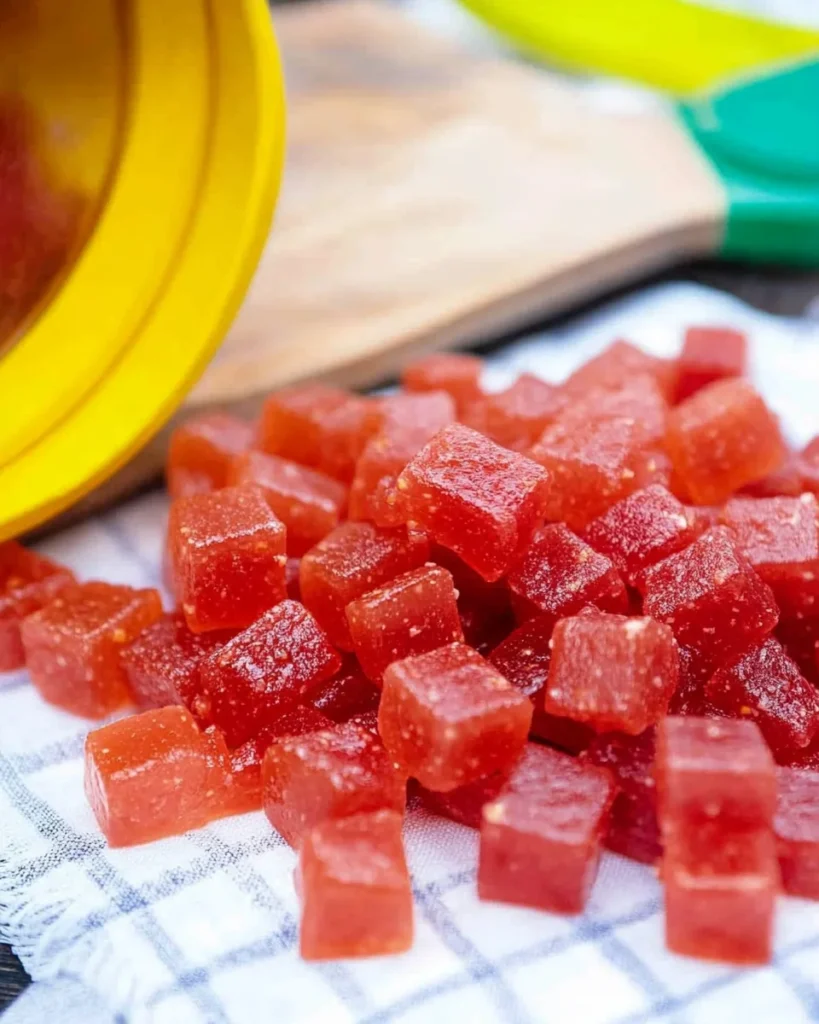
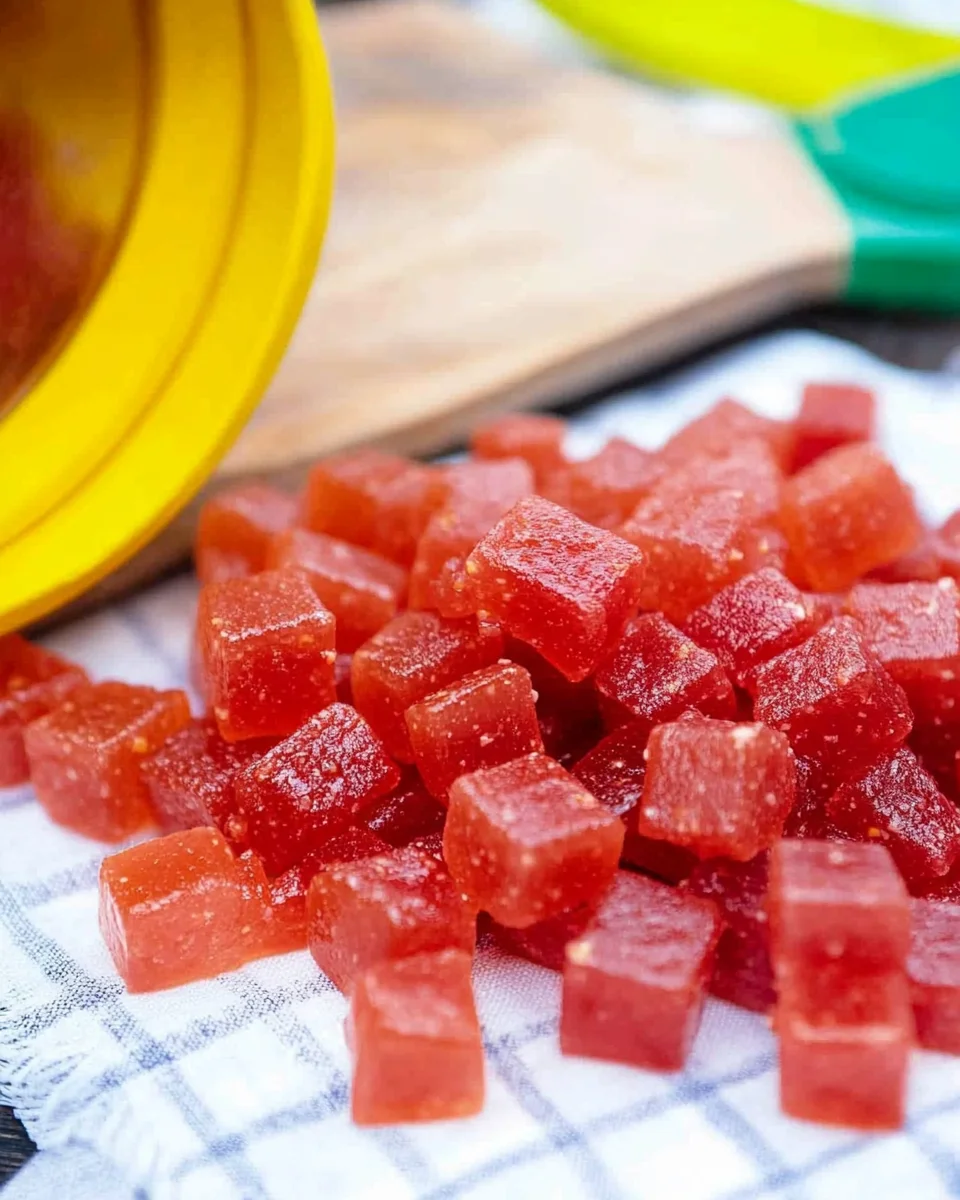
Making your own fruit gummies at home is not only fun but also a healthier alternative to store-bought candies. With just a few simple ingredients and steps, you can create delicious, customizable treats that are perfect for kids and adults alike. Let’s dive into this Easy Homemade Fruit Gummies recipe and explore all the ways you can make these chewy delights your own.
Why You’ll Love This Recipe
Homemade fruit gummies are a game-changer for anyone who loves sweets but wants to control the ingredients. Here’s why this recipe is a must-try:
- Healthier Alternative: Use real fruit juice and natural sweeteners for a treat without artificial additives.
- Customizable Flavors: Create your favorite combinations by experimenting with different juices.
- Fun to Make: A perfect activity to do with kids or as a creative hobby.
- Budget-Friendly: Homemade gummies are much cheaper than store-bought versions.
- Perfect for Any Occasion: Great for snacks, party favors, or even gifts.
Ingredients You’ll Need
Here’s a breakdown of everything you need to make these delicious gummies:
| Ingredient | Amount |
|---|---|
| Fruit juice (avoid pineapple, kiwi, and papaya) | 1 ½ cups |
| Water | ½ cup |
| Gelatin powder | ¼ cup |
| Granulated sugar (or honey) | ½ cup (to taste) |
| Food coloring (optional) | As needed |
| Citric acid (optional) | 1 tsp |
| Additional sugar for coating (optional) | As needed |
Step-by-Step Instructions
Step 1: Prepare the Molds
- Lightly grease your molds with a neutral oil like canola or non-stick spray. This helps the gummies release easily.
- If you don’t have molds, you can use a shallow pan and cut the gummies into shapes after setting.
Step 2: Bloom the Gelatin
- In a small saucepan, combine the fruit juice and water.
- Sprinkle the gelatin powder over the liquid and let it sit for a few minutes. This process, called “blooming,” allows the gelatin to absorb moisture and ensures a smooth texture.
Step 3: Dissolve the Gelatin
- Heat the mixture over medium-low heat, stirring frequently, until the gelatin is completely dissolved. Avoid boiling, as this can affect the texture.
Step 4: Sweeten the Mixture
- Add the sugar and stir until it dissolves. If you’re using honey, remove the mixture from heat before adding to preserve its nutrients.
Step 5: Add Optional Ingredients
- Stir in food coloring or citric acid if desired. If you want multiple colors, divide the mixture into separate bowls before adding coloring.
Step 6: Fill the Molds
- Pour the mixture into prepared molds using a dropper for precision if needed.
- If you’re using a pan, pour the mixture evenly to create a thin layer.
Step 7: Refrigerate
- Place the molds or pan in the refrigerator and let the gummies set for at least 2 hours.
Step 8: Cut and Coat
- Once set, remove the gummies from the molds or cut them into shapes if using a pan.
- For a sour coating, roll the gummies in a mixture of granulated sugar and citric acid.
Step 9: Store
- Store the gummies in an airtight container in the refrigerator for up to a week to maintain freshness.
Tips for Success
Use the Right Juice
- Avoid pineapple, kiwi, and papaya juices, as their enzymes can prevent the gelatin from setting properly.
Don’t Overheat
- Keep the heat low to preserve the flavor and texture of the gummies.
Grease the Molds
- A light coating of oil ensures the gummies pop out easily without sticking.
Experiment with Flavors
- Mix different juices to create unique combinations like orange-strawberry or apple-grape.
Customize Sweetness
- Adjust the sugar or honey based on your taste preferences.
Nutritional Information
Here’s an approximate nutritional breakdown per serving (based on 1 gummy):
| Nutrient | Amount (Approx.) |
|---|---|
| Calories | 10 |
| Total Fat | 0g |
| Carbohydrates | 2g |
| Protein | 1g |
| Sugar | 1.5g |
Note: Nutritional values may vary based on portion size and specific ingredients used.
Frequently Asked Questions
1. Can I use vegetarian gelatin?
Yes, you can substitute gelatin with agar-agar for a vegetarian option. Follow the package instructions for best results.
2. How do I make gummies more tart?
Add citric acid to the mixture or roll the finished gummies in a mix of sugar and citric acid for a tangy kick.
3. Can I use fresh fruit juice?
Absolutely! Just make sure to strain the juice to remove any pulp for a smooth texture.
4. How long do homemade gummies last?
Store them in an airtight container in the refrigerator for up to a week.
5. Can I freeze gummies?
Freezing is not recommended, as it can change the texture of the gummies.
6. What molds work best?
Silicone molds are ideal for easy removal and come in fun shapes for added creativity.
Creative Variations
Layered Gummies
- Create multi-layered gummies by letting each layer set before adding the next.
Sparkling Gummies
- Use sparkling juice for a bubbly, effervescent twist.
Vitamin-Infused Gummies
- Add liquid vitamins or supplements to the mixture for a healthy boost.
Chocolate-Covered Gummies
- Dip the gummies in melted chocolate for a decadent treat.
Serving Suggestions
Homemade fruit gummies are perfect for:
Advertisement
- Lunchbox Treats: A healthier alternative to packaged candies.
- Party Favors: Pack them in cute bags for a sweet takeaway gift.
- Holiday Snacks: Customize the shapes and colors for festive occasions.
- DIY Gifts: Pair with a handwritten recipe card for a thoughtful homemade present.
Final Thoughts
Easy Homemade Fruit Gummies are a fun, delicious, and healthier way to satisfy your sweet tooth. With endless flavor combinations and customization options, this recipe is perfect for any occasion. Whether you’re making them for kids, gifts, or just to enjoy yourself, these gummies are sure to be a hit.
Ready to try this recipe? Gather your ingredients, follow the steps, and enjoy the satisfaction of creating your own fruity treats. Don’t forget to share your creations with friends and family—they’ll love it!
Easy Homemade Fruit Gummies
Ingredients
Method
- Lightly grease silicone molds with neutral oil (such as canola) or non-stick spray. If using a shallow pan, grease it and set aside.
- In a small saucepan, combine the fruit juice and water.
- Sprinkle the gelatin powder over the liquid and let it sit for 5 minutes to bloom. This step ensures a smooth texture.
- Heat the mixture over medium-low heat, stirring frequently, until the gelatin is fully dissolved. Avoid boiling to maintain texture.
- Add sugar or honey to the gelatin mixture and stir until dissolved. If using honey, remove the saucepan from heat before adding.
- Stir in food coloring and citric acid, if desired. Divide the mixture into separate bowls for multiple colors.
- Carefully pour the mixture into the prepared molds using a dropper or small pitcher for precision. For a shallow pan, pour the mixture evenly to create a thin layer.
- Place the molds or pan in the refrigerator for at least 2 hours or until the gummies are firm.
- Remove gummies from the molds or cut into shapes if using a pan.
- For a sour twist, roll the gummies in a mixture of granulated sugar and citric acid.
- Store in an airtight container in the refrigerator for up to a week to maintain freshness.
Notes
- Avoid juices like pineapple, kiwi, or papaya, as their enzymes can prevent the gelatin from setting.
- For vegetarian options, use agar-agar instead of gelatin and follow package instructions.
- Keep the mixture over low heat to avoid altering the texture or flavor.

