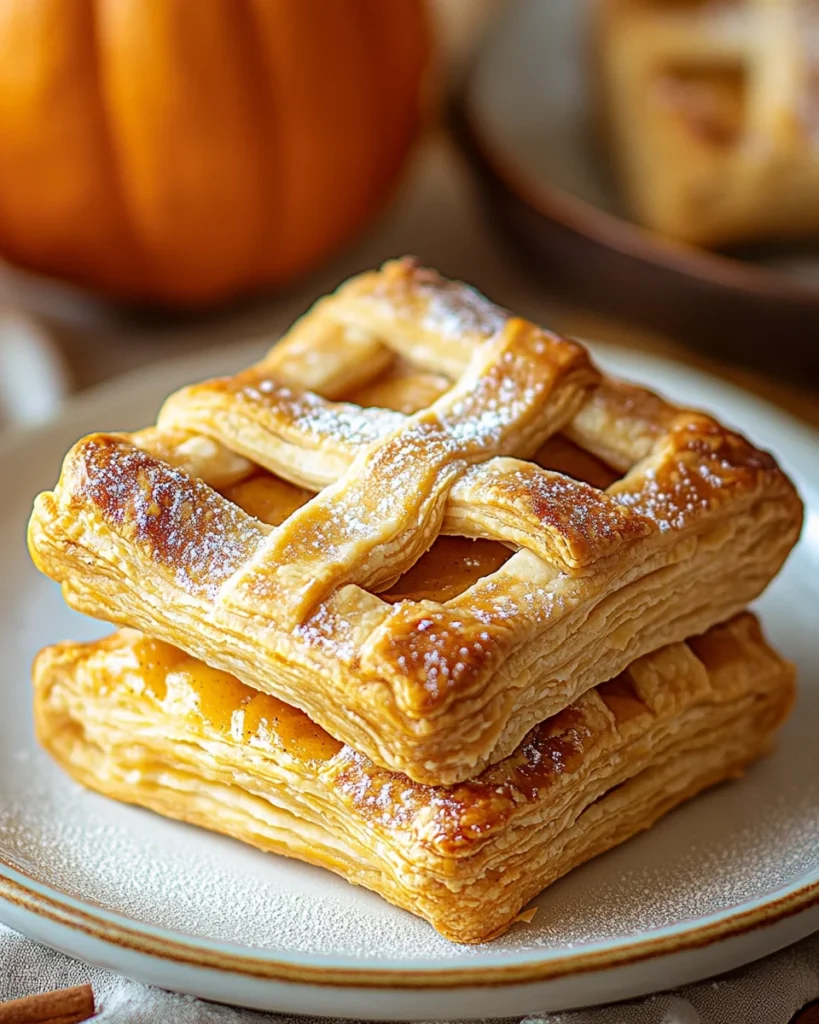
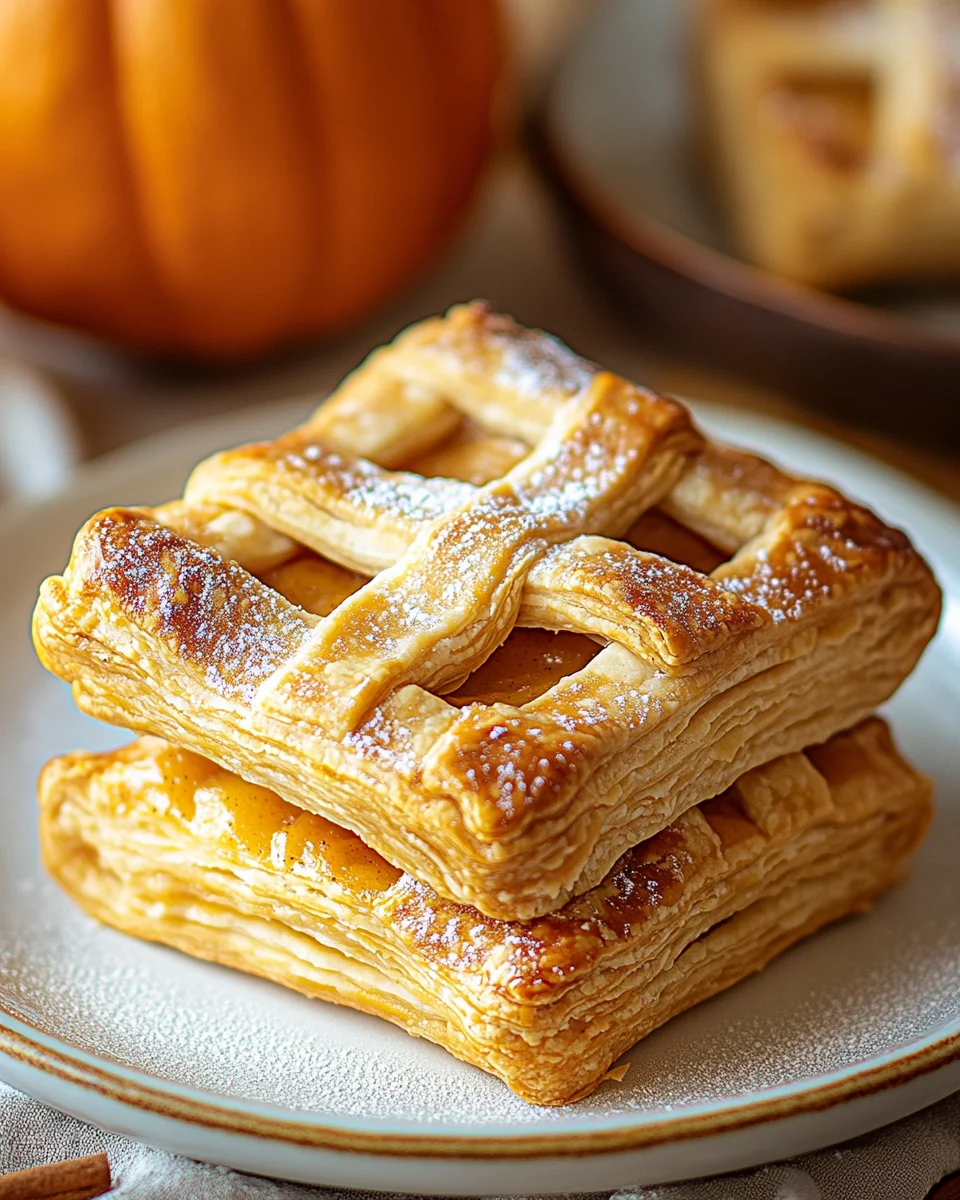
There’s nothing like the smell of pumpkin spice wafting through your kitchen to signal that fall has officially arrived. Pumpkin hand pies with spiced filling are the perfect treat to bring comfort and joy to your autumn days. These handheld delights combine flaky pie crusts with a warm, sweet, and spiced pumpkin filling. They’re not only easy to make but also perfect for sharing with friends and family.
Why You’ll Love Pumpkin Hand Pies
These pumpkin hand pies are:
- Convenient and portable, making them great for on-the-go snacks.
- Bursting with fall flavors like cinnamon, nutmeg, and cloves.
- Easy to make, using pre-made pie crusts for a quick treat.
- Versatile, allowing for creative shapes and decorations.
Ingredients You’ll Need
Here’s a handy table to organize your ingredients:
For the Dough:
| Ingredient | Quantity |
|---|---|
| Refrigerated pie crusts | 1 package (2 sheets) |
For the Filling:
| Ingredient | Quantity |
|---|---|
| Canned pumpkin puree | ½ cup |
| Brown sugar | 2 tbsp |
| Ground cinnamon | ½ tsp |
| Ground ginger | ¼ tsp |
| Ground nutmeg | ¼ tsp |
| Ground cloves | ¼ tsp |
| Vanilla extract | ¼ tsp |
For the Topping:
| Ingredient | Quantity |
|---|---|
| Egg (for egg wash) | 1 large |
| Granulated sugar (for sprinkling) | 1 tbsp |
How to Make Pumpkin Hand Pies with Spiced Filling
Step 1: Preheat the Oven
- Preheat your oven to 375°F (190°C).
- Line a baking sheet with parchment paper to prevent sticking and ensure easy cleanup.
Step 2: Prepare the Pie Crusts
- Roll out the refrigerated pie crusts on a lightly floured surface.
- Use a cookie cutter or glass (about 4 inches in diameter) to cut out circles from the dough.
- Re-roll any scraps to make additional circles until all the dough is used.
Step 3: Make the Spiced Pumpkin Filling
- In a small bowl, combine the pumpkin puree, brown sugar, cinnamon, ginger, nutmeg, cloves, and vanilla extract.
- Mix well until the filling is smooth and evenly spiced.
Step 4: Assemble the Hand Pies
- Spoon about 1 tablespoon of the pumpkin filling onto the center of each dough circle.
- Fold the dough over the filling to form a half-moon shape.
- Use a fork to press and seal the edges of the dough, creating a decorative pattern.
Step 5: Add the Finishing Touches
- Beat the egg in a small bowl to create an egg wash.
- Brush the tops of the hand pies with the egg wash for a golden finish.
- Sprinkle granulated sugar over the tops for a touch of sweetness and sparkle.
Step 6: Vent and Bake
- Use a sharp knife to cut small slits on the tops of each pie to allow steam to escape.
- Arrange the hand pies on the prepared baking sheet, leaving space between each one.
- Bake for 20-25 minutes, or until the pies are golden brown and crispy.
Step 7: Cool and Serve
- Let the hand pies cool on the baking sheet for a few minutes.
- Transfer them to a wire rack to cool slightly before serving.
- Enjoy warm or at room temperature!
Nutritional Information
Here’s an approximate breakdown per hand pie (based on 10 pies):
| Nutrient | Amount |
|---|---|
| Calories | 160 |
| Total Fat | 9g |
| Saturated Fat | 3g |
| Carbohydrates | 18g |
| Sugar | 6g |
| Protein | 2g |
Tips for Perfect Pumpkin Hand Pies
- Use cold dough: Cold pie crust works best for flaky and golden results.
- Don’t overfill: Adding too much filling can cause the pies to leak during baking.
- Experiment with shapes: Try making rectangular or heart-shaped pies for a creative twist.
- Customize the filling: Add a pinch of ground cardamom or a splash of maple syrup for extra flavor.
- Refrigerate before baking: Chilling the assembled pies for 15 minutes before baking helps maintain their shape.
FAQs About Pumpkin Hand Pies
1. Can I use homemade pie crust? Yes, homemade pie crust will work beautifully for this recipe. Just make sure it’s well-chilled before rolling and cutting.
2. Can I freeze the hand pies? Absolutely! Assemble the pies and freeze them on a baking sheet. Once frozen, transfer them to a freezer bag. Bake directly from frozen, adding a few extra minutes to the baking time.
3. How should I store leftovers? Store cooled hand pies in an airtight container at room temperature for up to 2 days or in the refrigerator for up to 5 days.
4. Can I use a different filling? Yes, you can experiment with apple, cherry, or even chocolate fillings for variety.
5. How can I make these pies gluten-free? Use a gluten-free pie crust or make your own with a gluten-free flour blend.
6. What can I serve with these pies? Pair them with a scoop of vanilla ice cream or a dollop of whipped cream for an extra special treat.
Why Pumpkin Hand Pies Are Perfect for Fall
Advertisement
Pumpkin hand pies capture the essence of autumn in every bite. Their warm, spiced filling and flaky crust make them an irresistible treat for cozy nights, holiday gatherings, or just because. Plus, their portable size makes them perfect for sharing or taking on the go.
Get Baking Today
Ready to fill your kitchen with the delightful aroma of pumpkin spice? Gather your ingredients and start baking these pumpkin hand pies with spiced filling. Share them with loved ones or enjoy them all to yourself—either way, they’re sure to become a seasonal favorite. Happy baking!
Pumpkin Hand Pies with Spiced Filling
Ingredients
Method
- Preheat the Oven
- Preheat your oven to 375°F (190°C).
- Line a baking sheet with parchment paper for easy cleanup.
- Prepare the Pie Crusts
- Roll out refrigerated pie crusts on a lightly floured surface.
- Use a cookie cutter or glass (about 4 inches in diameter) to cut out circles from the dough.
- Re-roll scraps to make additional circles.
- Make the Spiced Pumpkin Filling
- In a small bowl, mix pumpkin puree, brown sugar, cinnamon, ginger, nutmeg, cloves, and vanilla extract.
- Stir until smooth and evenly spiced.
- Assemble the Hand Pies
- Spoon 1 tablespoon of filling onto the center of each dough circle.
- Fold the dough over the filling to form a half-moon shape.
- Use a fork to press and seal the edges, creating a decorative pattern.
- Add the Finishing Touches
- Brush the tops of the pies with beaten egg to achieve a golden finish.
- Sprinkle with granulated sugar for added sweetness and sparkle.
- Vent and Bake
- Cut small slits on the tops of the pies with a sharp knife to allow steam to escape.
- Arrange the pies on the prepared baking sheet, spacing them apart.
- Bake for 20-25 minutes, or until golden brown and crispy.
- Cool and Serve
- Let the pies cool on the baking sheet for a few minutes, then transfer to a wire rack to cool slightly.
- Serve warm or at room temperature and enjoy!
Notes
- Keep the dough cold to ensure flaky results; refrigerate if it becomes too warm while assembling.
- Avoid overfilling to prevent leaks during baking.
- For added flavor, drizzle the pies with caramel or serve with a dollop of whipped cream.
- Store leftovers in an airtight container at room temperature for 2 days or in the refrigerator for up to 5 days.

