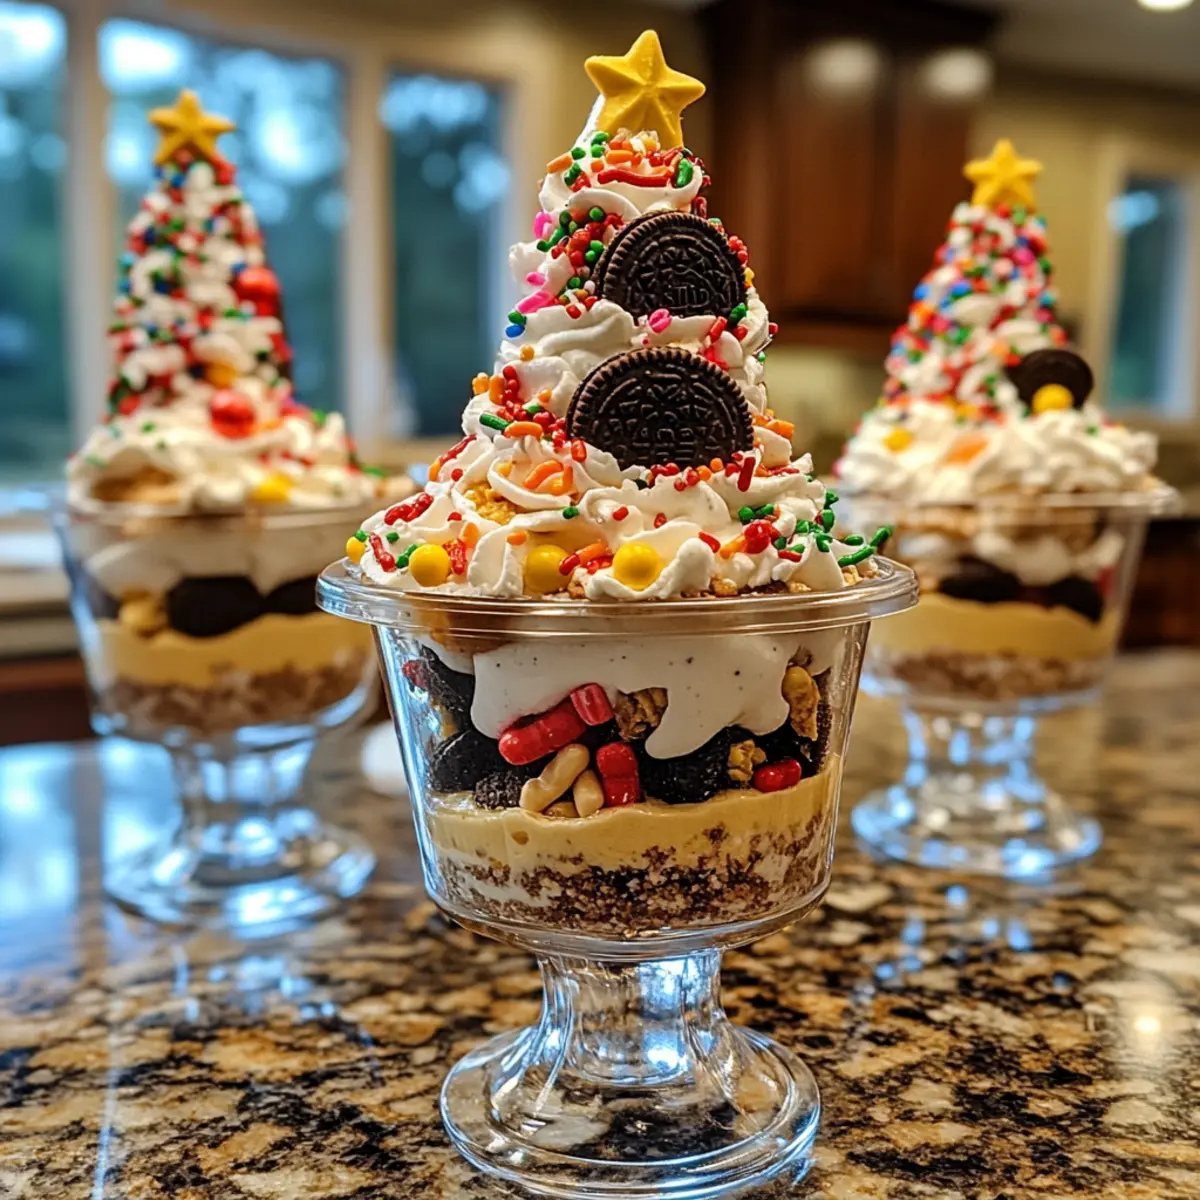
As the scent of pine and cinnamon wafts through the air, I can’t help but feel the excitement of the holiday season. This year, I decided to add a whimsical twist to our festive gatherings with Easy No-Bake Christmas Dirt Cups. These delightful cups are a breeze to whip up, making them the perfect sweet treat for busy holiday schedules. With layers of creamy pudding and crunchy cookie crumbs, they’re not just visually stunning but also a mouthwatering experience that kids and adults alike will adore. Plus, they’re a fantastic way to involve your loved ones in the kitchen, sparking creativity and conversation as you assemble each layer together. Ready to dive into a fun and festive dessert that will wow your guests? Let’s get started!
Why Are Christmas Dirt Cups So Fun?
Easy, No-Bake Delight: These Christmas Dirt Cups require no baking, making the creation process easy for everyone, whether you’re a kitchen novice or a seasoned chef.
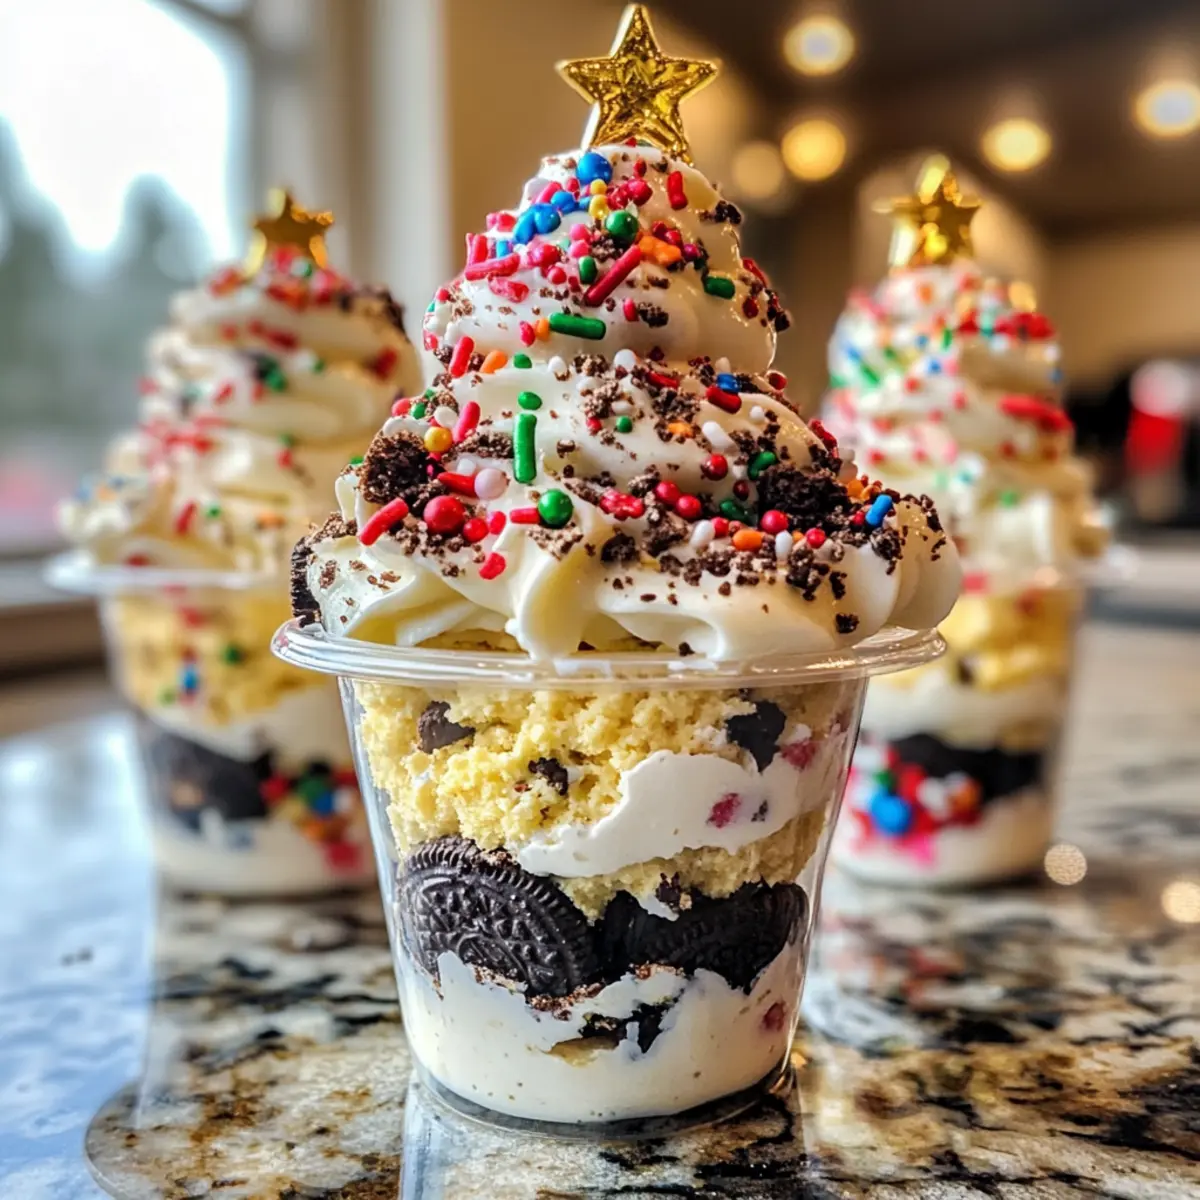
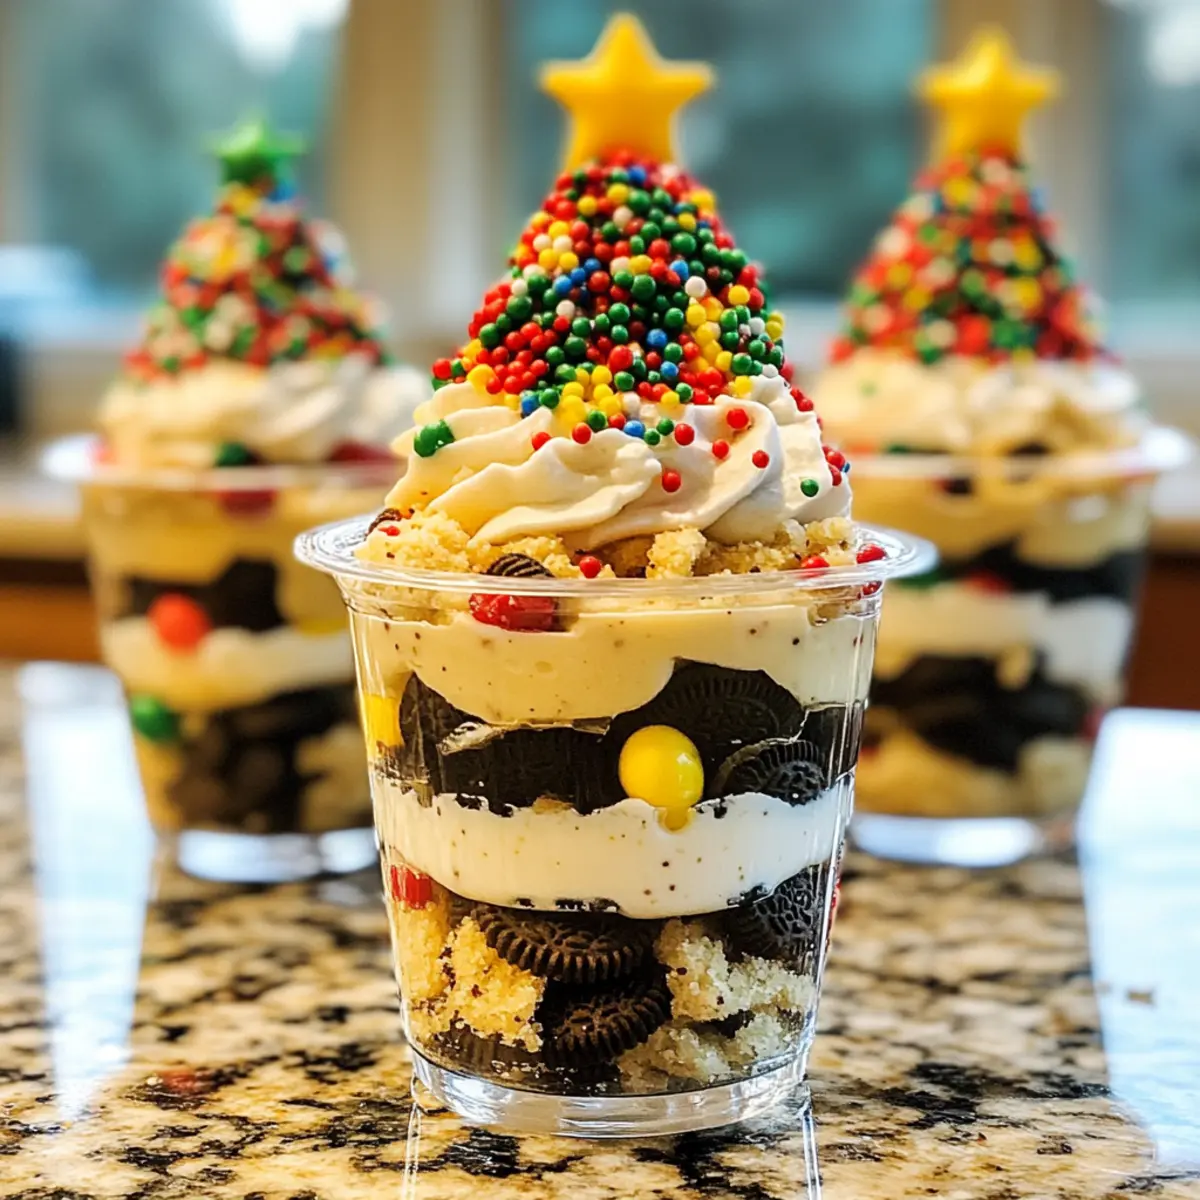
Festive Presentation: Served in clear cups, their beautiful layers of chocolate and cream resemble a winter wonderland, guaranteed to impress your guests.
Family-Friendly Fun: Both kids and adults love participating in the assembly, creating a perfect way to bond during the holiday season.
Customizable Options: Swap in different cookie or pudding flavors easily, like using chocolate pudding for a richer taste or festive cookie alternatives for unique twists.
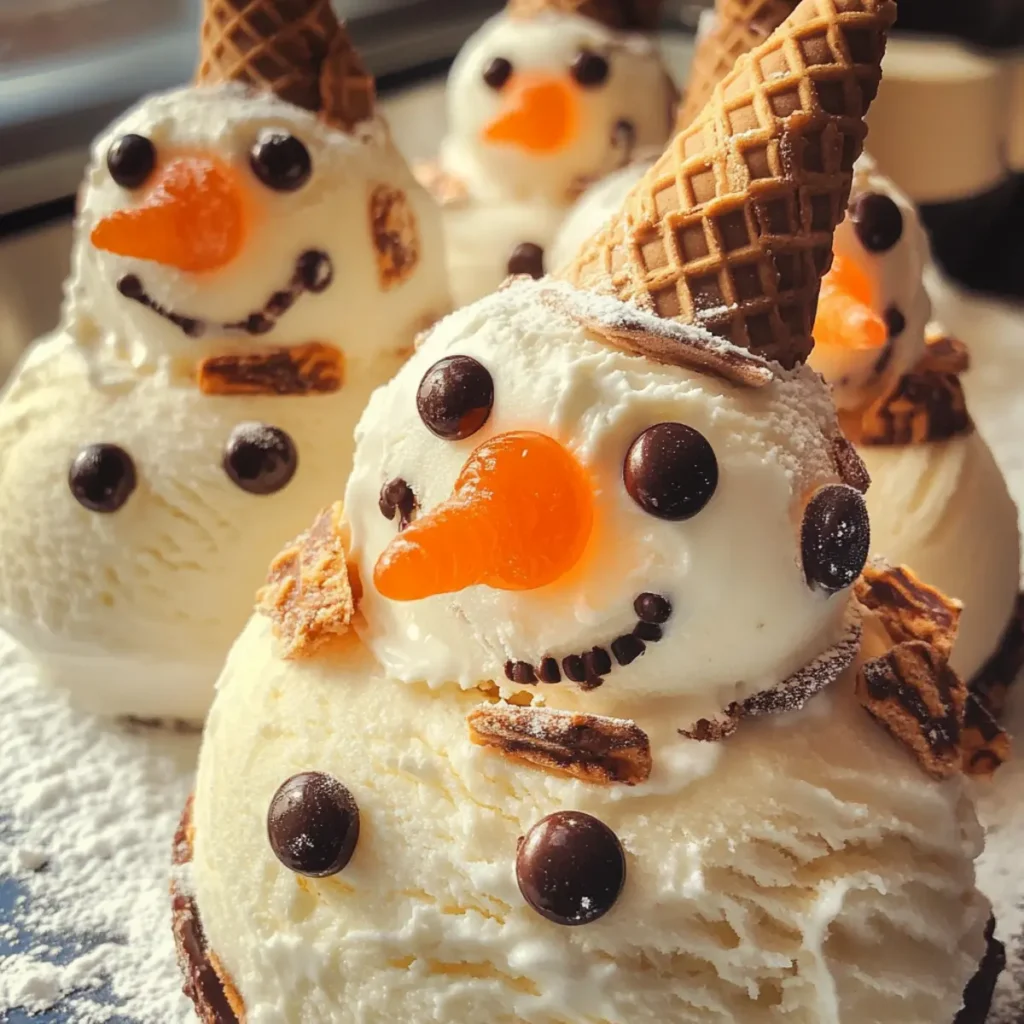
For more delightfully festive recipes, don’t miss out on our DIY Christmas Tree or Spice Cheesecake Cups that will surely elevate your dessert table this holiday!
Christmas Dirt Cups Ingredients
• These delightful Christmas Dirt Cups come together with simple ingredients you’ll love!
For the Base
- Golden Oreo Cookies – Provides a crunchy texture and sweet base for the dirt cups; feel free to swap with regular Oreos for an alternative flavor.
- Milk – Used to set the pudding mix; almond milk or oat milk can serve as tasty dairy alternatives.
For the Creamy Layer
- Instant Vanilla Pudding Mix (3.3 oz) – Forms the creamy layer in the dirt cups; chocolate pudding could lend a rich flavor twist.
- Cool Whip – Adds lightness and creaminess to the pudding mixture; homemade whipped cream can offer a fresh touch.
For the Topping
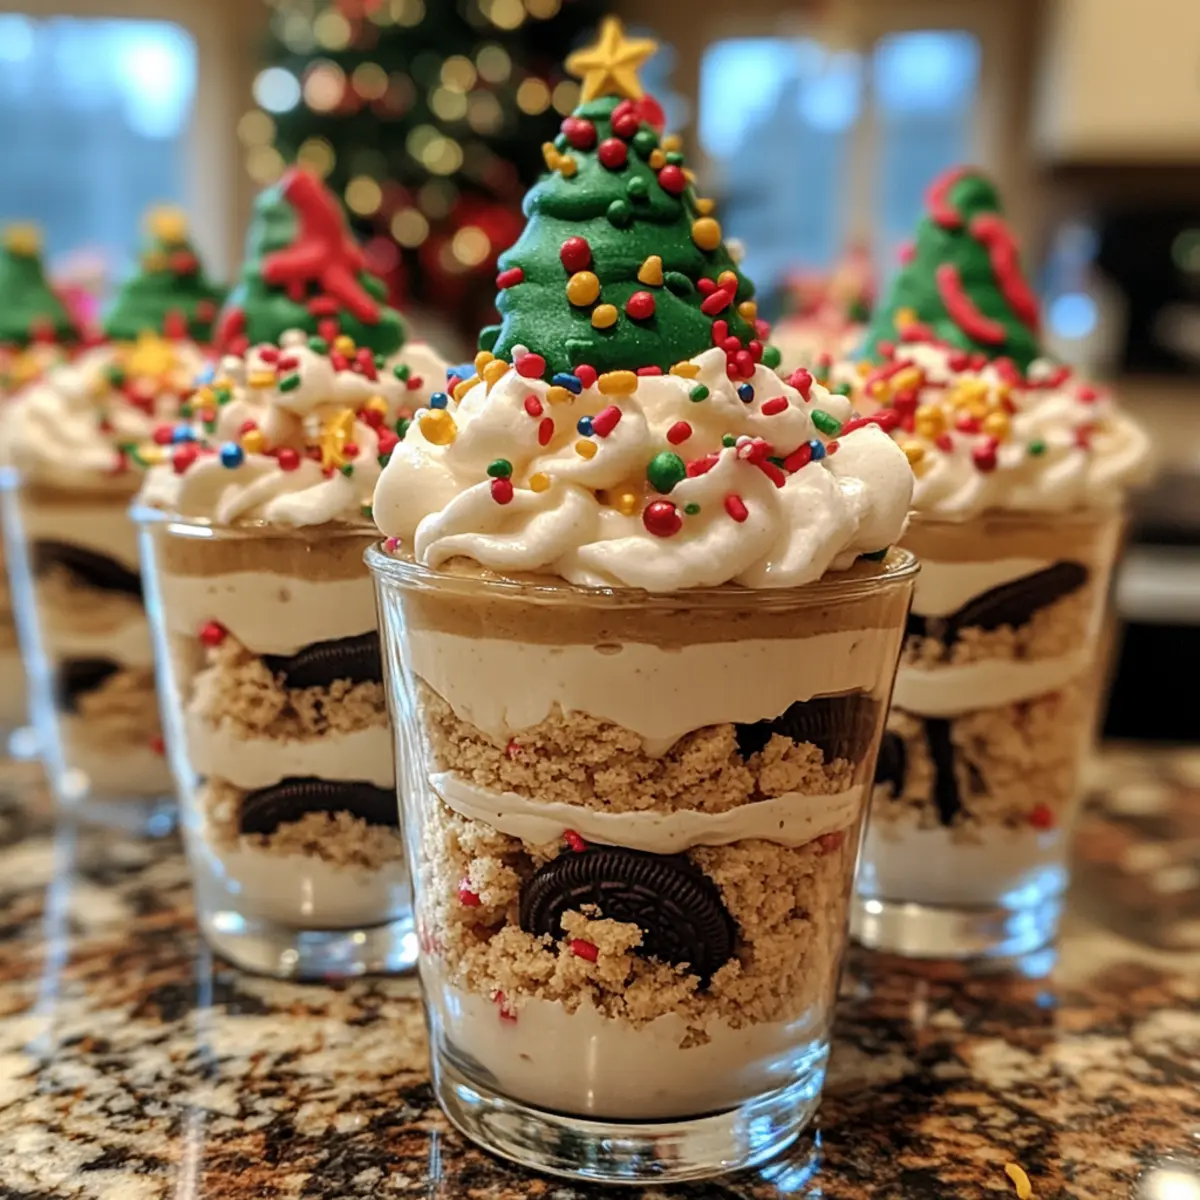
- Little Debbie Christmas Tree Cakes (12) – Acts as a festive and decorative topping; you can replace these with other themed cakes or chocolate decorations for variety.
- Christmas Sprinkles – Enhance the visual appeal; using colored sugar or edible glitter gives a fun, festive flair!
These ingredients come together to create an unforgettable Christmas dessert that will undoubtedly bring joy to your holiday celebrations!
Step‑by‑Step Instructions for Christmas Dirt Cups
Step 1: Prepare Pudding
In a medium bowl, whisk together the instant vanilla pudding mix and 2 cups of cold milk until well combined. Continue whisking for about 2 minutes until the mixture thickens. Once fully combined, cover the bowl and refrigerate for about 10 minutes or until set, achieving a creamy texture perfect for your Christmas Dirt Cups.
Step 2: Incorporate Whipped Topping
After the pudding has set, gently fold in 1 container of Cool Whip using a spatula until the mixture is fully combined and fluffy. This lightens the pudding nicely, enhancing the overall creaminess. Once blended, chill the mixture for an additional 20 minutes, allowing the flavors to meld beautifully.
Step 3: Crush Cookies
While your pudding mixture is chilling, use a food processor to pulse the Golden Oreo cookies into fine crumbs. If you don’t have a food processor, place the cookies in a zip-lock bag and crush them with a rolling pin. Aim for a texture that resembles dry dirt, which will create a delightful contrast in your Christmas Dirt Cups.
Step 4: Assemble Cups
Begin layering your Christmas Dirt Cups by spooning a generous amount of the pudding mixture into clear cups. Then, add a layer of the crushed Oreo cookies on top, repeating the layers until you reach the top of each cup. Finish with a layer of pudding, creating a snowy effect reminiscent of winter wonderland delights.
Step 5: Decorate
To create a festive touch, sprinkle colorful Christmas sprinkles evenly over the top of each pudding layer. Finally, place a Little Debbie Christmas Tree Cake on top of each cup for an adorable and whimsical decoration. These finishing touches will not only enhance visual appeal but will also excite your guests as they enjoy these delightful Christmas Dirt Cups.
Step 6: Chill Before Serving
Refrigerate the assembled cups until you’re ready to serve, ideally for at least 30 minutes. This chilling time allows the flavors to blend beautifully and ensures a perfectly chilled treat for your holiday festivities. For optimal texture and taste, serve the Christmas Dirt Cups on the same day they are assembled.
Expert Tips for Christmas Dirt Cups
-
Layering Technique: Begin with pudding: Make sure to layer your ingredients carefully to achieve that stunning visual appeal. Start with pudding, then Oreo crumbs, ending with pudding to create a “snowy” look.
-
Chill Time: Optimal Texture: Allow the assembled cups to chill for at least 30 minutes, enhancing the texture and ensuring everything holds its shape beautifully in these Christmas Dirt Cups.
-
Sprinkle Timing: Add Sprinkles Last: To keep your sprinkles looking fresh and vibrant, add them just before serving. This prevents them from getting soggy or losing color.
-
Cookie Alternatives: Explore Flavor Options: Feel free to swap Golden Oreos with other flavored cookies for a unique twist. Chocolate wafers make a lovely alternative for richer flavors!
-
Presentation Matters: Use Clear Cups: Opt for clear cups to showcase the stunning layers; this not only makes for a beautiful presentation but also invites curiosity and excitement.
-
Make Ahead: Convenience Factor: These cups can be assembled a day in advance; just remember, for the best results, serve them the same day to enjoy optimal freshness!
Christmas Dirt Cups Variations
Feel free to mix things up and make these festive treats your own with these delightful twists!
-
Chocolate Wafer Cookies: Substitute Golden Oreos with chocolate wafer cookies for a richer, deeper flavor. You’ll taste the wonderful depth with every bite.
-
Homemade Whipped Cream: Use fresh, whipped cream instead of Cool Whip for an even more luscious layer. The freshness will elevate your dessert’s overall taste!
-
Different Pudding Flavors: Experiment with different pudding flavors like butterscotch or chocolate to bring a new dimension of taste. Each variation is a delightful surprise waiting to happen.
-
Add a Splash of Liqueur: For an adult-oriented version, consider adding a splash of your favorite flavored liqueur to the pudding mix. The nuance will charm those with sophisticated palates.
-
Fruit Layers: Incorporate layers of fresh fruit, like raspberries or sliced strawberries, for a pop of color and natural sweetness among the creamy layers. It’s a delicious way to add freshness!
-
Nutty Crunch: Top with crushed nuts or Nutella for an added crunchy twist. This will introduce a delightful texture that contrasts beautifully with the creaminess.
-
Themed Cake Alternatives: Instead of Little Debbie Christmas Tree Cakes, try using festive mini gingerbread cookies or chocolate decorations for an equally charming look.
-
Spicy Flavor Boost: If you’re feeling adventurous, add a dash of cinnamon or nutmeg into the pudding mix for a cozy holiday spice. It’s a surprising, warm touch that’ll have everyone wanting more.
Now that you have all these fabulous options, it’s time to start mixing and matching to create your perfect Christmas Dirt Cups! And if you’re looking for other festive ideas, don’t forget to check out our delightful Christmas Cookie Exchange or whip up some Gingerbread Cupcakes Christmas for your next gathering!
What to Serve with Easy No-Bake Christmas Dirt Cups
The holidays are about gathering around the table with loved ones, and nothing sets the mood better than a festive feast paired with delightful treats.
- Warm Apple Crisp: The sweetness of spiced apples contrasts beautifully with the cool, creamy Dirt Cups, adding warmth and depth to your dessert table.
- Hot Cocoa Bar: A rich cup of cocoa with marshmallows and whipped cream complements the sweet layers of the cups, creating a cozy winter vibe that everyone will enjoy.
- Gingerbread Cookies: These classic holiday cookies not only add a festive touch but also bring in spicy notes that balance the sweetness of the Dirt Cups.
- Pecan Pie: The nutty flavors and caramel-like sweetness of pecan pie provide a delightful contrast to the lightness of the pudding dessert, pleasing traditionalists and kids alike.
- Vanilla Ice Cream: Creamy, cold vanilla ice cream creates a delicious textural play against the Dirt Cups’ layers, offering a comforting combination that’s a true holiday indulgence.
- Cheese Platter with Dried Fruits: A savory cheese platter can offset the sweetness of the Dirt Cups, while the dried fruits add an interesting texture and flavor contrast.
- Sparkling Cider: Toast with refreshing sparkling cider; its crispness pairs nicely with the rich layers, offering a bubbly celebration for your festive gatherings.
- Chocolate-Dipped Pretzels: Sweet and salty treats add a fun crunch, enhancing the dessert experience and giving guests a playful nibble as they enjoy their Dirt Cups.
Make Ahead Options
These Easy No-Bake Christmas Dirt Cups are a fantastic option for meal prep, saving you time for holiday festivities! You can prepare the pudding mixture and refrigerate it up to 24 hours in advance. Simply whisk together the instant vanilla pudding mix and milk, chill for about 10 minutes, and then fold in the Cool Whip. Keep this mixture refrigerated until you’re ready to assemble. To maintain the delightful texture, crush the Golden Oreos and layer them just before serving. This step will keep them perfectly crunchy! When it’s time to impress your guests, layer the components in clear cups and finish with sprinkles and a Little Debbie Christmas Tree Cake for a festive touch!
How to Store and Freeze Christmas Dirt Cups
Fridge: Store leftover Christmas Dirt Cups in an airtight container for up to 5-7 days. Keeping them sealed will prevent sogginess and maintain their delightful texture.
Freezer: For long-term storage, you can freeze the components separately; however, it’s best not to freeze assembled cups as the texture may change.
Reheating: These cups are best enjoyed chilled, so there’s no need to reheat! Just pull them from the fridge when you’re ready to serve.
Assembling Ahead: You can prepare the pudding and crushed cookies a day in advance, but for best flavor and texture, assemble and serve them fresh on the day of your gathering.
Advertisement
Christmas Dirt Cups Recipe FAQs
Can I use different flavors of pudding?
Absolutely! While this recipe calls for instant vanilla pudding, you can easily swap it for chocolate, butterscotch, or even a seasonal flavor like eggnog. Just keep in mind that each flavor will create a varied taste experience, and your guests will love the customization!
How should I store leftover Christmas Dirt Cups?
To maintain their delightful texture, store any leftover Christmas Dirt Cups in an airtight container in the refrigerator for up to 5-7 days. This ensures they stay fresh and delicious! Just remember, you might want to add sprinkles and decorative elements right before serving for the best presentation.
Can I freeze assembled Christmas Dirt Cups?
It’s best not to freeze the assembled cups, as the texture of the pudding and whipped topping can change and become watery when thawed. However, you can freeze the pudding and crushed cookies separately for future use. To do this, place the pudding in an airtight container or a zip-lock bag, squeezing out as much air as possible, and store it in the freezer for up to 3 months. When you’re ready to use it, thaw in the refrigerator overnight.
What should I do if my pudding mixture doesn’t thicken?
If your pudding mixture isn’t thickening properly, first make sure you’re using the correct ratio of pudding mix to milk – typically, it’s 2 cups of cold milk per 3.3 oz package of pudding mix. If it still remains runny after whisking, allow it to chill for an extra 10-15 minutes. If it doesn’t set up at all after proper chilling, you might need to start over with a new mix, as it may have been expired or improperly mixed.
Are Christmas Dirt Cups safe for pets?
While the ingredients in Christmas Dirt Cups are generally safe for humans, most components like chocolate and certain sweets used for decoration can be toxic to pets, particularly dogs. It’s best to keep these festive treats away from your furry friends to avoid any health complications. If you want a pet-friendly treat, consider making a special batch just for them without harmful ingredients!
Delightful Christmas Dirt Cups: A Festive No-Bake Treat
Ingredients
Equipment
Method
- In a medium bowl, whisk together the instant vanilla pudding mix and 2 cups of cold milk until well combined. Continue whisking for about 2 minutes until the mixture thickens. Cover and refrigerate for about 10 minutes or until set.
- Gently fold in 1 container of Cool Whip using a spatula until fully combined. Chill the mixture for an additional 20 minutes.
- Use a food processor to pulse the Golden Oreo cookies into fine crumbs, or crush them in a zip-lock bag.
- Layer your Christmas Dirt Cups by spooning the pudding mixture into clear cups, followed by a layer of crushed Oreo cookies, and repeat until the cup is full. Finish with a layer of pudding.
- Sprinkle colorful Christmas sprinkles over the top and place a Little Debbie Christmas Tree Cake on top of each cup.
- Refrigerate the assembled cups for at least 30 minutes before serving.