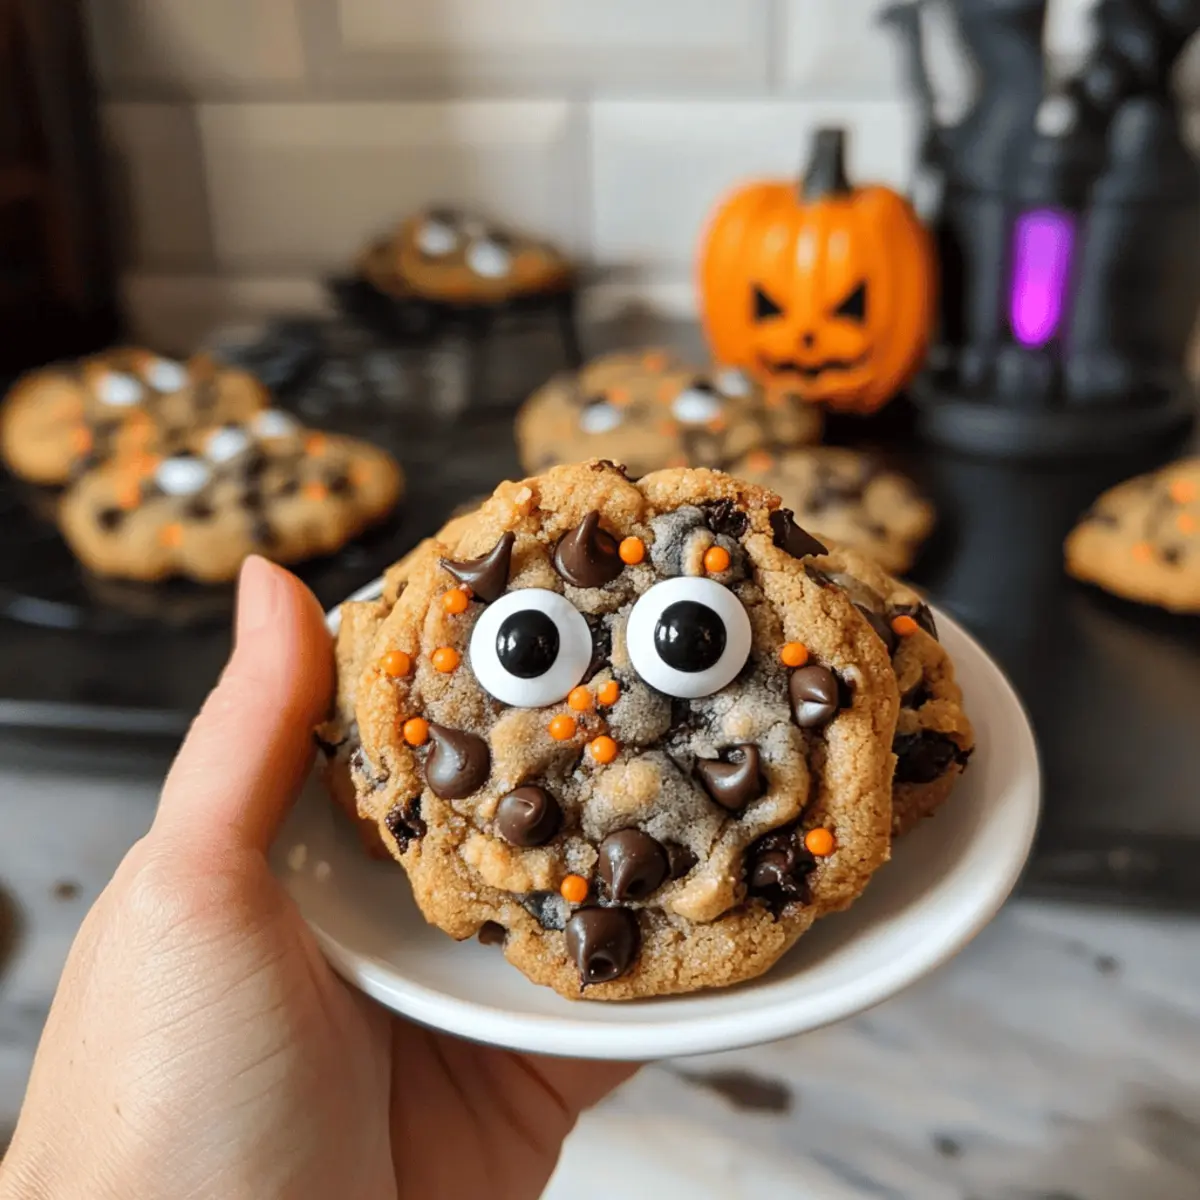
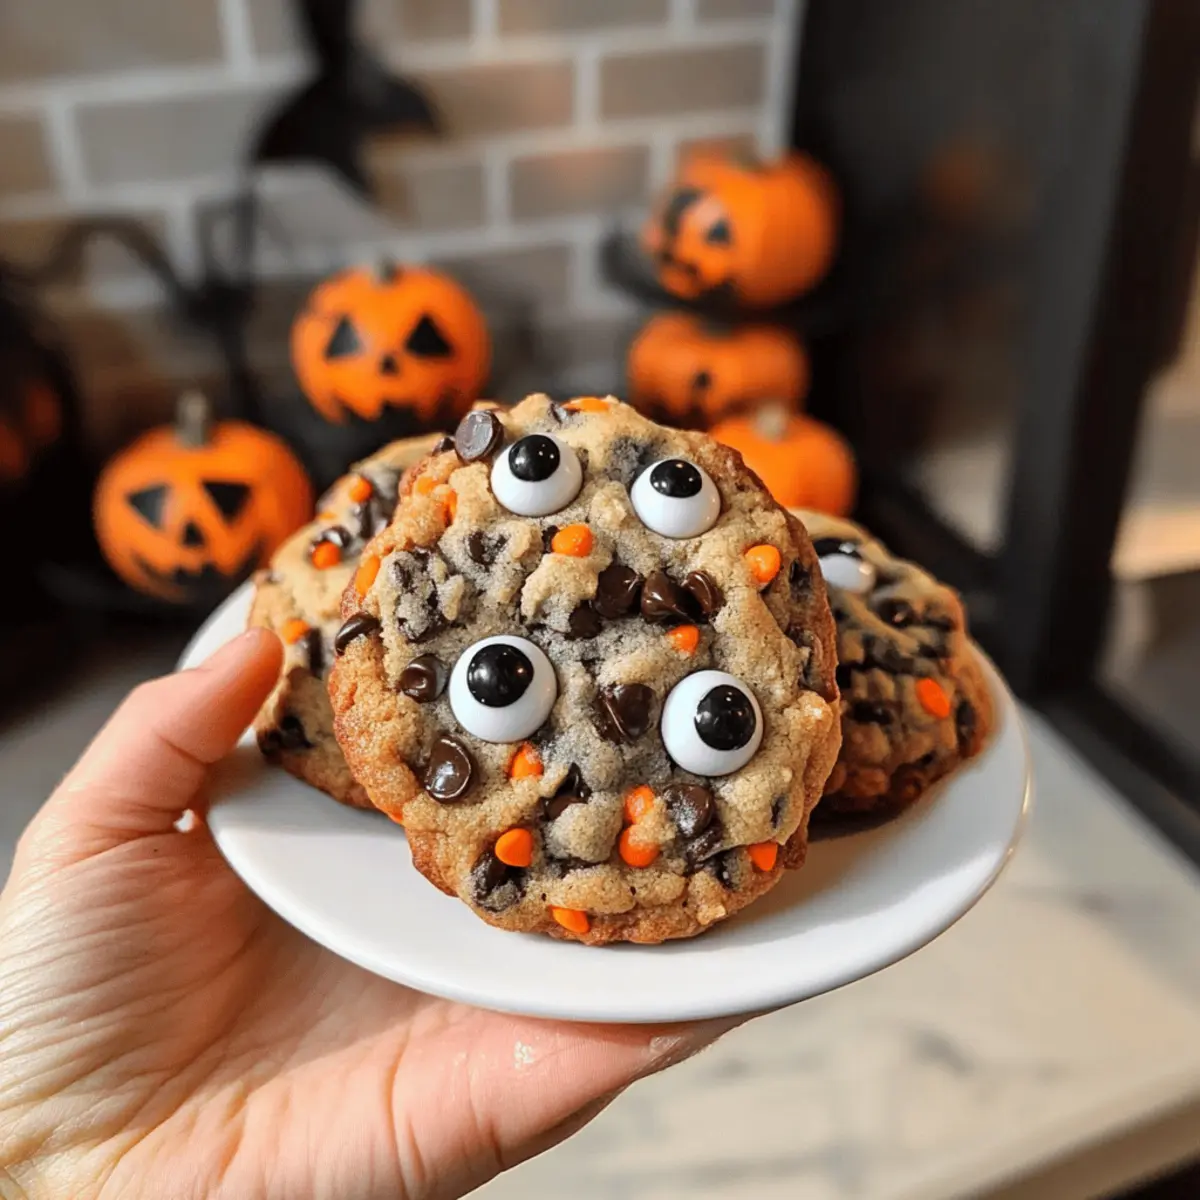
As the scent of warm, gooey chocolate infiltrates the air, I can’t help but feel the magic of Halloween creeping in with every bite of these Easy Halloween Chocolate Chip Cookies. Packed with rich chocolate and fun, colorful sprinkles, they blend comfort and festivity into a delightful treat that’s perfect for parties or cozy family gatherings. The best part? With just a quick 10-minute prep time, you can whip up a batch that will impress everyone—whether it’s frantically preparing for a last-minute bake sale or sneaking an indulgent snack. Not only are they a cinch to make, but these cookies also add a playful twist with optional candy eyes that turn them into spooky delights! Curious to see how you can create this festive masterpiece? Let’s dive right into the recipe!
Why Are These Cookies So Fun?
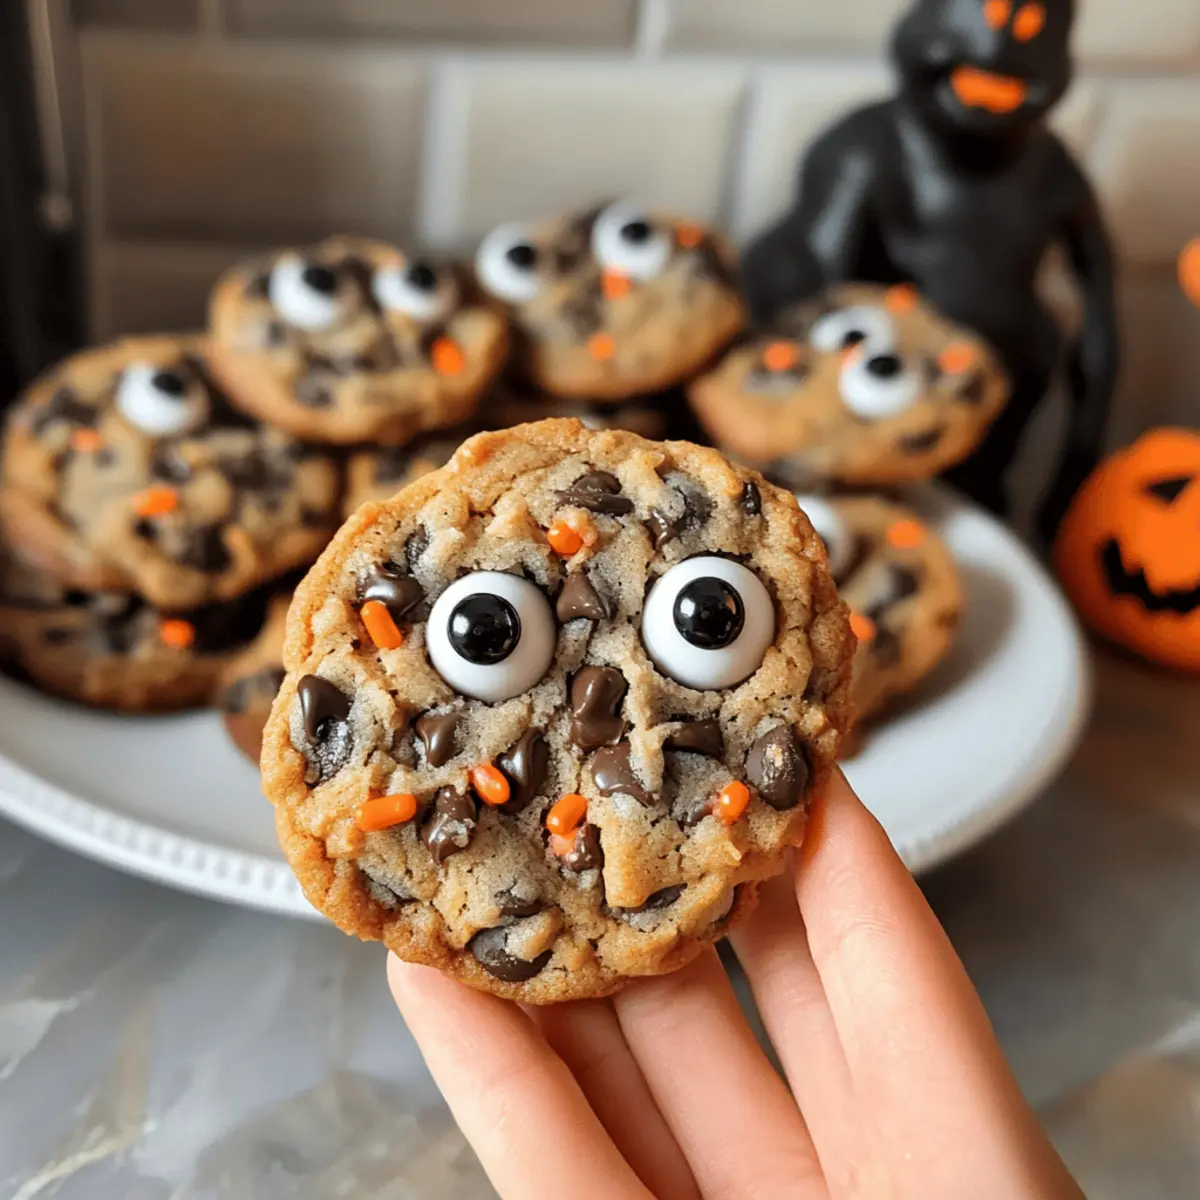
Festive Appeal: These cookies are dressed to impress with colorful sprinkles and cute candy eyes, making them an exciting centerpiece for any Halloween gathering.
Quick Prep: In just 10 minutes, you can have the dough ready to chill, fitting perfectly into any busy schedule.
Delightfully Chewy: Enjoy the scrumptious combo of soft, chewy texture with gooey chocolate that’s sure to satisfy your sweet tooth.
Versatile Recipe: Customize these cookies! Swap chocolate chips with white chocolate or even try different decorations, like in my Chocolate Marshmallow Swirl for an alternative festive treat.
Crowd-Pleaser: Whether it’s a family treat or a bake sale sensation, everyone will adore these Halloween Chocolate Chip Cookies, making them a winning choice for any occasion!
Halloween Chocolate Chip Cookies Ingredients
For the Cookie Dough
- Unsalted Butter – Provides richness and moisture; margarine can be used for a dairy-free option.
- Granulated Sugar – Adds sweetness and improves the cookie’s texture; brown sugar can be substituted for more moisture.
- Light Brown Sugar – Contributes chewiness and a hint of caramel flavor; feel free to replace with dark brown sugar for a stronger taste.
- Large Egg – Binds the ingredients together and helps cookies rise; a flax egg can be used for a vegan alternative.
- Vanilla Extract – Enhances the overall flavor; opt for pure vanilla for the best results.
- Salt – Balances sweetness and enhances flavor; sea salt works beautifully as an alternative.
- Baking Soda – Acts as a leavening agent; use baking powder if you’re out of baking soda.
- All-Purpose Flour – Provides essential structure; a gluten-free flour blend can be used if needed.
- Chocolate Chips – Brings that rich chocolate flavor; dark chocolate chips or your favorite variety can be used for a delicious twist.
For Decoration
- Halloween Sprinkles – Adds a festive flair to the cookies; rainbow sprinkles can be substituted if desired.
- Candy Eyes (optional) – Gives cookies a fun, spooky aspect; chocolate or colored candies can be used for variety.
Embrace the spirit of Halloween with these delightful Halloween Chocolate Chip Cookies that will surely charm everyone!
Step‑by‑Step Instructions for Halloween Chocolate Chip Cookies
Step 1: Mix the Sugars and Butter
In a large mixing bowl, combine 1 cup of melted unsalted butter along with ¾ cup of granulated sugar and ¾ cup of light brown sugar. Use a hand mixer on medium speed to blend until the mixture is smooth and creamy, which takes about 2-3 minutes. You’ll know it’s ready when the sugars are fully dissolved and the mixture is slightly glossy.
Step 2: Incorporate Egg and Vanilla
Add in 1 large egg and 1 teaspoon of pure vanilla extract to your sugar and butter mixture. Mix on low speed just until the egg is fully incorporated, about 30 seconds, ensuring the mixture becomes light and fluffy. This step not only adds flavor but also helps bind the Halloween Chocolate Chip Cookies together beautifully.
Step 3: Add Dry Ingredients
Gradually introduce 2 ½ cups of all-purpose flour, 1 teaspoon of baking soda, and ½ teaspoon of salt to the bowl. Mix on low speed until just combined, taking care not to over-mix; you’re looking for a soft dough consistency. It’s okay if a few lumps remain—these cookies will be soft and chewy after baking.
Step 4: Fold in Chocolate and Sprinkles
Gently fold in 1 cup of chocolate chips and ½ cup of Halloween sprinkles using a spatula until they are evenly distributed throughout the dough. Make sure not to overwork the dough at this stage, as you want to keep the delightful textures intact. The colorful sprinkles will add a festive touch to your Halloween Chocolate Chip Cookies.
Step 5: Chill the Dough
Using a scoop or tablespoon, form equal-sized, 2-tablespoon balls of dough and place them on a parchment-lined baking sheet. Cover the sheet with plastic wrap and chill in the refrigerator for 1.5 to 2 hours. Chilling the dough is crucial for preventing the cookies from spreading too much while baking.
Step 6: Preheat the Oven
Once the dough is chilled, preheat your oven to 350℉ (175℃). This ensures your baking environment is just right for creating those perfectly baked Halloween Chocolate Chip Cookies. While the oven heats, keep the dough refrigerated to maintain its texture until you’re ready to bake.
Step 7: Bake the Cookies
Place the chilled dough balls onto a new parchment-lined baking sheet, spacing them about 2 inches apart. Bake in the preheated oven for 11-13 minutes, or until the edges are golden and the centers are slightly soft. Trust your senses—the irresistible aroma will fill your kitchen during this time.
Step 8: Decorate with Candy Eyes
As soon as you remove the cookies from the oven, gently press candy eyes onto the top of each warm cookie. This step adds a fun, spooky element that’s perfect for Halloween! Let the cookies cool on the baking sheet for about 5 minutes before transferring them to a wire rack to cool completely.
Storage Tips for Halloween Chocolate Chip Cookies
-
Room Temperature: Keep baked Halloween Chocolate Chip Cookies in an airtight container at room temperature for up to 3-5 days, ensuring they remain fresh and chewy.
-
Fridge: If you prefer, you can store the cookies in the refrigerator, but they may lose some of their delightful chewiness after a day or two.
-
Freezer: For longer storage, freeze the cookies in a single layer on a baking sheet, then transfer them to a freezer-safe bag or container for up to 2-3 months.
-
Reheating: To enjoy the cookies warm, gently reheat them in the microwave for about 10-15 seconds or in the oven at 300°F (150°C) for 5-7 minutes.
Halloween Chocolate Chip Cookies Variations
Feel free to unleash your creativity and customize these cookies into something uniquely yours!
- Dairy-Free: Substitute unsalted butter with margarine to create delicious dairy-free cookies for everyone to enjoy.
- Nutty Twist: Add ½ cup of chopped walnuts or pecans to the dough for a delightful crunch that pairs beautifully with the chocolate.
- Spicy Kick: Incorporate ½ teaspoon of ground cinnamon or a pinch of cayenne for a surprising warmth that lingers in every bite.
- Vegan Option: Replace the egg with a flax egg (1 tablespoon of ground flaxseed mixed with 2.5 tablespoons of water) for a vegan version that doesn’t skimp on flavor.
- Flavor Variety: Experiment by swapping chocolate chips with butterscotch or white chocolate chips to create new and exciting flavor profiles.
- Decorative Touch: For added flair, turn these cookies into spooky critters by using mini chocolate chips for eyes or drizzle melted chocolate to create fun designs.
- Sprinkle Alternatives: Not feeling festive? Feel free to use rainbow sprinkles, or even edible glitter, for a whimsical twist that will make any day feel special.
- Crispy Edges: If you prefer a crunch, bake the cookies a couple of minutes longer until they achieve a delightful golden brown.
Remember, you can always find inspiration in variations like my adorable Chocolate Marshmallow Swirl or the indulgent Chewy Chocolate Chip cookies to add a personal spin to your Halloween baking adventure!
Expert Tips for Halloween Chocolate Chip Cookies
-
Chill Time Matters: Ensure the dough is chilled for at least 1.5 hours to prevent excess spreading during baking, maintaining the cookies’ ideal shape.
-
Measure Flour Correctly: Use the spoon and swipe method to measure flour accurately; avoiding packed flour will help keep your cookies light and chewy.
-
Uniform Size: An ice cream scoop is perfect for forming uniform dough balls, guaranteeing consistent baking and a beautifully shaped cookie every time.
-
Customize Flavors: Feel free to swap in different types of chocolate chips or add nuts to enhance the flavor of your Halloween Chocolate Chip Cookies.
-
Storage Solutions: Store baked cookies in an airtight container for 3-5 days or freeze them for up to 2-3 months; always let them cool completely first!
What to Serve with Easy Halloween Chocolate Chip Cookies
These whimsical treats are not just for indulging; they can easily be paired to create a delightful spread for your Halloween celebrations.
-
Glass of Milk: A classic pairing that enhances the rich chocolate flavor while balancing sweetness. It’s the ultimate dipper to soak in some gooey goodness.
-
Hot Apple Cider: Embrace the season with warm drinks! The spice in apple cider brings a cozy autumn vibe, perfectly complementing the sweetness of the cookies.
-
Pumpkin Spice Ice Cream: Adding a scoop of this creamy dessert will elevate your cookie experience with flavors that scream fall indulgence.
-
Chewy Caramel Brownies: For serious chocoholics, these brownies add a rich, fudgy texture that harmonizes beautifully with your Halloween cookie.
-
Fruit Platter: A colorful array of fresh fruits like apples and pears offers a refreshing contrast to the sweet, chocolatey cookies. Perfect for balance—these brighten up your dessert table!
-
Ghostly Meringues: Light and airy, these spooky treats create a fun visual while their subtle sweetness pairs well without overwhelming. A delightful treat that kids will adore!
-
Spiced Chai Latte: Warm up your gatherings with this aromatic drink that blends perfectly with the cookies, enhancing their festive flavors; every sip is like a warm hug!
-
Chocolate Milkshake: Blend up a rich shake for a decadent pairing that both kids and adults will love, ensuring your dessert spread is a hit this Halloween!
Make Ahead Options
These Halloween Chocolate Chip Cookies are perfect for meal prep, saving you valuable time during the busy holiday season! You can prepare the cookie dough up to 24 hours in advance by following the initial mixing steps, forming the dough balls, and then covering them with plastic wrap to refrigerate. If you’re looking to prep even further, you can freeze the unbaked dough balls for up to 3 months—simply place them in a freezer-safe container or bag. When you’re ready to bake, there’s no need to thaw; just extend the baking time by a couple of minutes. This way, you’ll enjoy fresh, warm cookies just as delicious as if you baked them the same day!

Halloween Chocolate Chip Cookies Recipe FAQs
How do I choose ripe ingredients for the best cookies?
Absolutely! When selecting ingredients, opt for unsalted butter that’s at room temperature for easy mixing. As for the egg, a large, fresh egg is ideal; check the expiration date on the carton. For chocolate chips, choose high-quality brands for richer flavor—dark chocolate chips can add depth, while white chocolate offers sweetness. Freshness is key!
How should I store my baked Halloween Chocolate Chip Cookies?
Very! After baking, let the cookies cool completely, then store them in an airtight container at room temperature. They’ll stay fresh for about 3-5 days. If you notice them getting a bit stale, pop them in the microwave for a few seconds; they’ll be delightfully gooey again!
Advertisement
Can I freeze these cookies and how?
Absolutely! To freeze your Halloween Chocolate Chip Cookies, start by cooling them completely. Lay them out in a single layer on a baking sheet lined with parchment and freeze until firm, about 1-2 hours. Then, transfer them to a freezer-safe bag or container, separating layers with parchment paper to prevent sticking. They will remain delicious for up to 2-3 months. When you’re ready to enjoy them, let them thaw at room temperature or warm them up briefly in the microwave!
What can I do if my cookies spread too much while baking?
Fear not! If your Halloween Chocolate Chip Cookies spread too much, it might be due to too much butter or not chilling the dough enough. To avoid this in the future, ensure your dough is adequately chilled for at least 1.5 hours—chilling is crucial! Additionally, double-check that you’re measuring flour correctly; using the spoon-and-sweep method can prevent dense dough. If you’re still experiencing issues, try adding 1-2 tablespoons more flour next time!
Are there any allergen considerations for these cookies?
Very! These cookies contain common allergens such as gluten and dairy. For a dairy-free option, you can substitute ghee or margarine for the butter. If you need a gluten-free alternative, using a gluten-free flour blend works wonderfully. Also, ensure any chocolate chips or sprinkles are free from allergens you may be sensitive to, as some brands contain milk or nuts. Enjoy baking safely!
Can I add different mix-ins to my Halloween Chocolate Chip Cookies?
Absolutely! The more the merrier! You can customize these cookies in so many ways; try adding chopped nuts for a crunchy texture or using butterscotch chips instead of chocolate. I often add spices like cinnamon or nutmeg for an autumn vibe. Get creative and make these cookies uniquely yours!
Delicious Halloween Chocolate Chip Cookies You’ll Love
Ingredients
Equipment
Method
- In a large mixing bowl, combine 1 cup of melted unsalted butter, ¾ cup of granulated sugar and ¾ cup of light brown sugar. Blend until smooth and creamy using a hand mixer on medium speed for 2-3 minutes.
- Add in 1 large egg and 1 teaspoon of pure vanilla extract. Mix on low speed until fully incorporated, about 30 seconds.
- Gradually add 2 ½ cups of all-purpose flour, 1 teaspoon of baking soda, and ½ teaspoon of salt. Mix on low speed until just combined, creating a soft dough.
- Gently fold in 1 cup of chocolate chips and ½ cup of Halloween sprinkles using a spatula until evenly distributed.
- Form equal-sized, 2-tablespoon balls of dough and place them on a parchment-lined baking sheet. Cover and chill in the refrigerator for 1.5 to 2 hours.
- Preheat your oven to 350℉ (175℃). Keep the dough refrigerated until ready to bake.
- Place chilled dough balls on a new parchment-lined baking sheet, spacing them about 2 inches apart. Bake for 11-13 minutes until edges are golden.
- Press candy eyes onto each warm cookie when removed from the oven. Let them cool for about 5 minutes, then transfer to a wire rack.